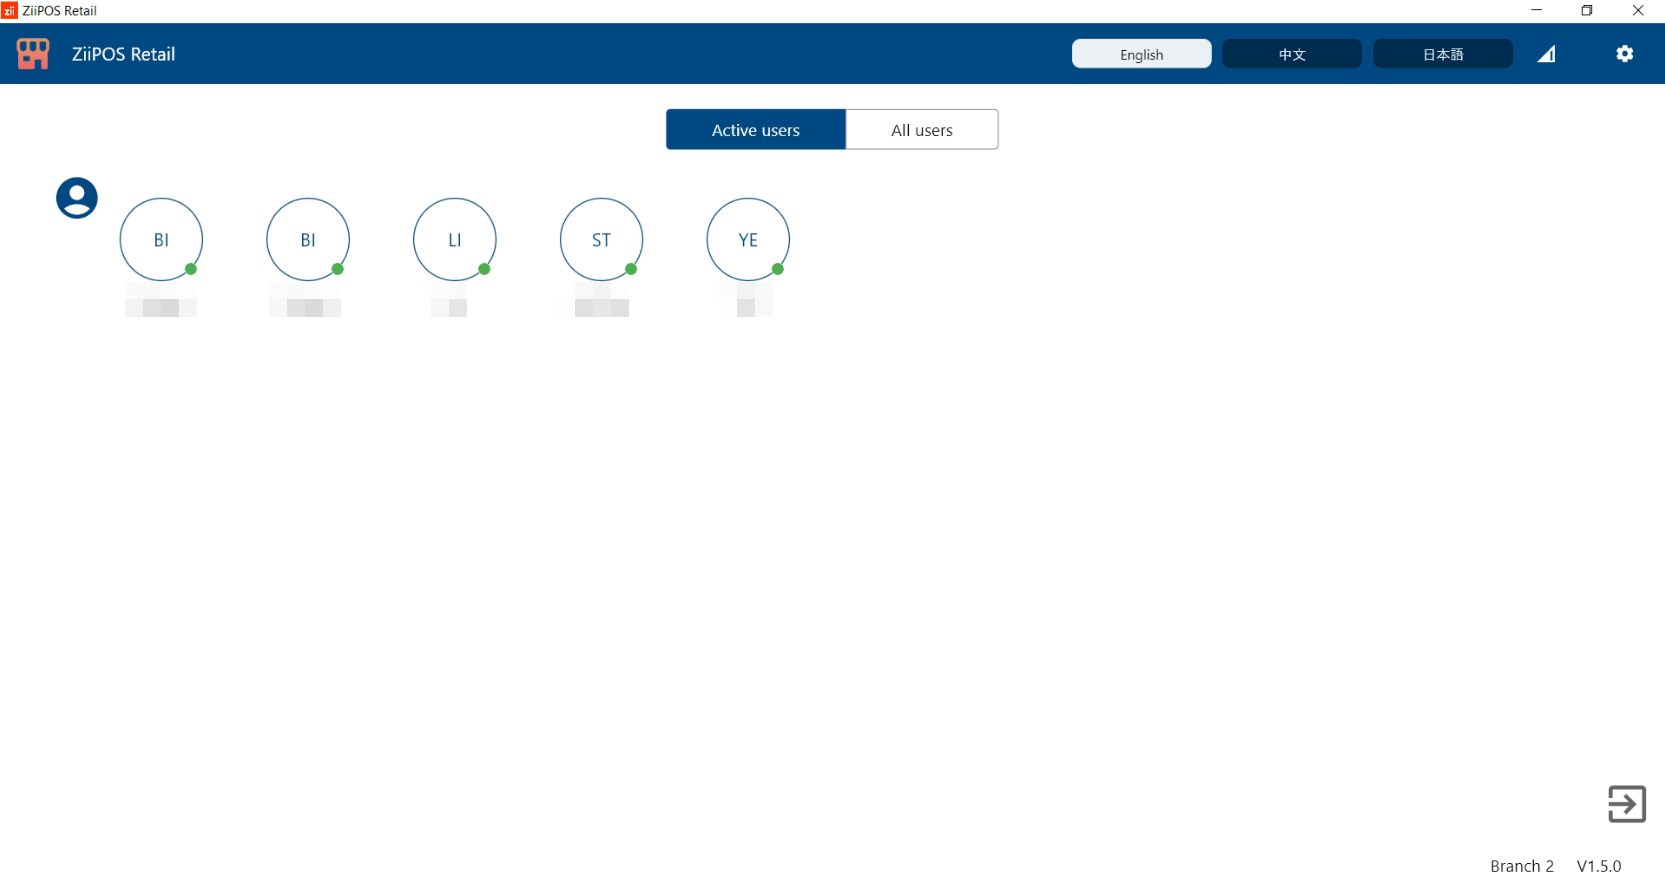
Log in with an admin account
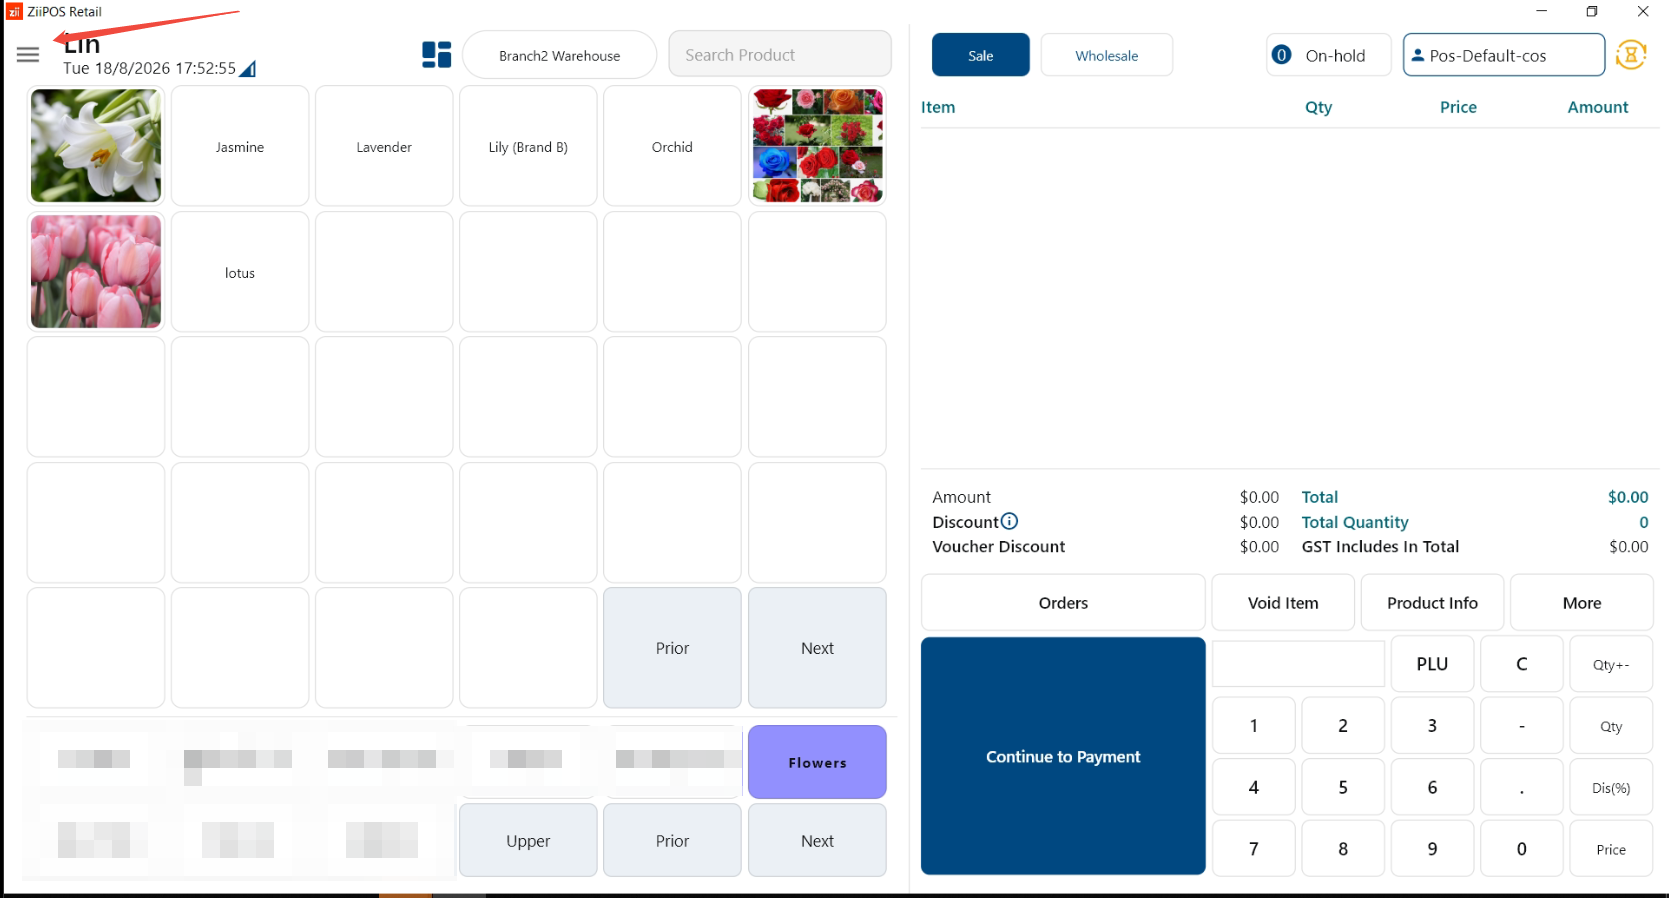
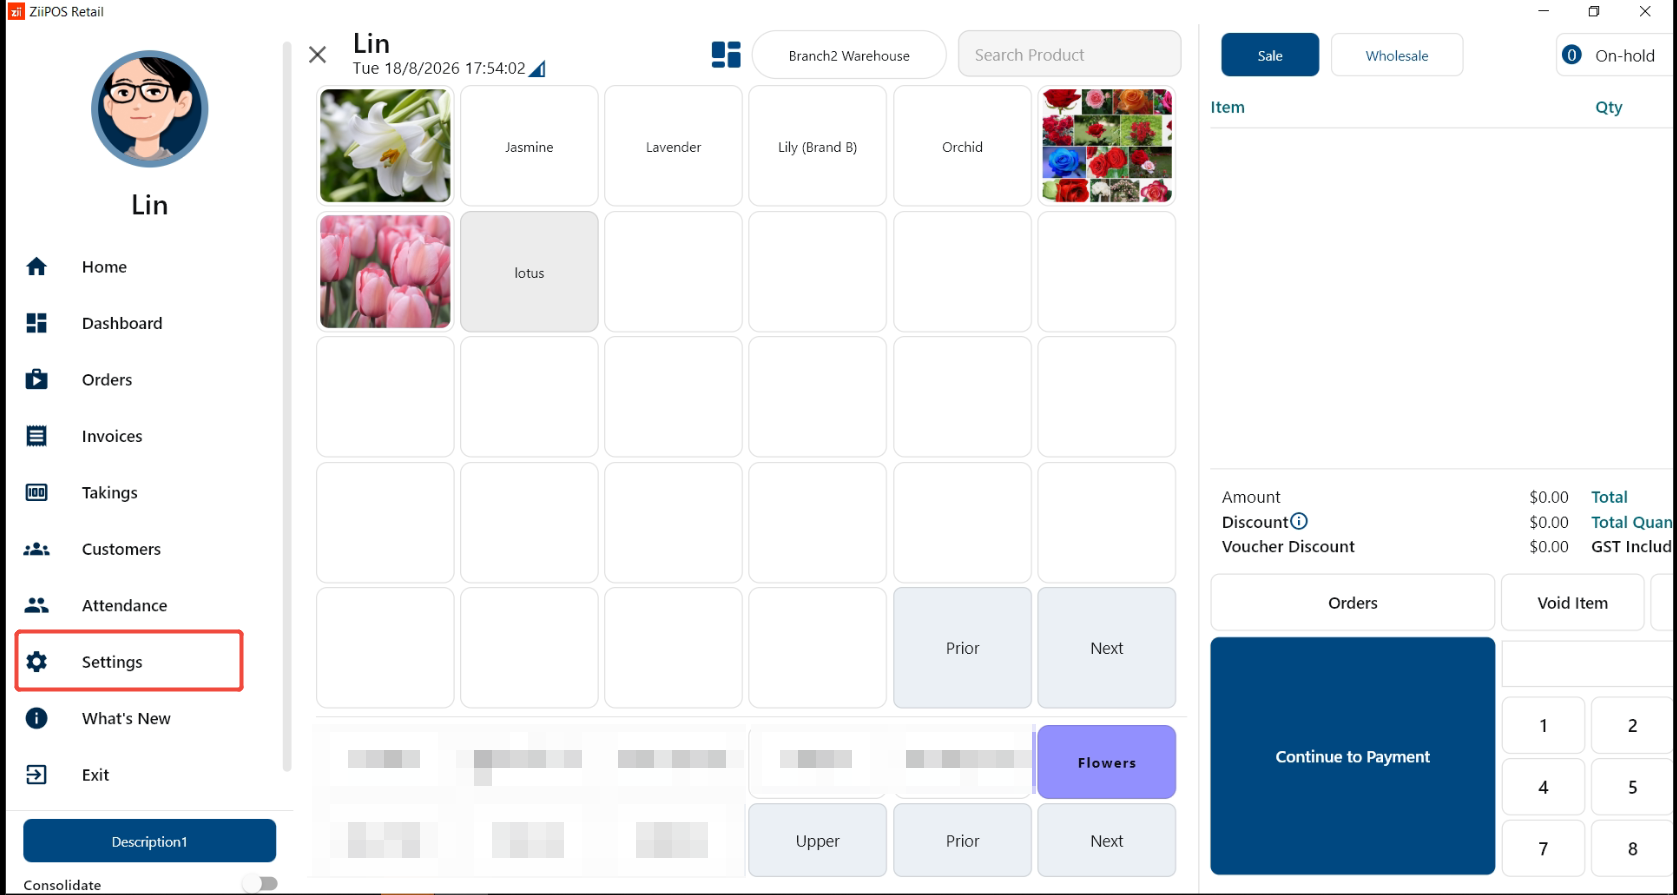
Click the button in the top left corner.
Get into “Settings”.
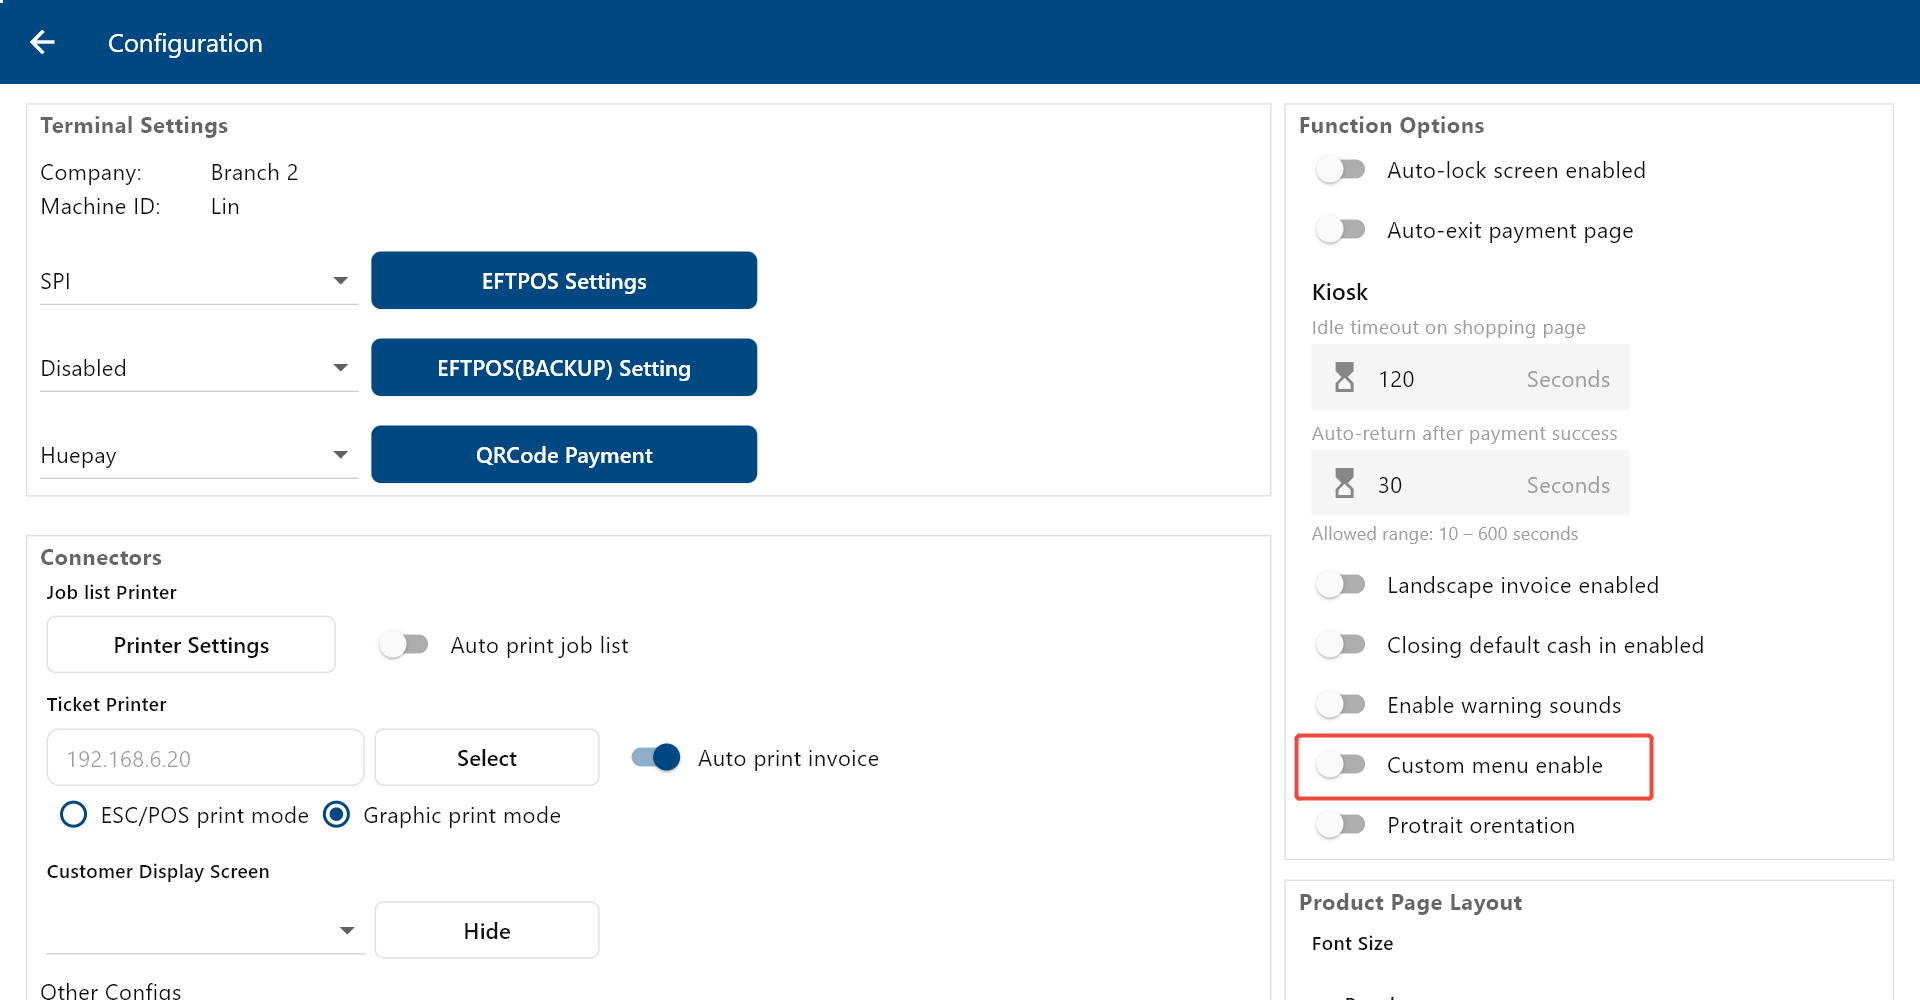
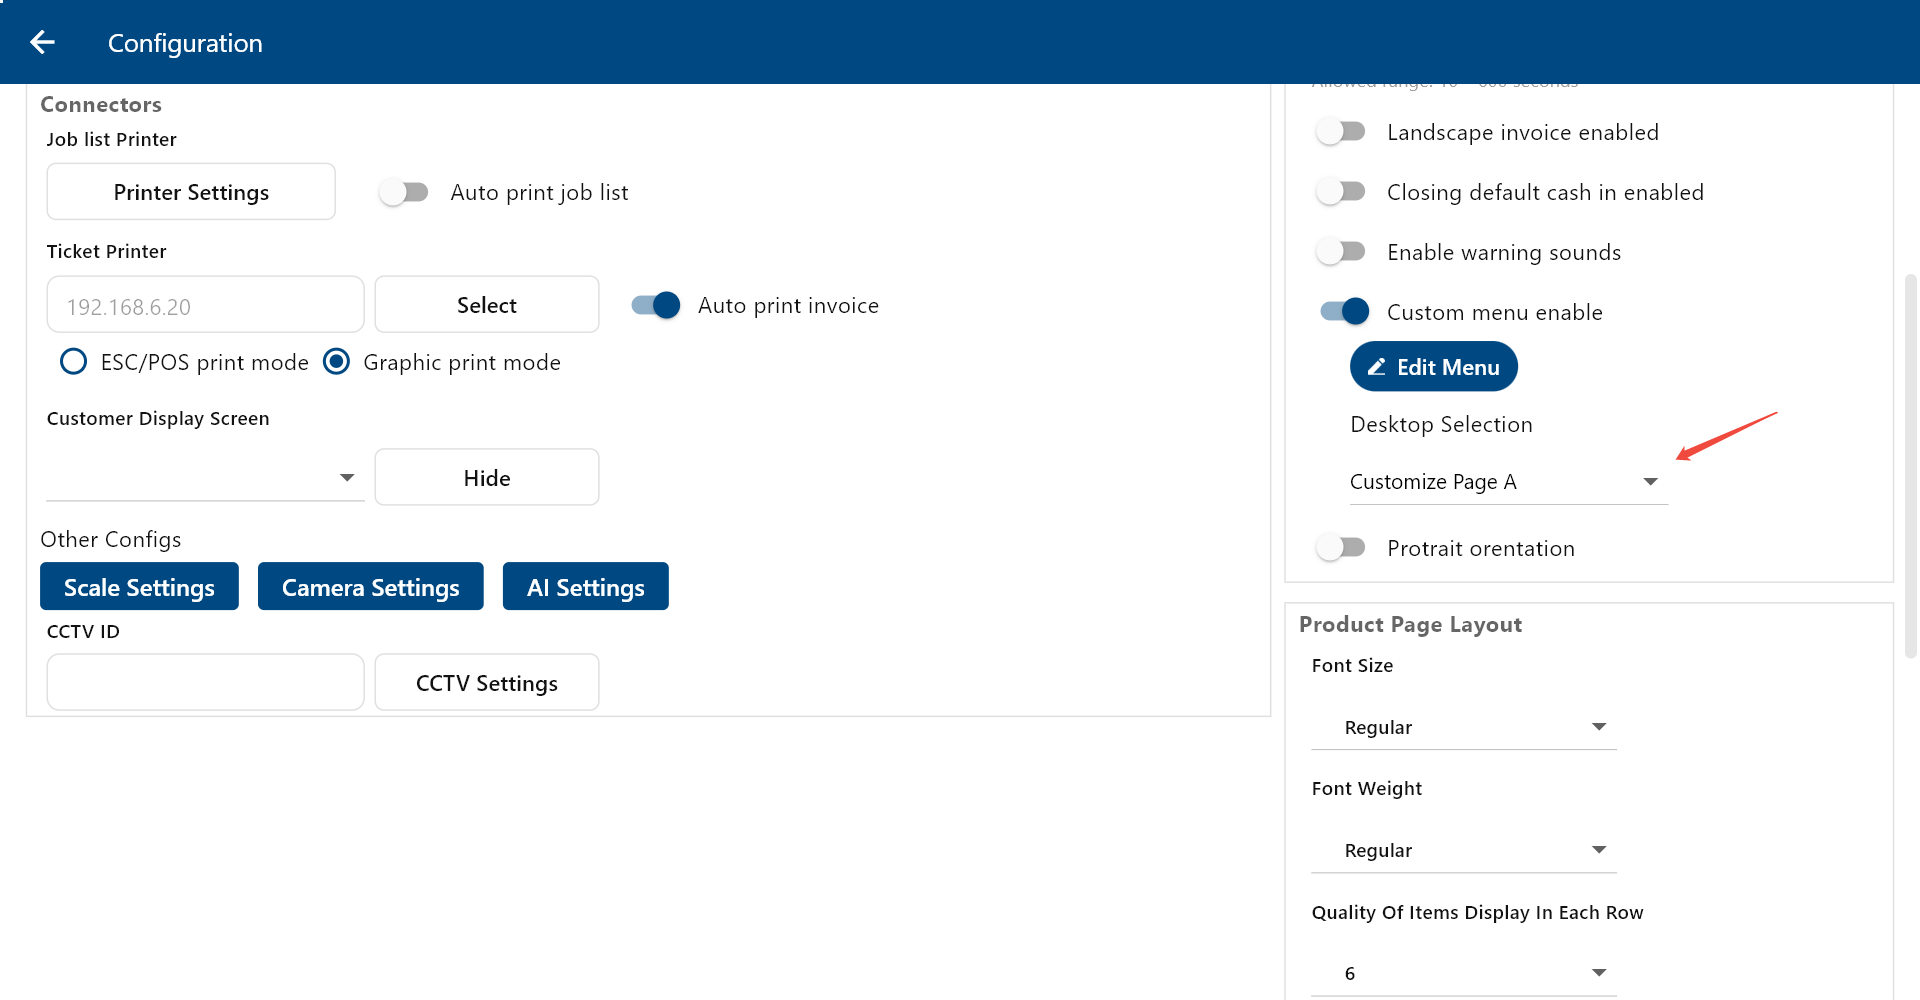
Toggle on “Custom Menu Enbale”.
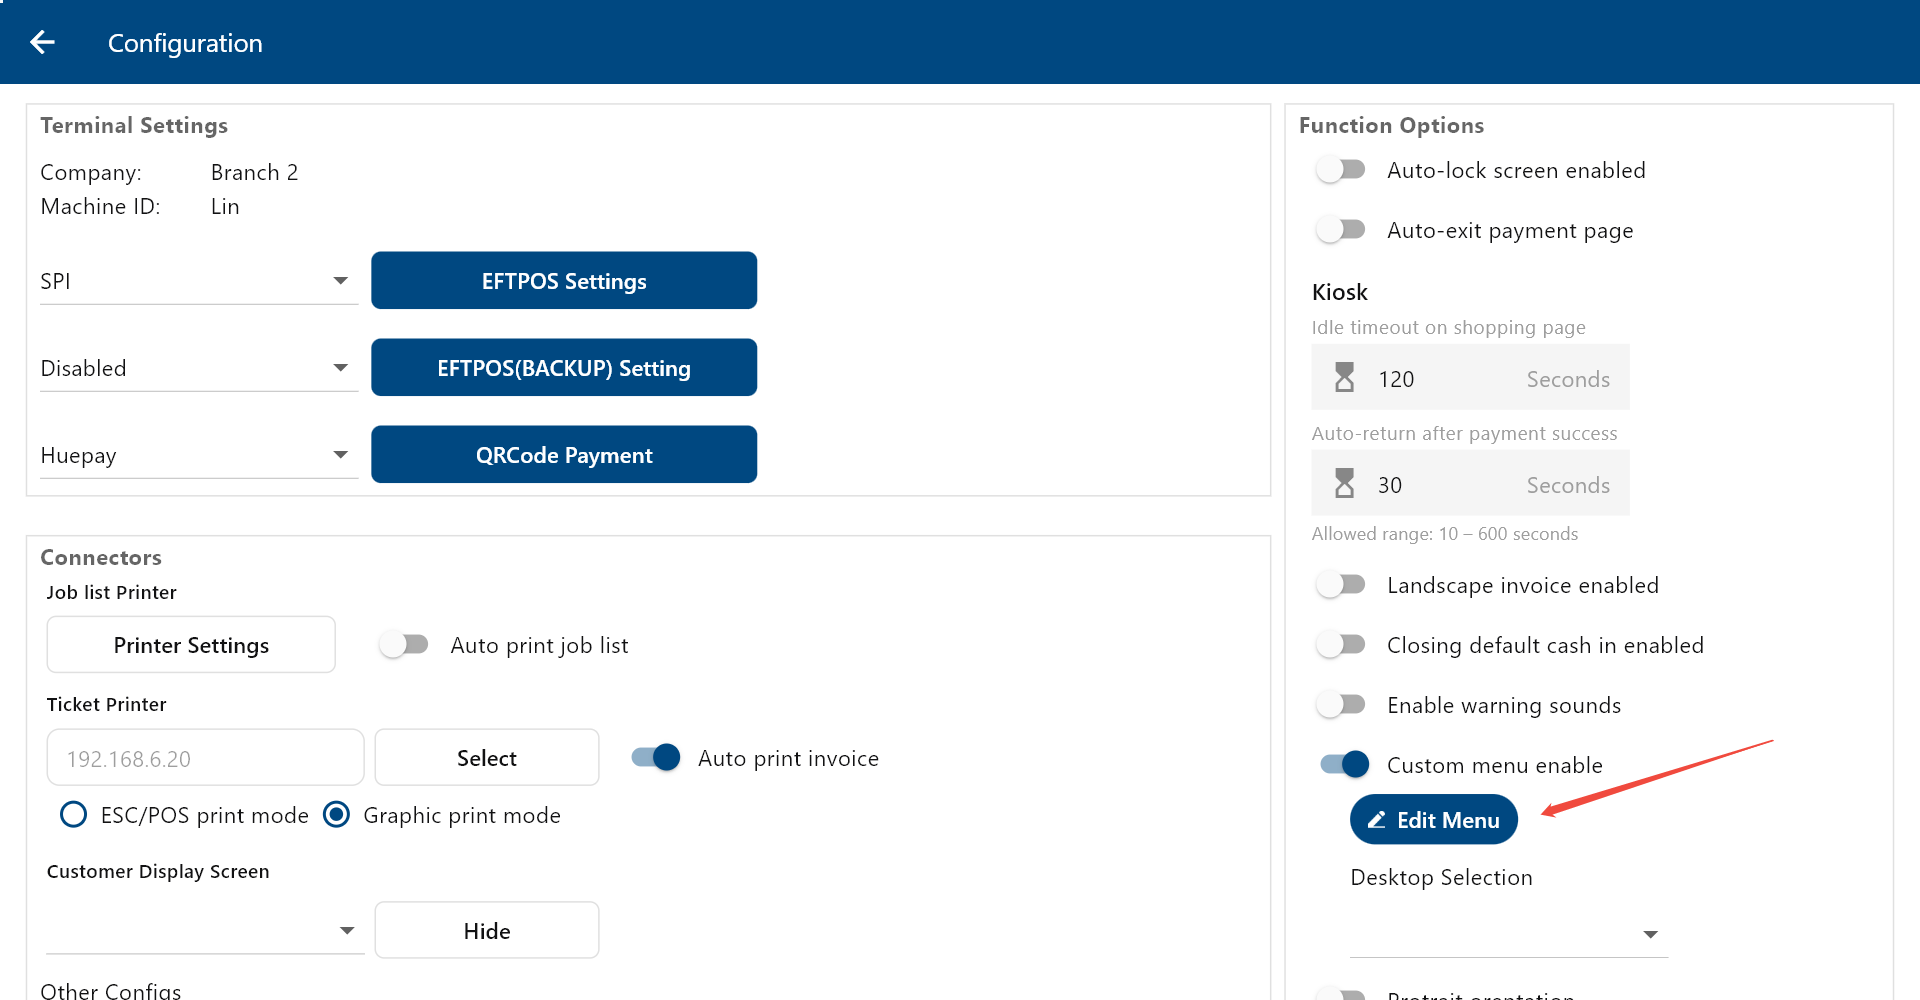
Hit on “Edit Menu”.
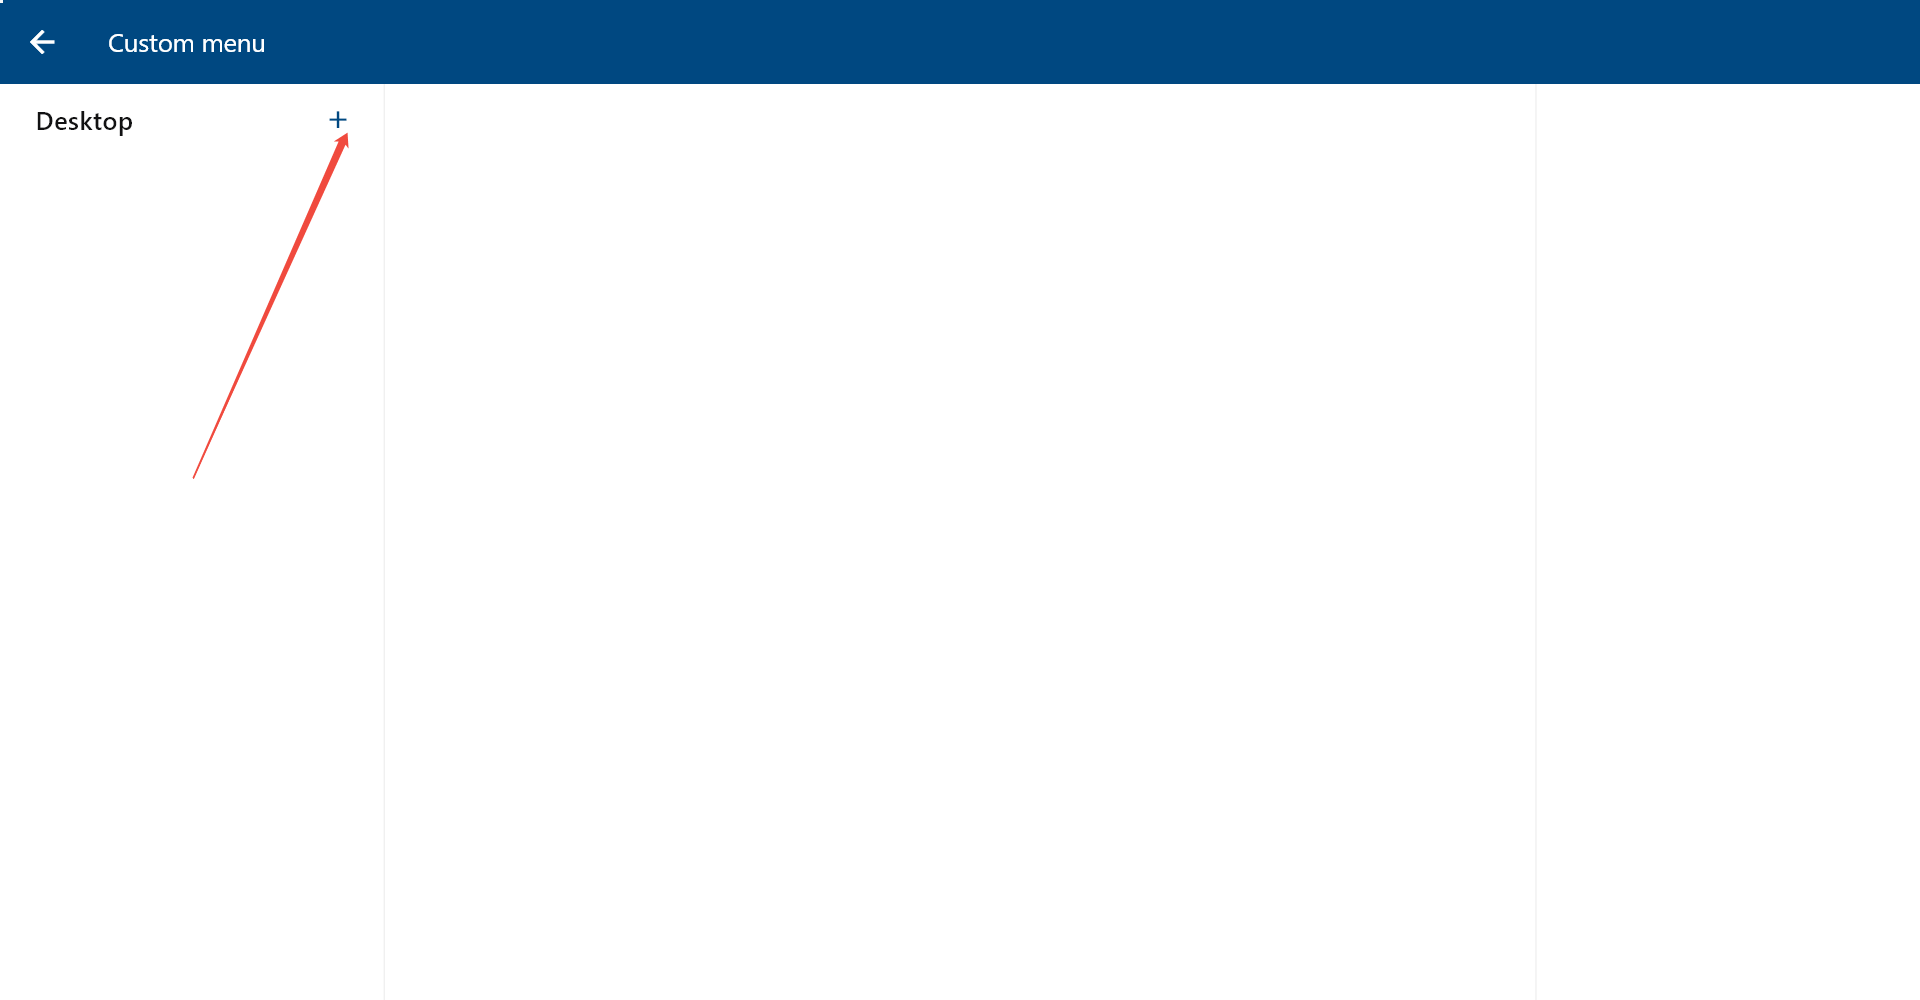
Click “+” here to add a customized menu.
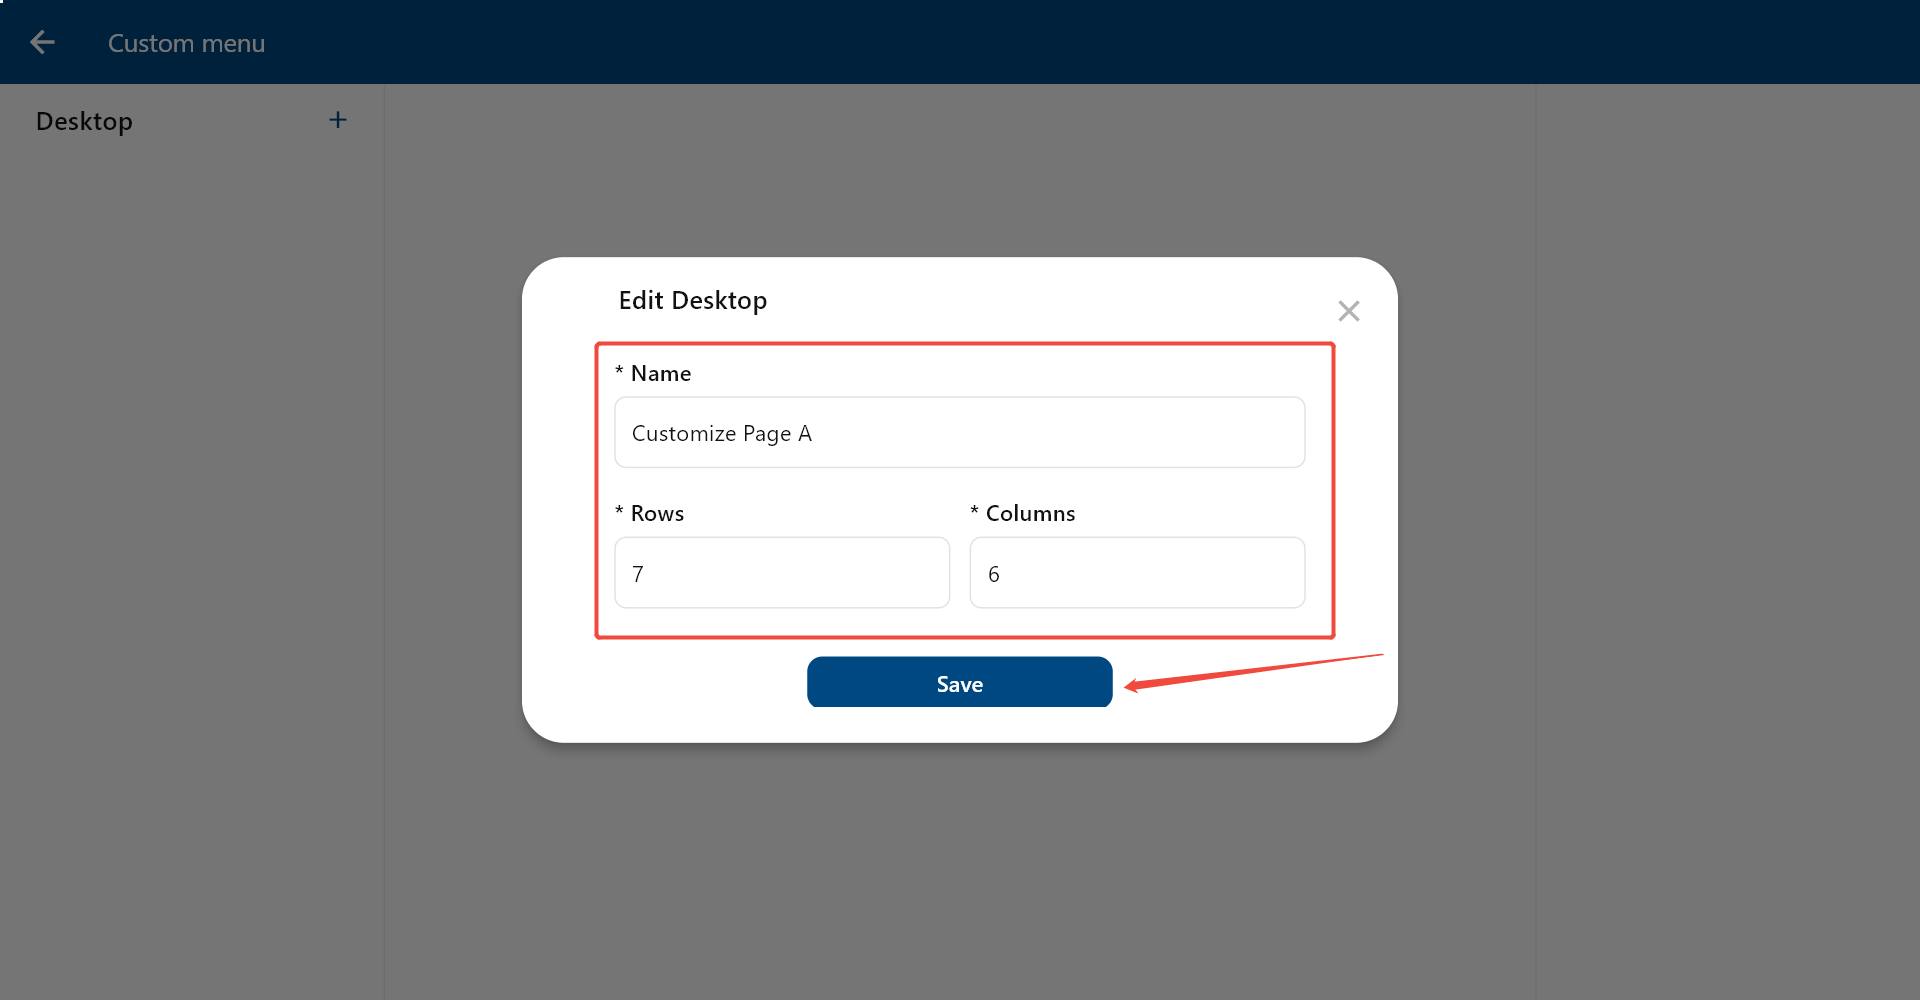
Enter the menu name and set up the number of rows and columns. Then click “Save” to confirm.
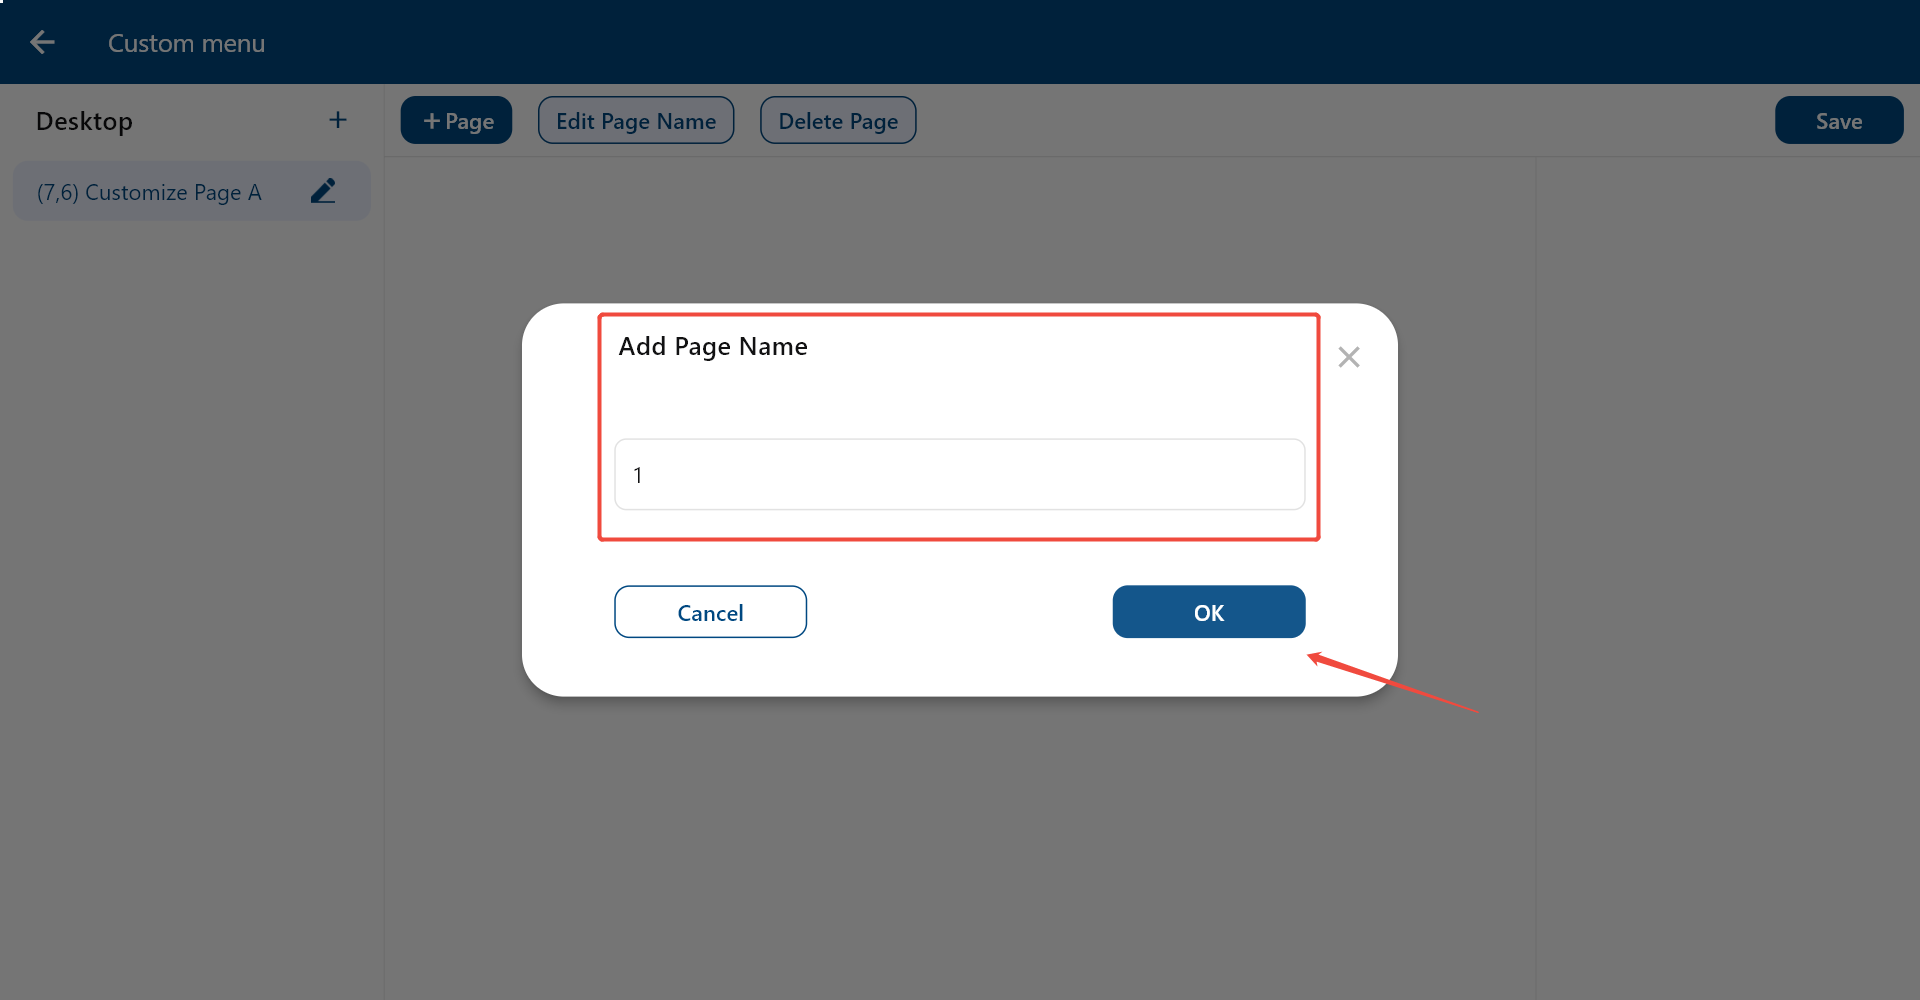
You may enter a page name or keep it as the default to be 1, 2, 3, etc.
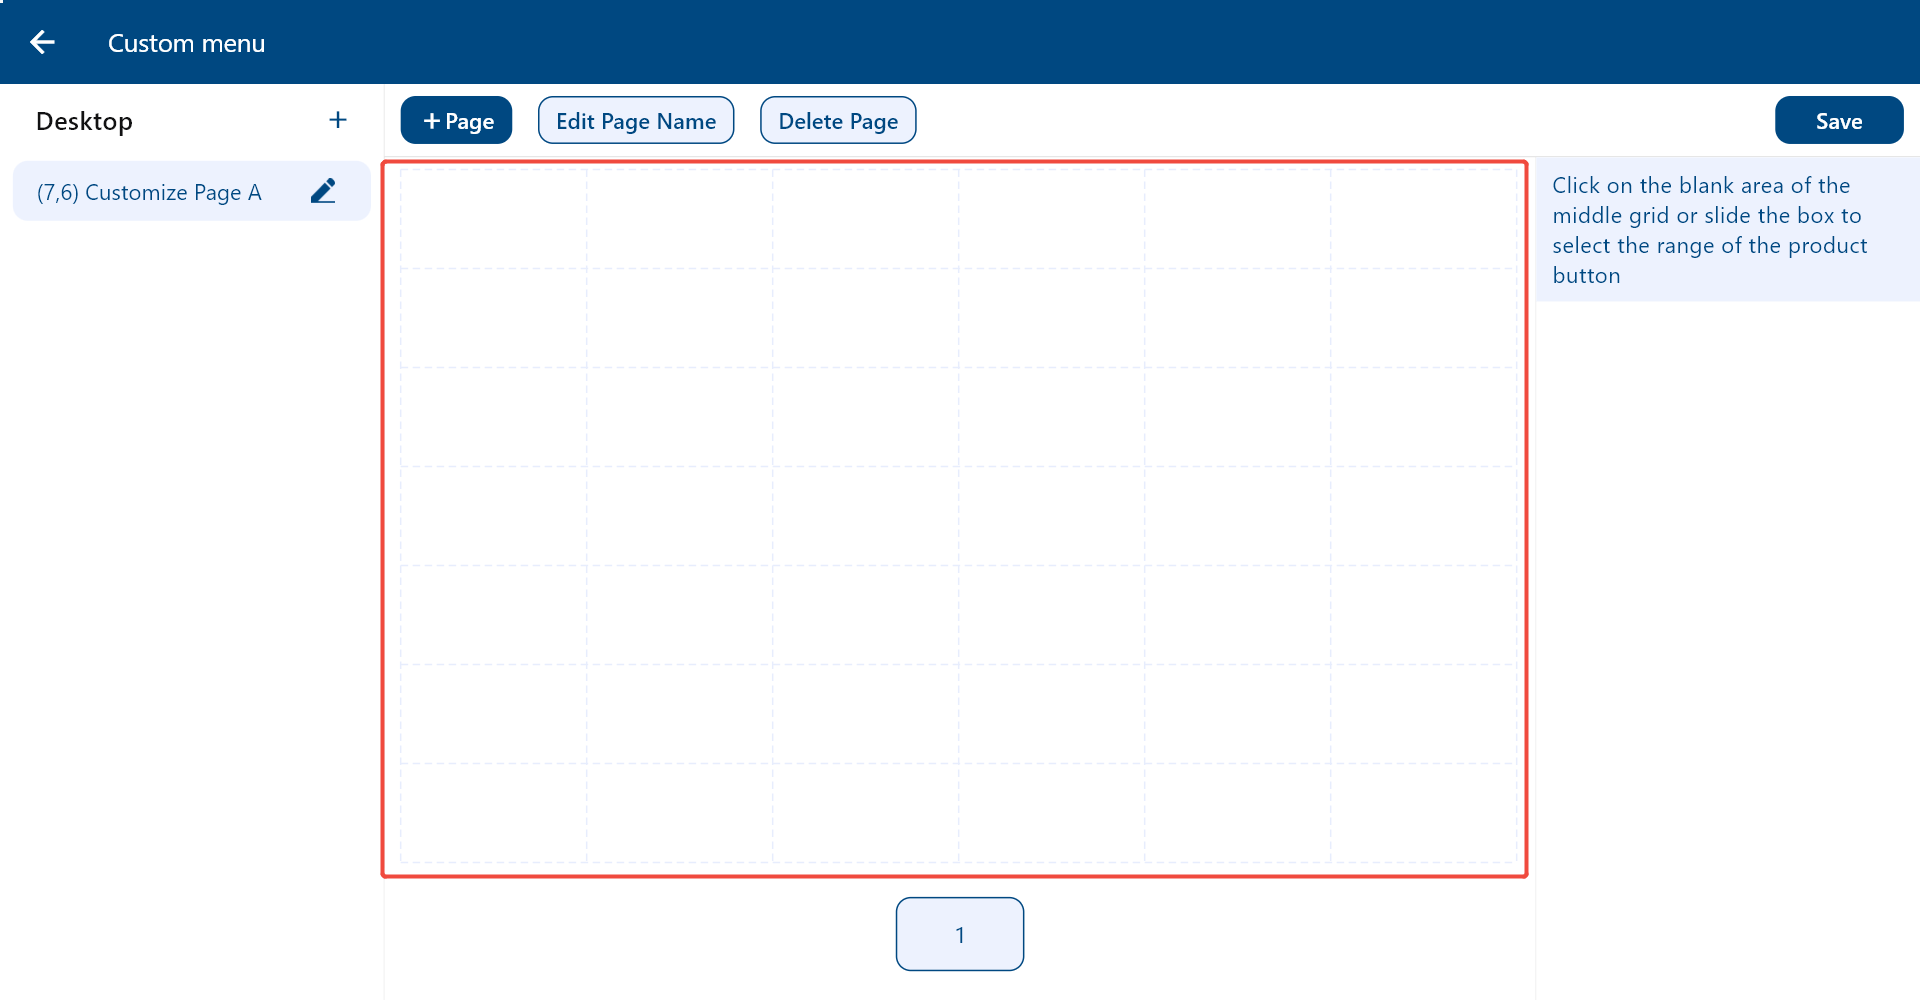
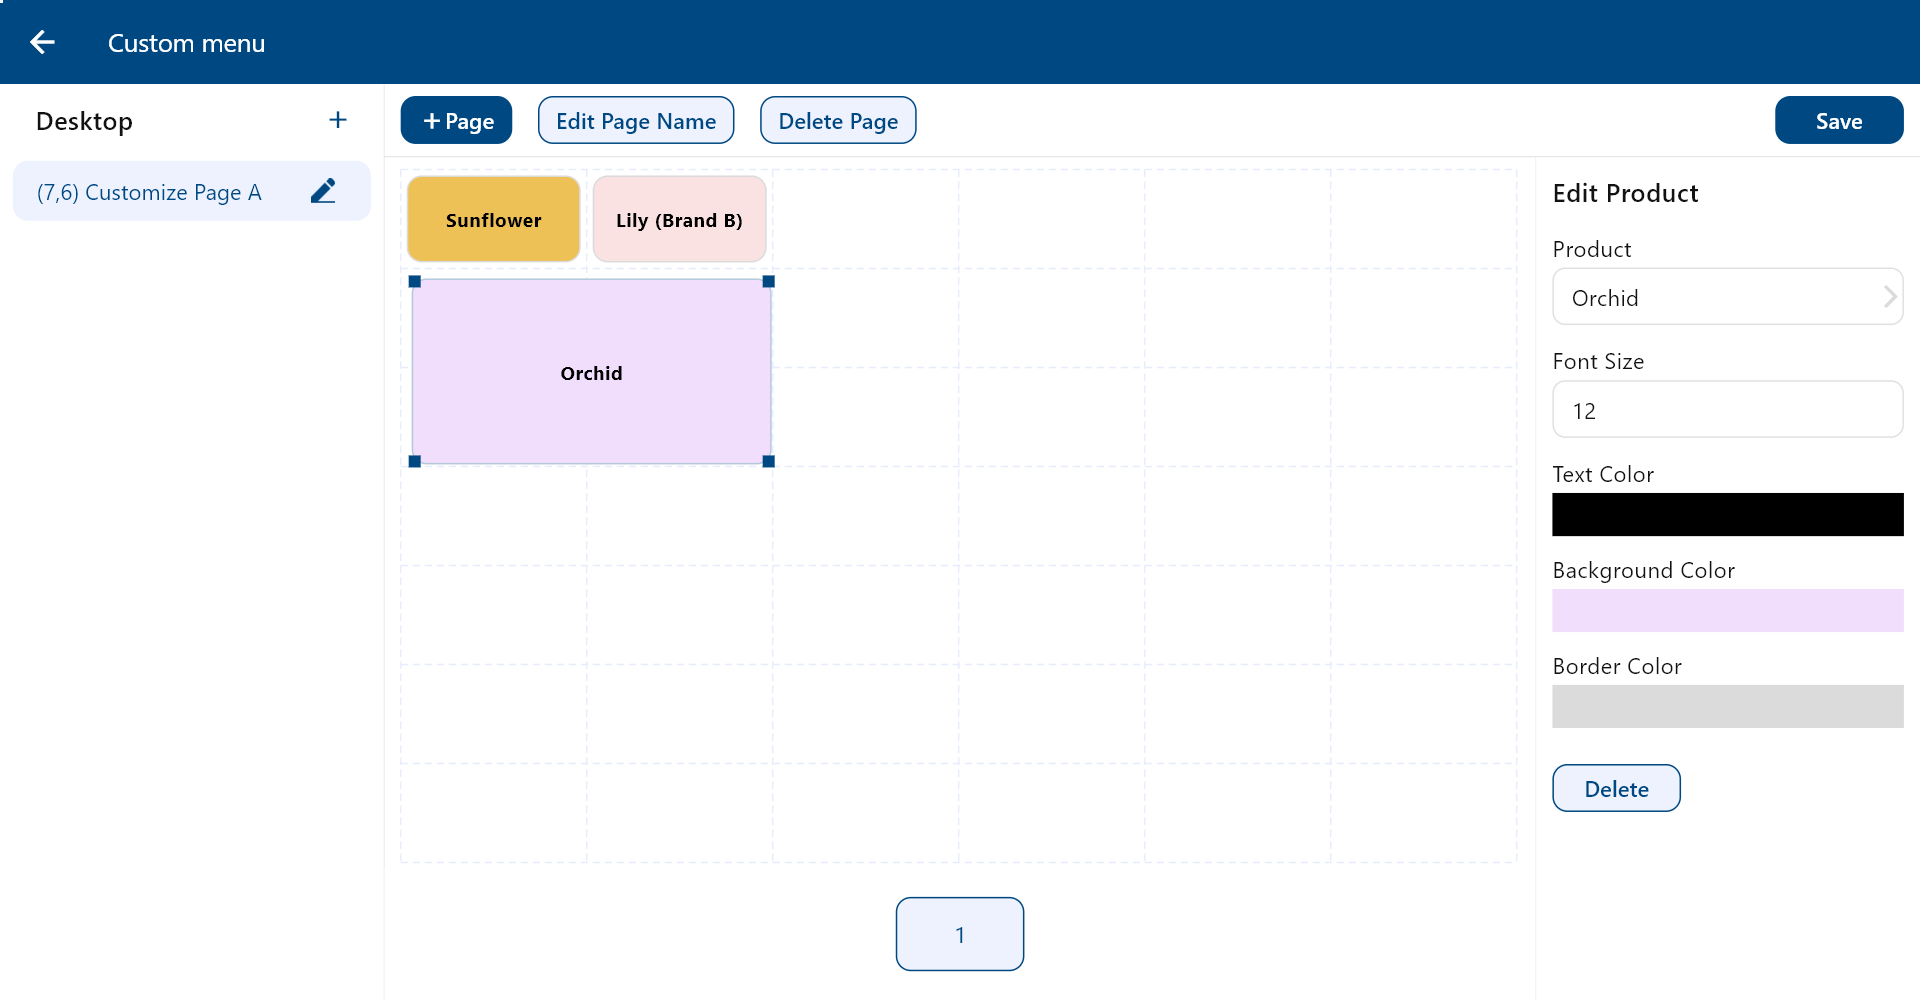
Now you will be able to see a canvas made of 7-row-6-column-dot-lined blocks where you can edit the menu layout.
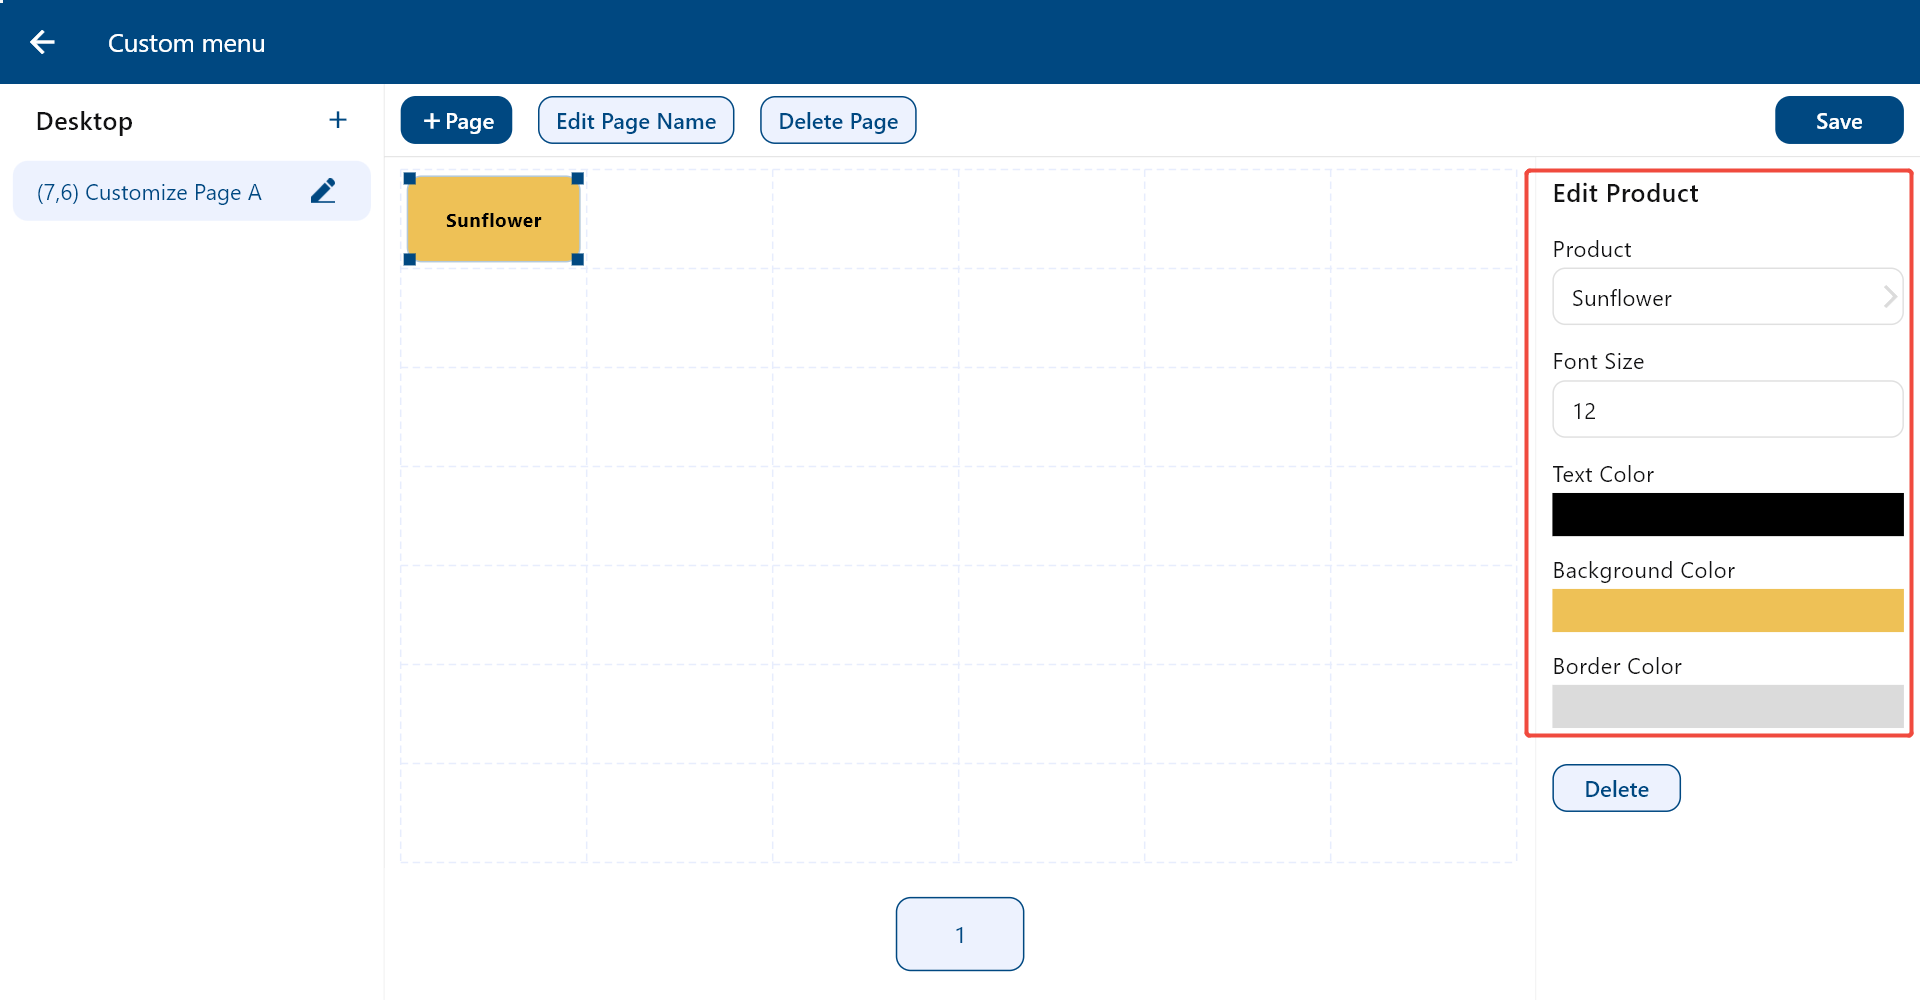
Click on a block and you may add a product by entering its product name, product code, or barcode on the right and hitting “Enter” key on your keyboard.
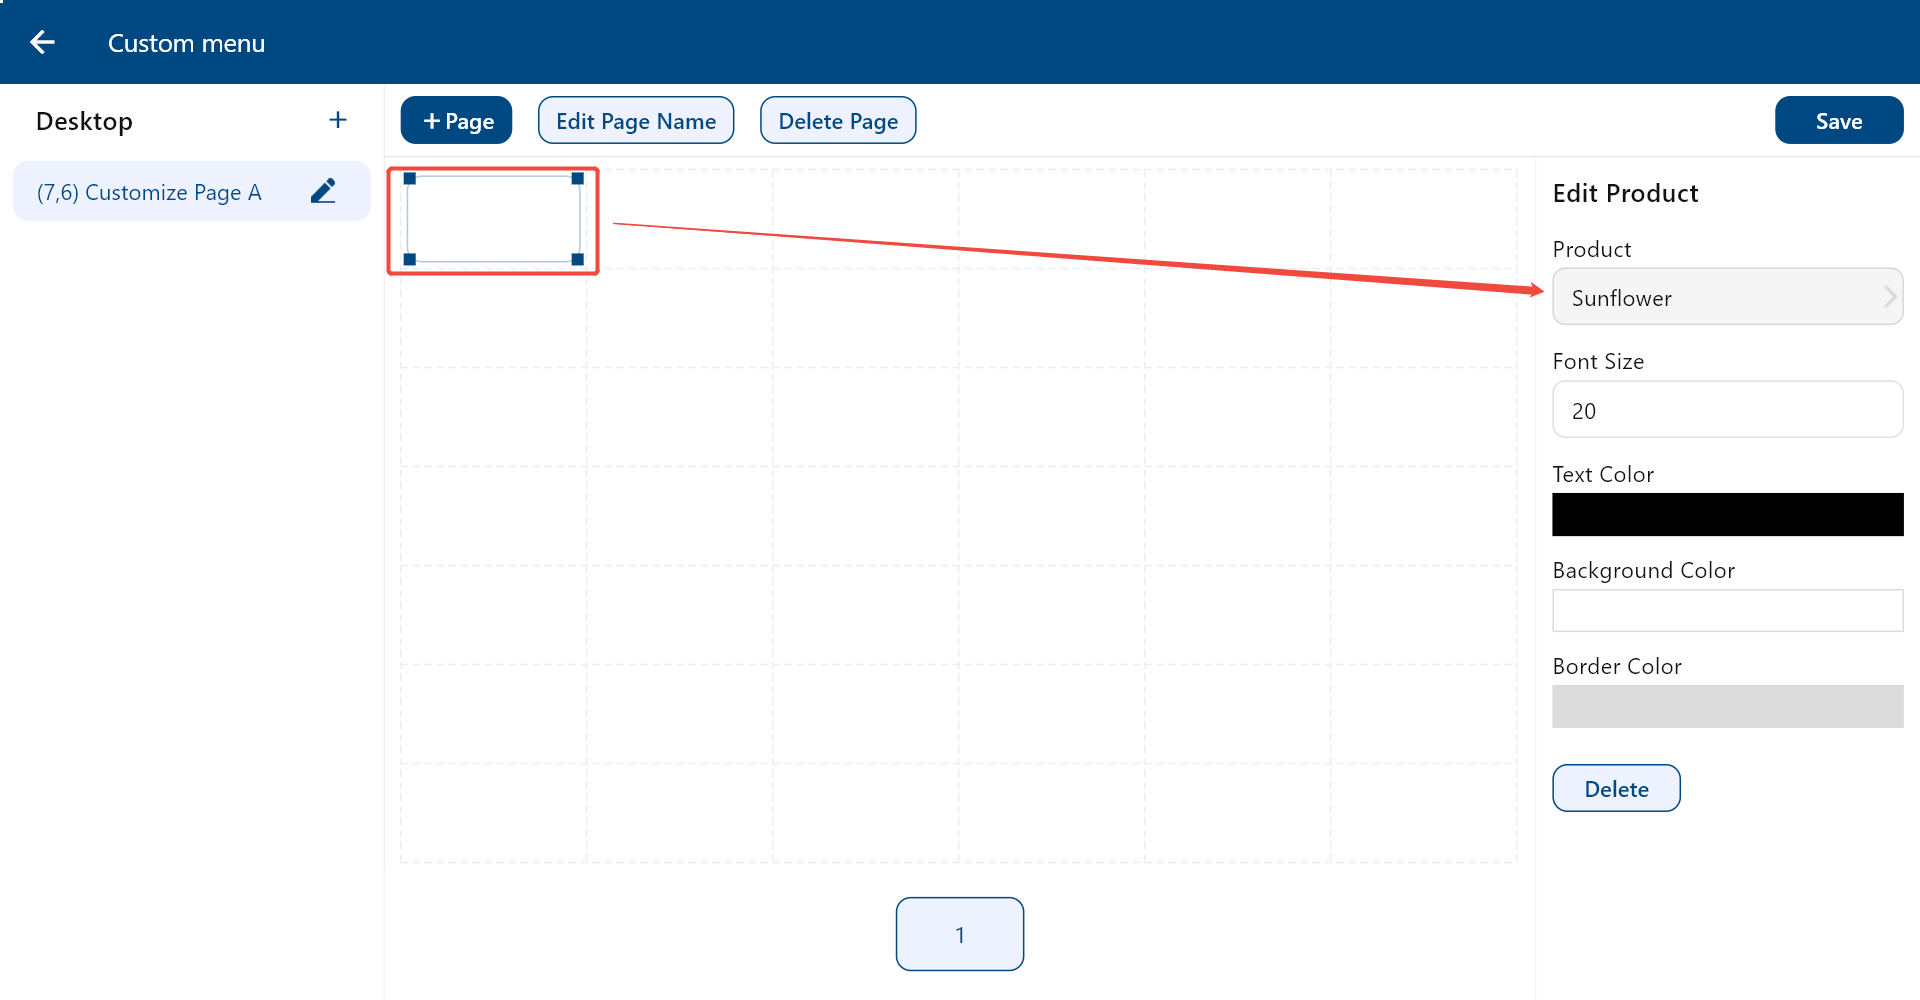
And you may adjust the style as you want.
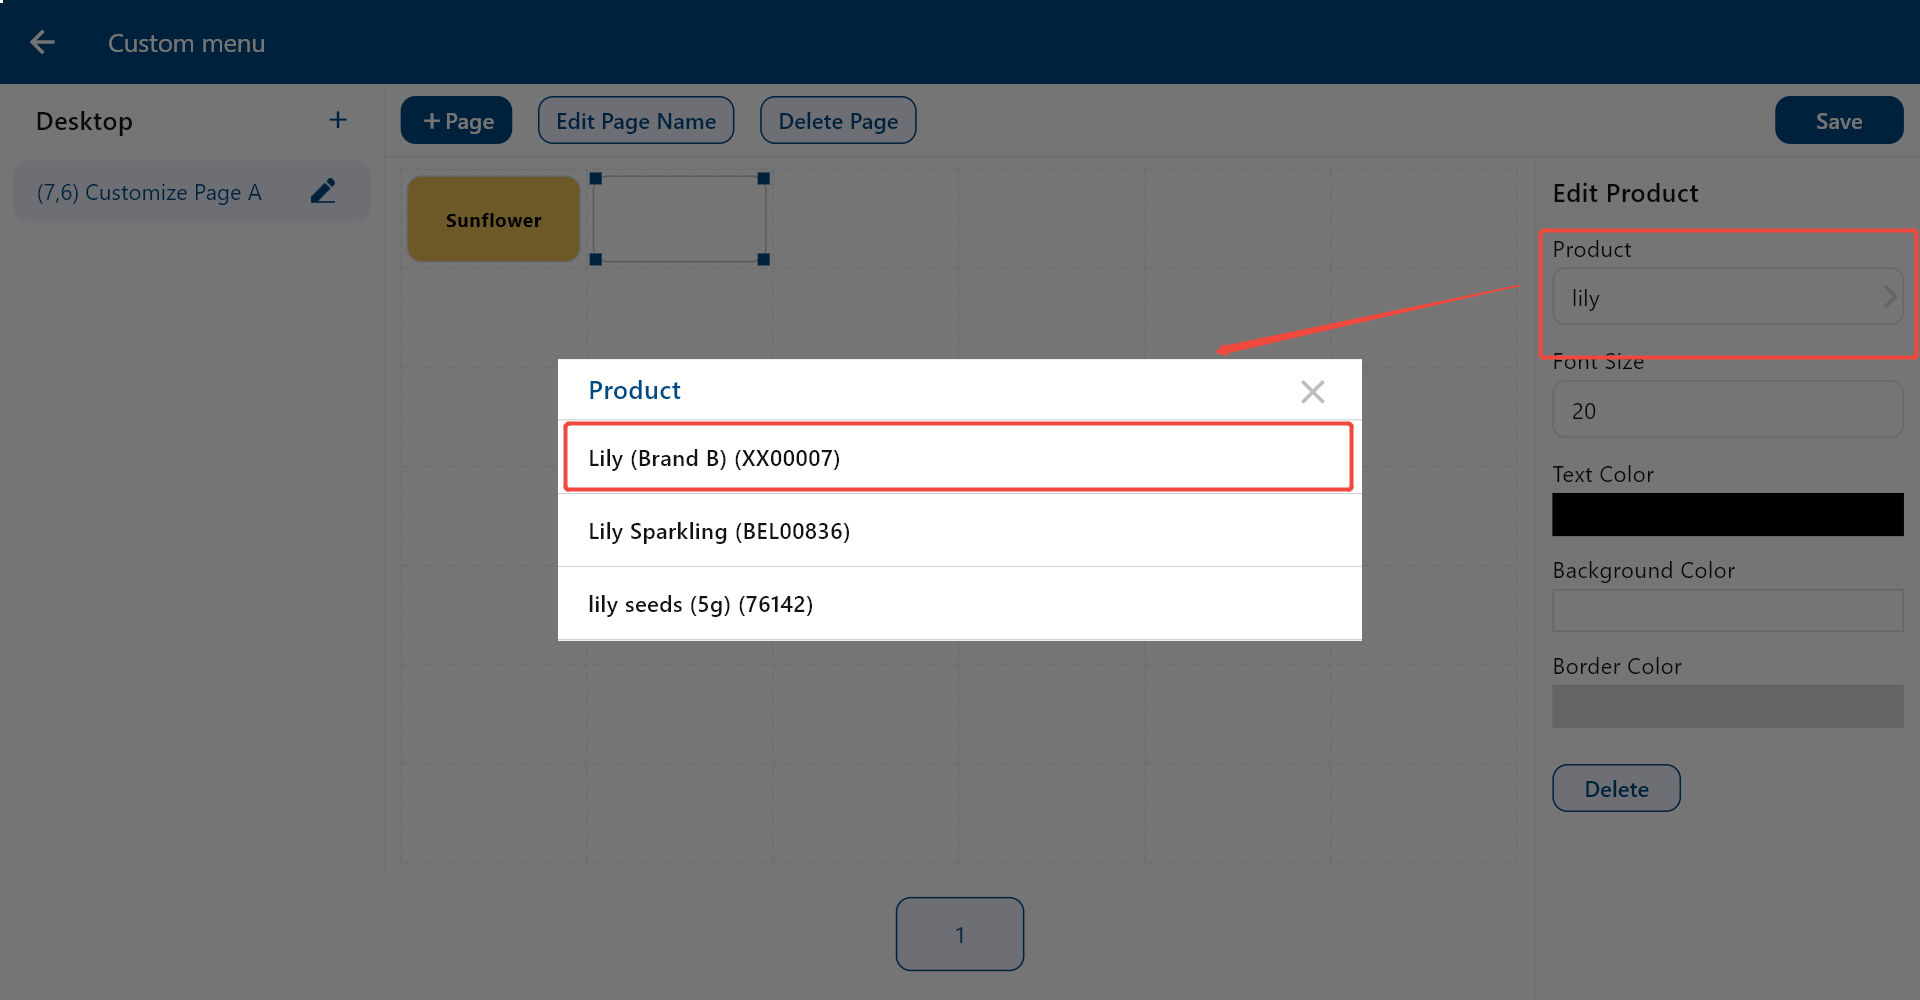
Meanwhile, the system will process a fuzzy text search with the product name, code, or barcode and show you a list that matches the text. Then you may choose the one you need from the list.
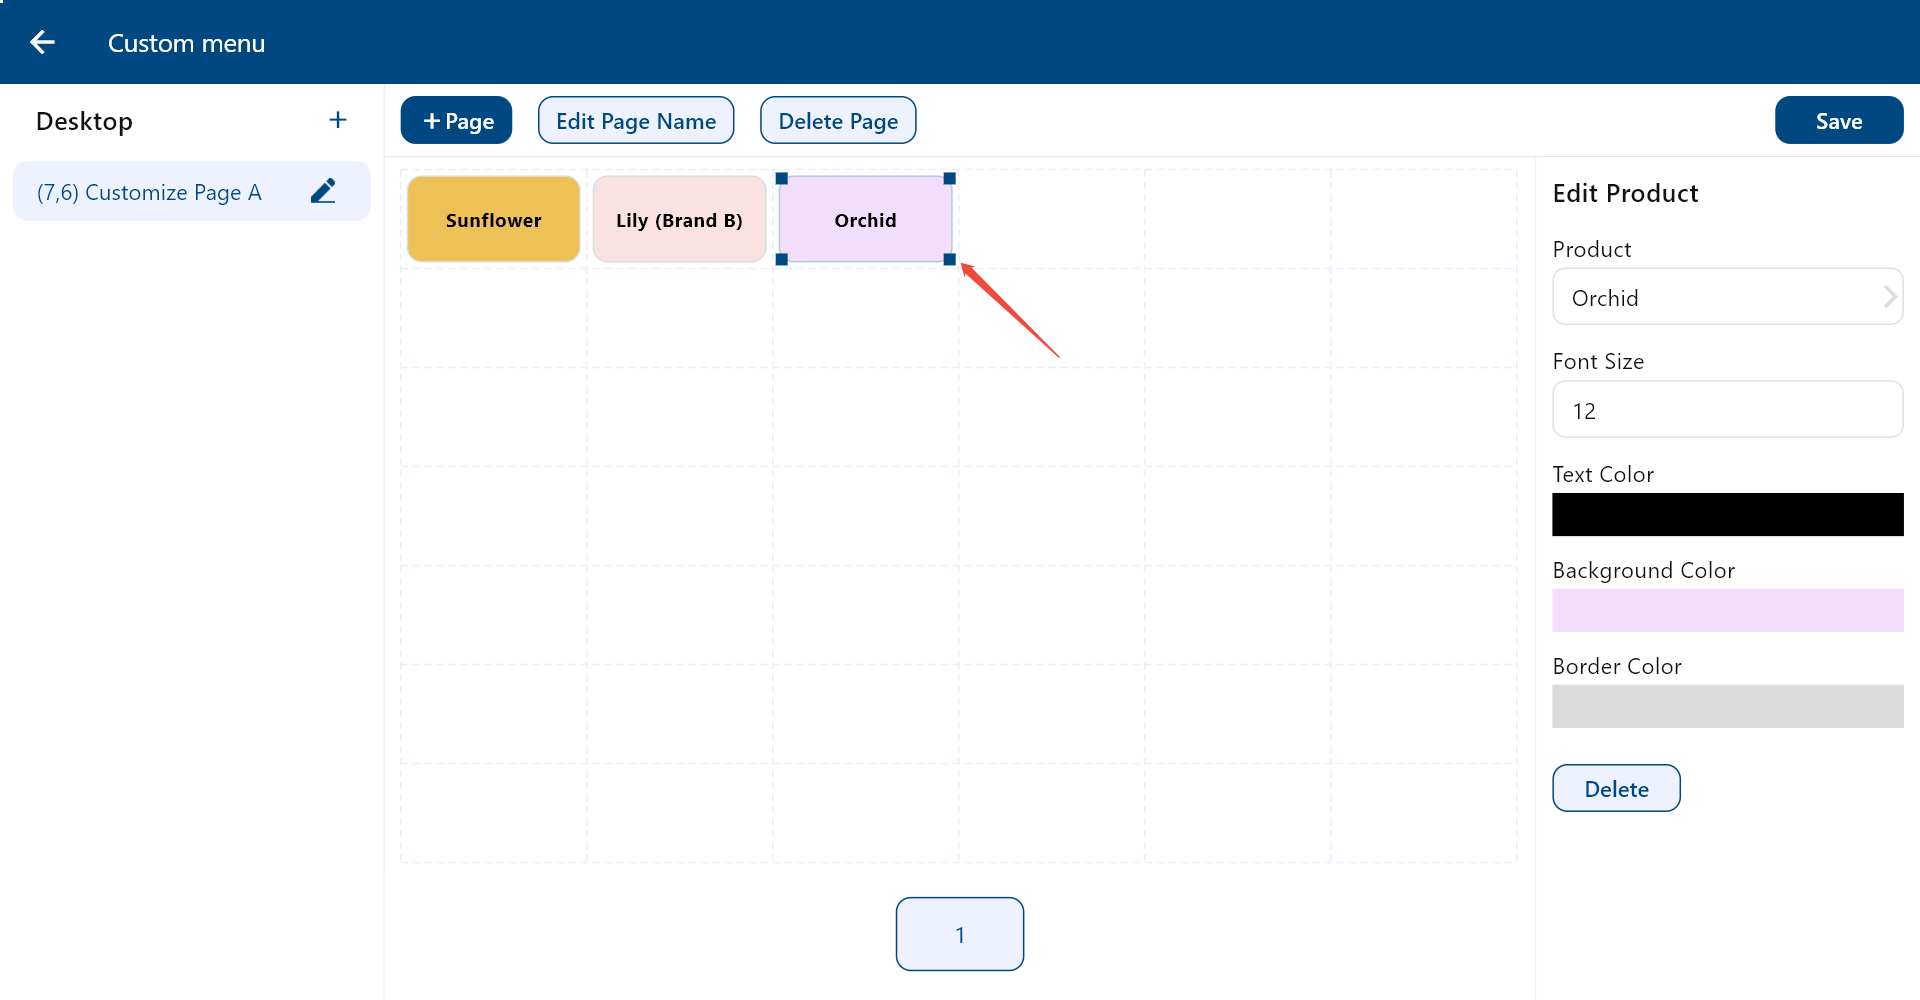
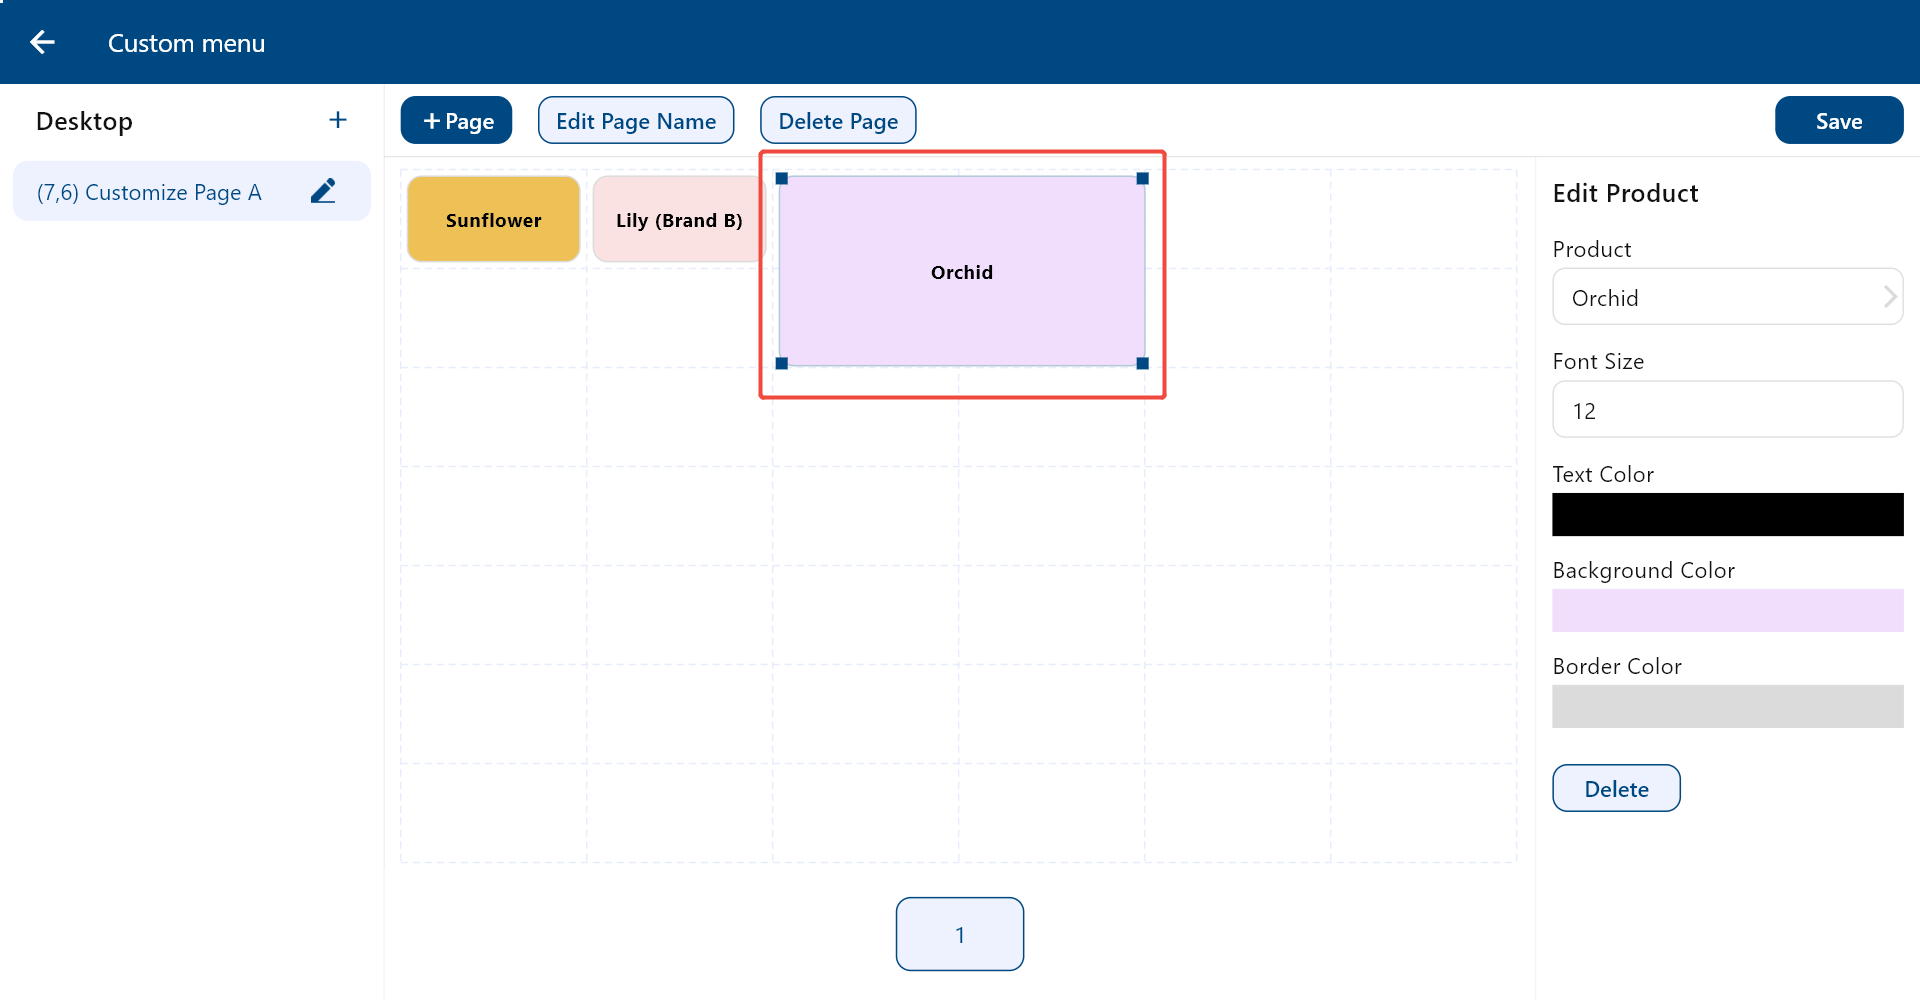
Click a block and move the mouse to its angle, then drag so you can resize the block.
Click a block and drag to adjust the layout as you want.
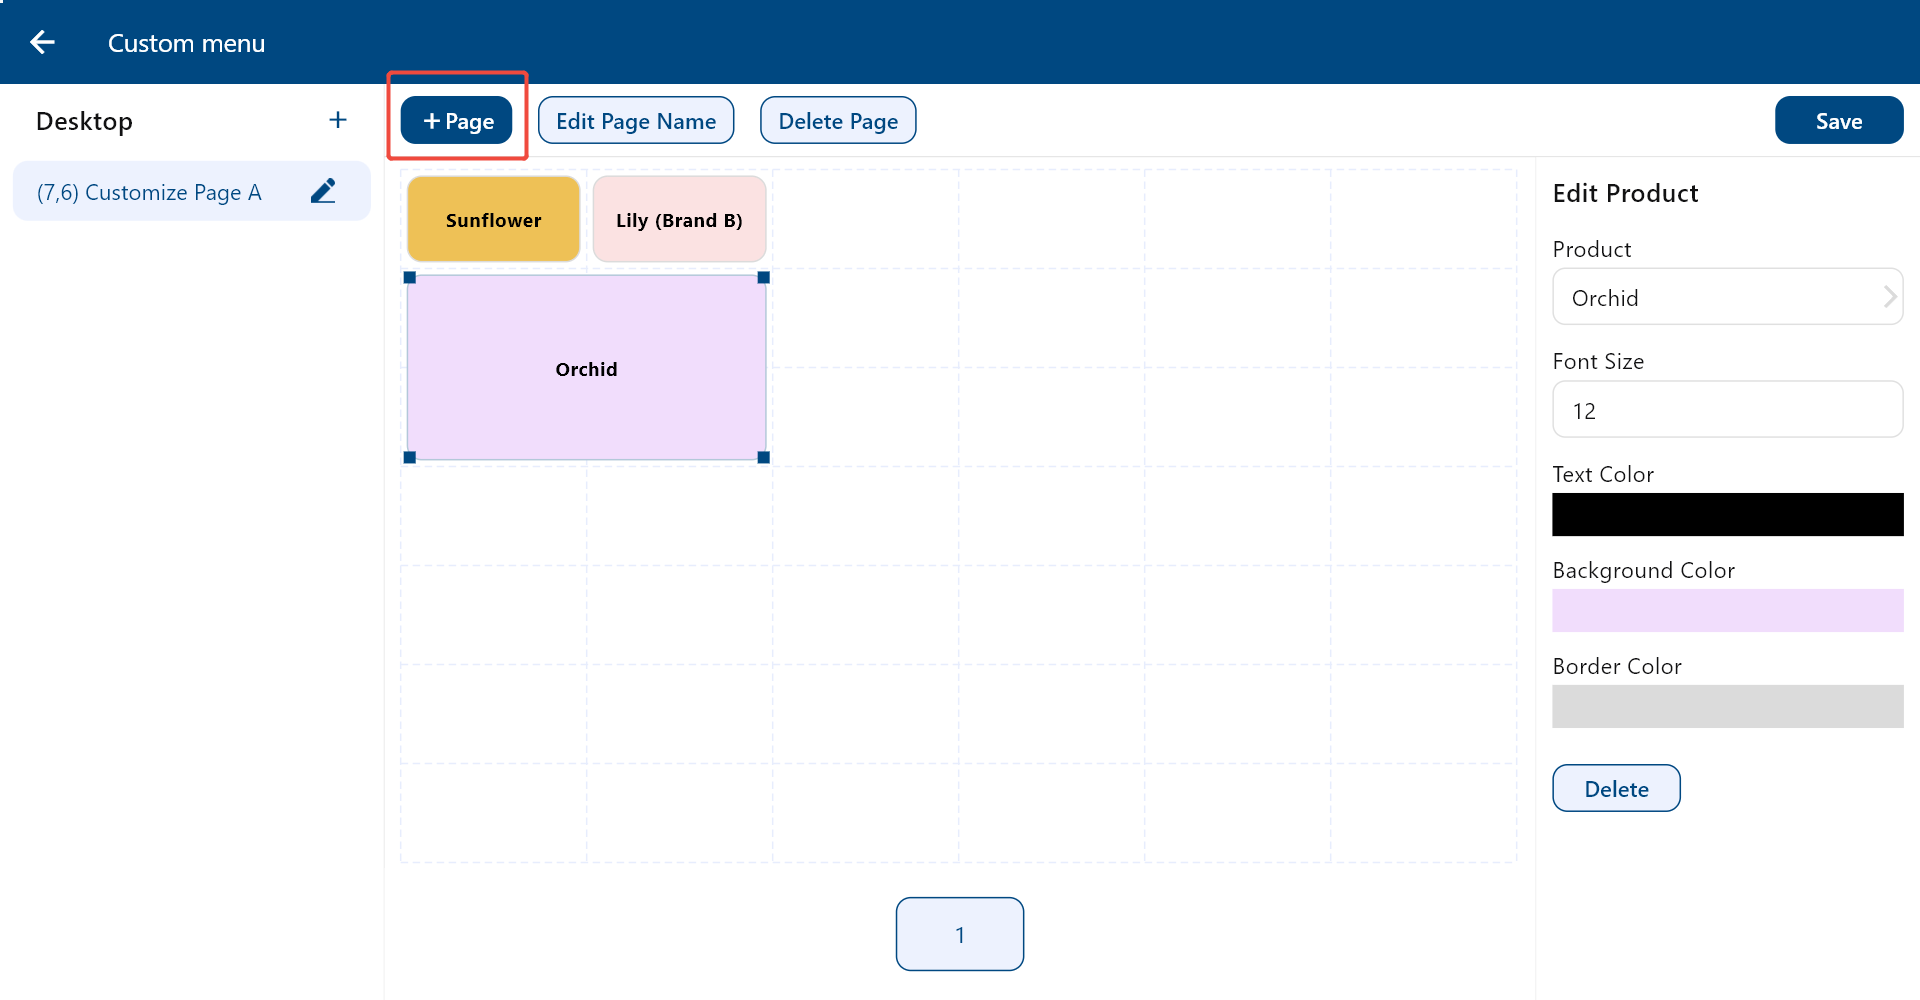
And click “+Page” to add more pages.
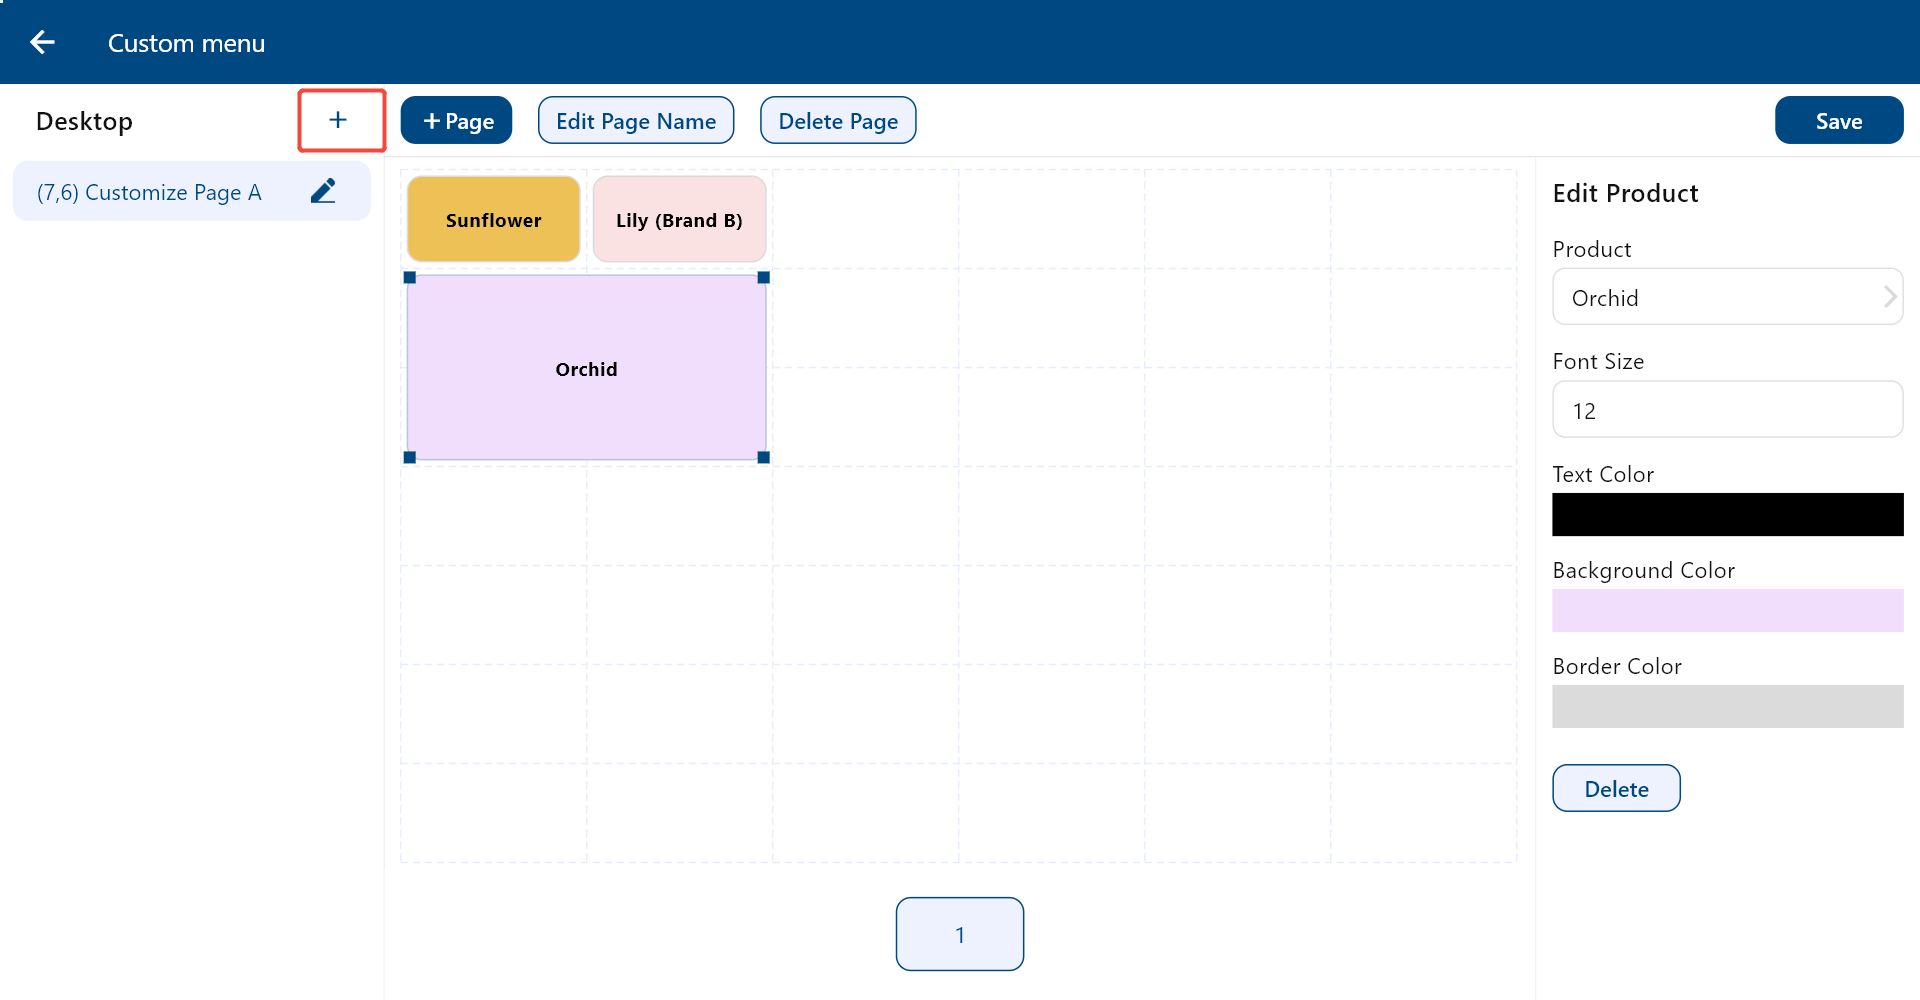
Click “+” next to “Desktop” to add more customized menus.
Click “Save” to save the menu.
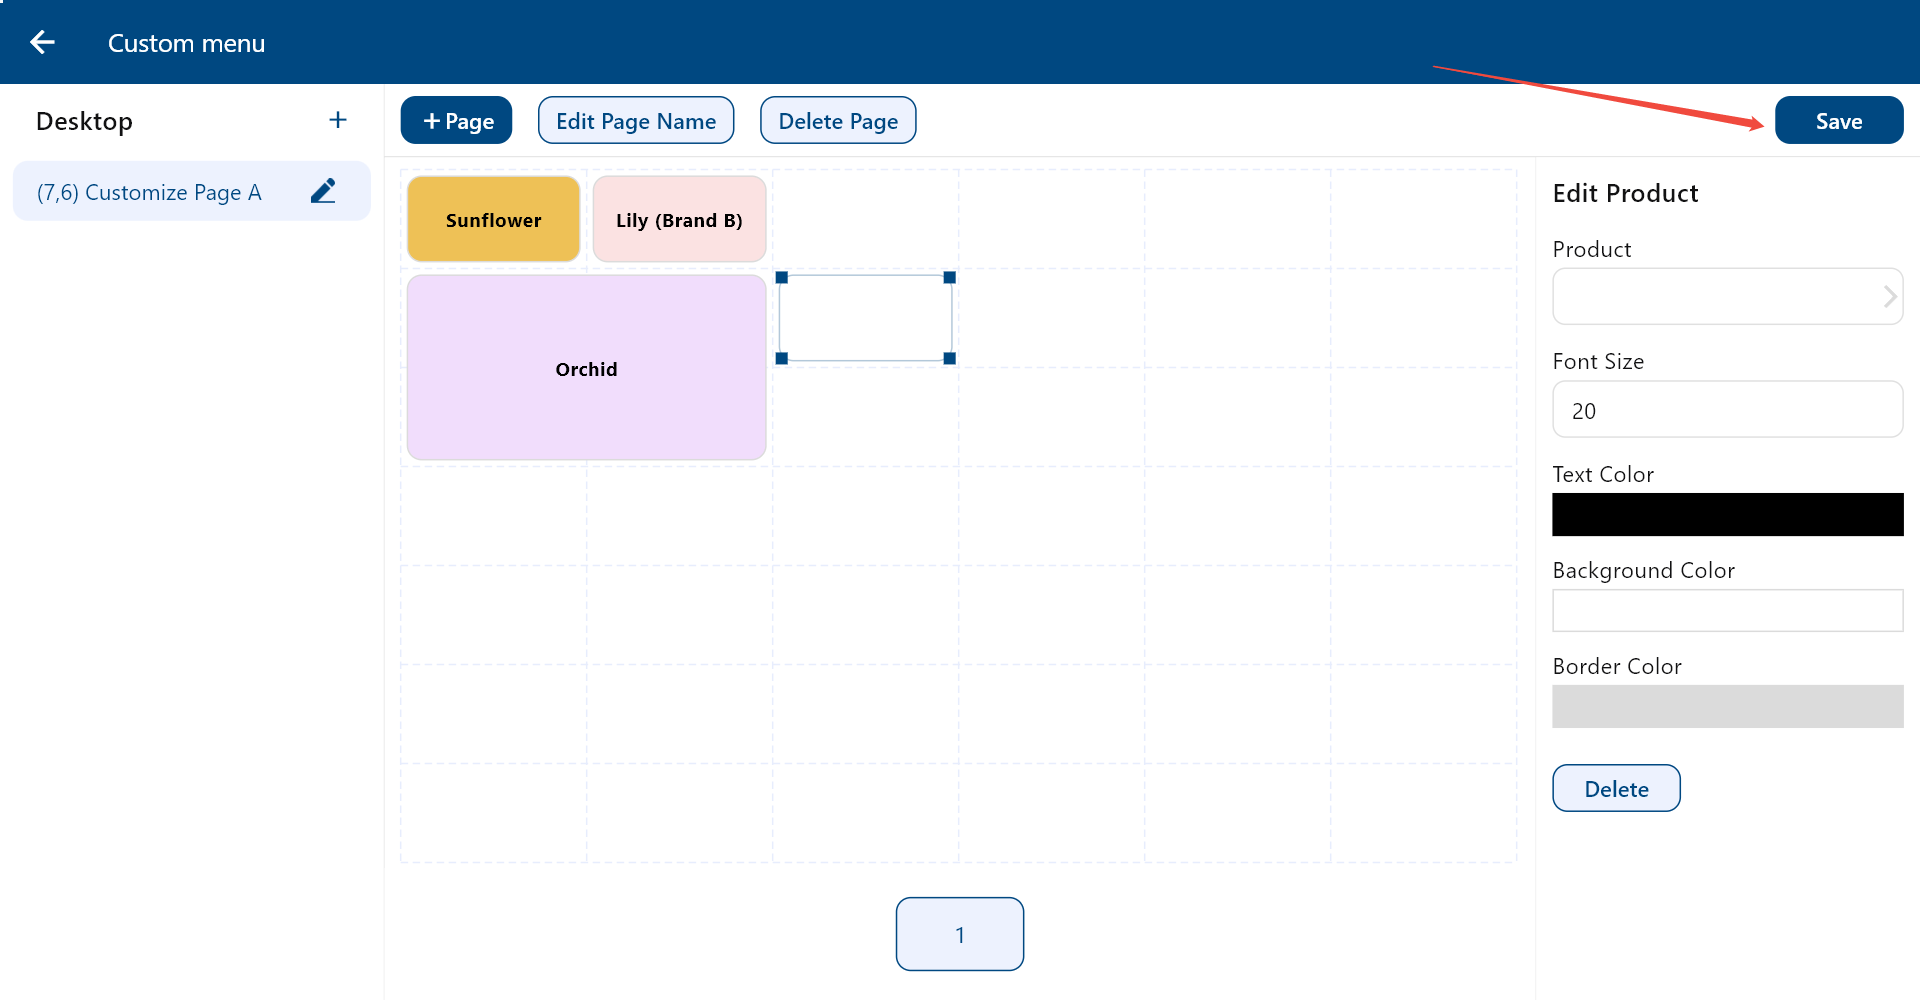
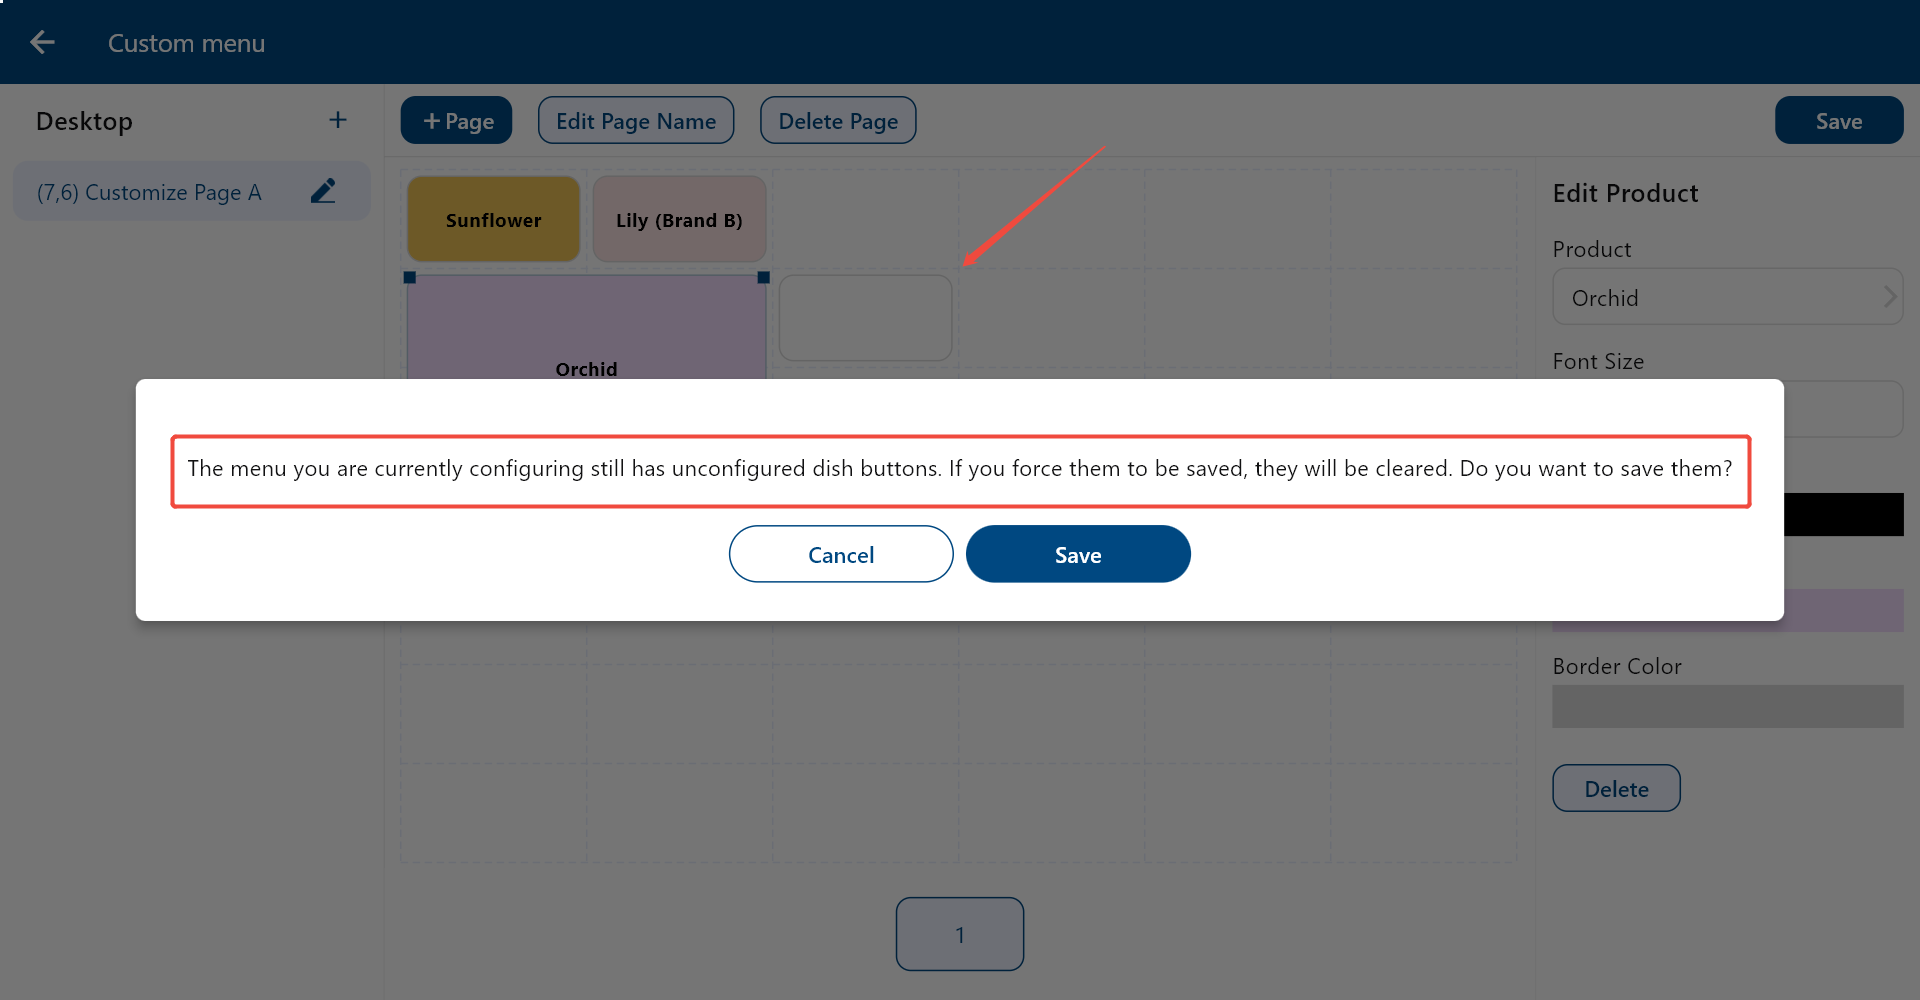
Sometimes you might see this warning popping up. It means there is a blank block, so please check your menu again.
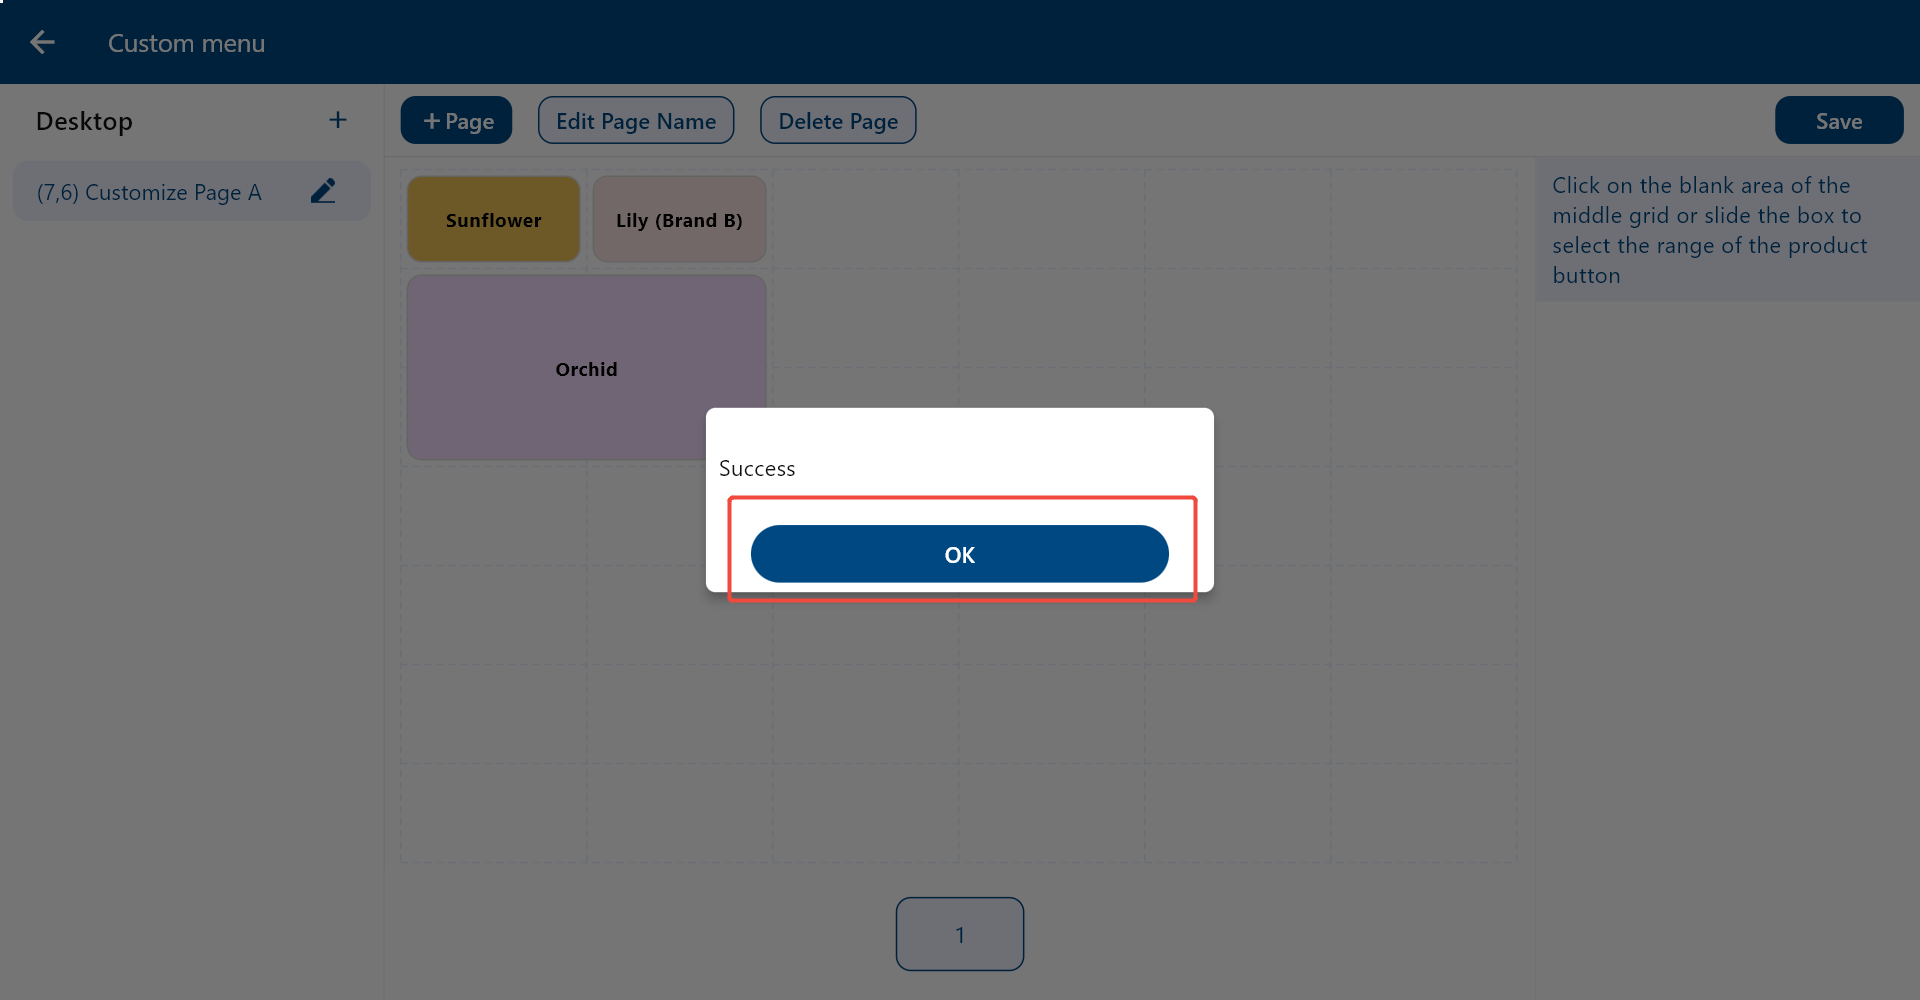
Click “OK” to exit.
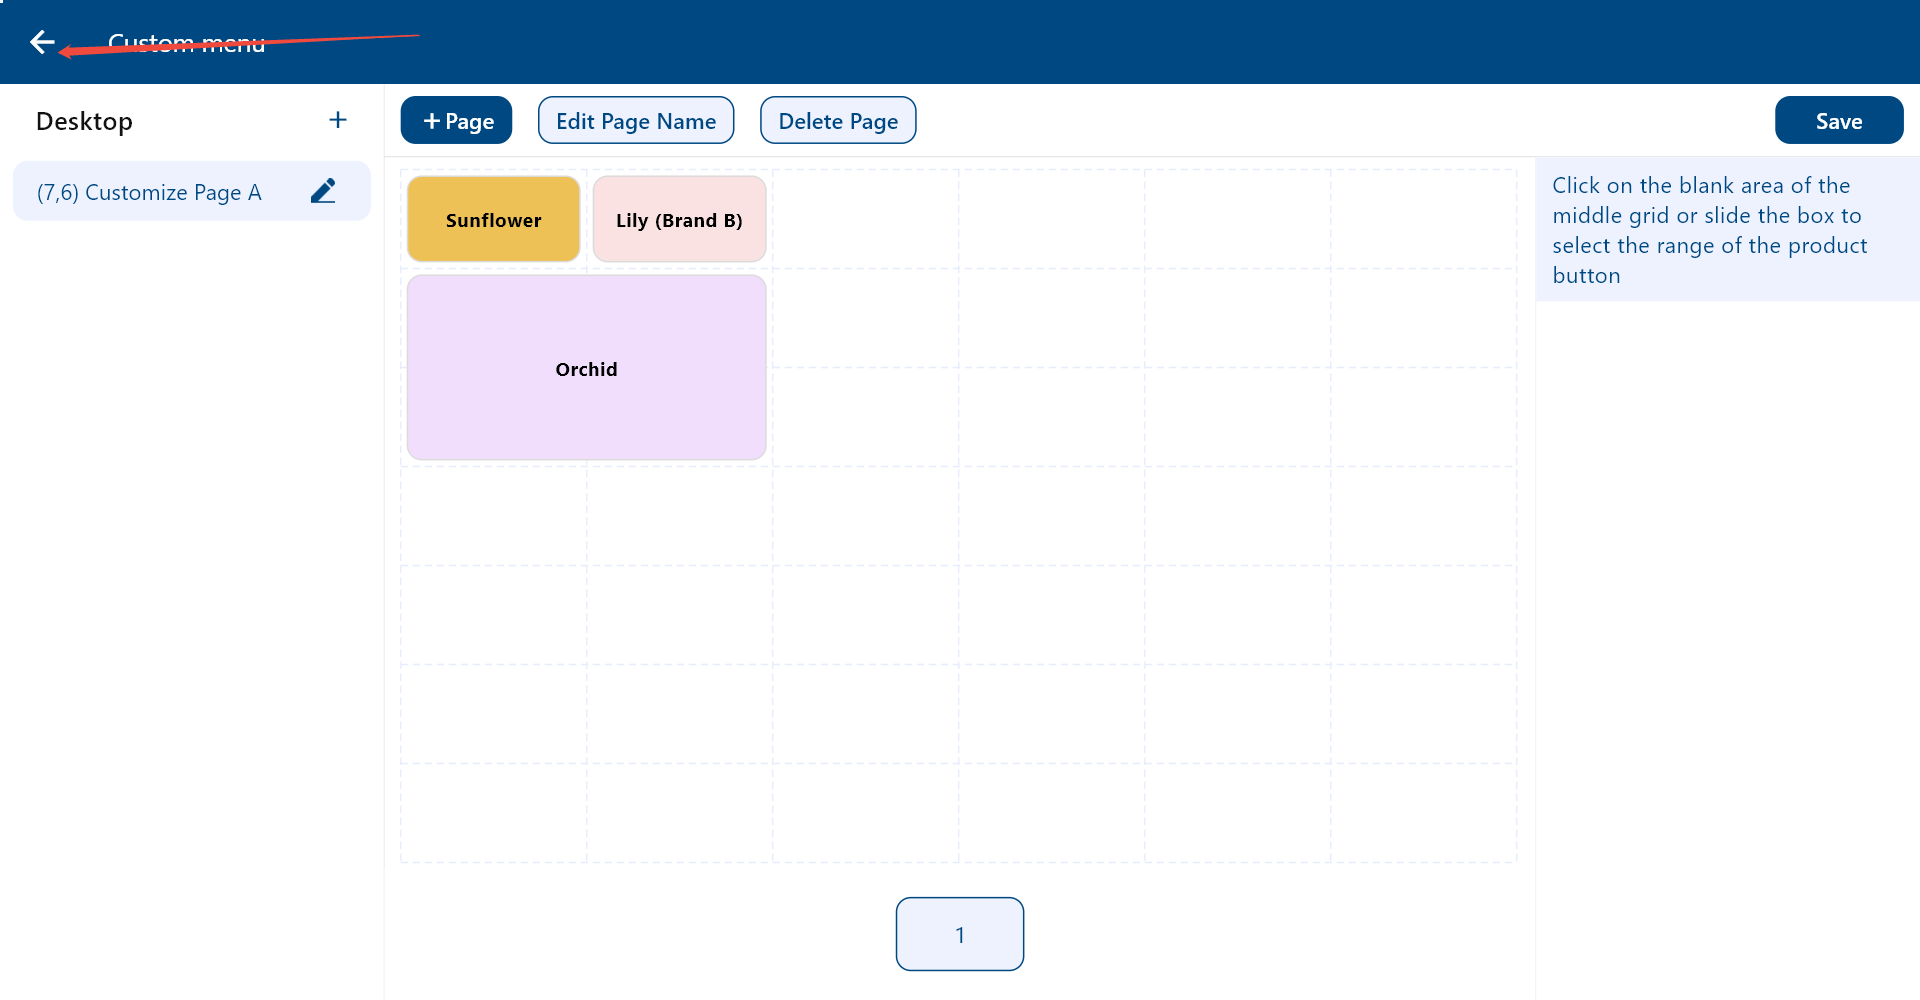
Click “⬅” to go back.
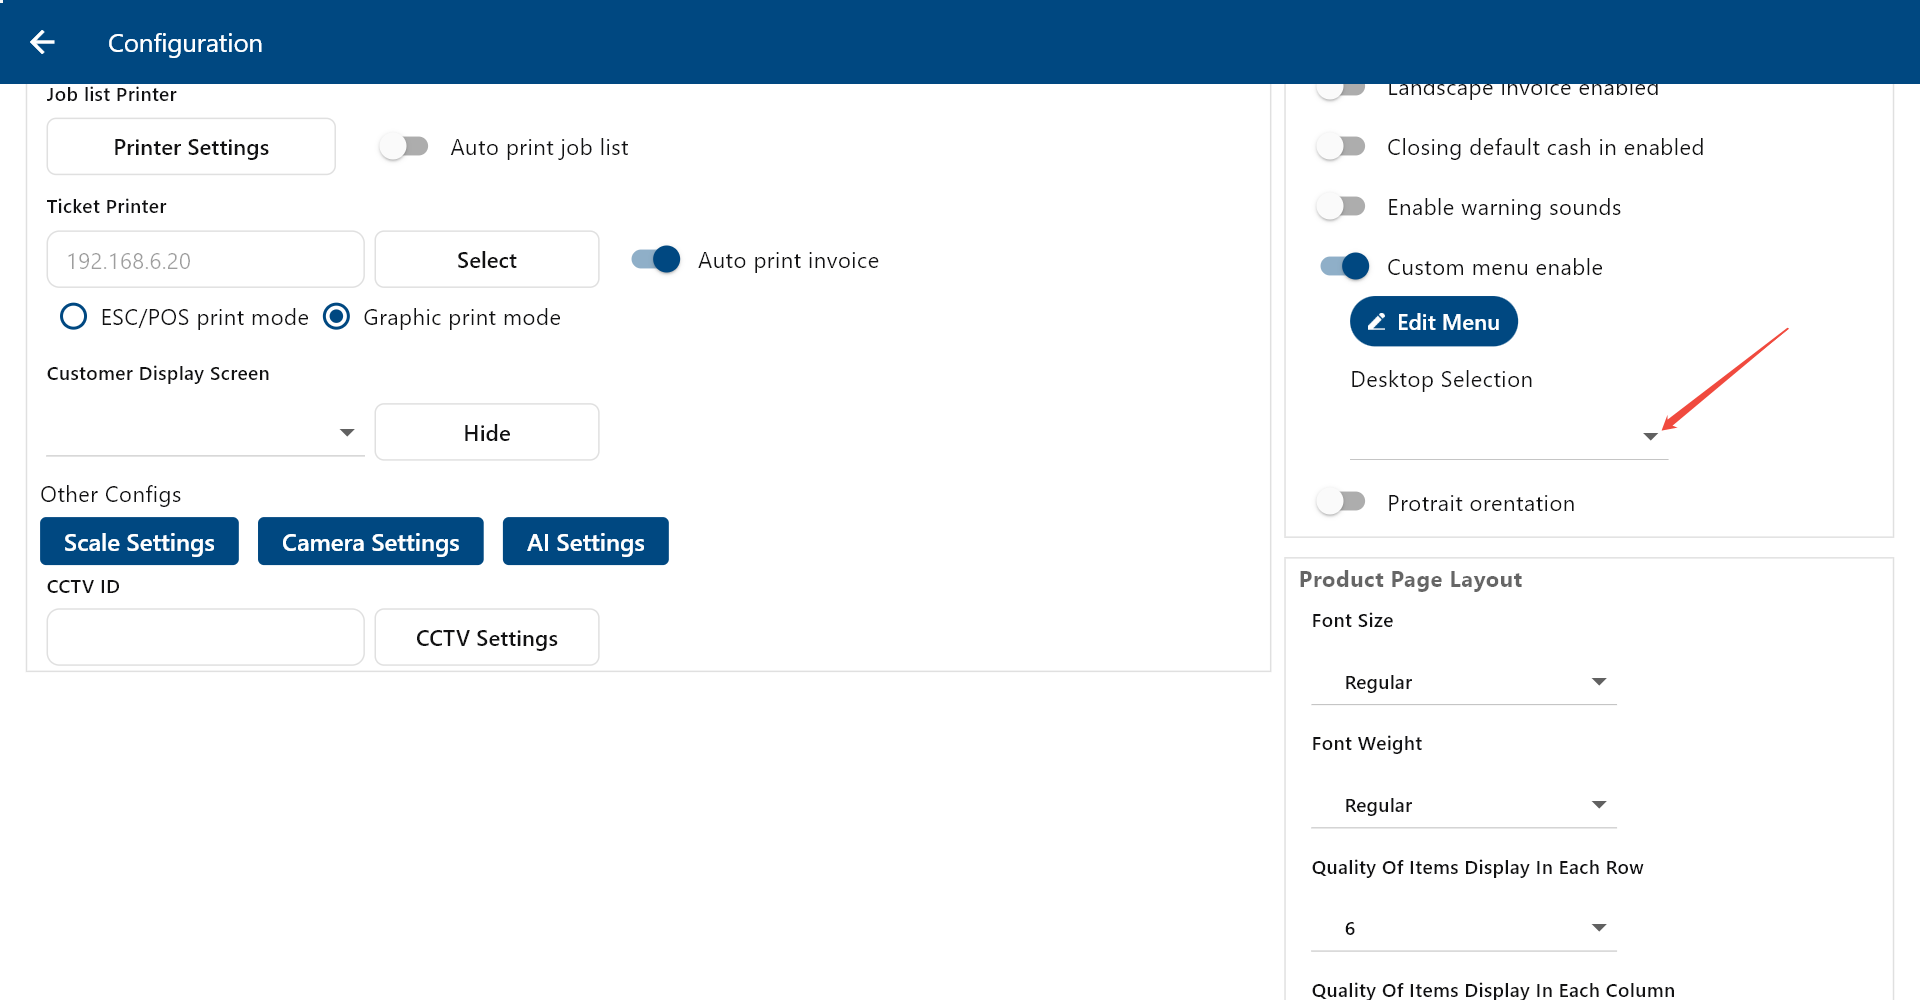
Then click this downward arrow to choose the customized menu you need.
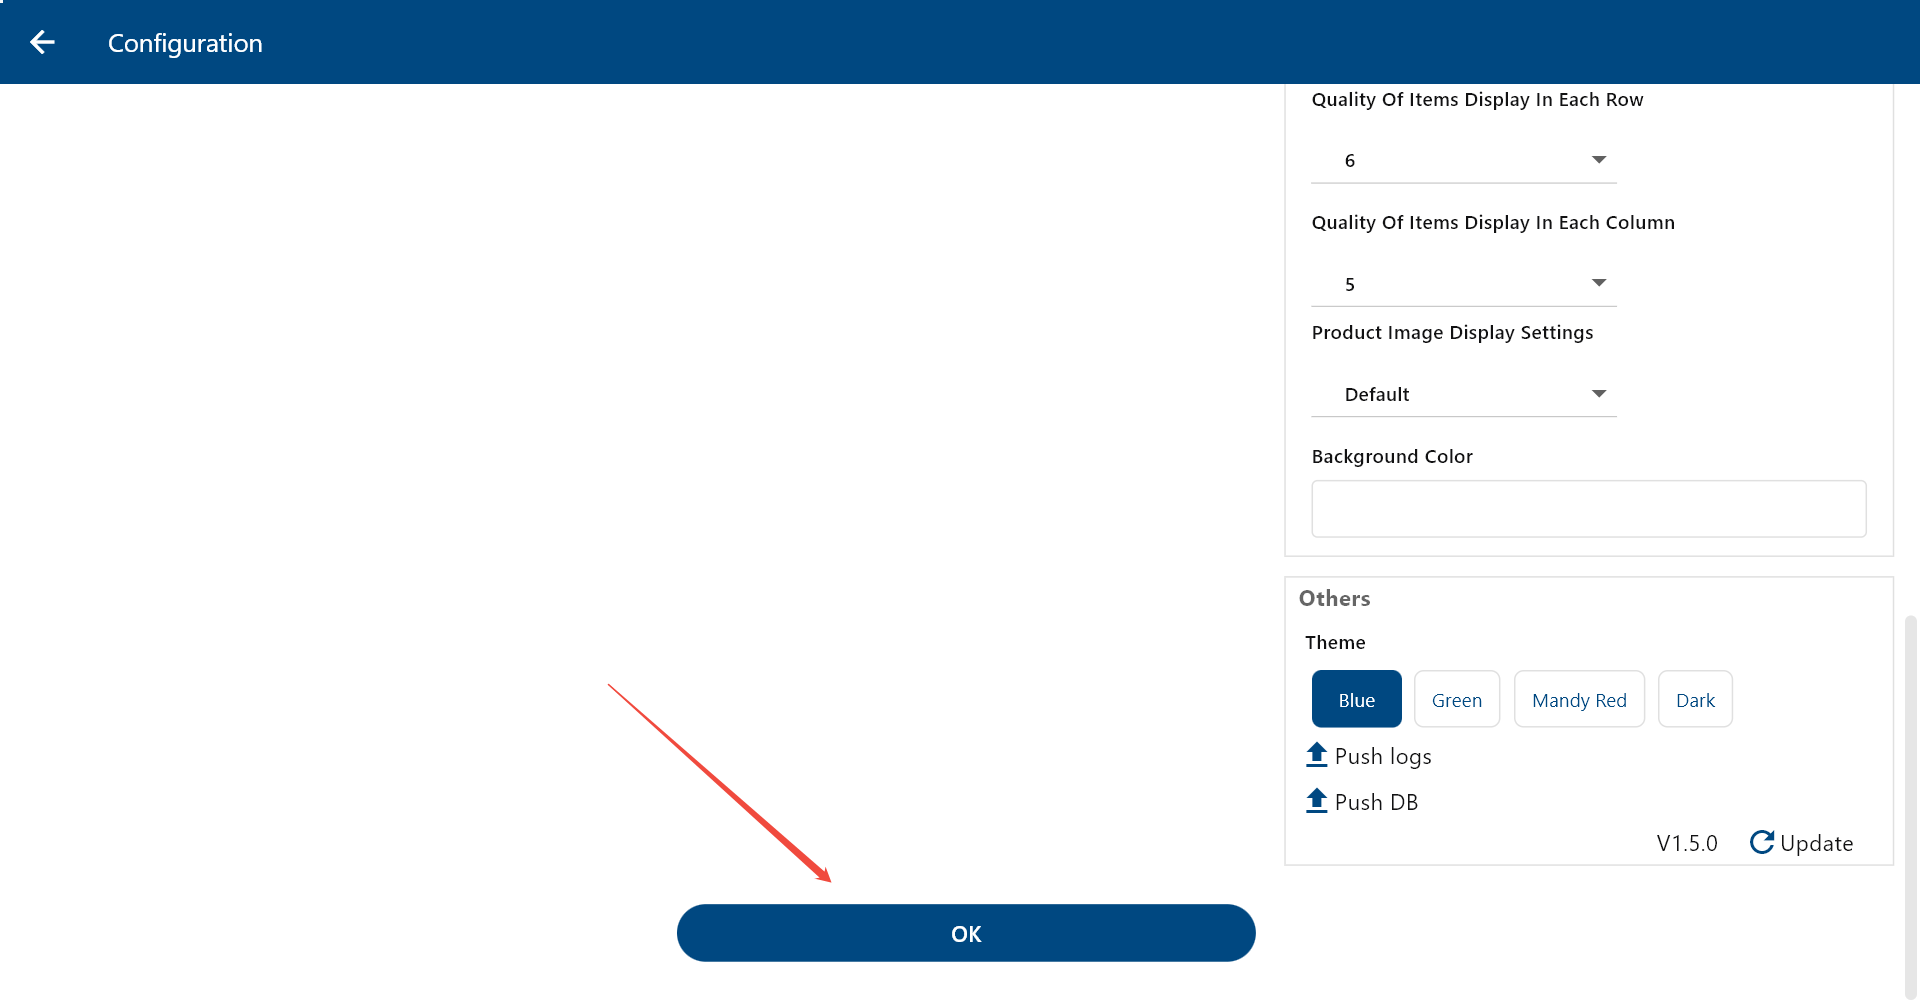
Scroll down and hit on “OK”.
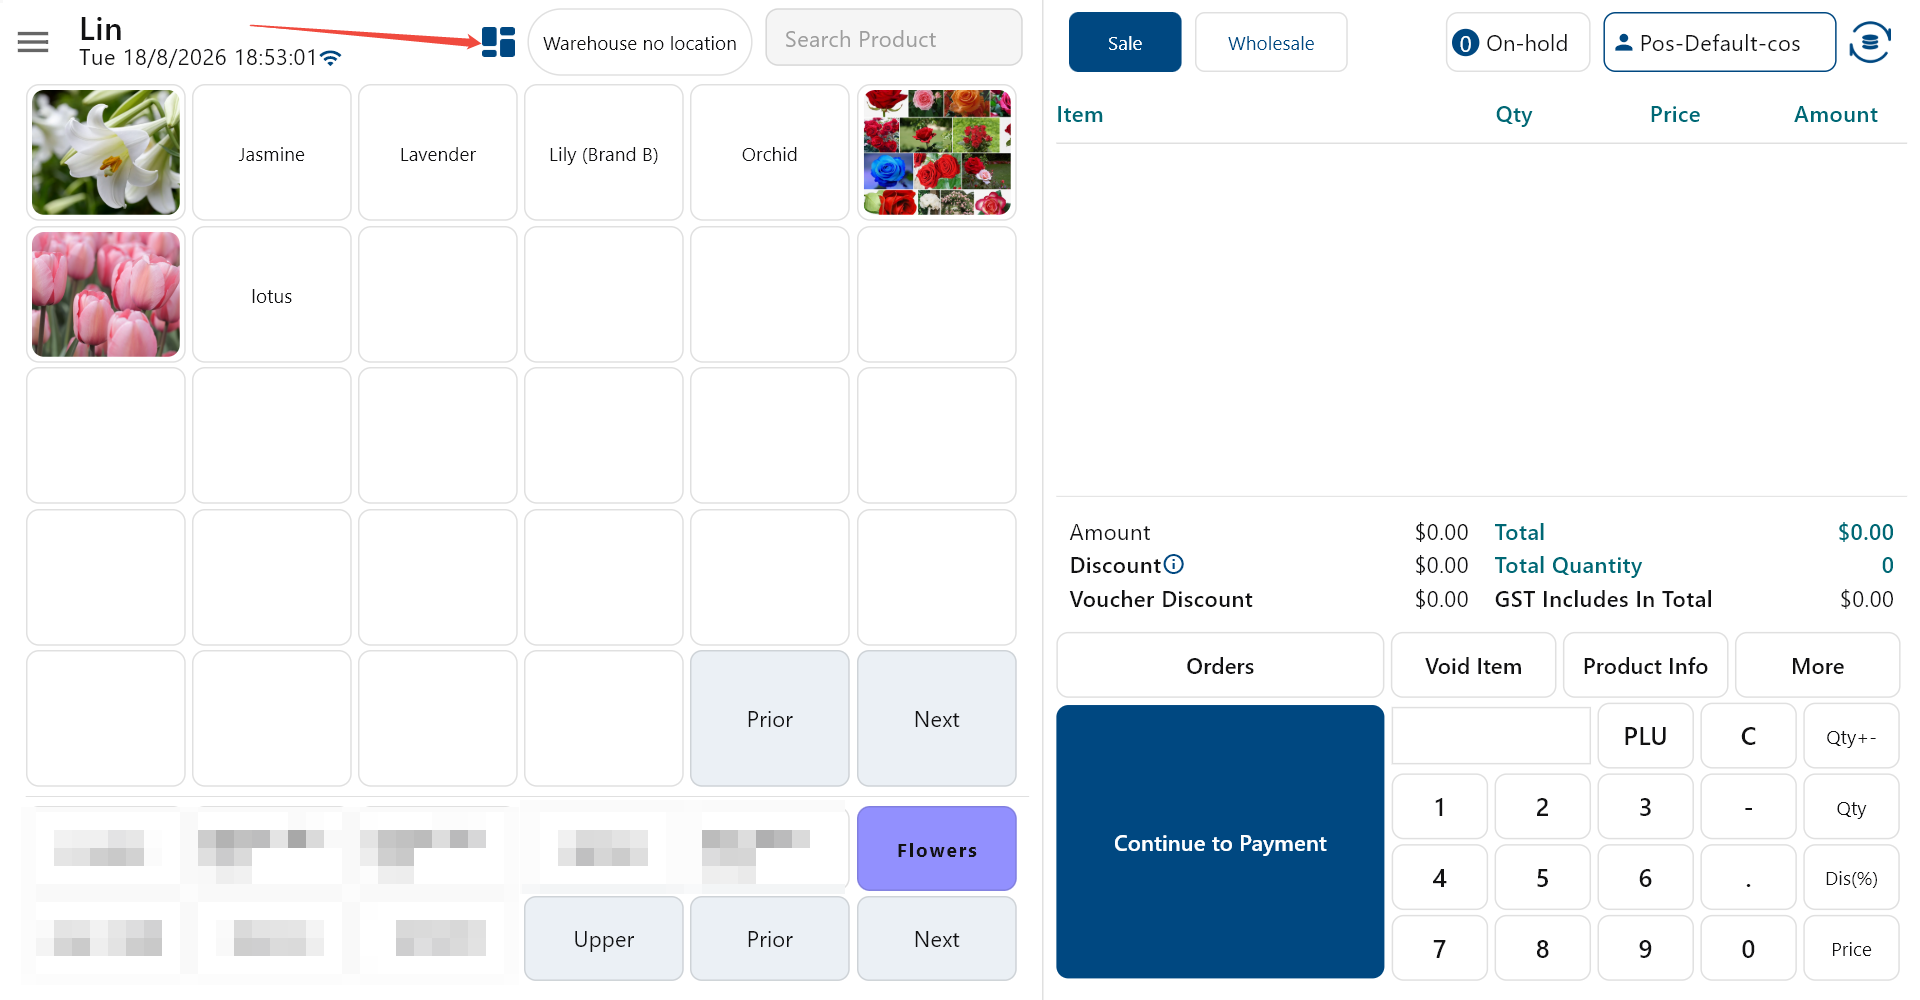
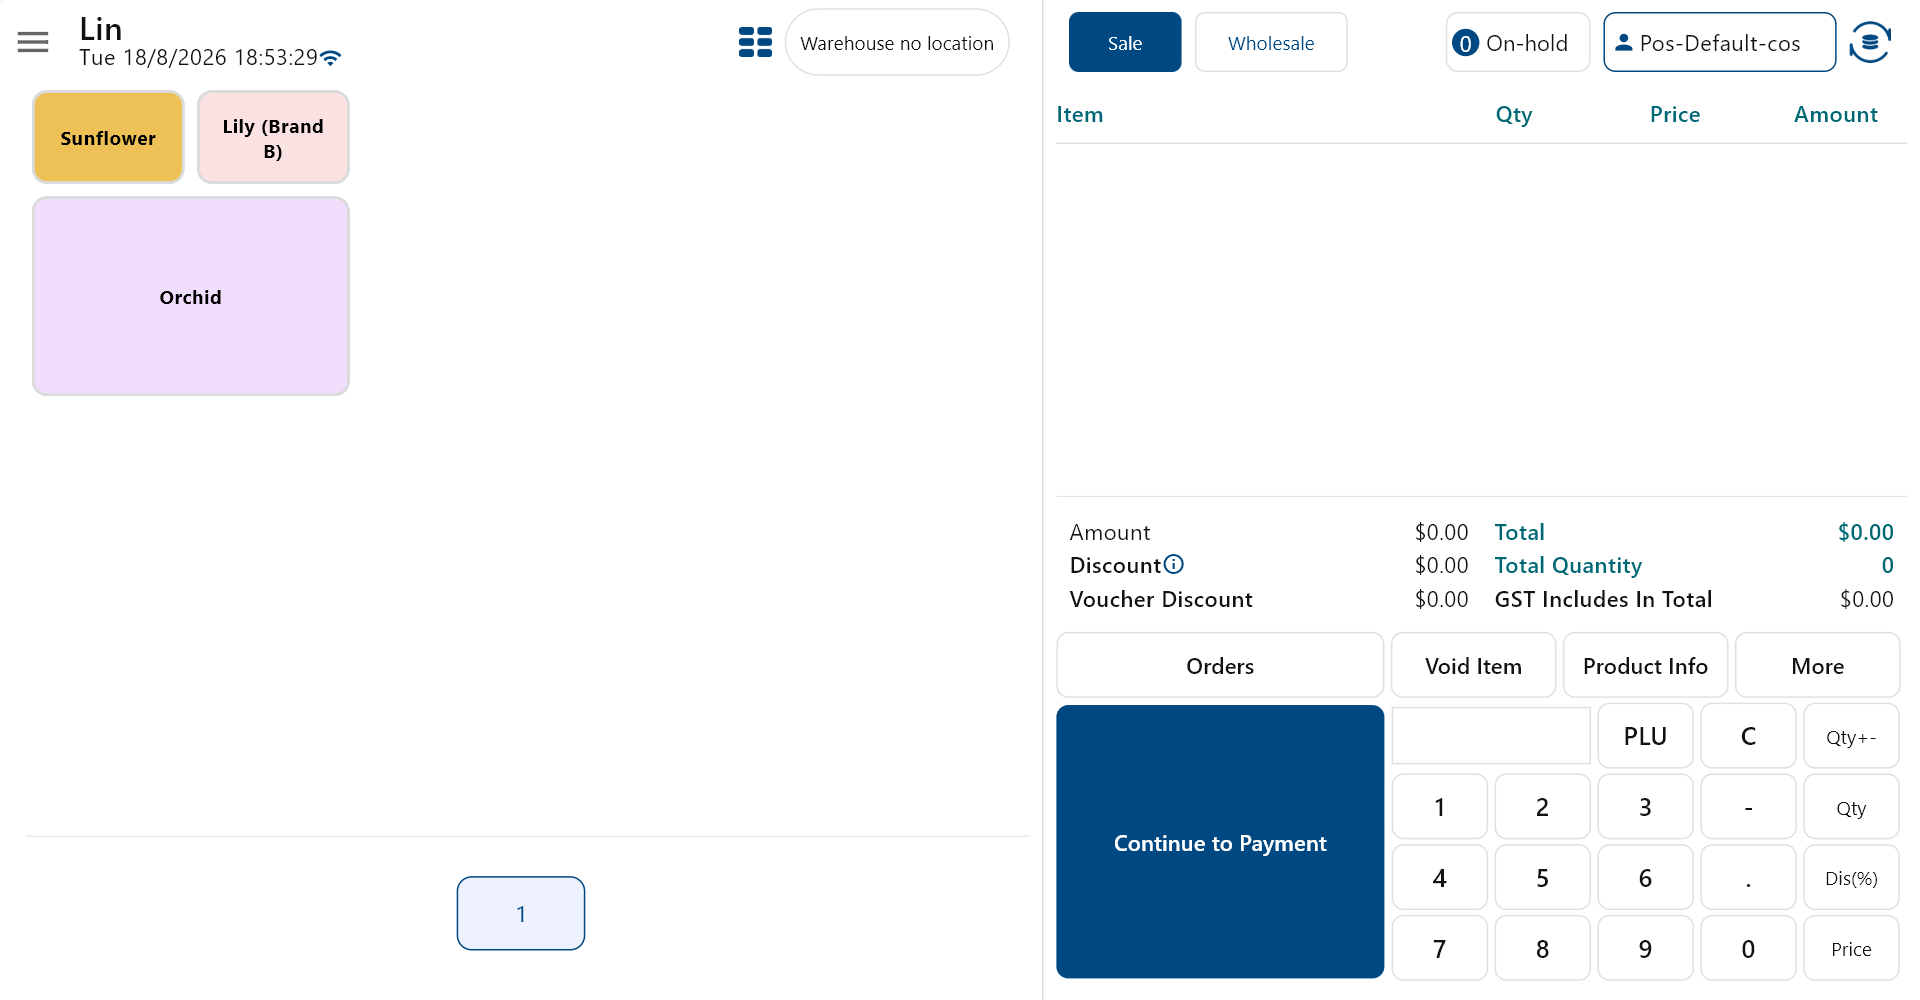
Then after you go back to the POS page, click here to change the menu layout from the regular one to your customized one.