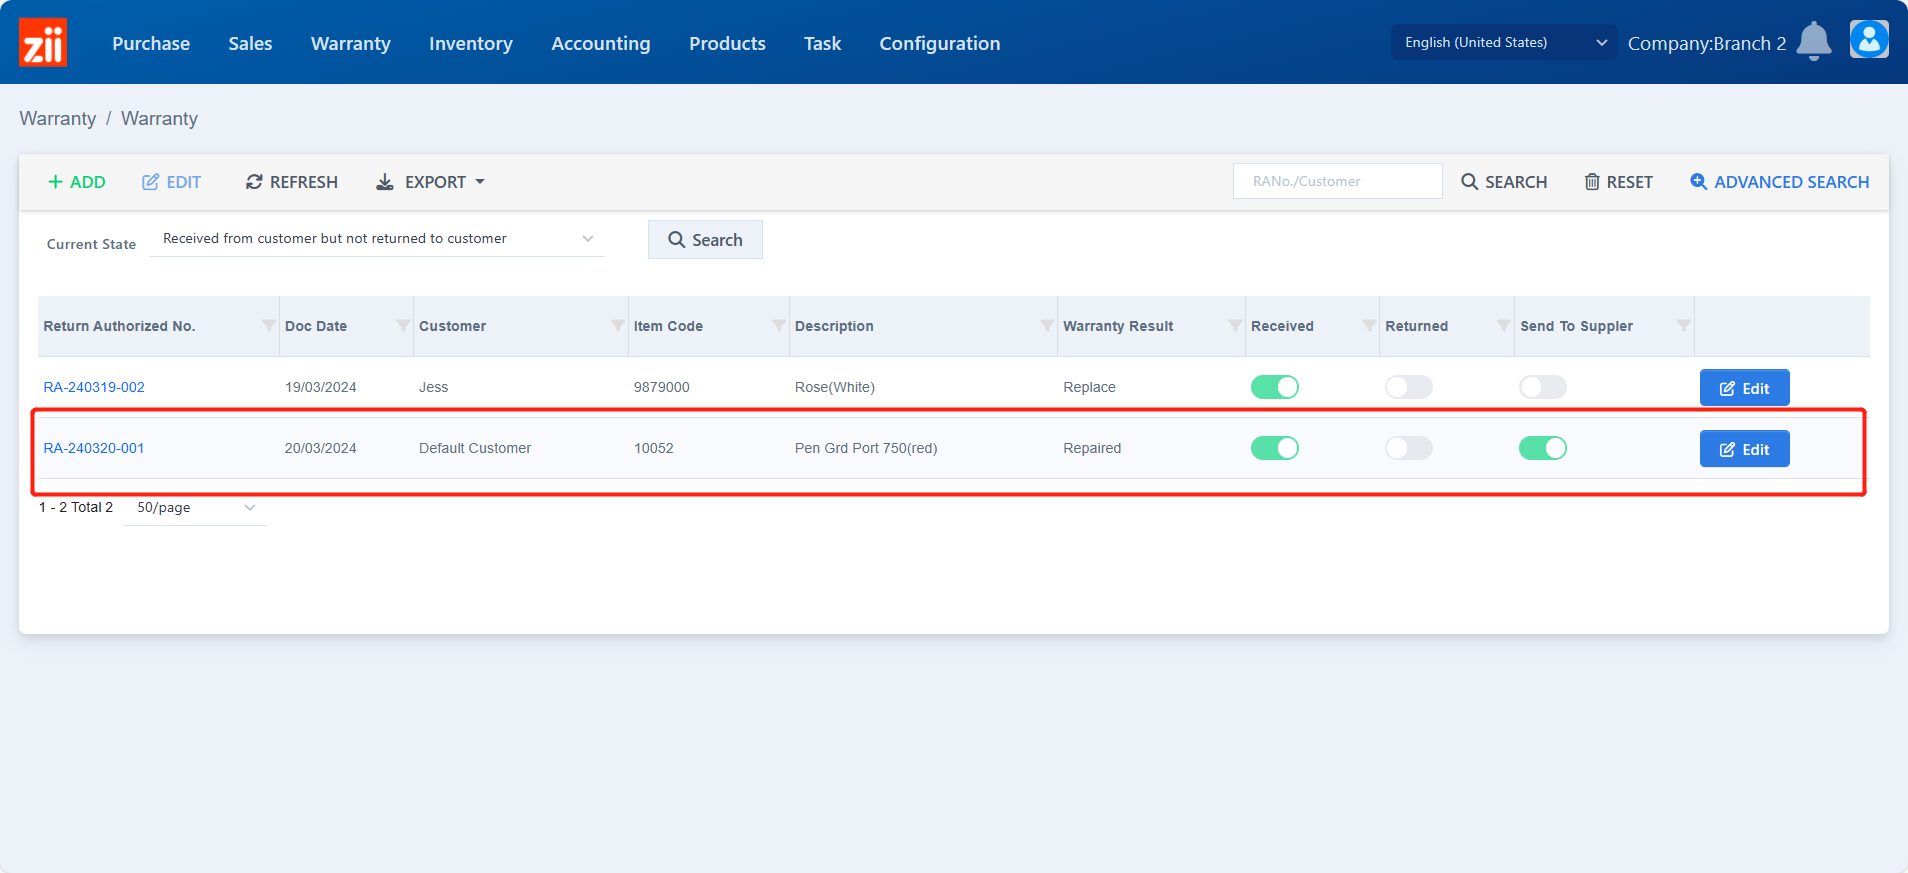
Receiving from Customers
You need to record it when receiving items from the customer.
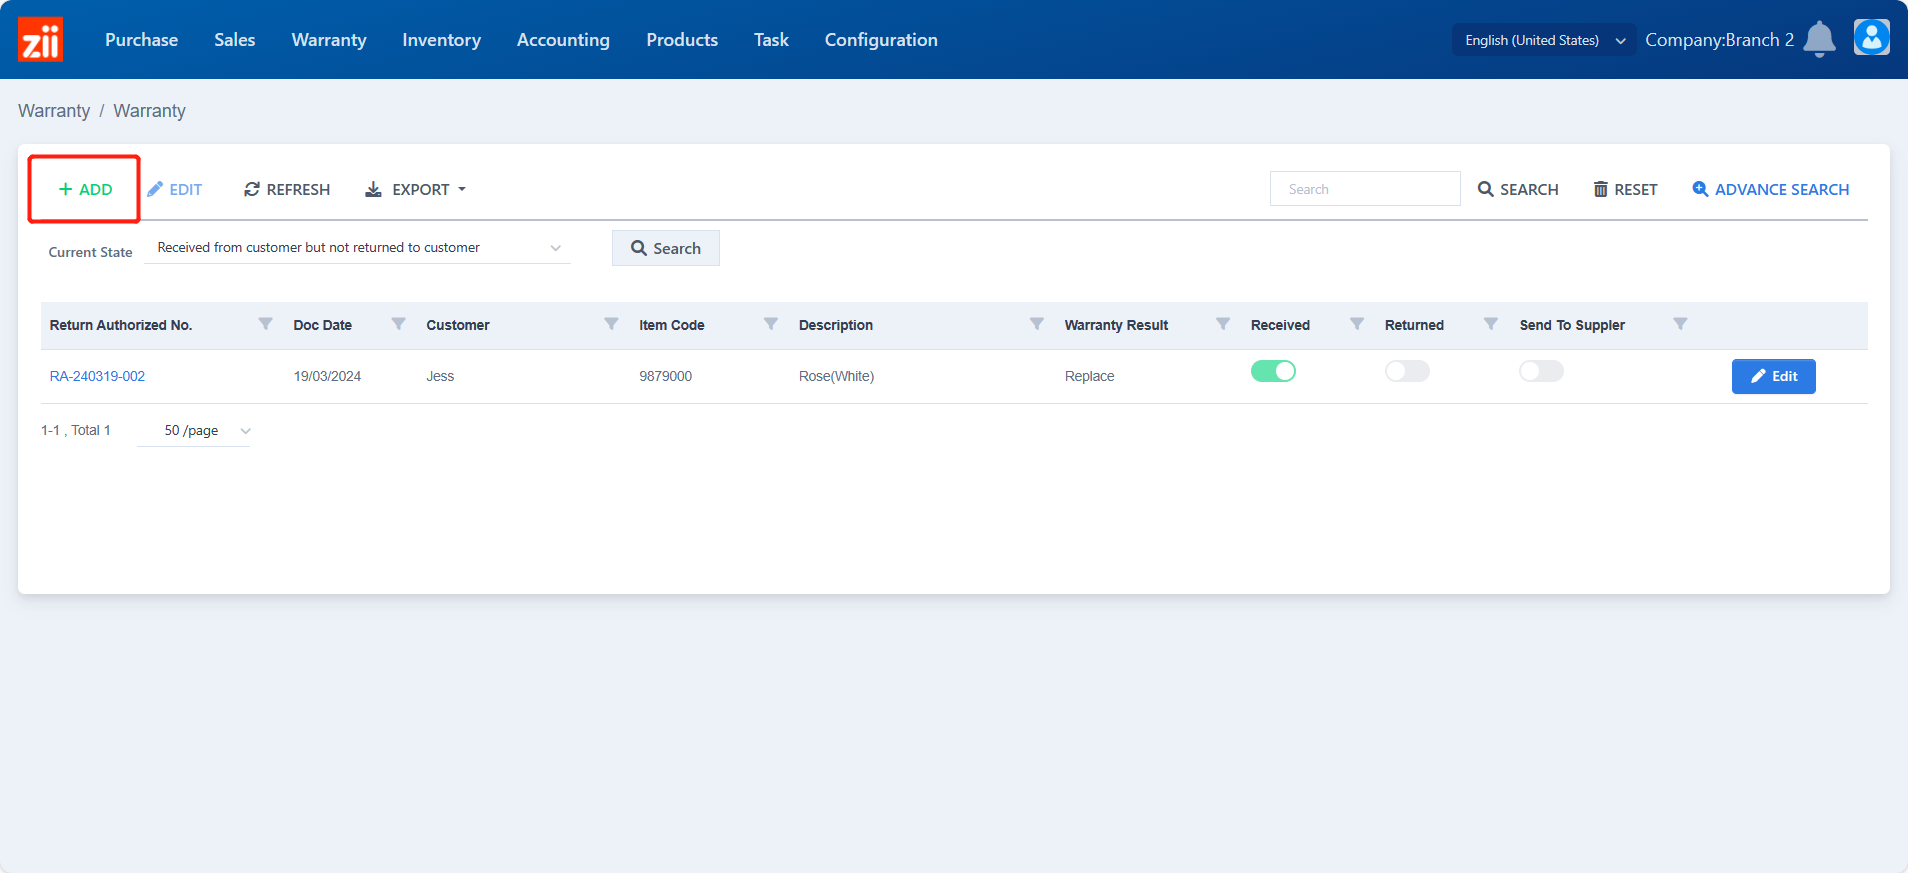
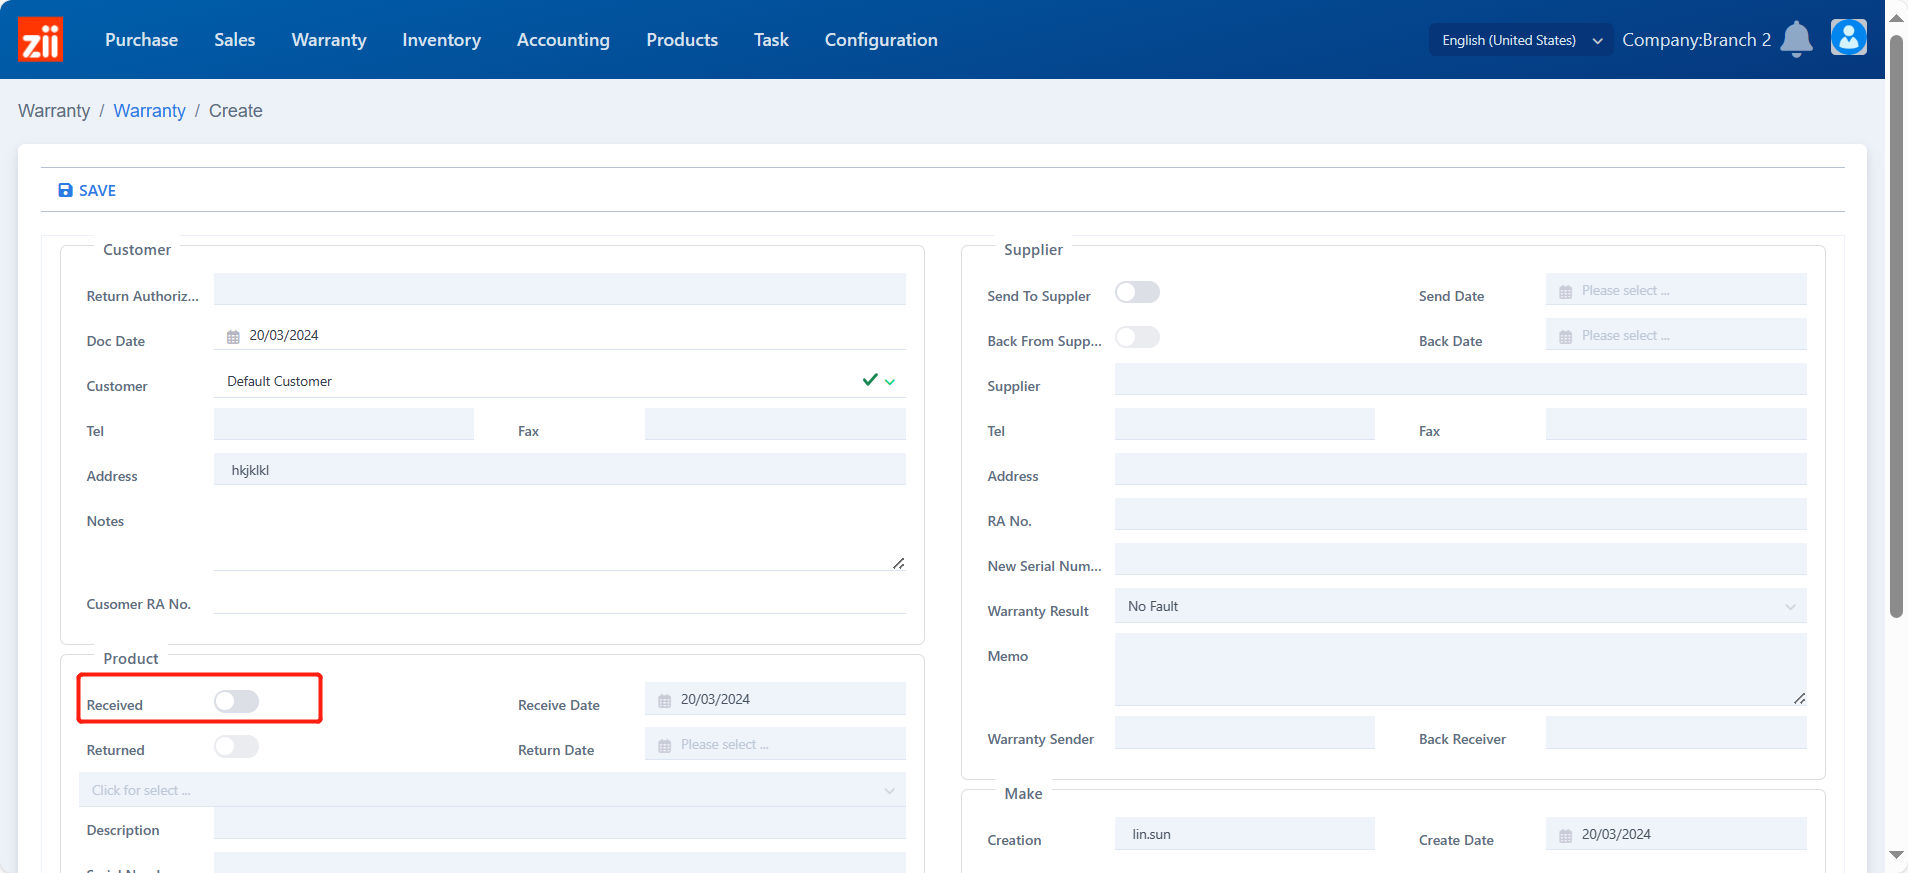
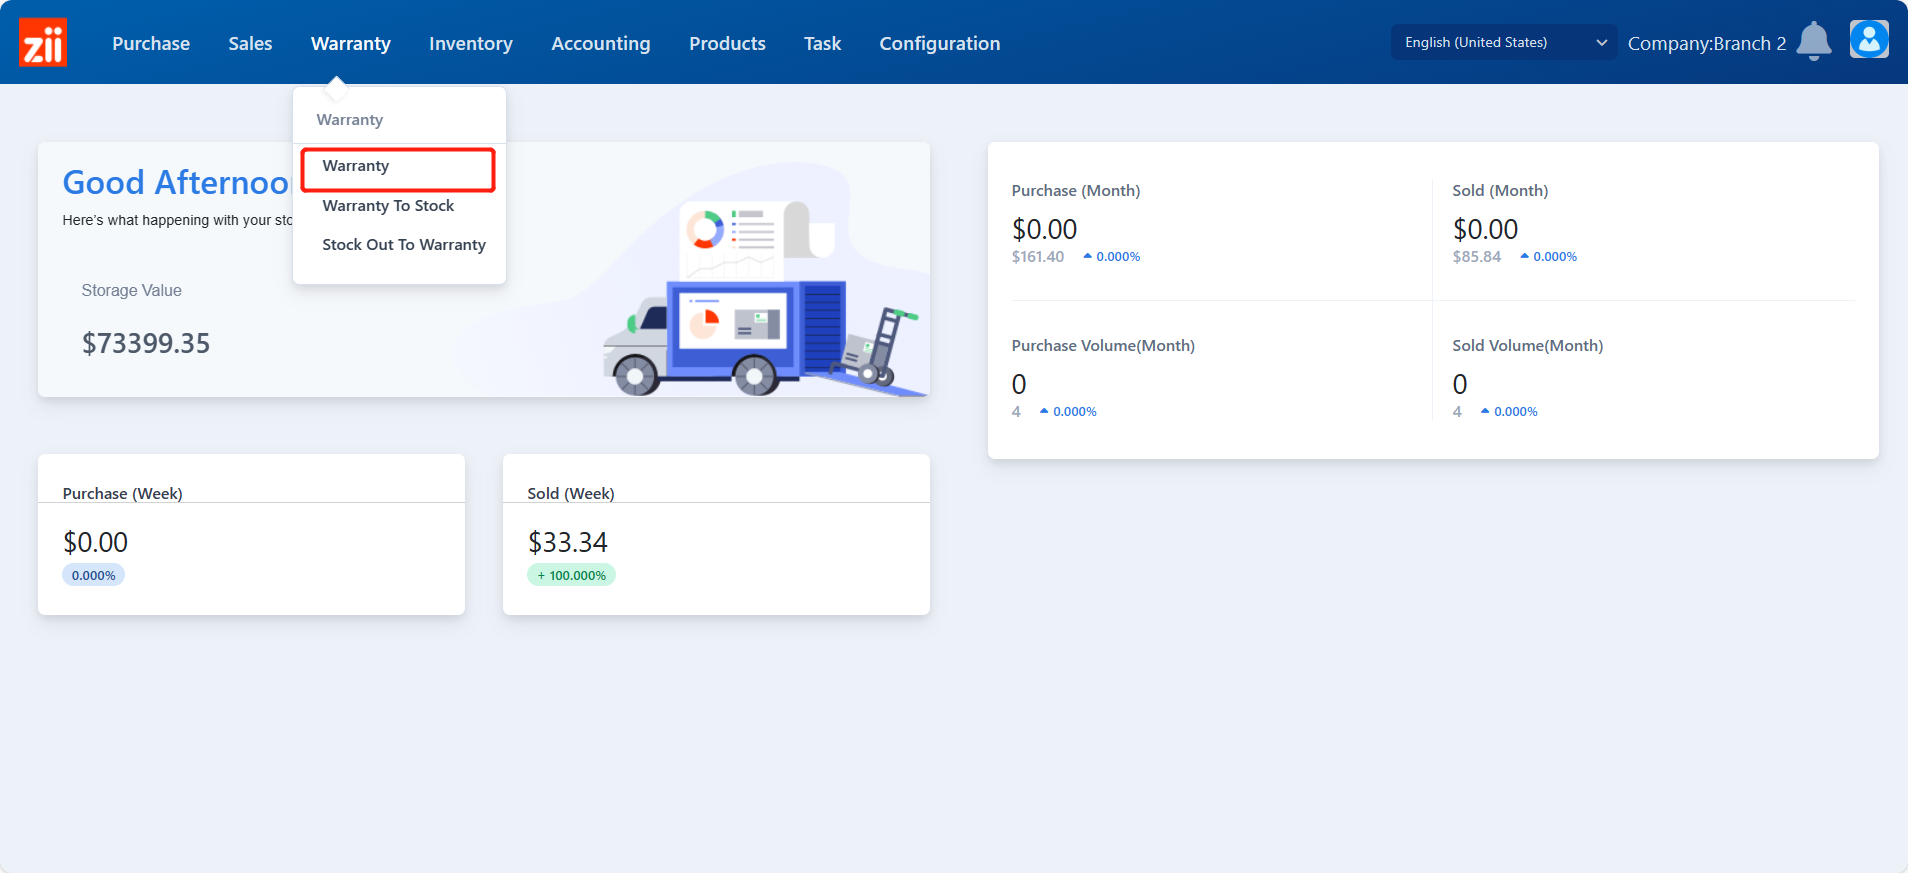
- Go to “Warranty”.
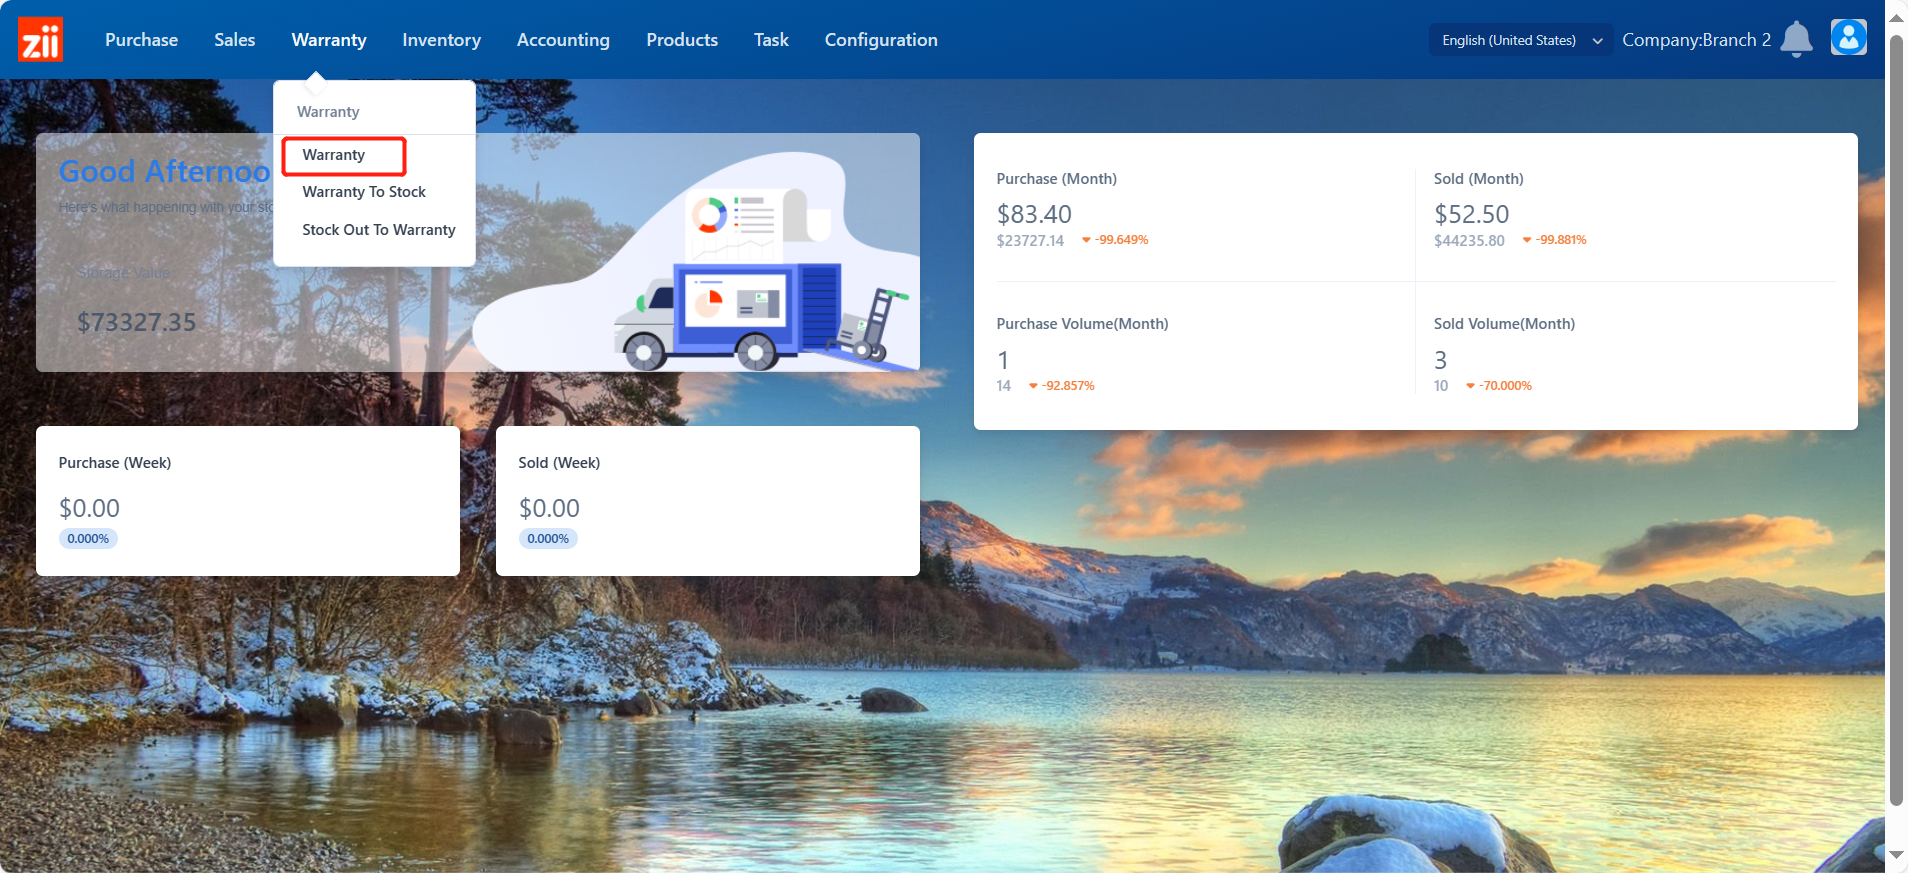
- Click “Add”.
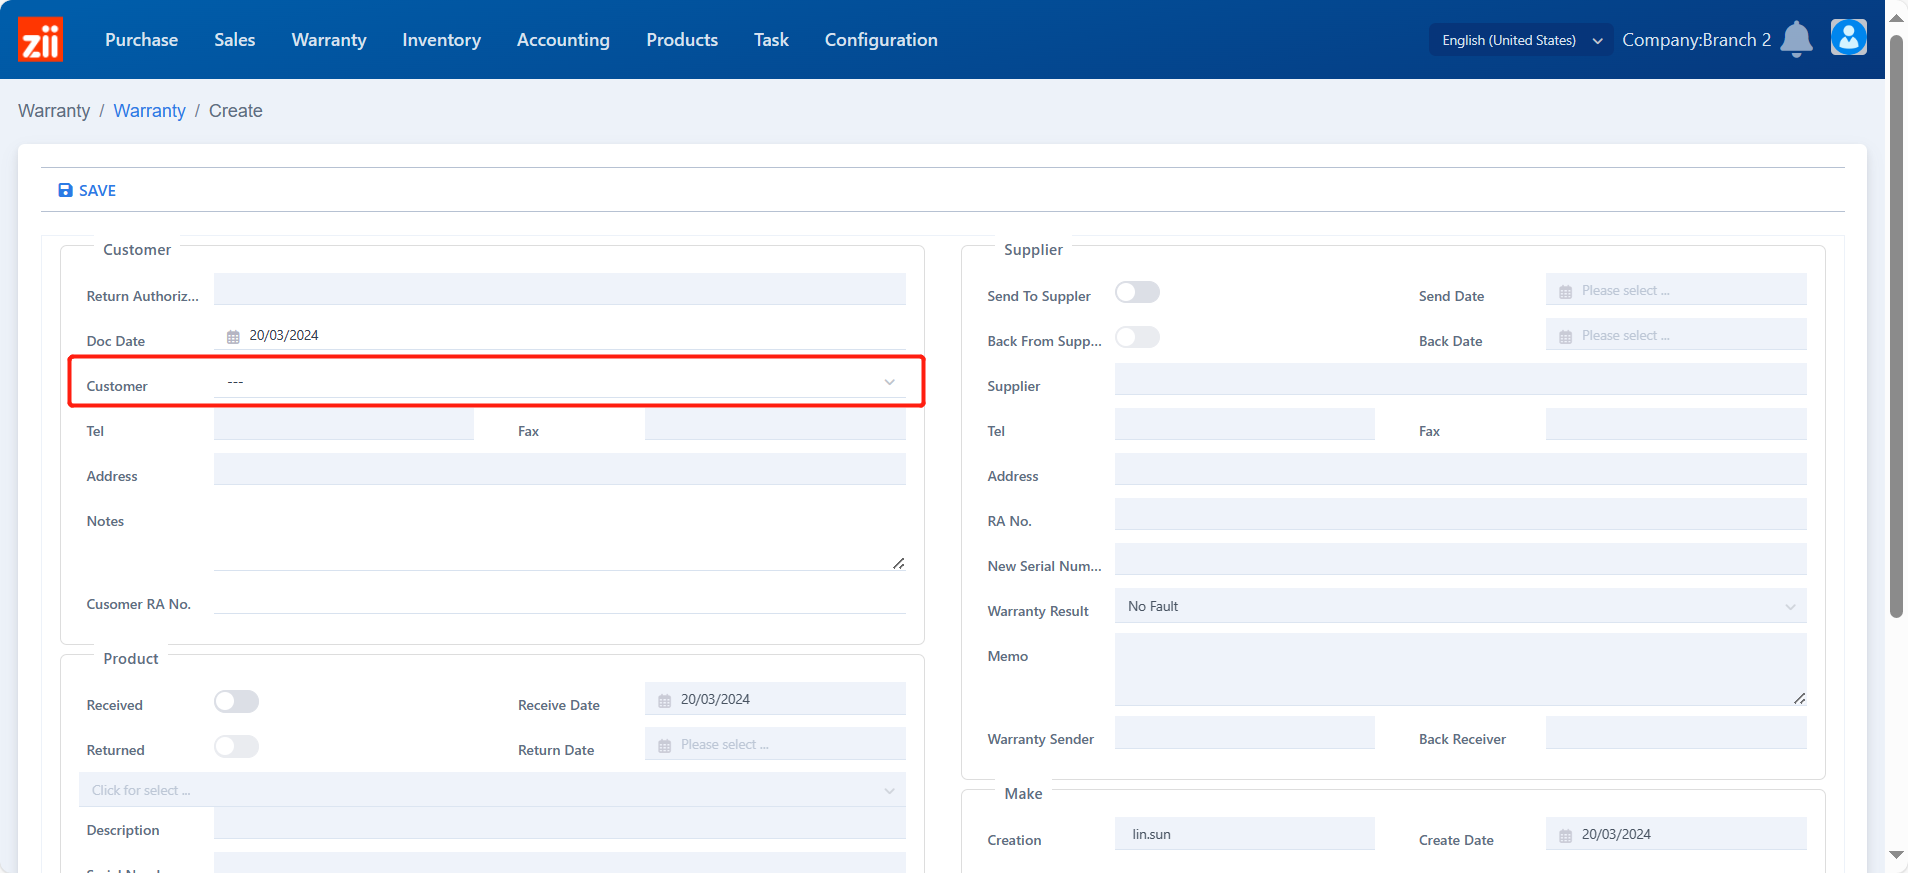
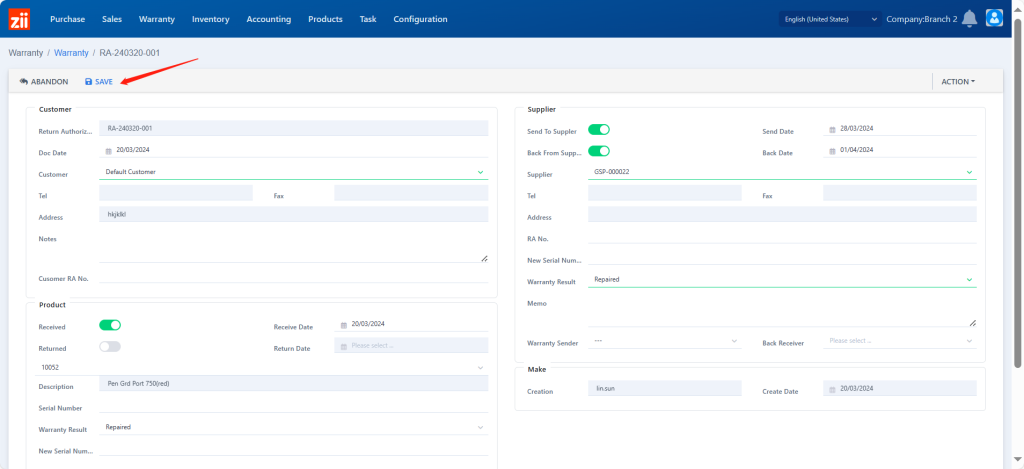
Select the customer from the customer list.
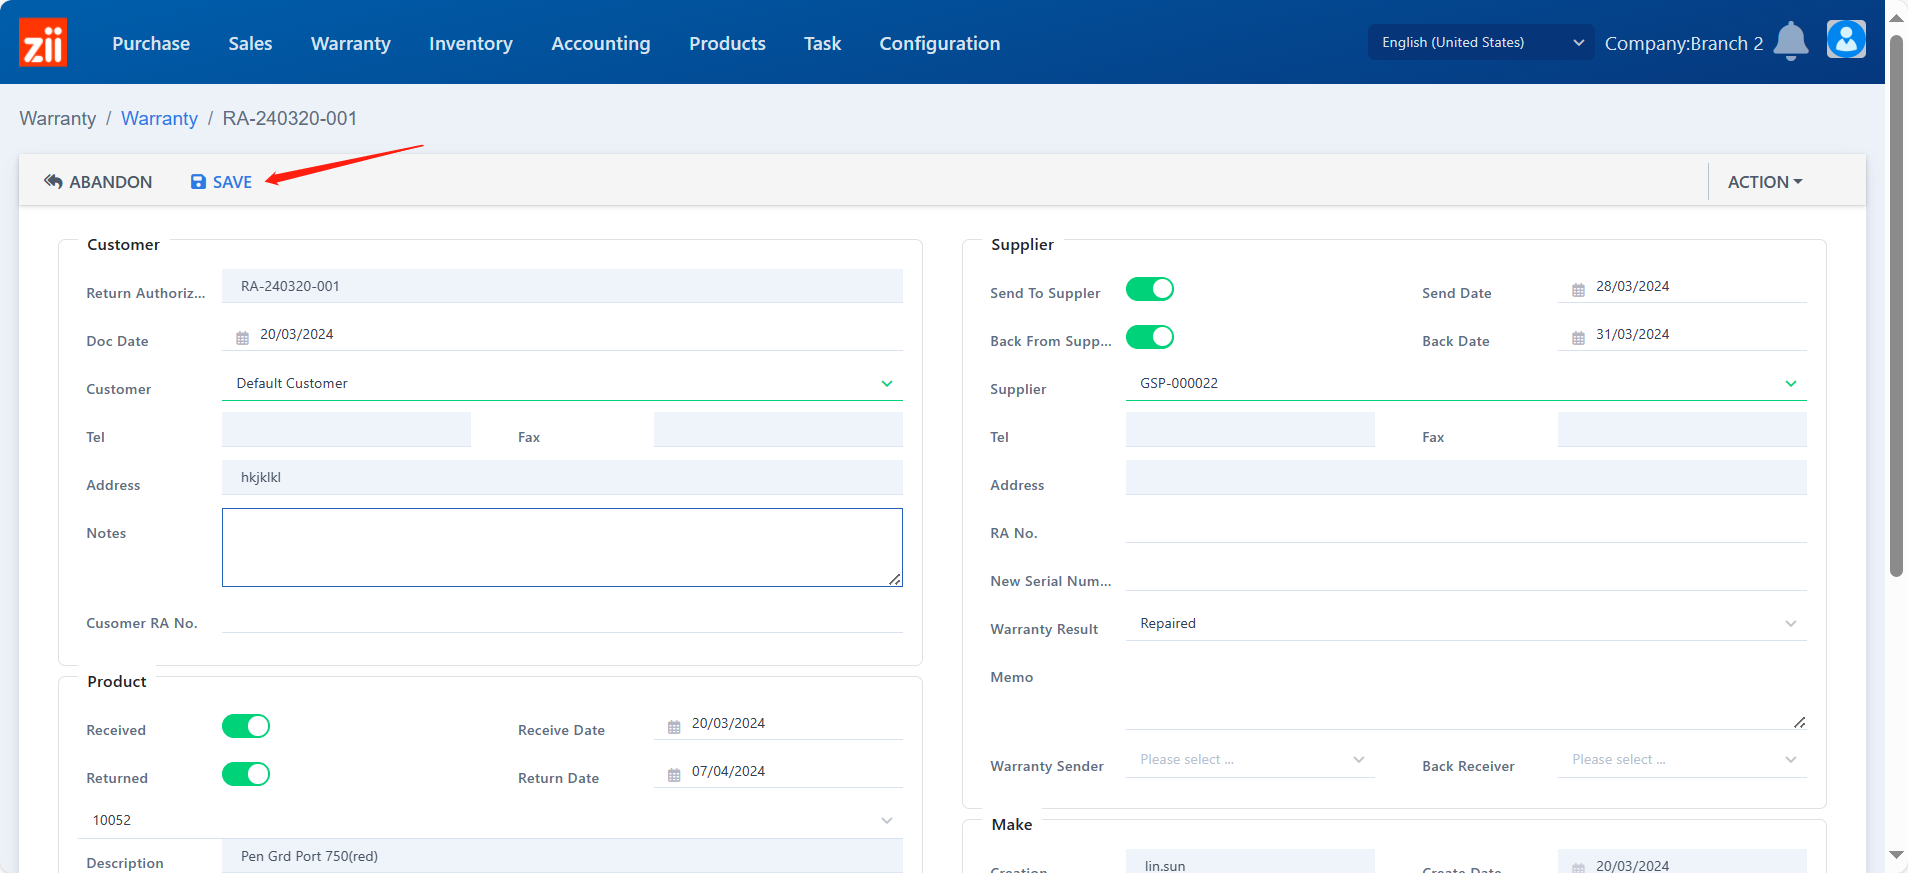
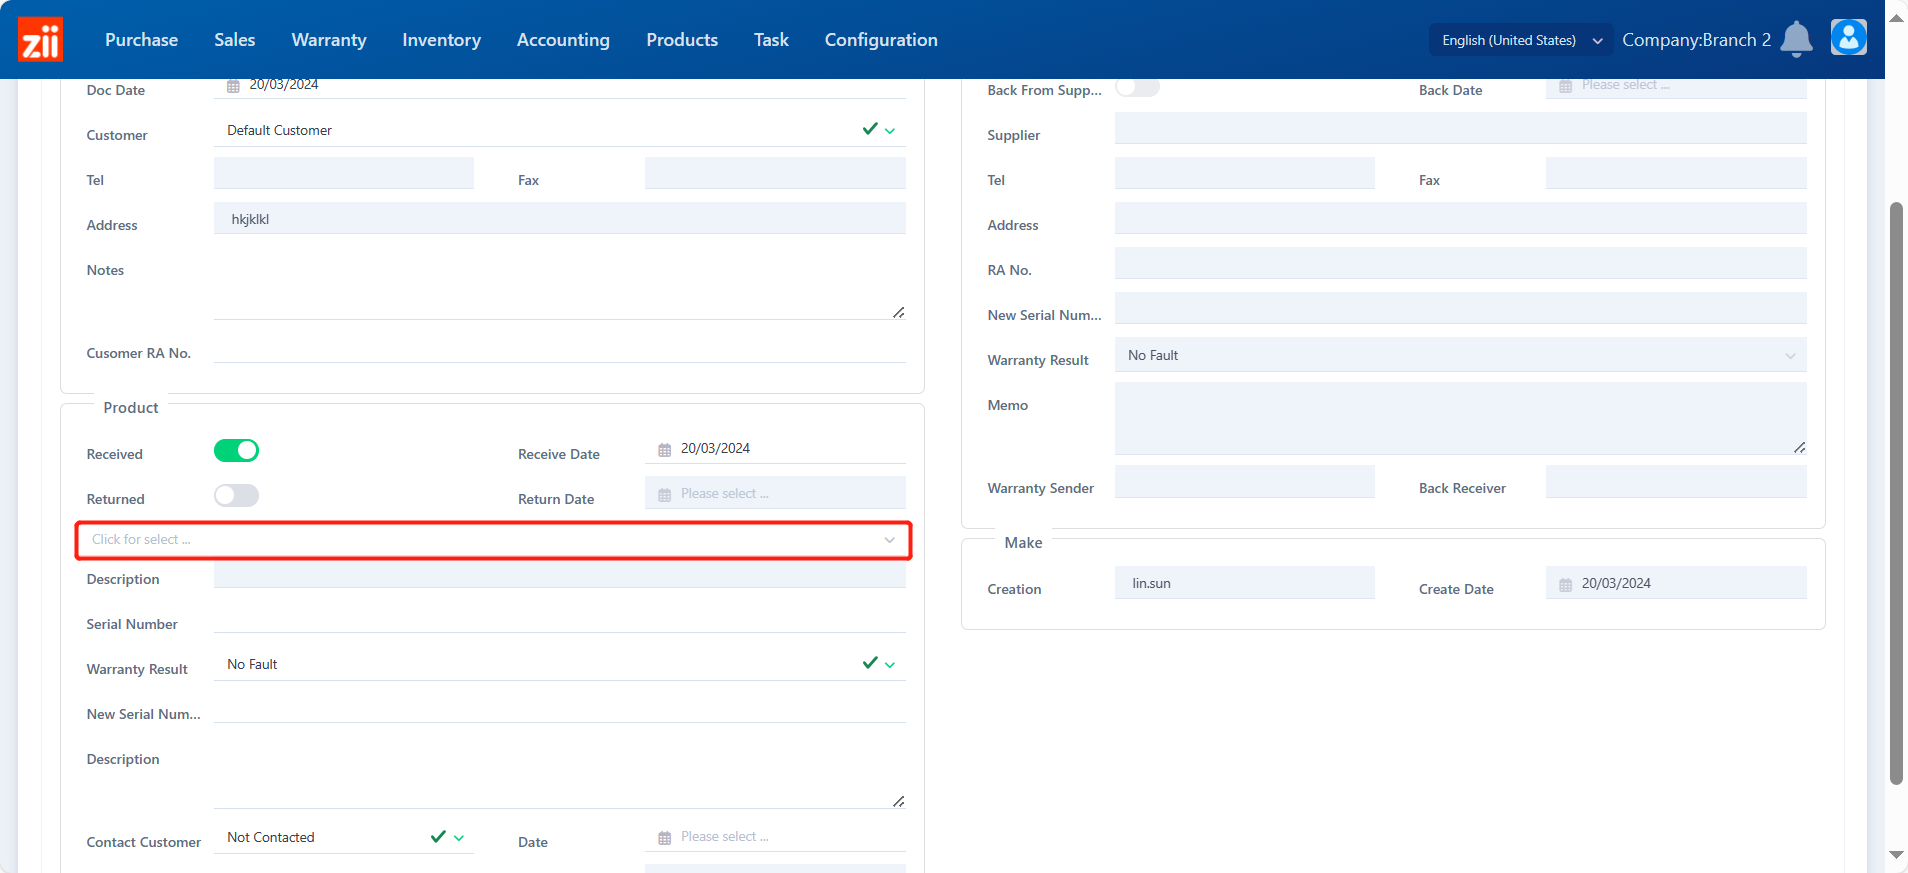
Toggle on “Received”.
Select the item.
Select the warranty result.
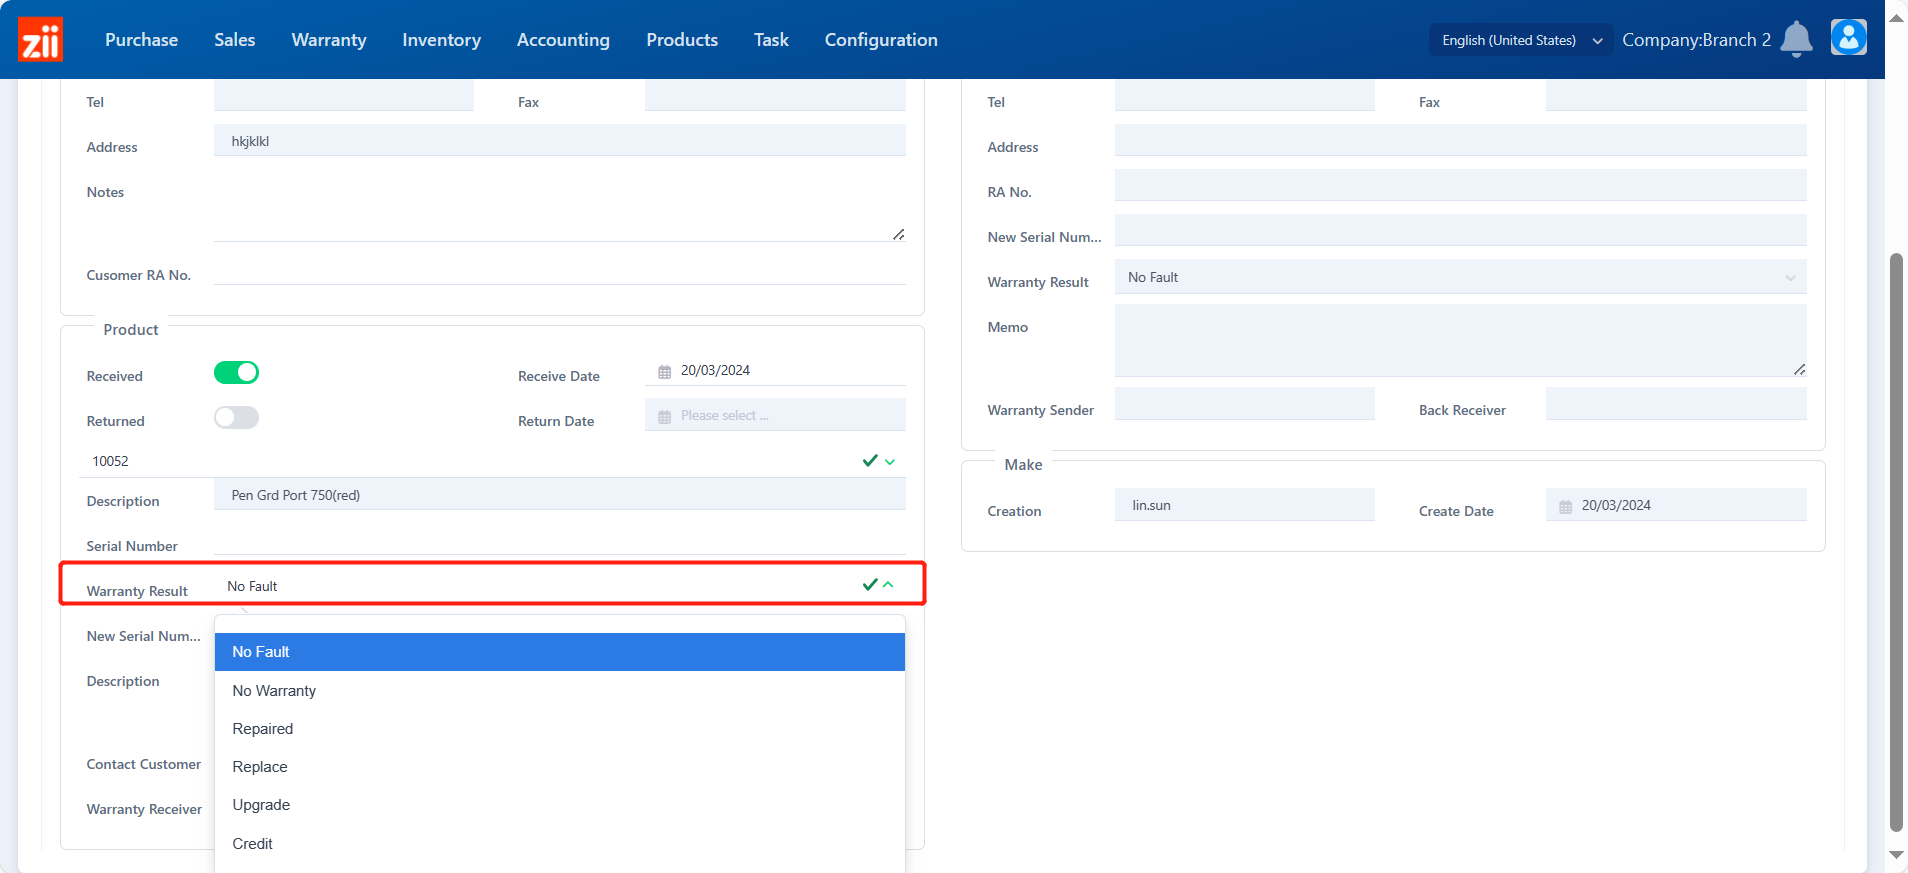
Click “Save”.

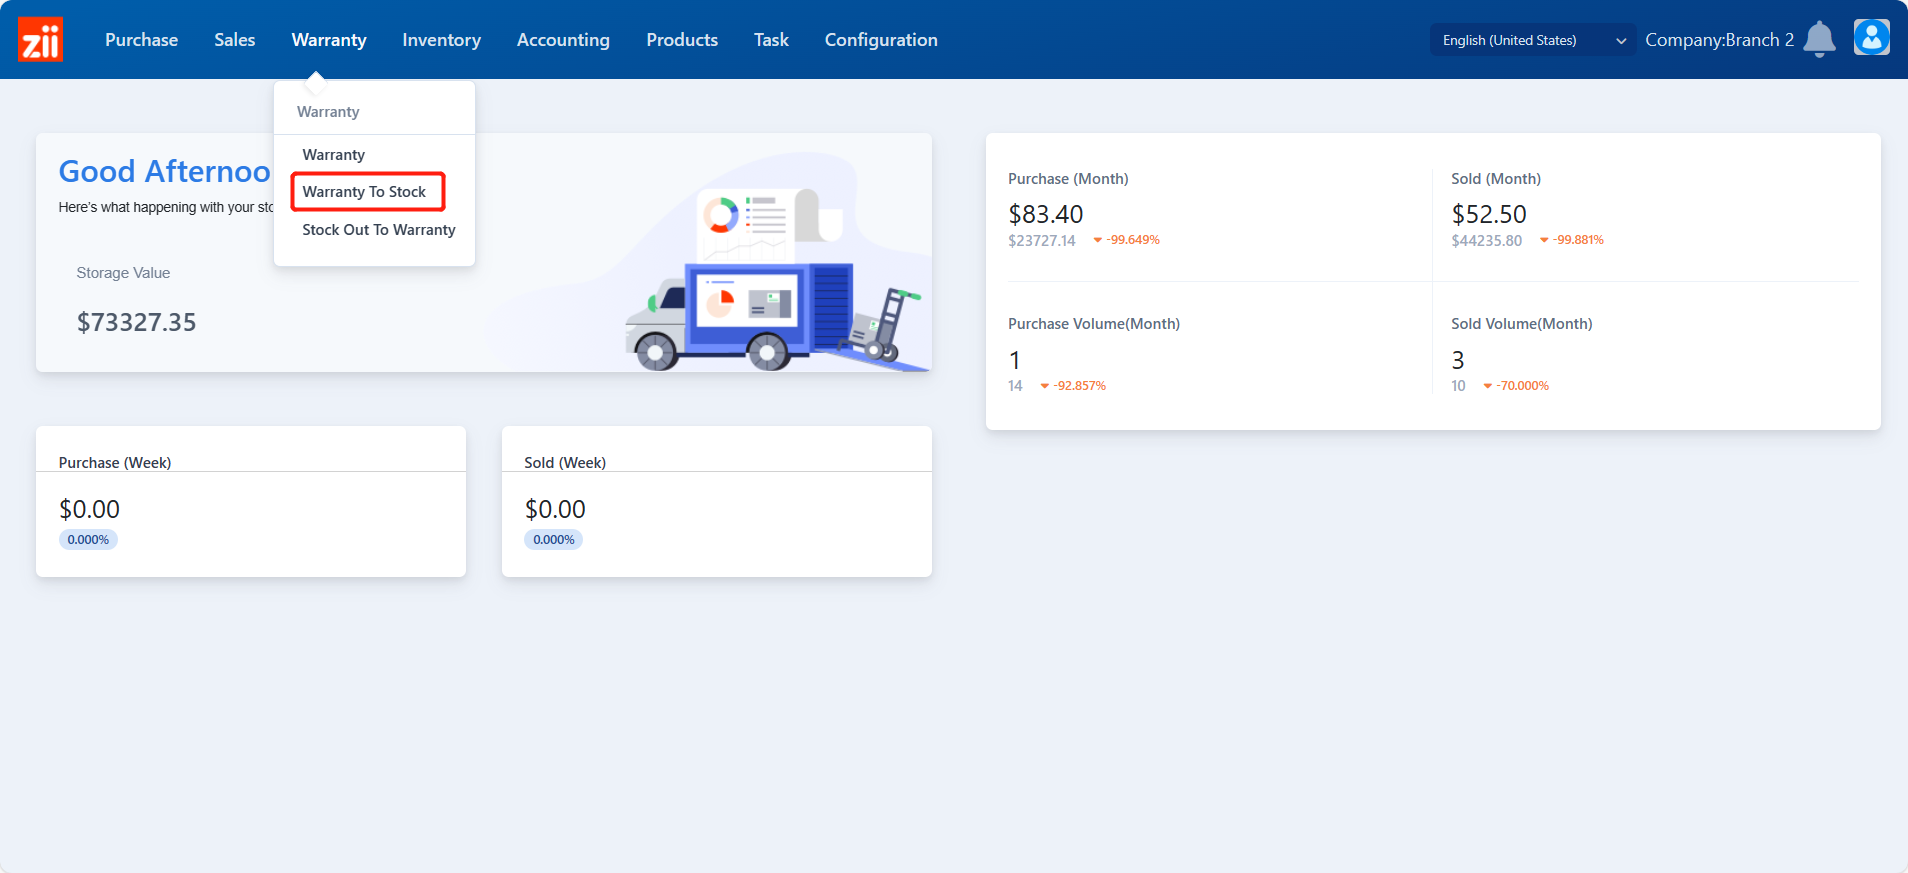
Warranty to Stock
After receiving the item from the customer, you may need to stock in the item back to the warehouse.
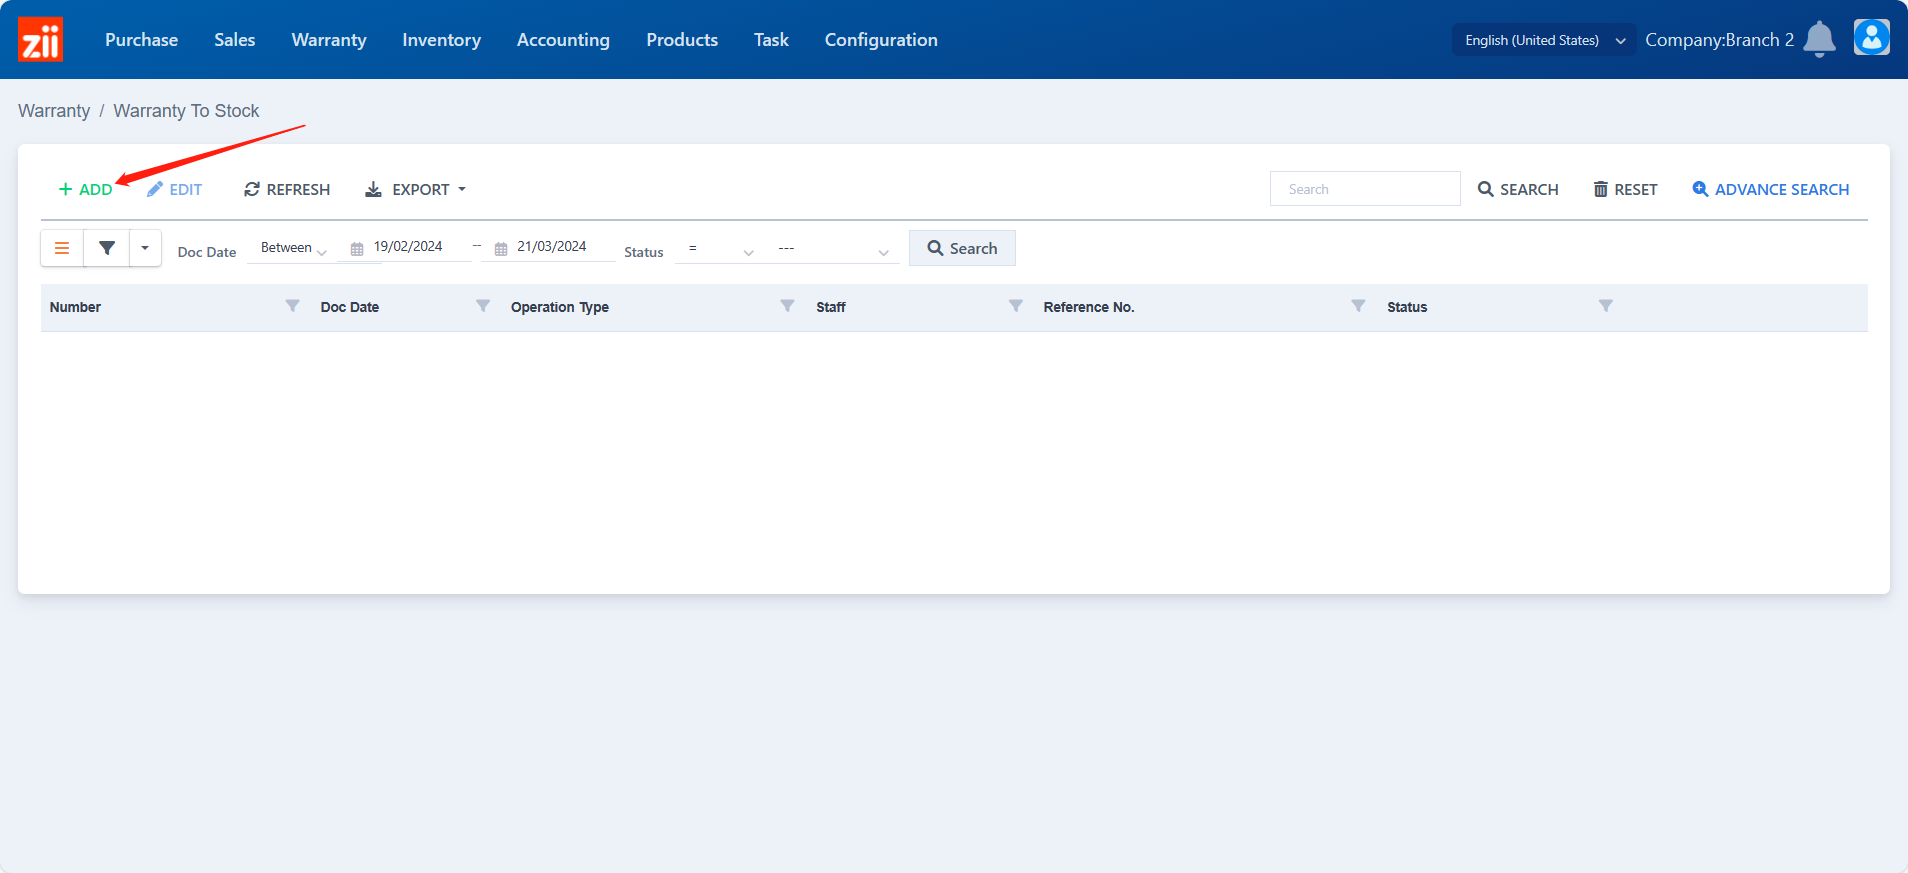
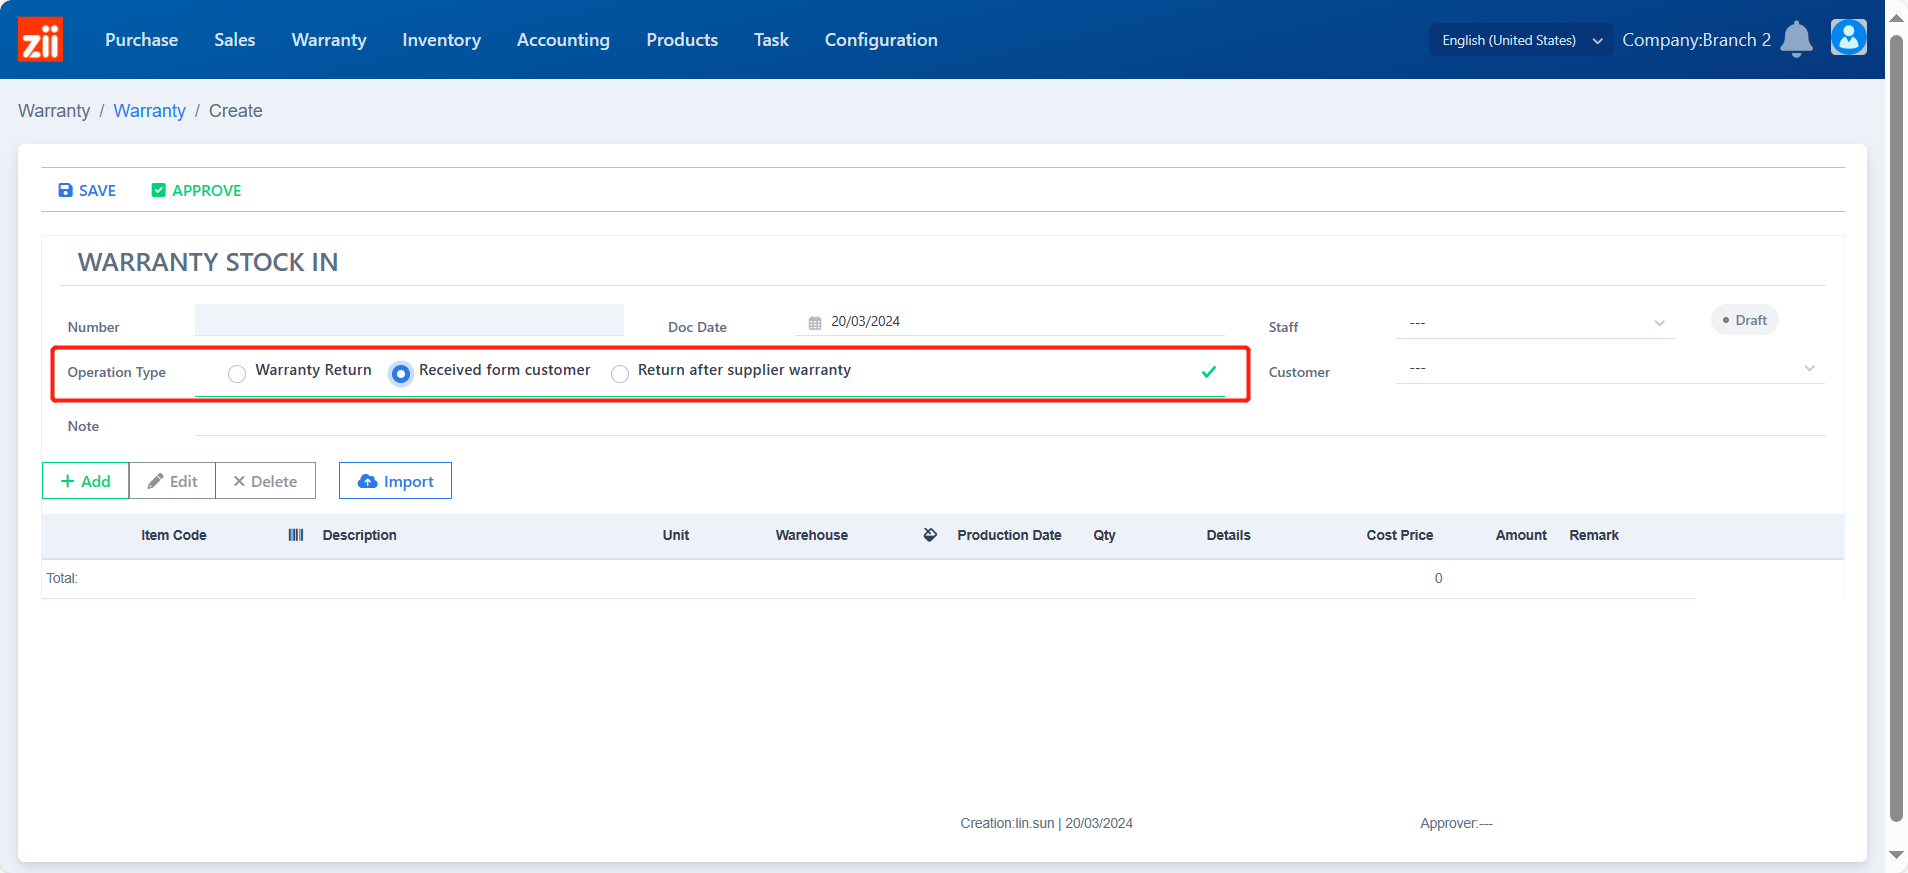
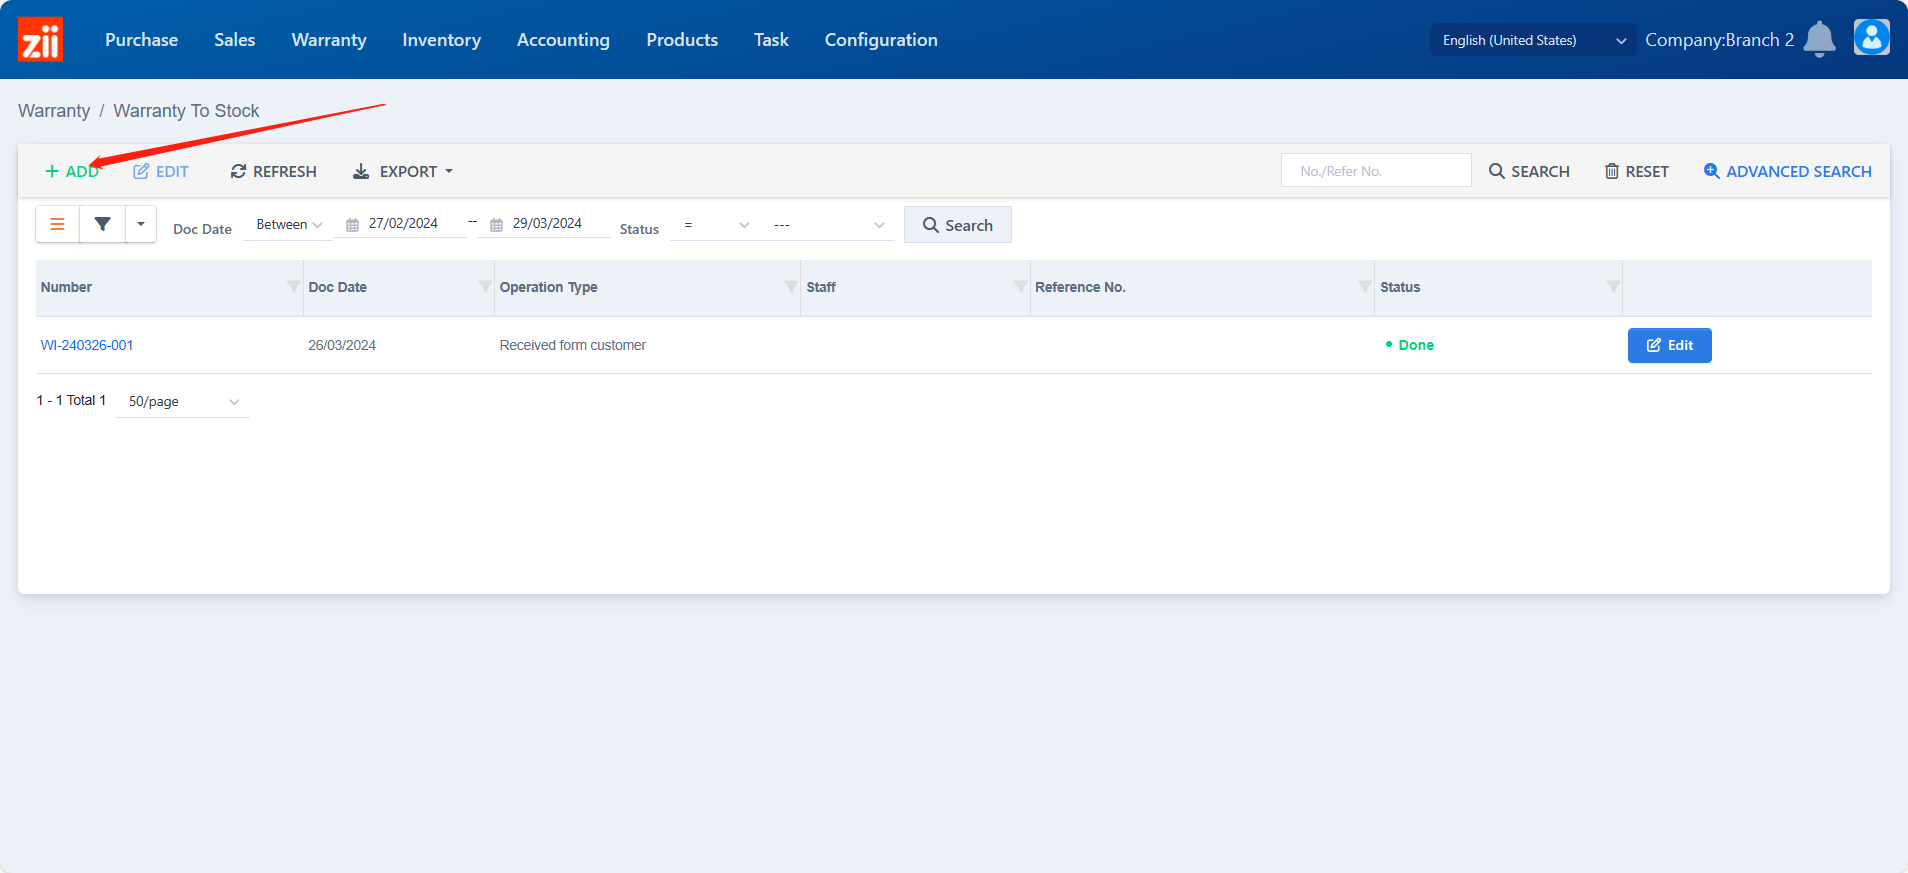
- Go to “Warranty to Stock” under “Warranty”.

- Click “Add”.
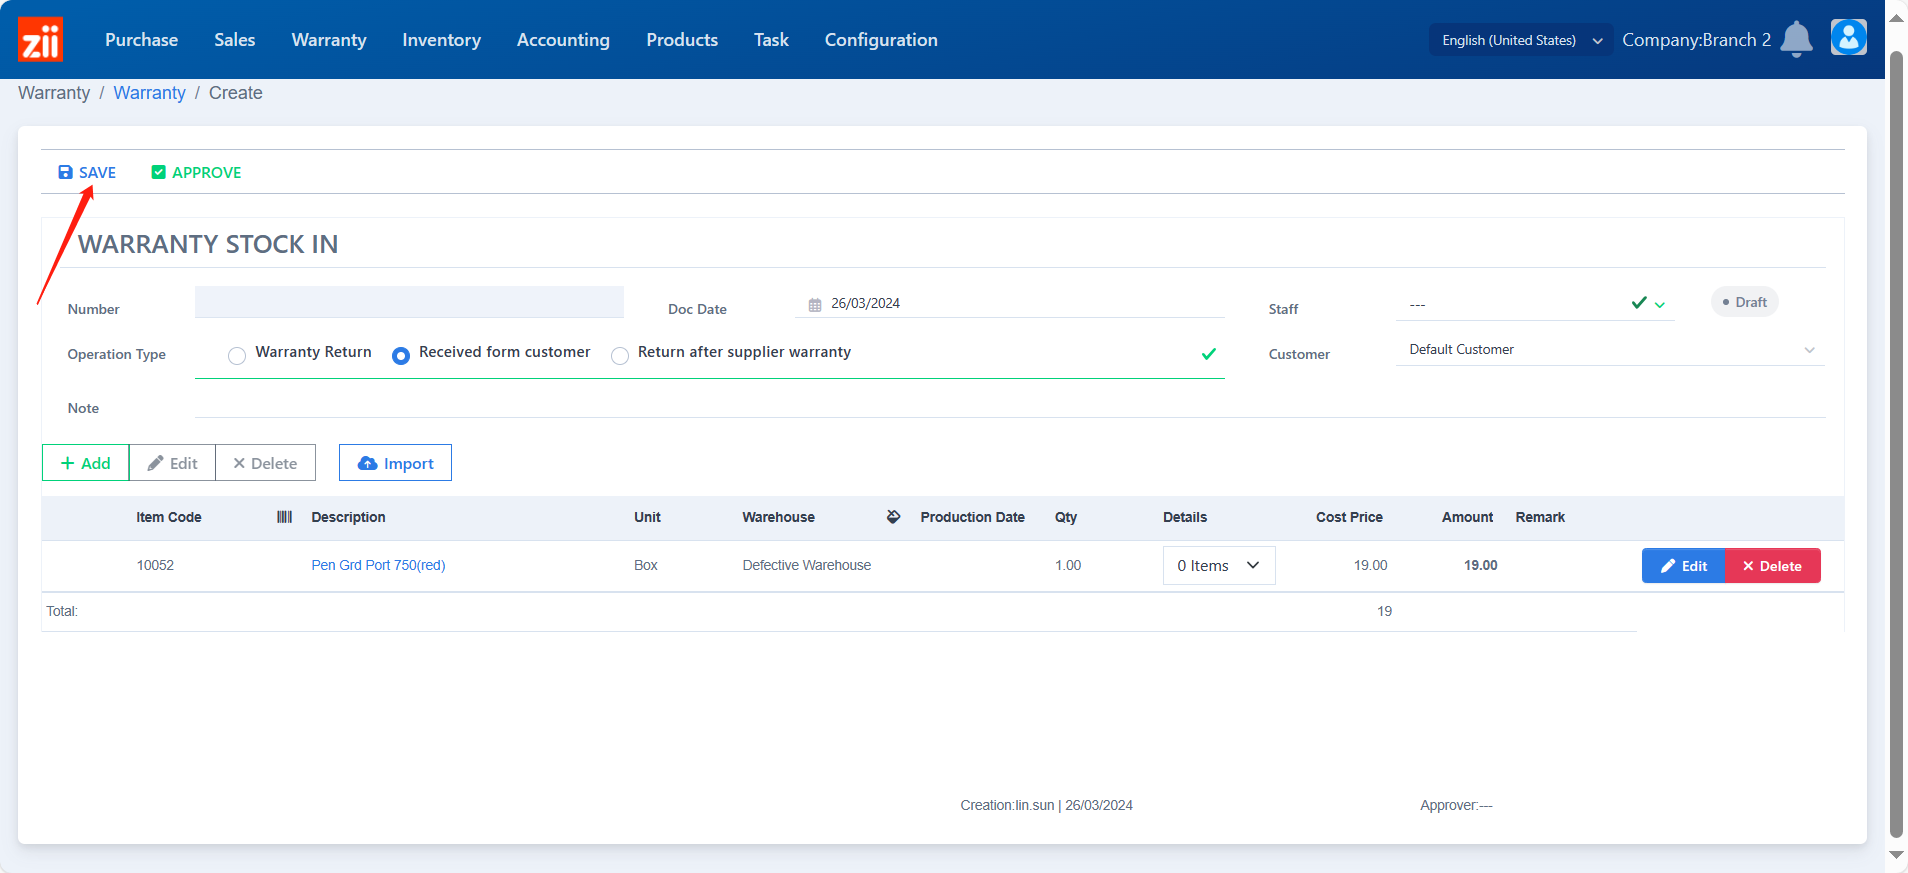
- Choose the operation type to be “Received from customer”.
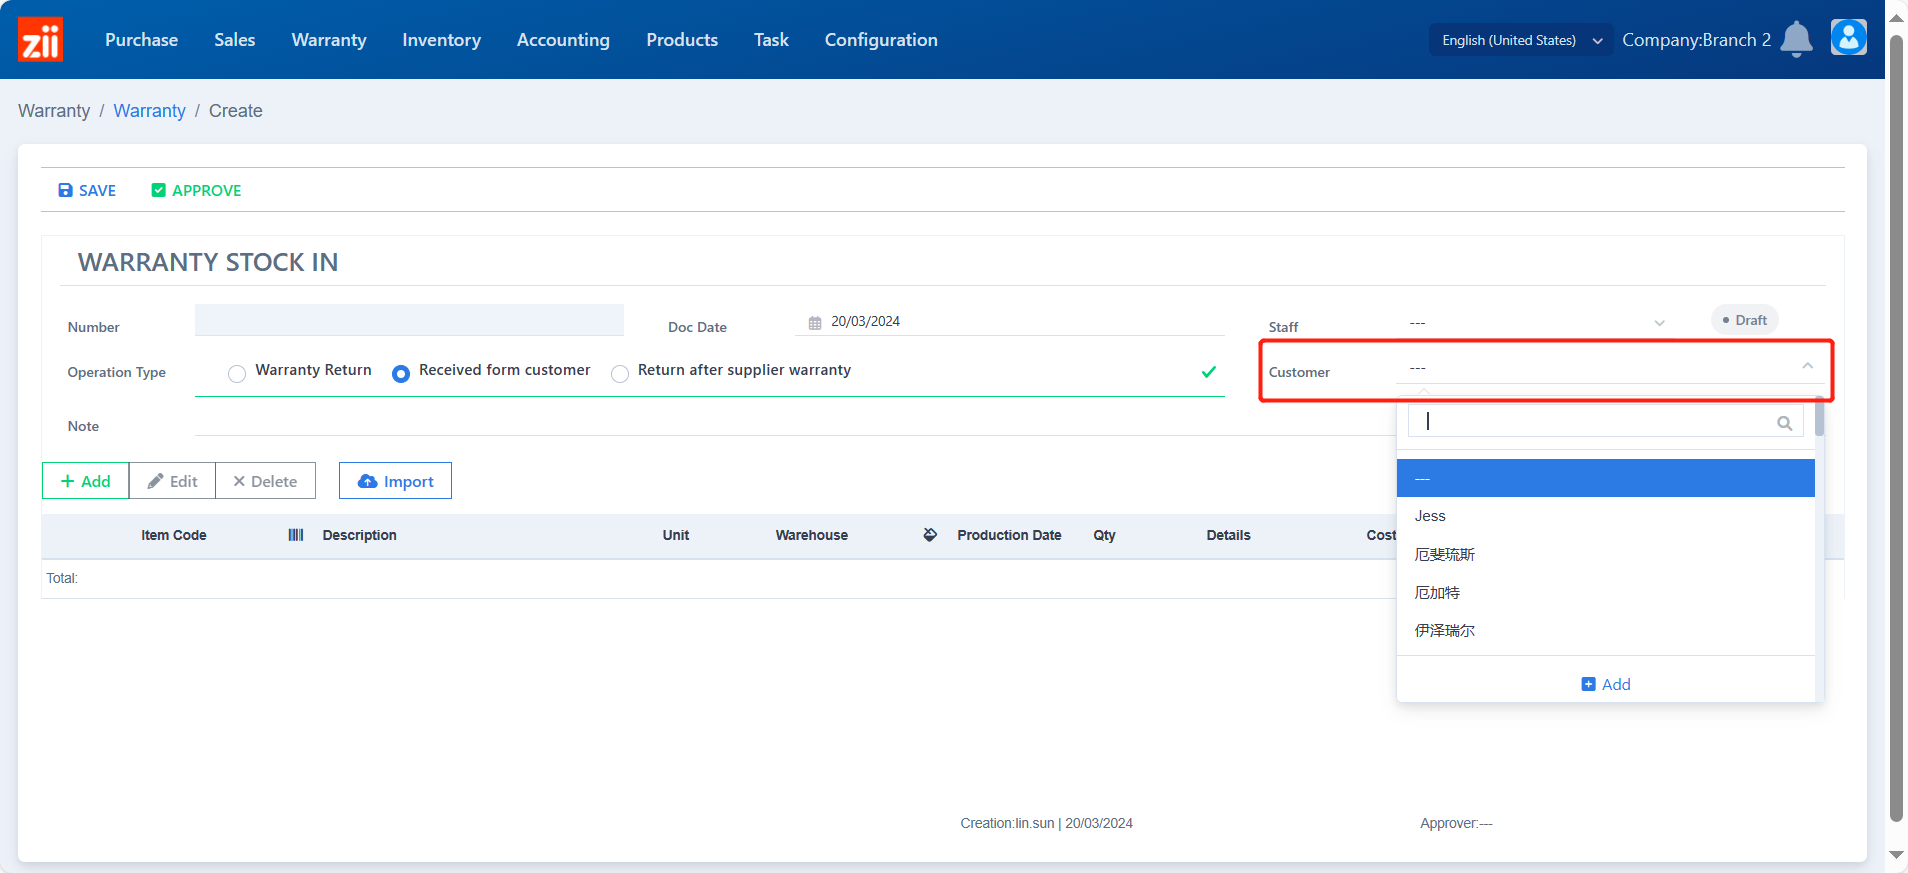
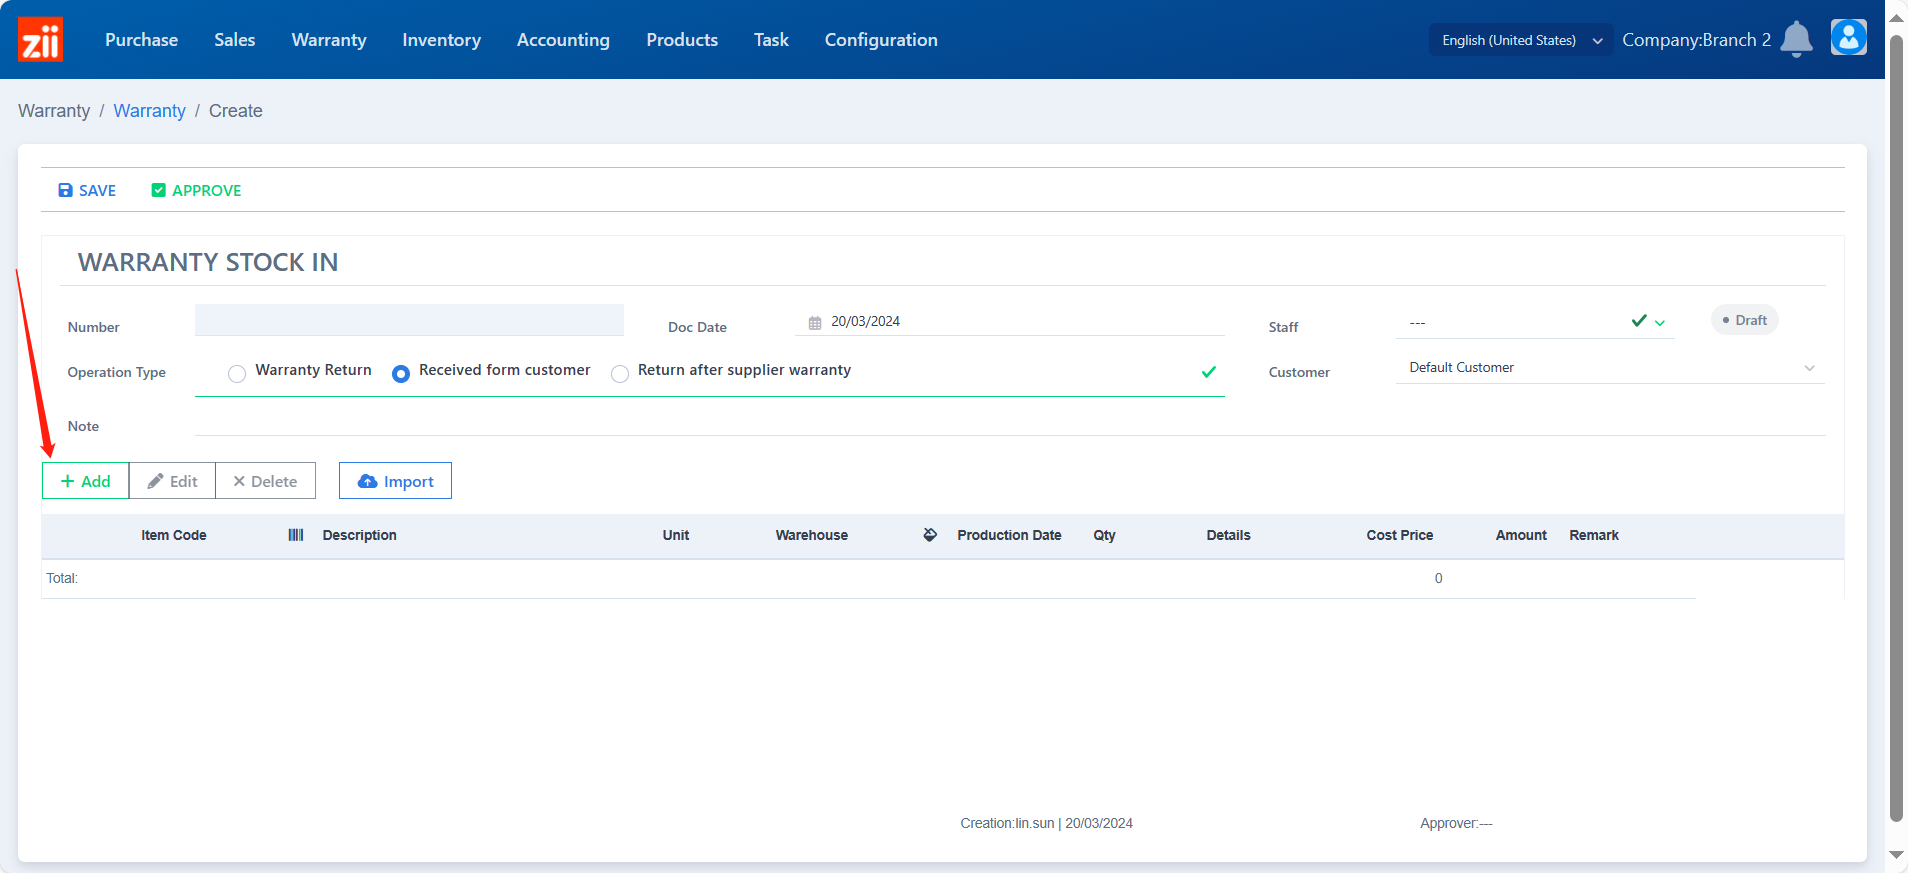
- Select the customer.
- Click “Add”.
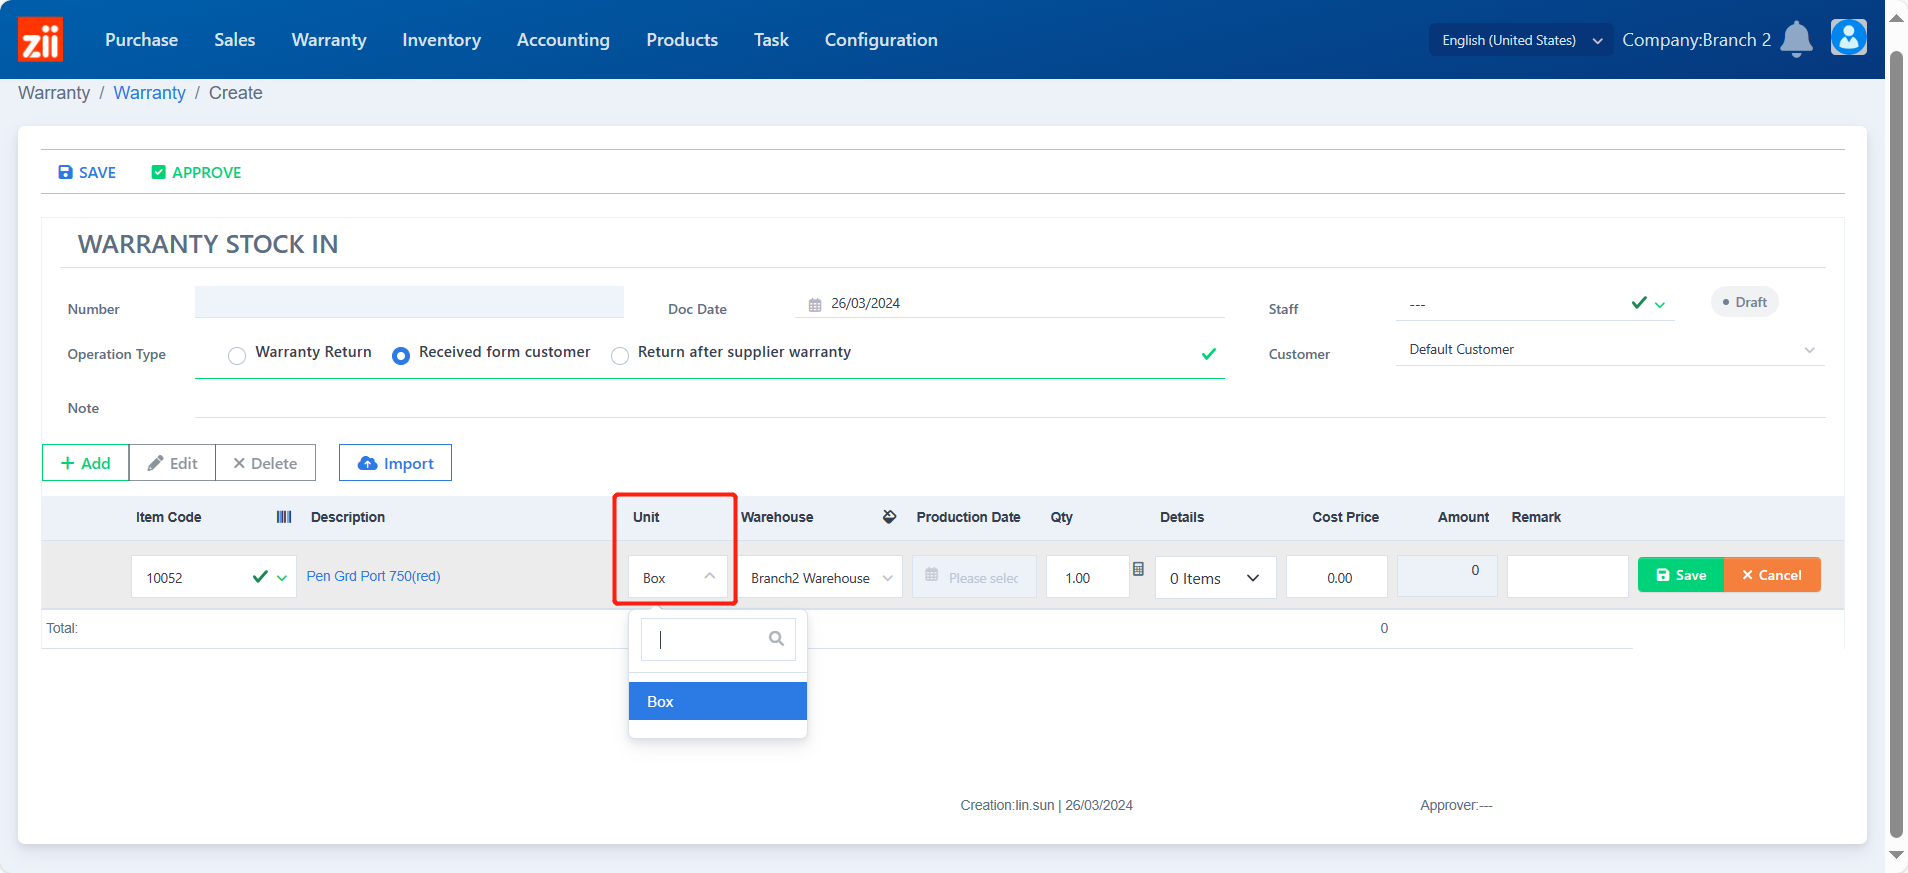
- Select the item.
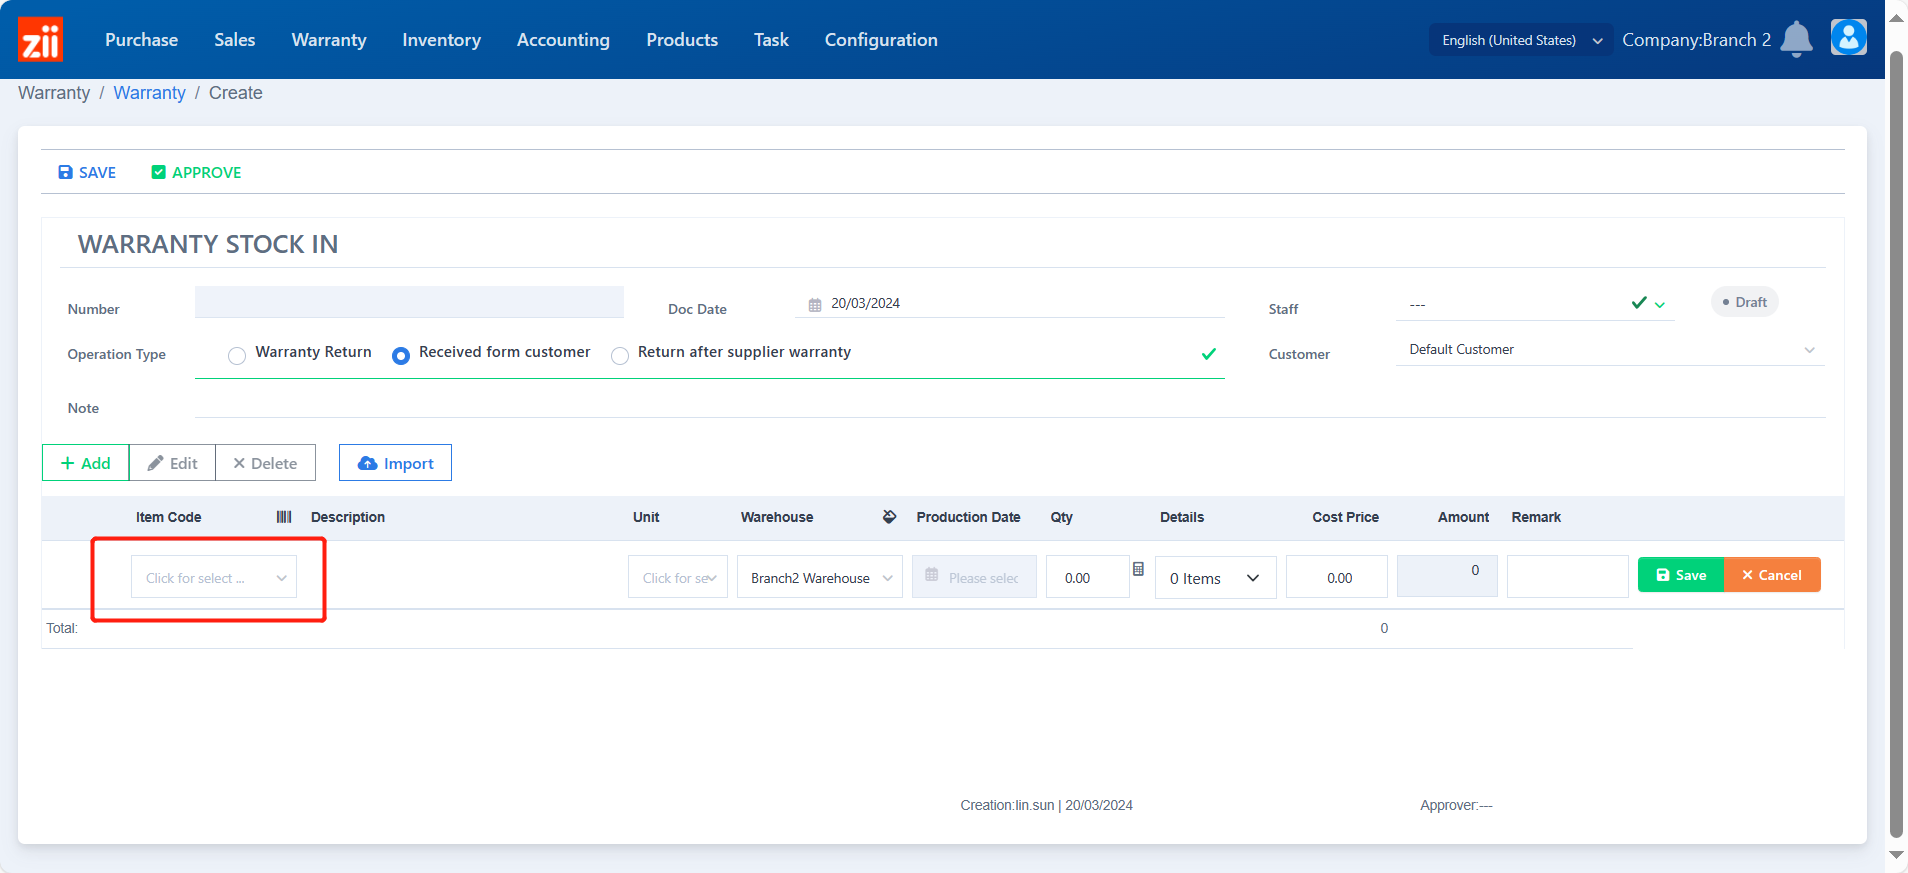
- Select the unit if needed.
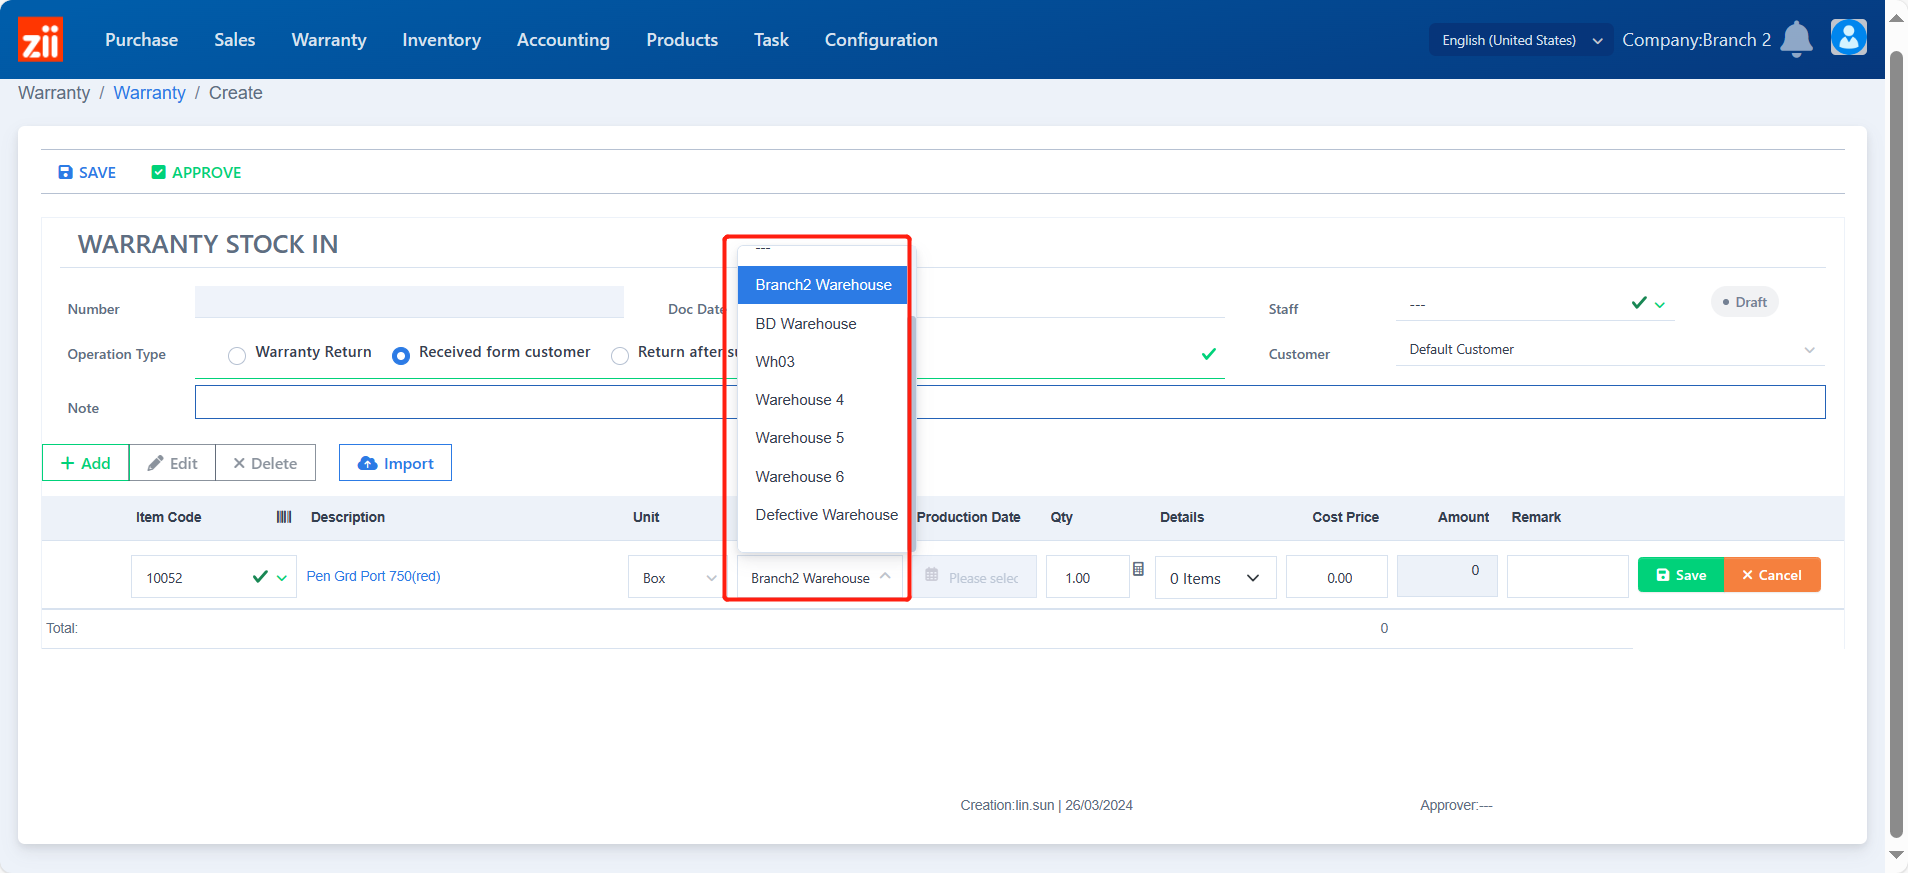
- Choose a warehouse.
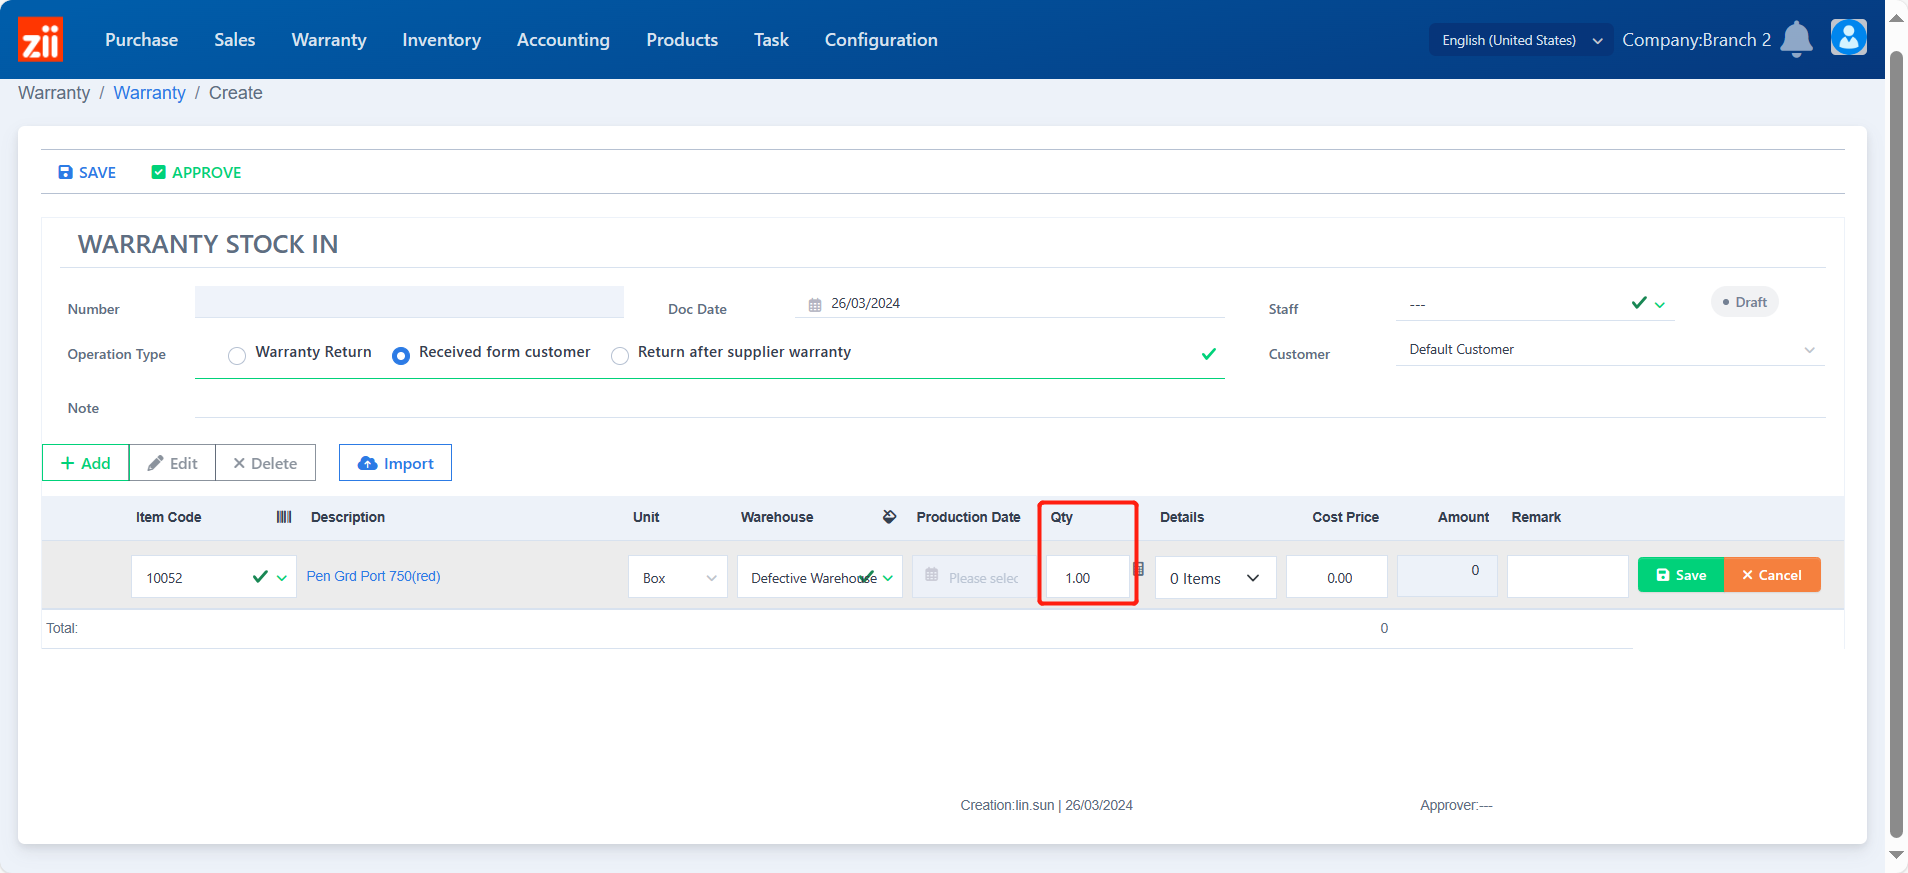
- Enter the quantity.
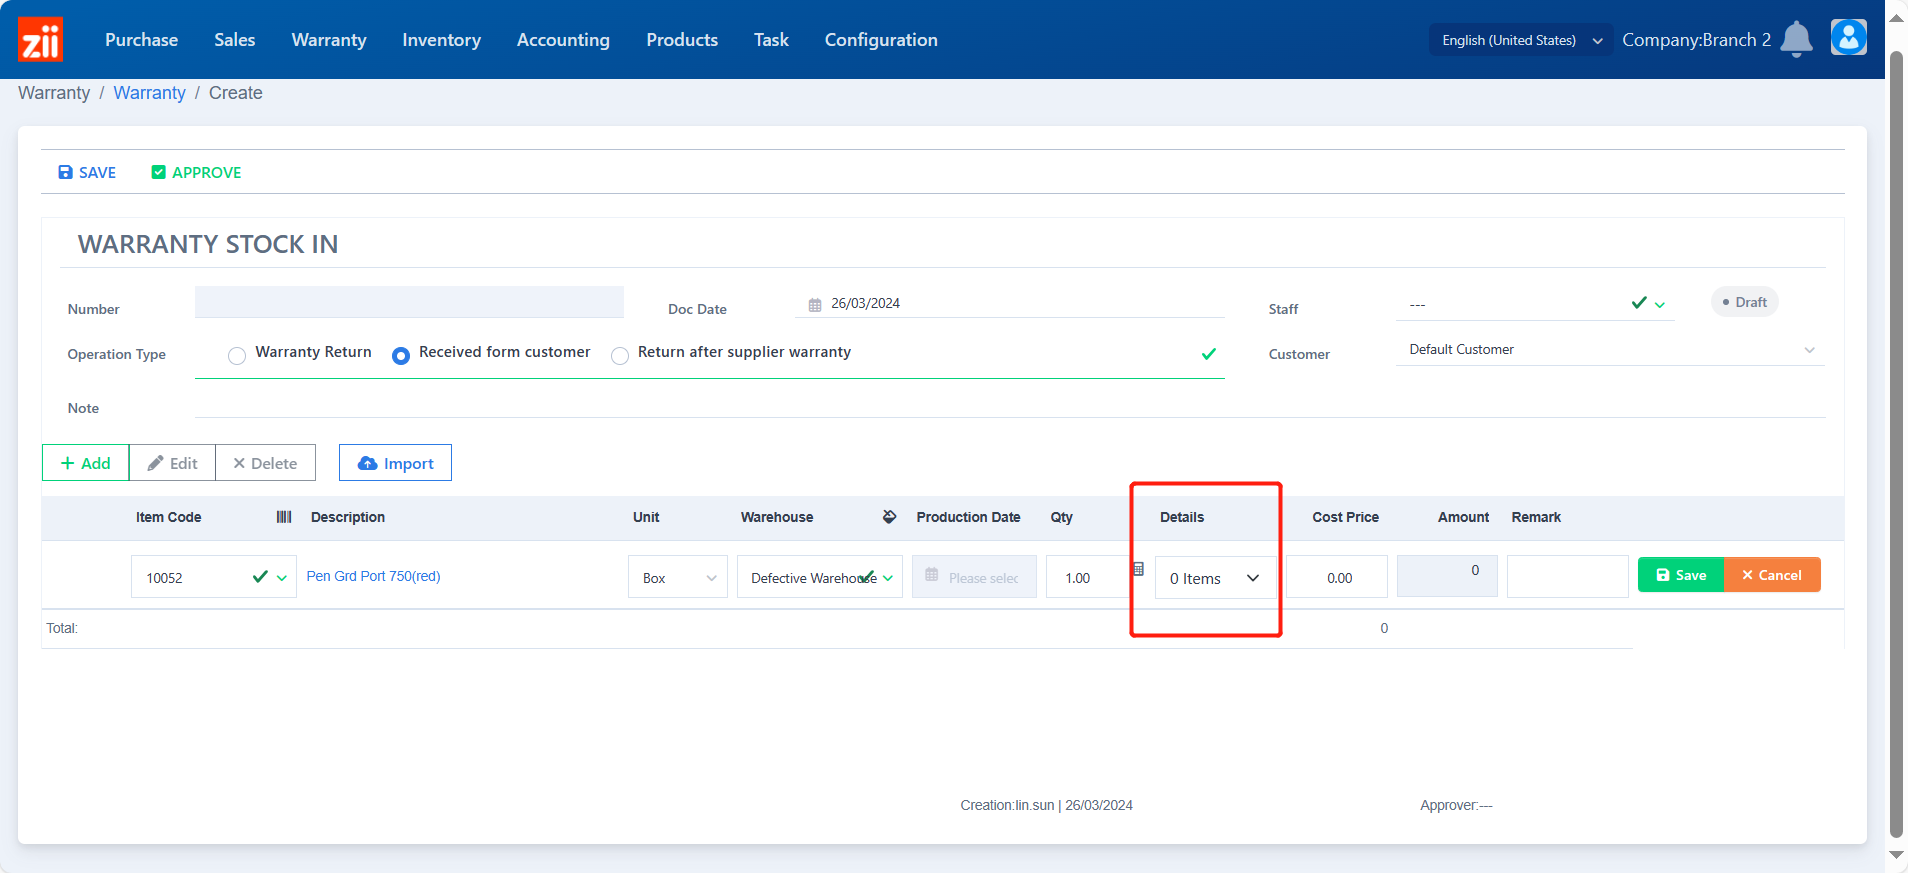
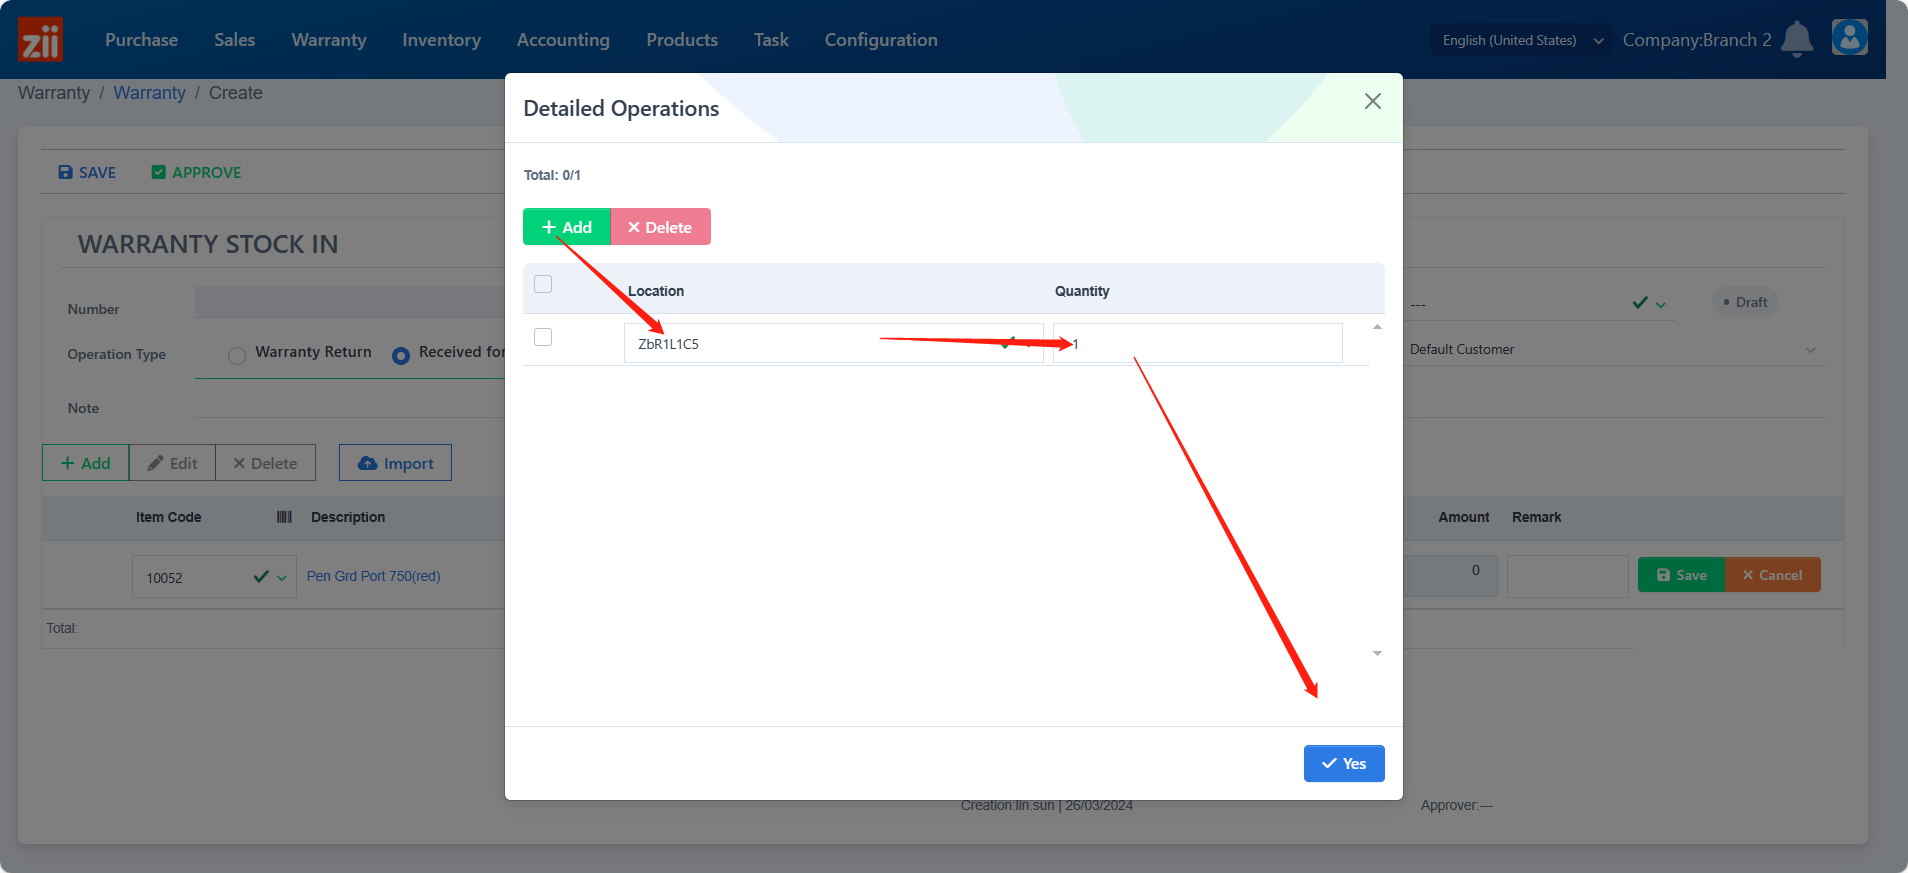
- If the warehouse is enabled with location management, location details need to be modified by clicking on the blank under “Details”.
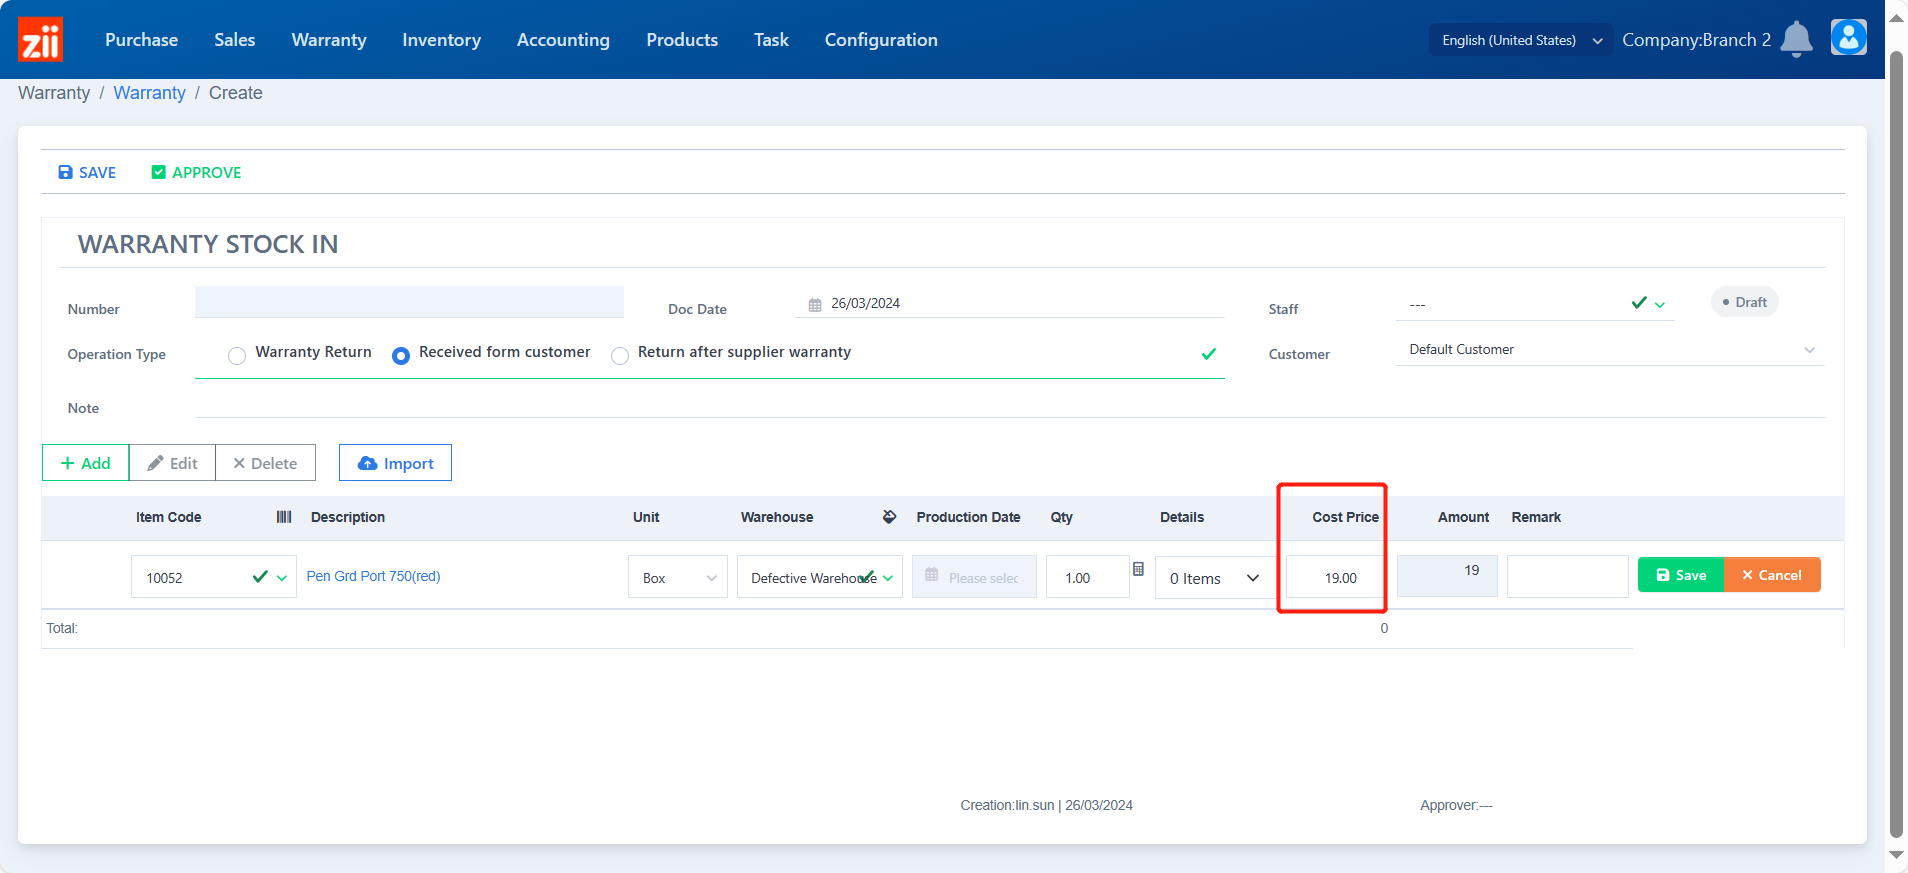
- Enter the cost
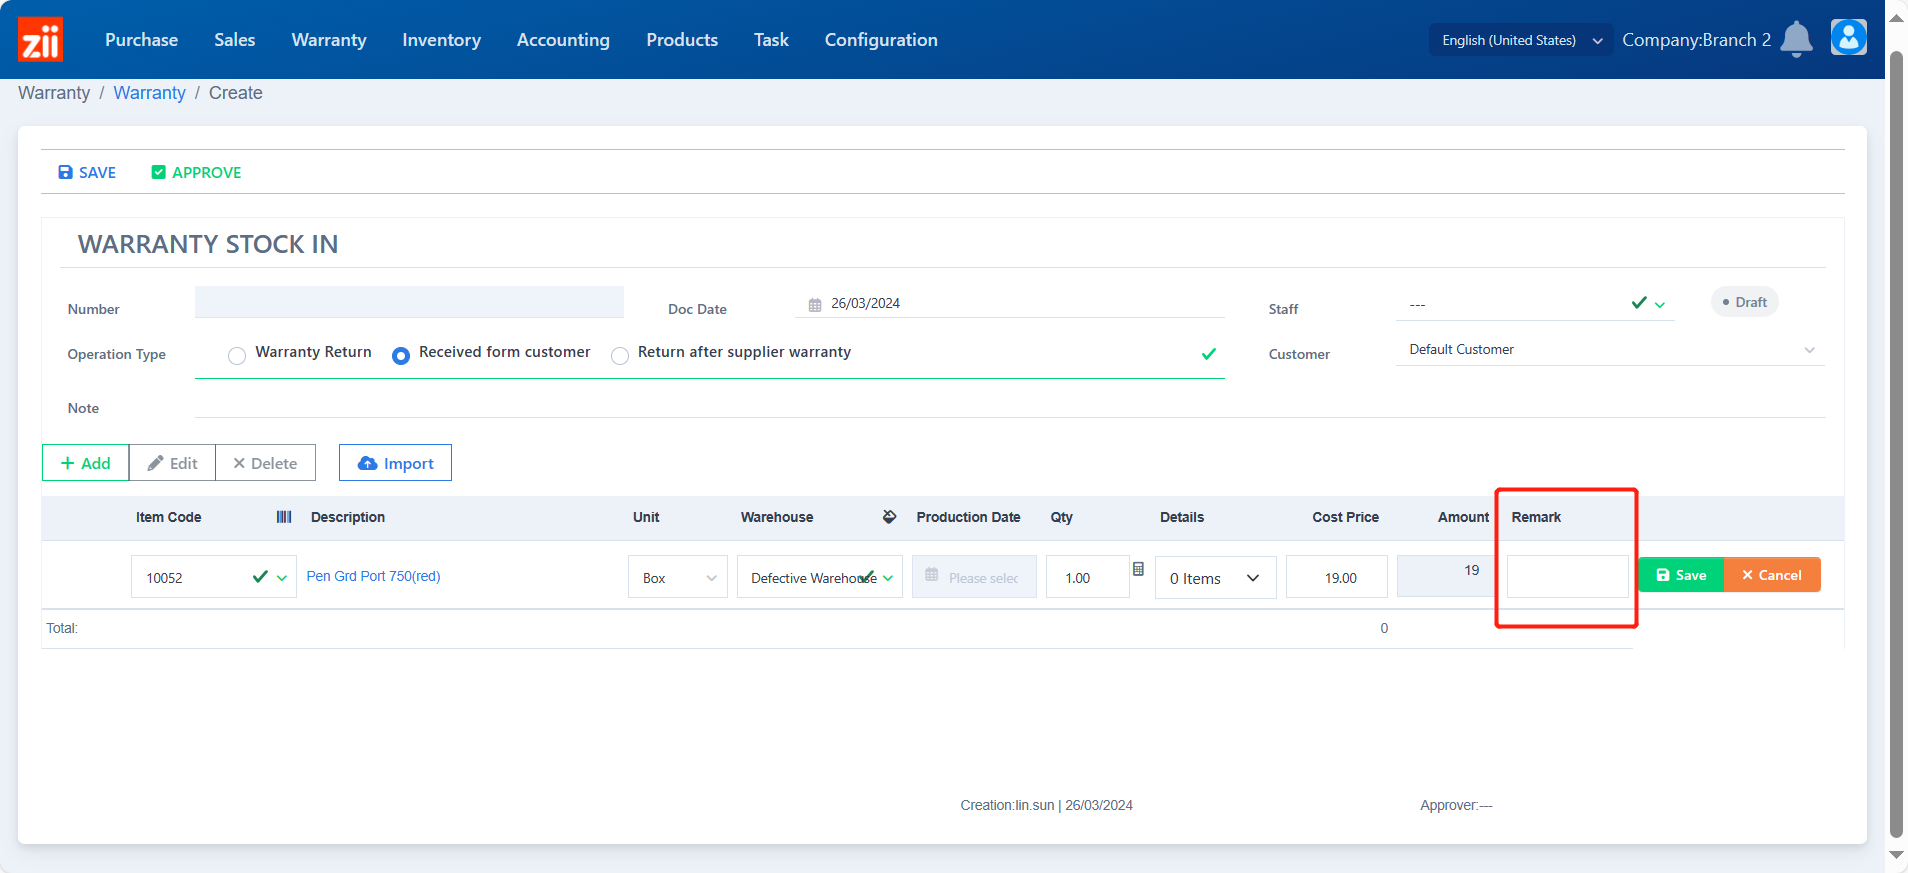
- Leave a remark if needed.
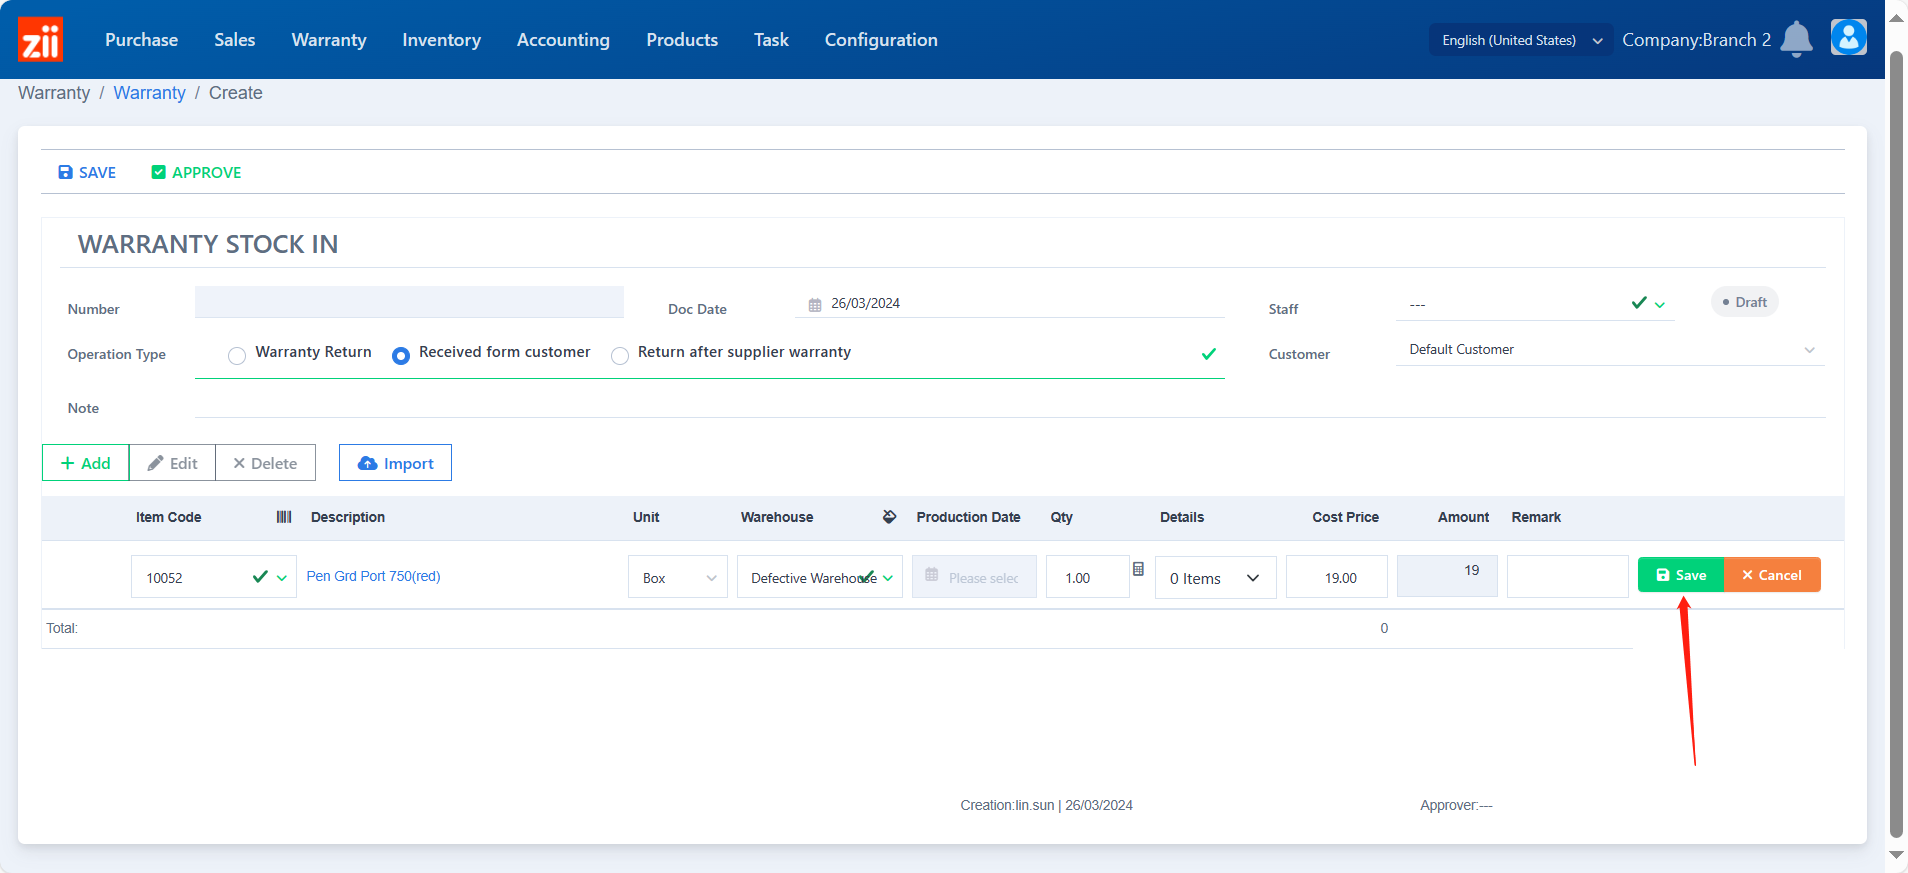
- Save an item.
- Click “Save” in the top left corner.
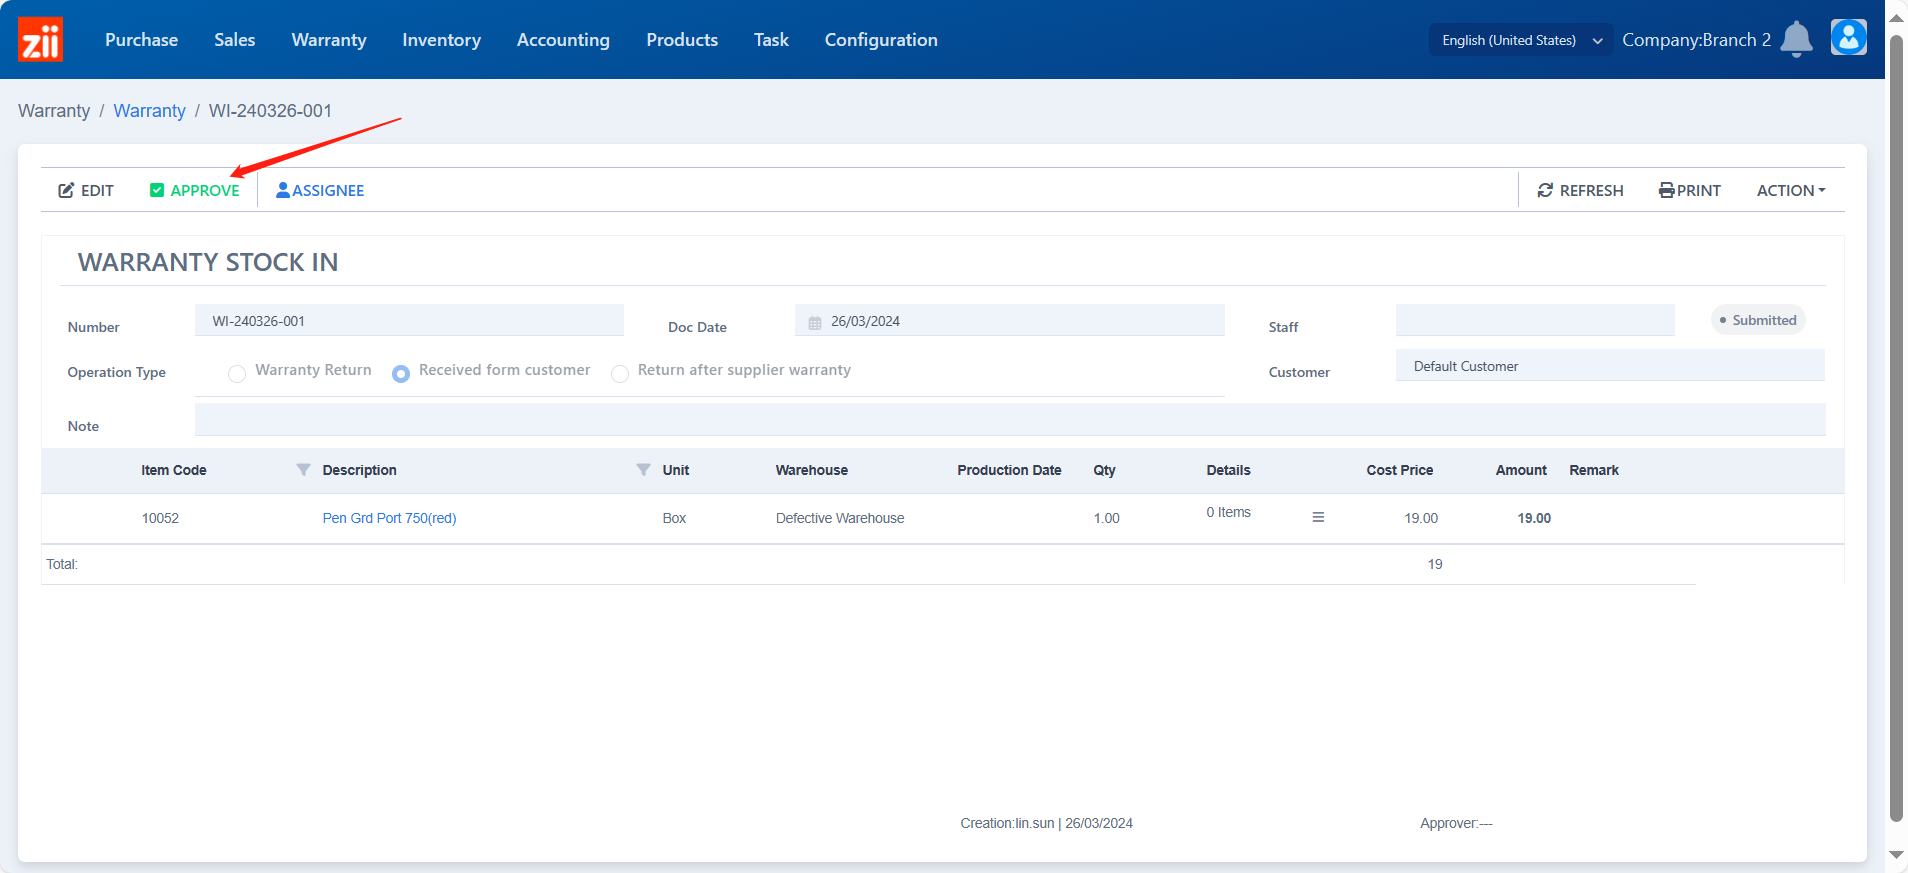
- Approve the ticket.
Stock Out to the Supplier
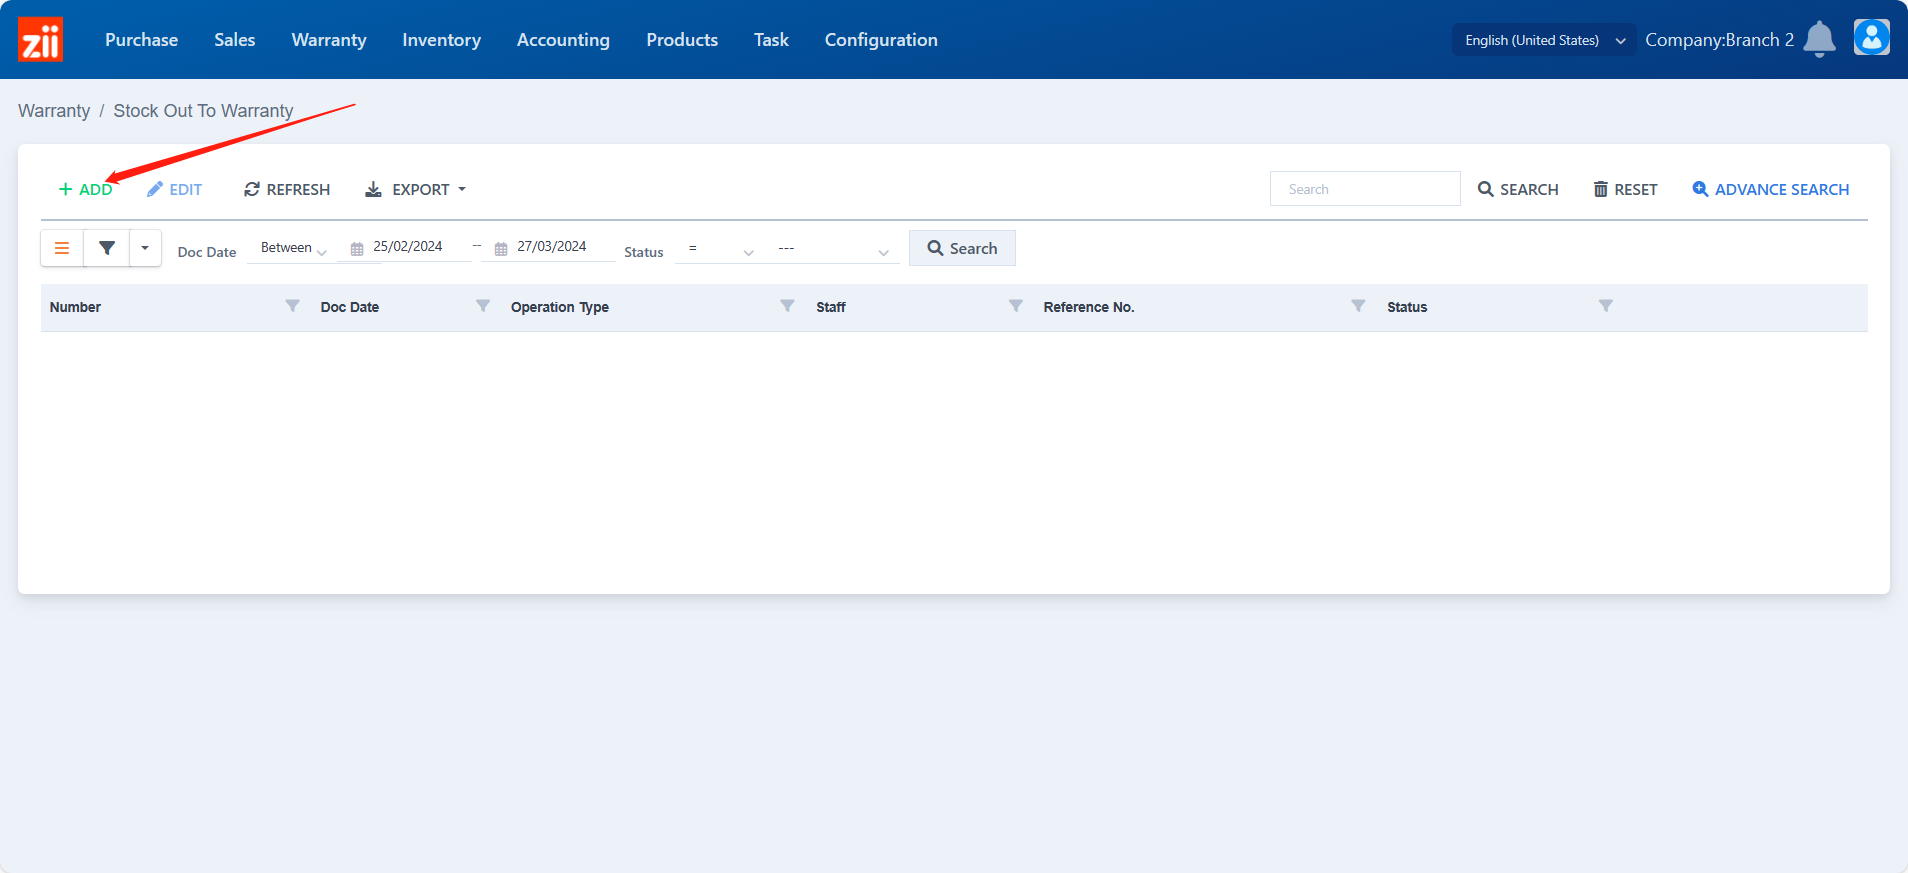
- Go to “Stock Out to Warranty”.

- Click “Add”.
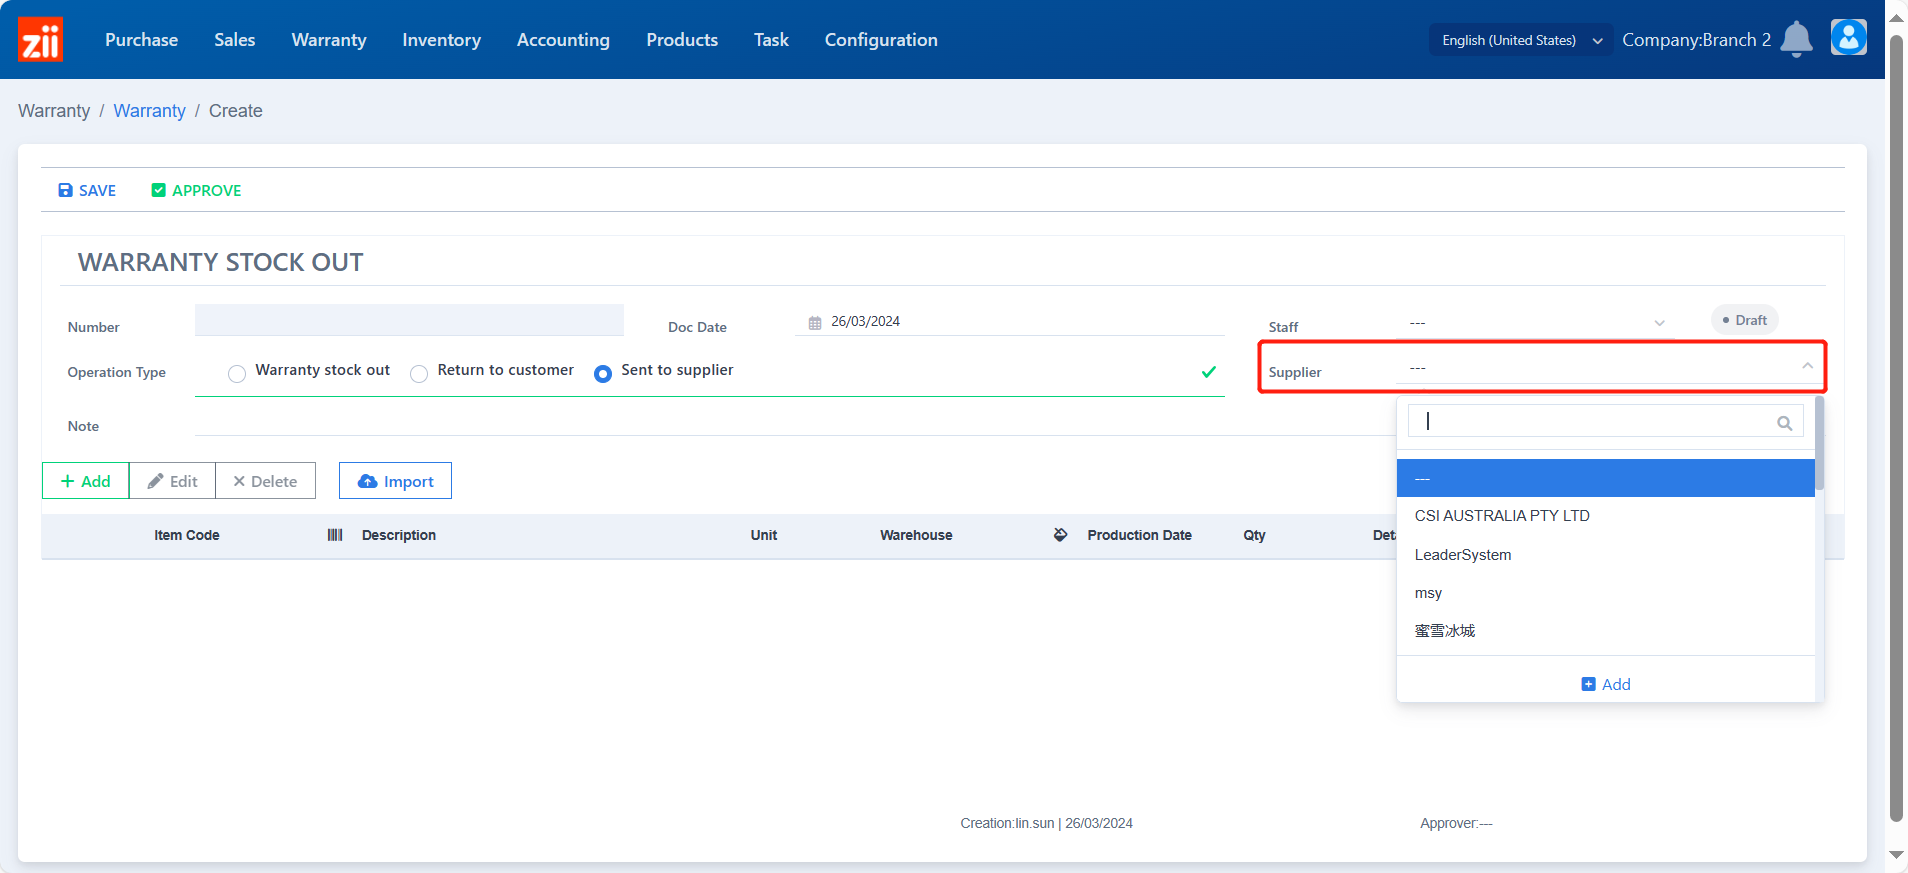
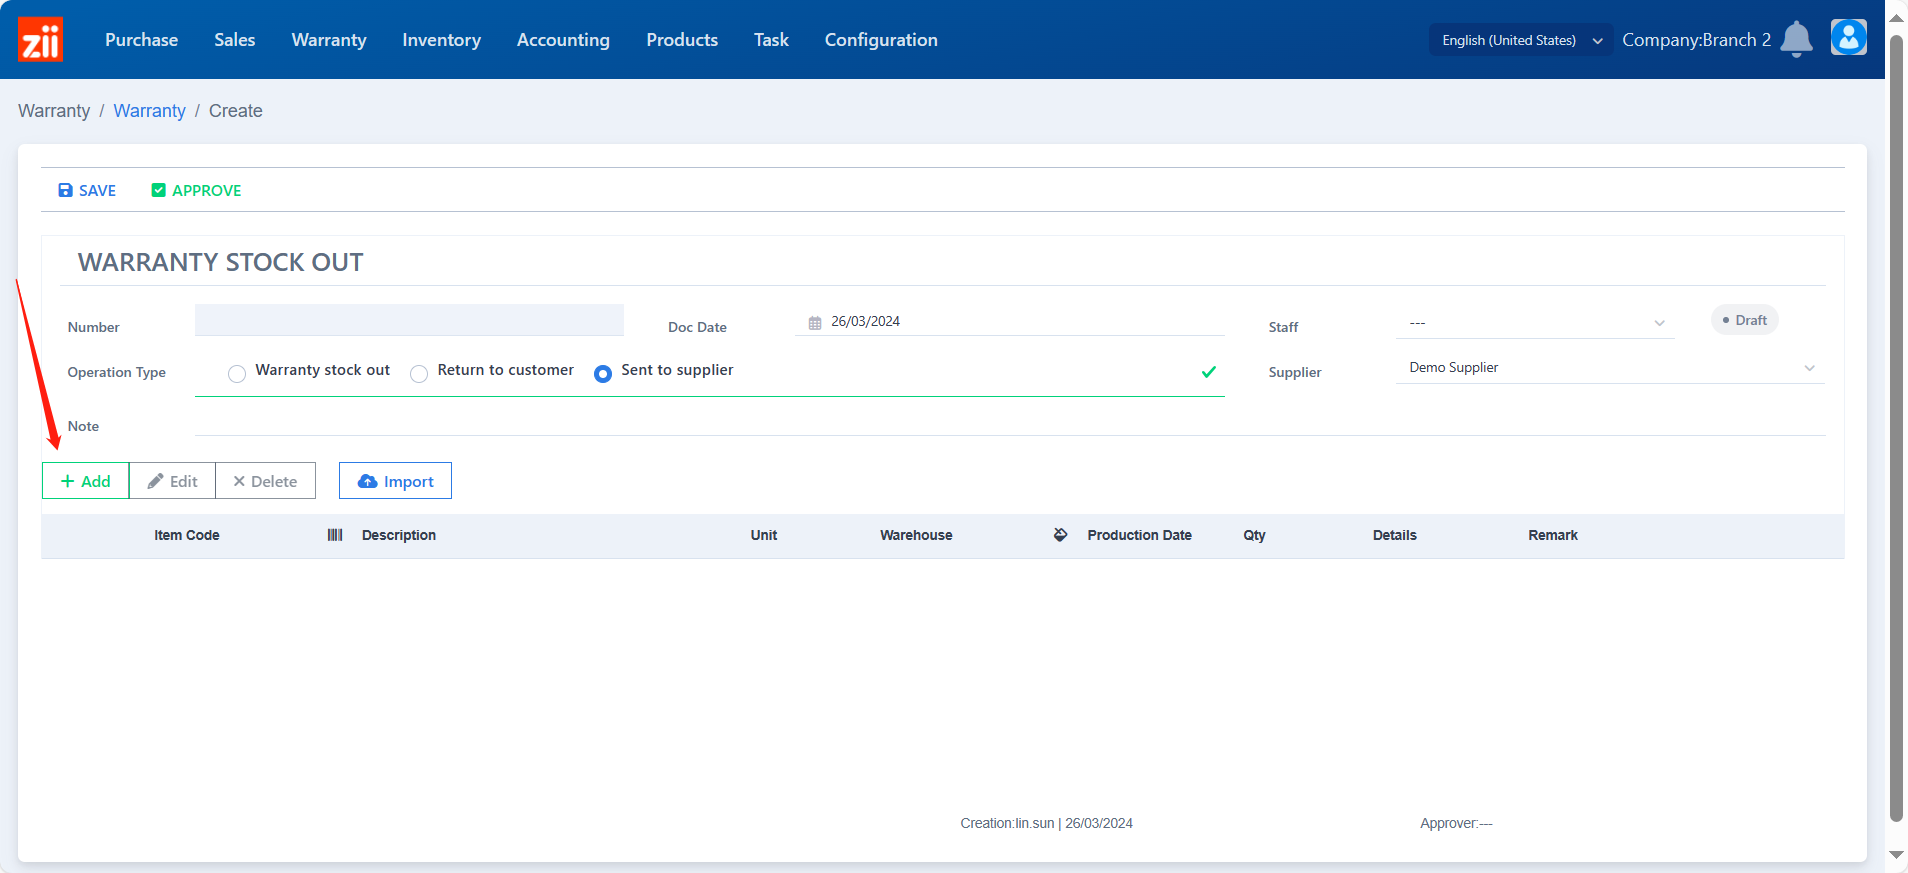
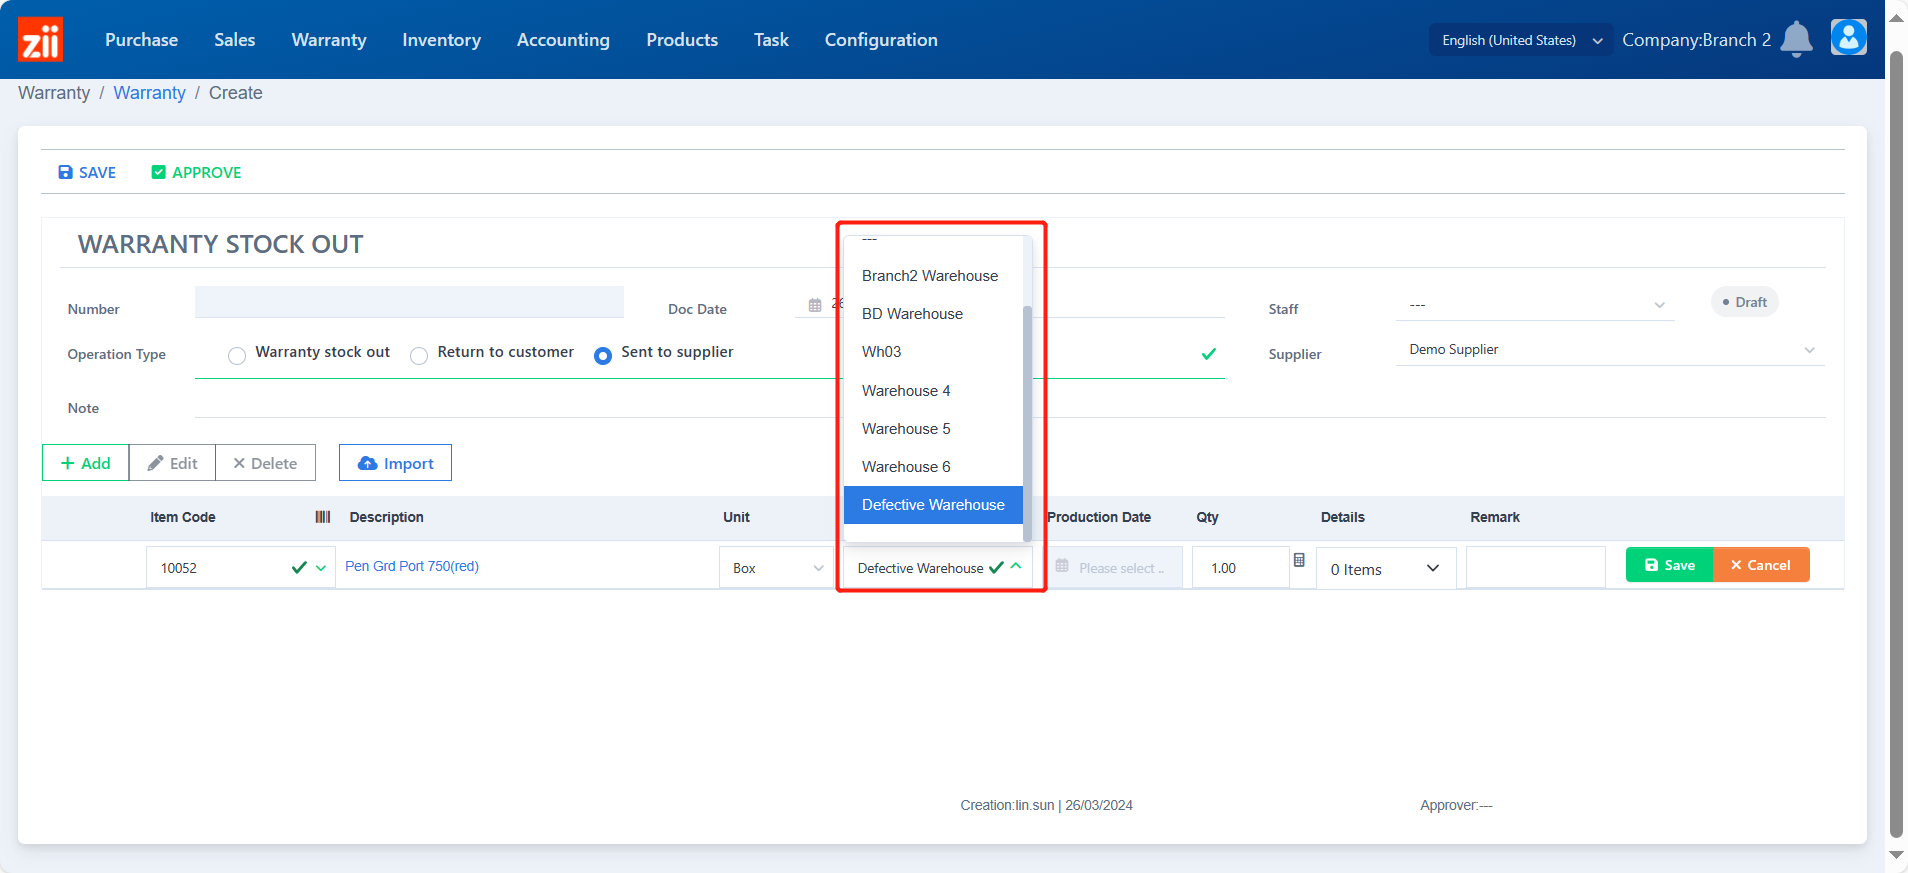
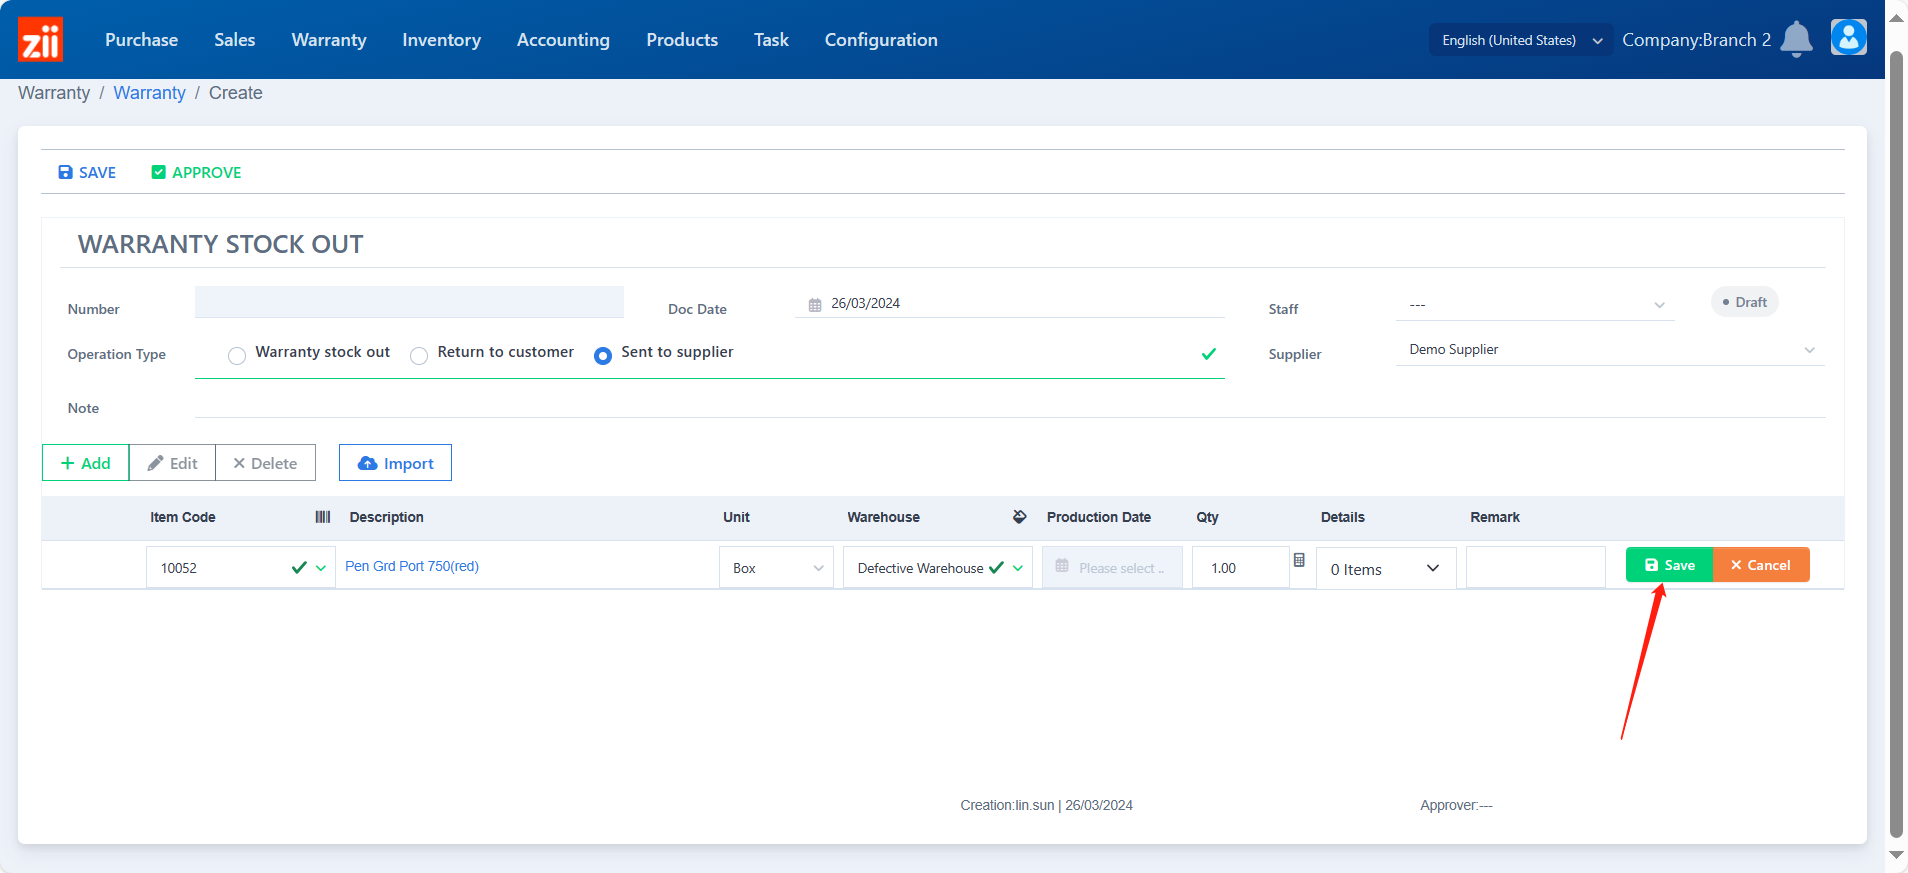
- Choose the type to be “Sent to Supplier”.
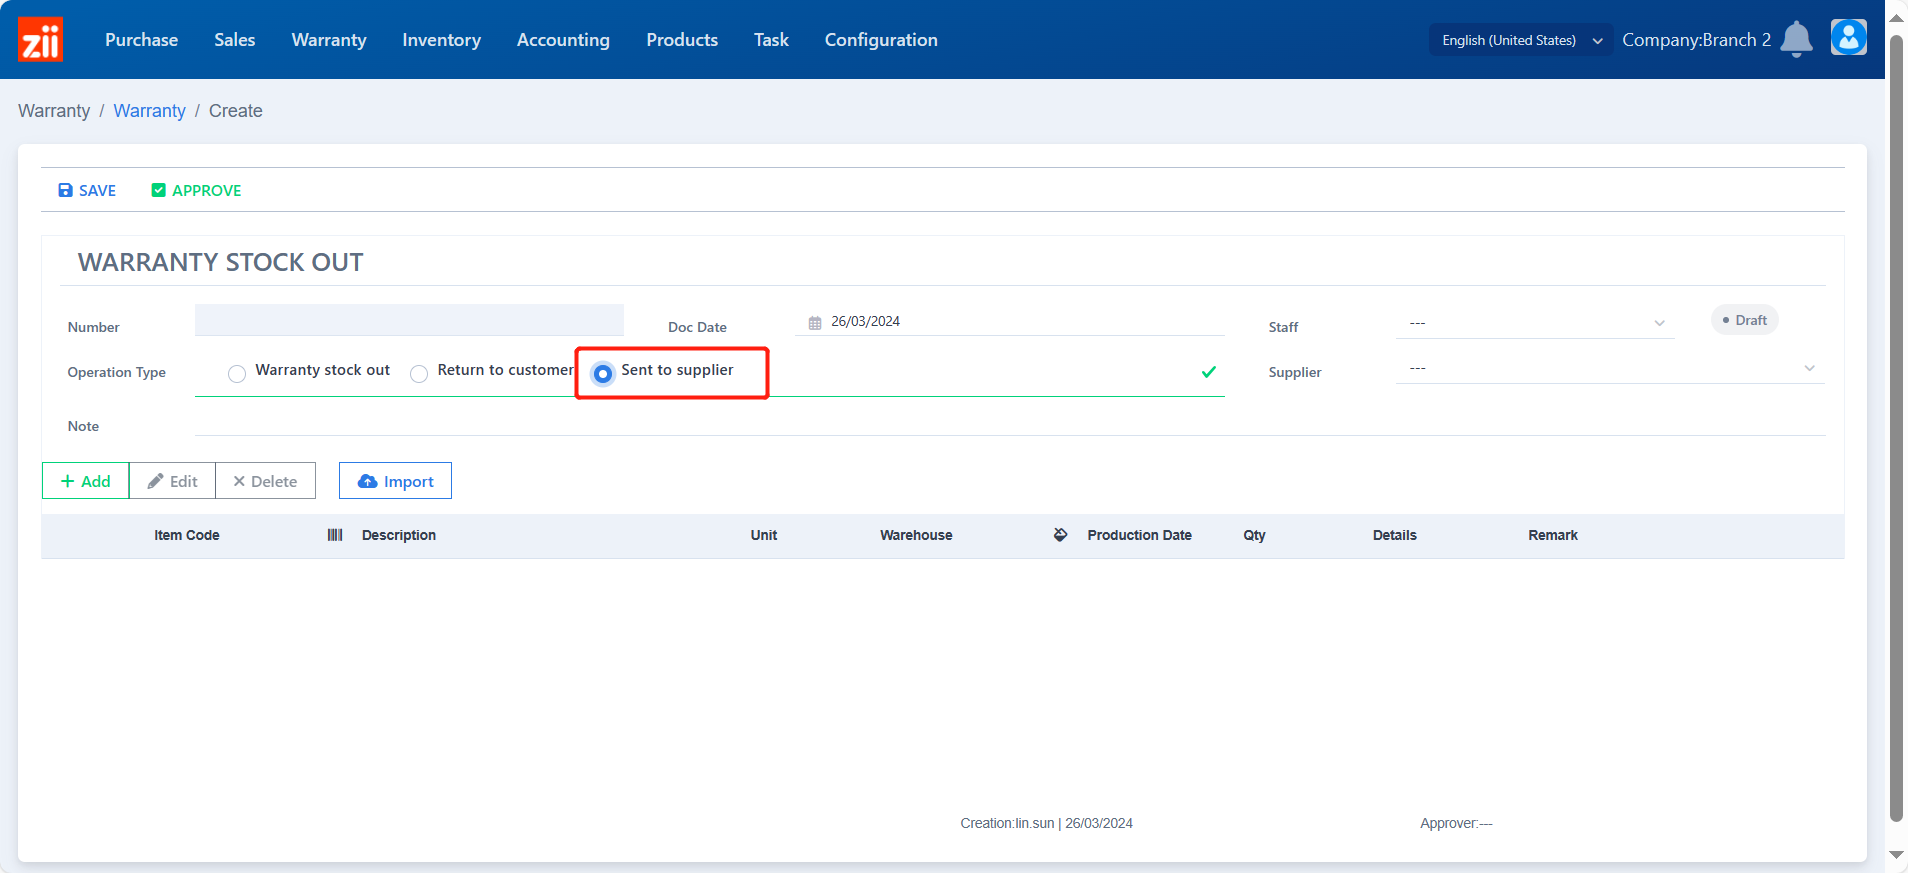
- Select a supplier.
- Click on “Add”.
- Select the item.
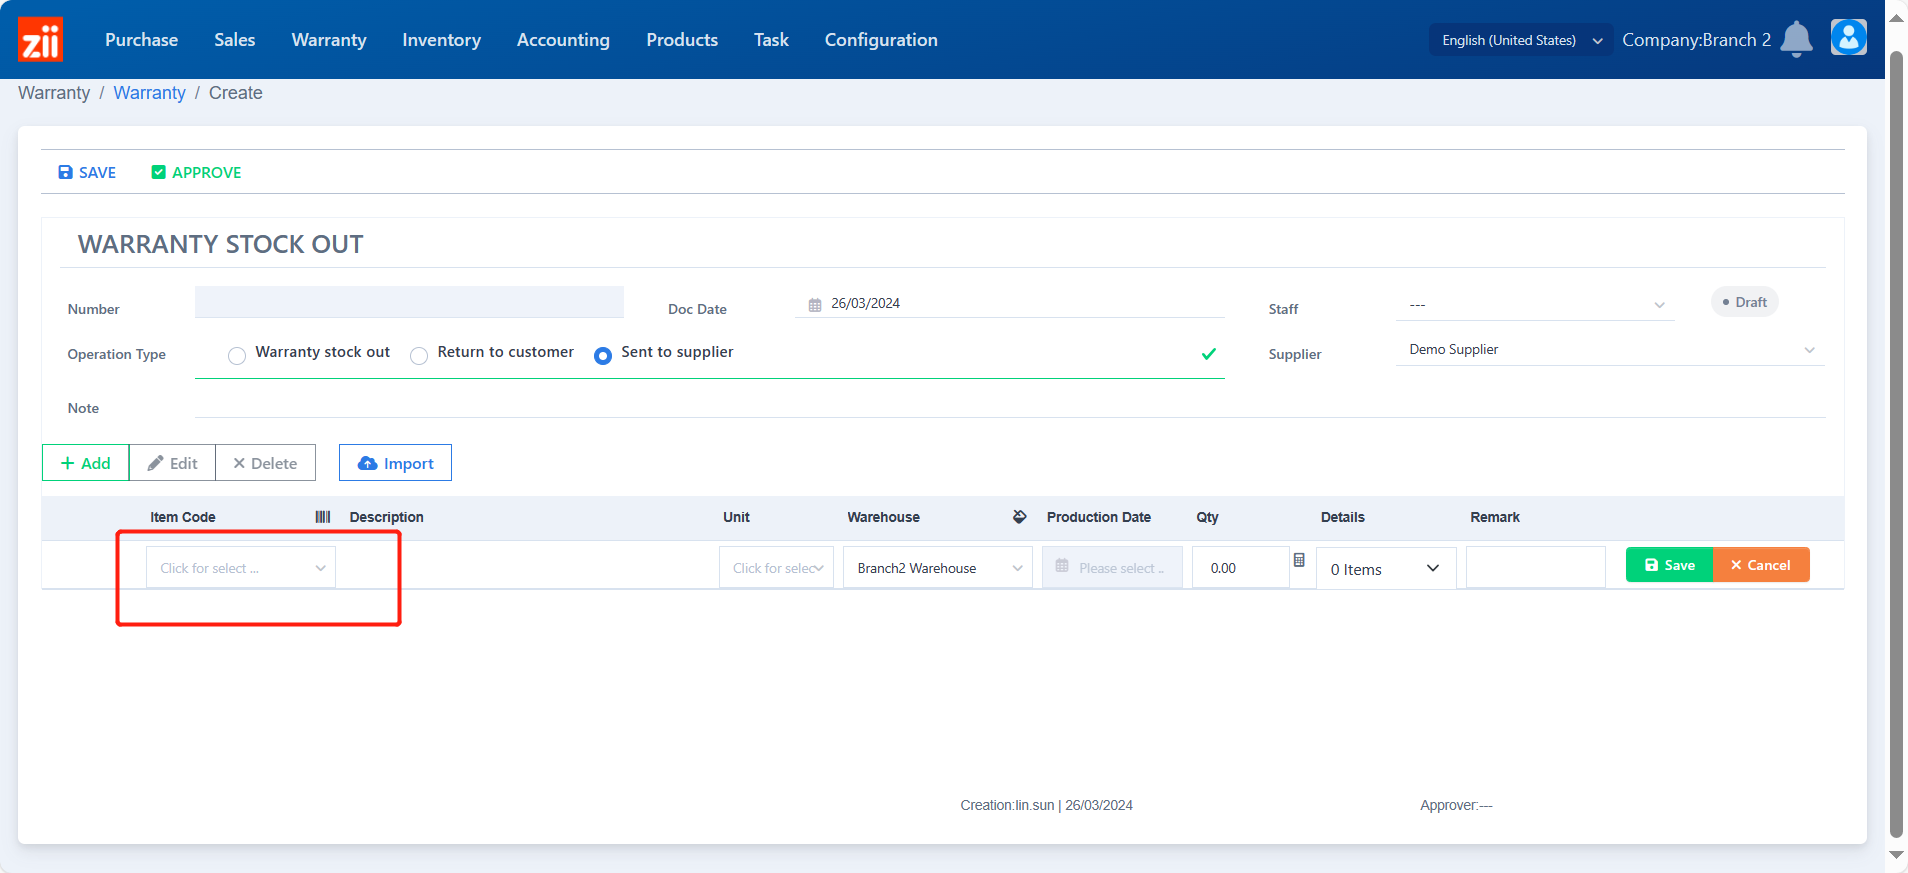
- Choose a unit if needed.
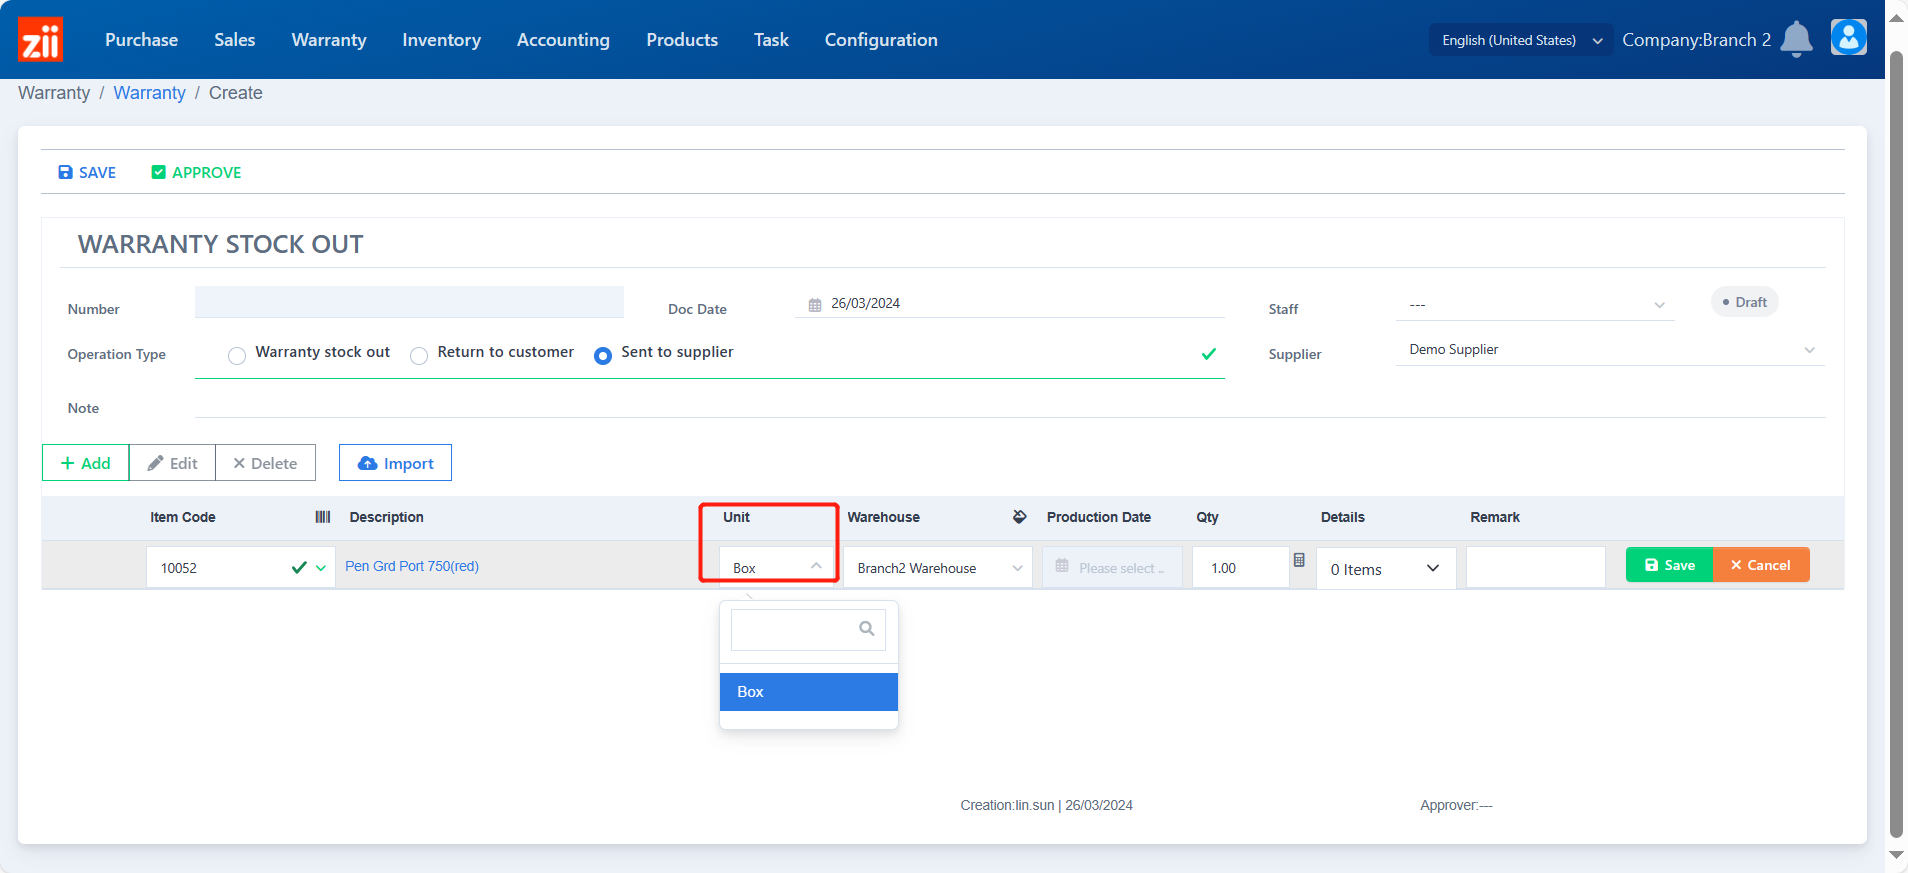
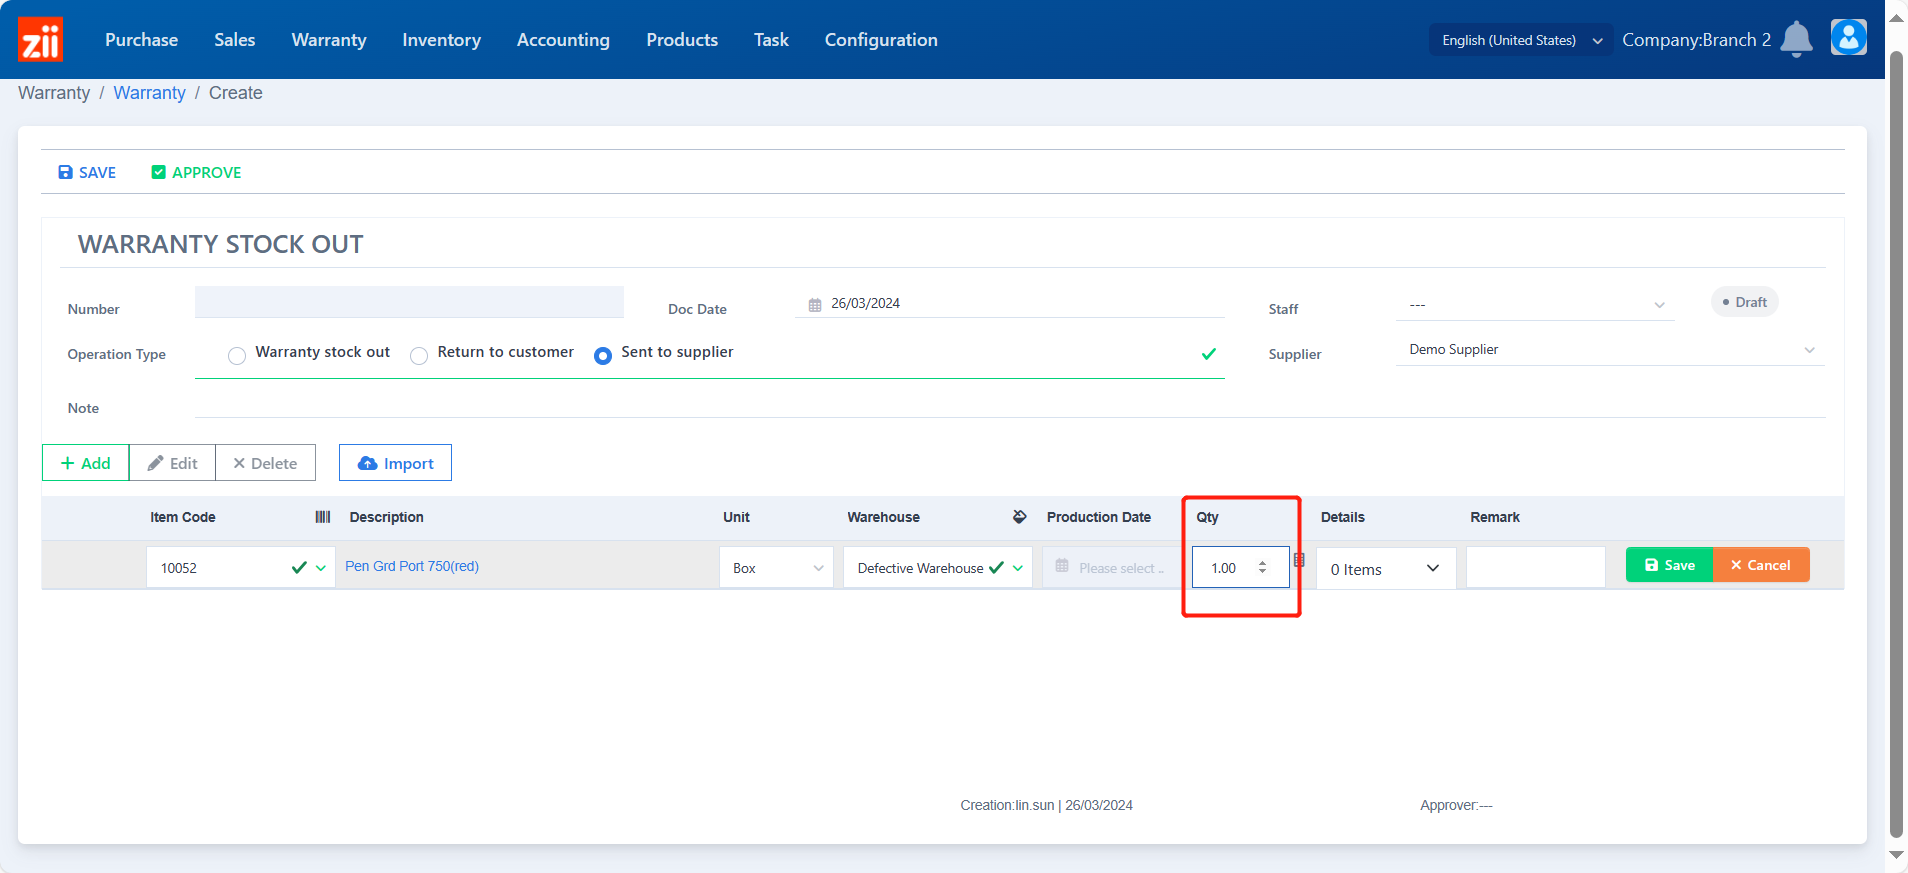
- Choose a warehouse.
- Enter the quantity.
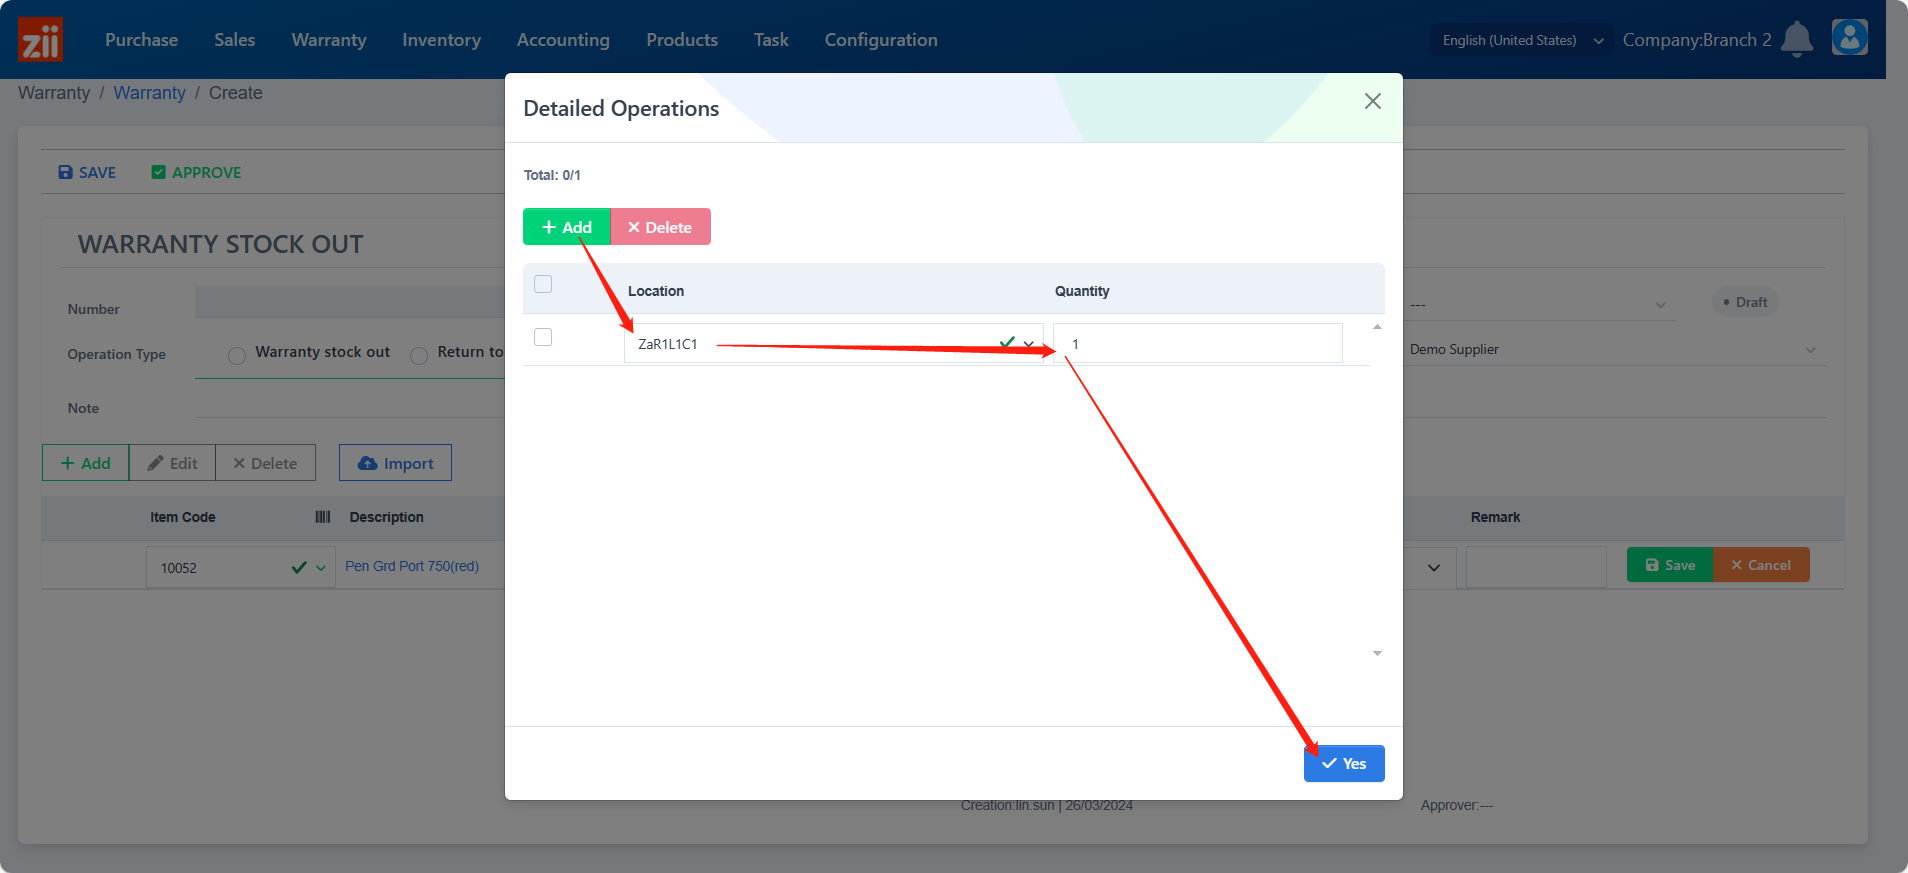
- If the warehouse is enabled with location management, location details need to be modified by clicking on the blank under “Details”.

- Leave a remark if needed.
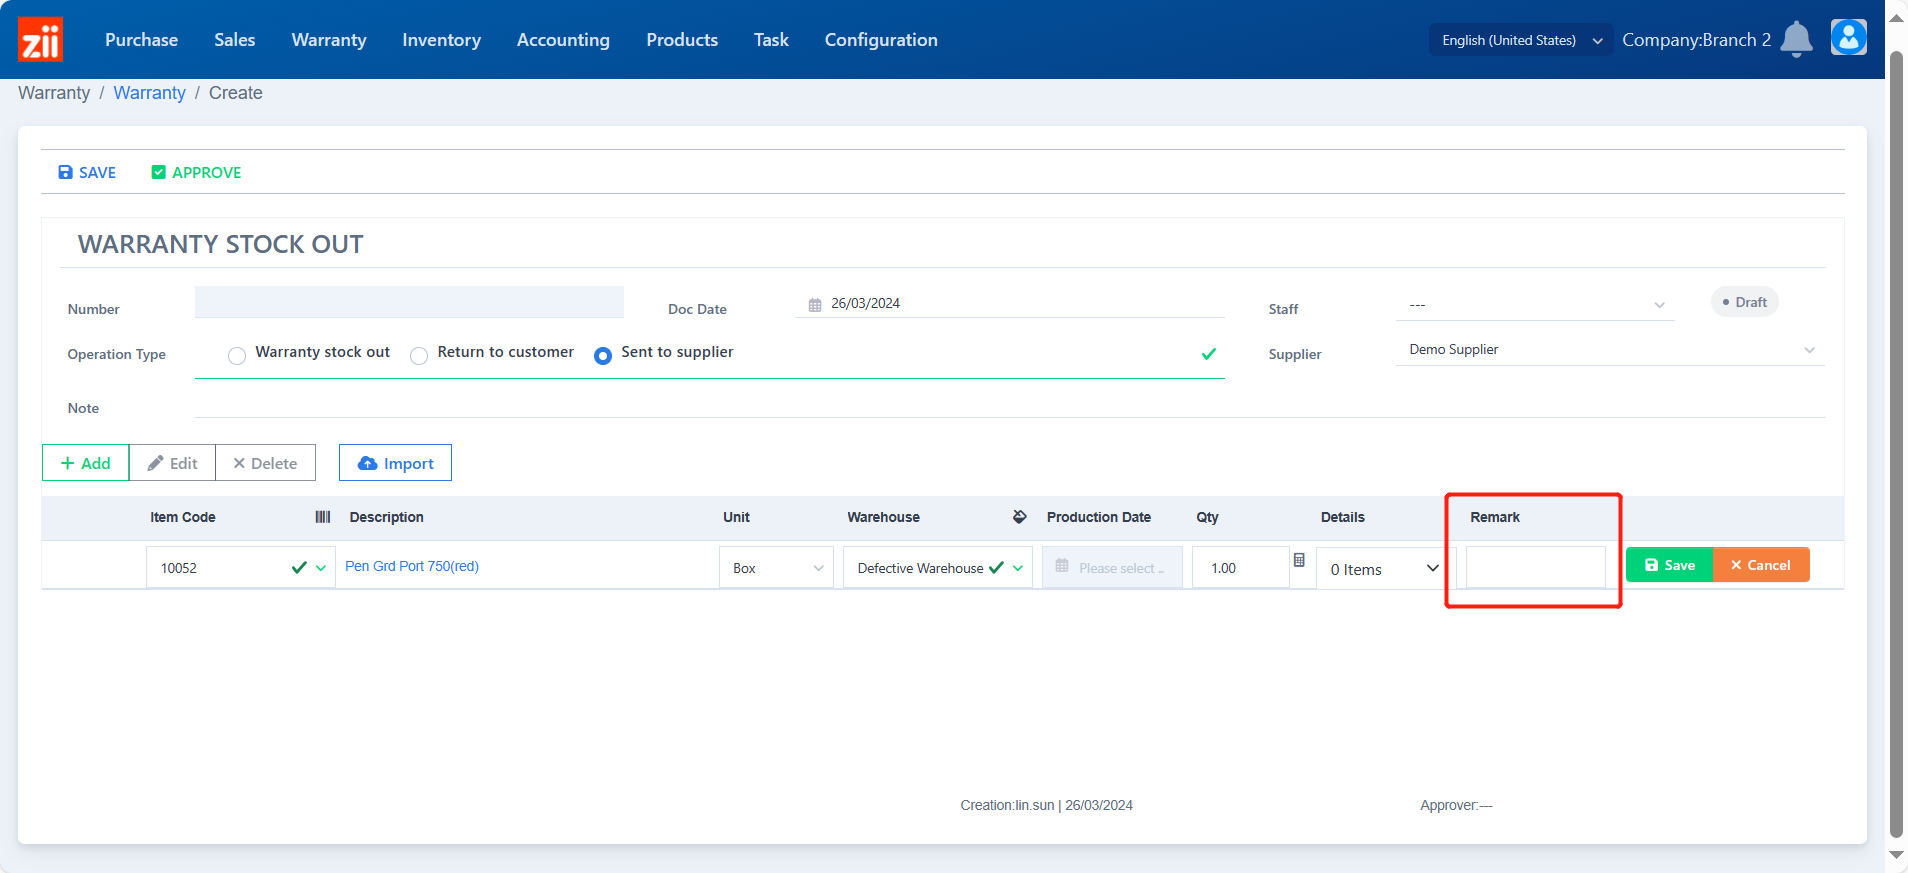
- Click “Save” to save the item.
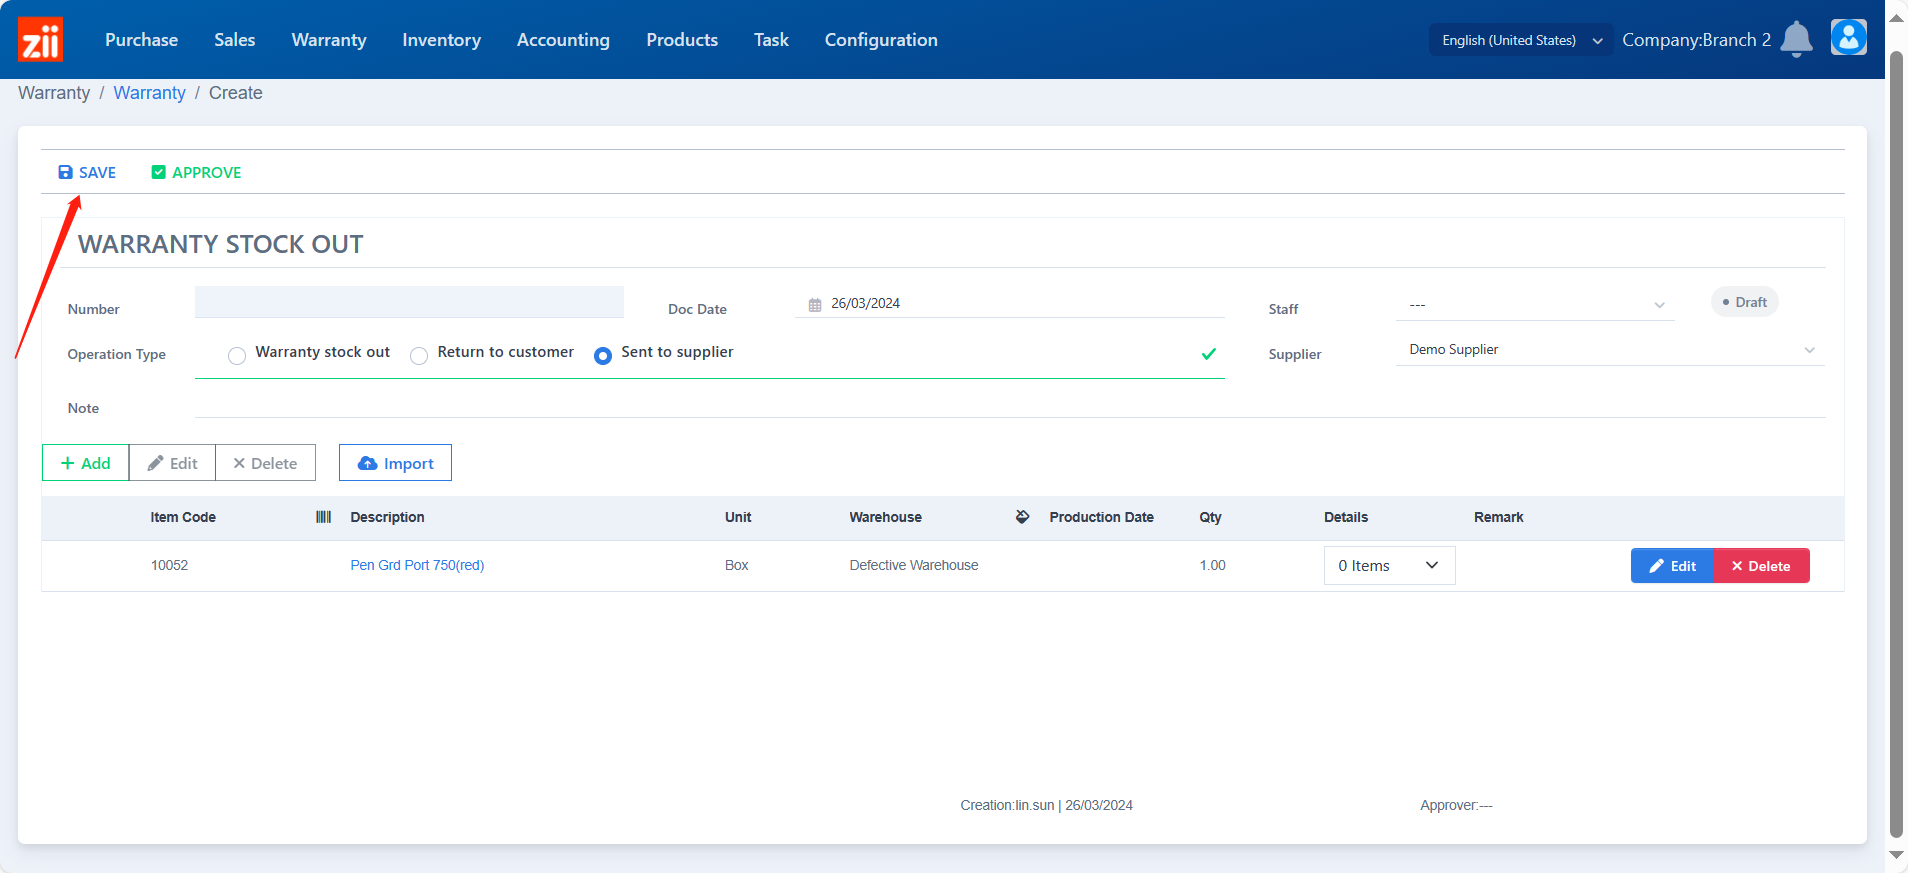
- Click “Save”.
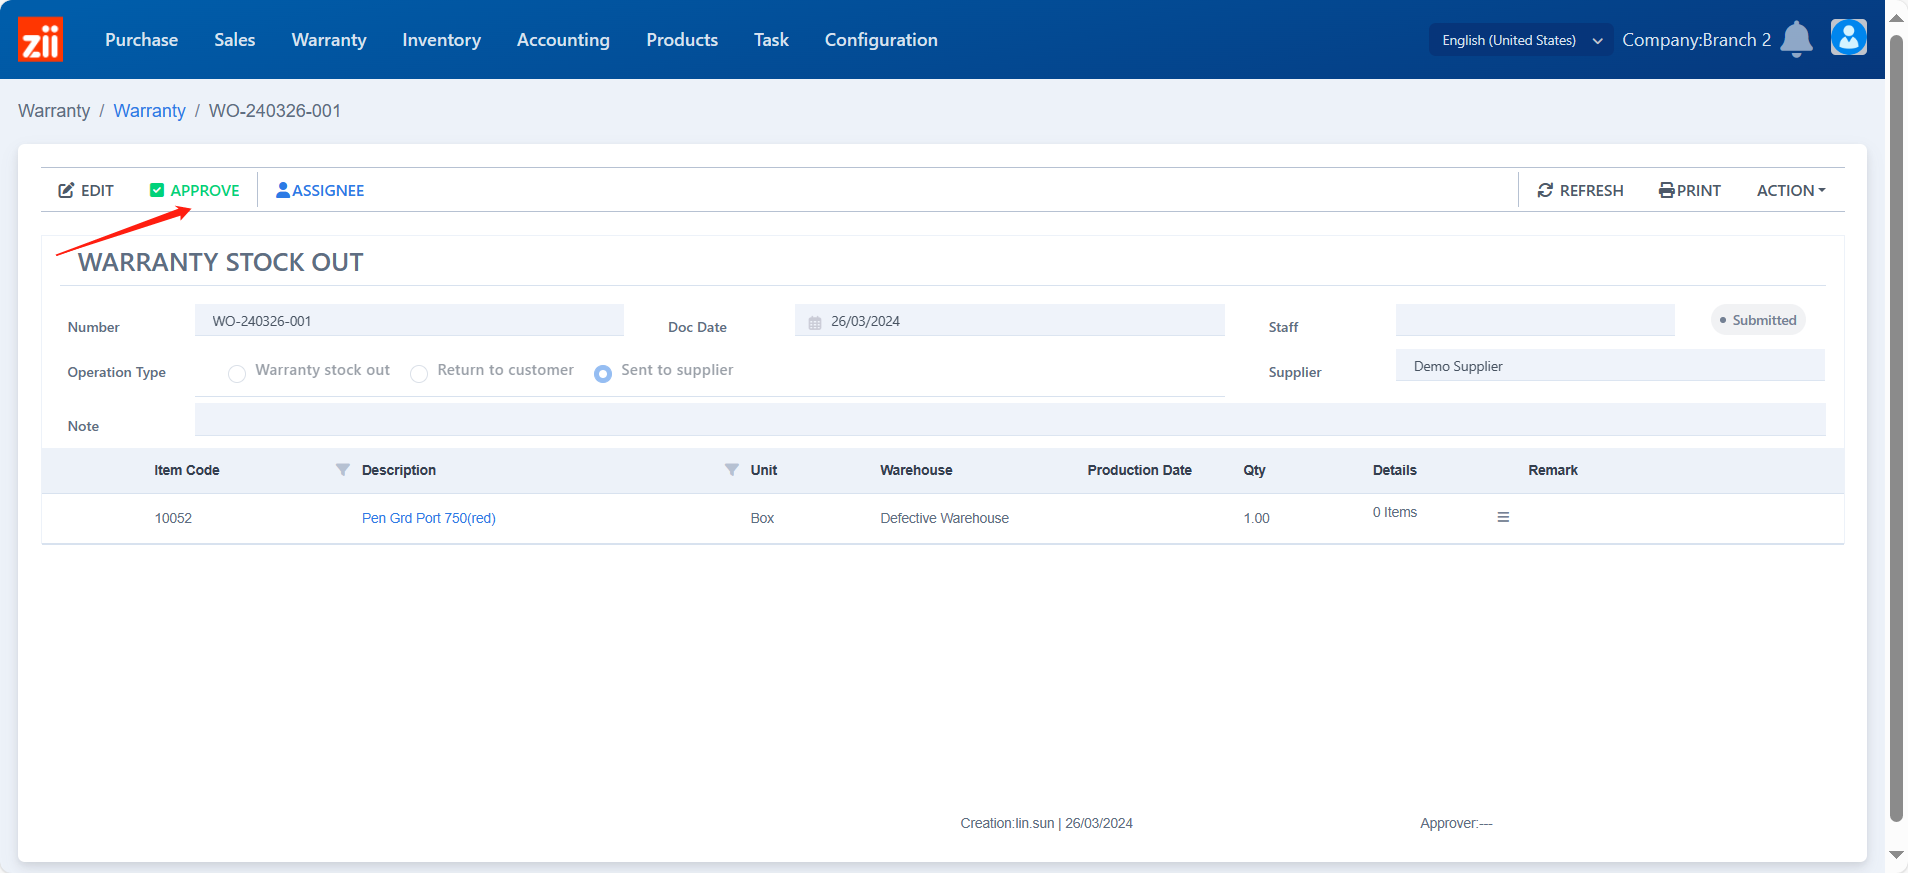
- Click “APPROVE” to confirm.
- Go to Warranty.
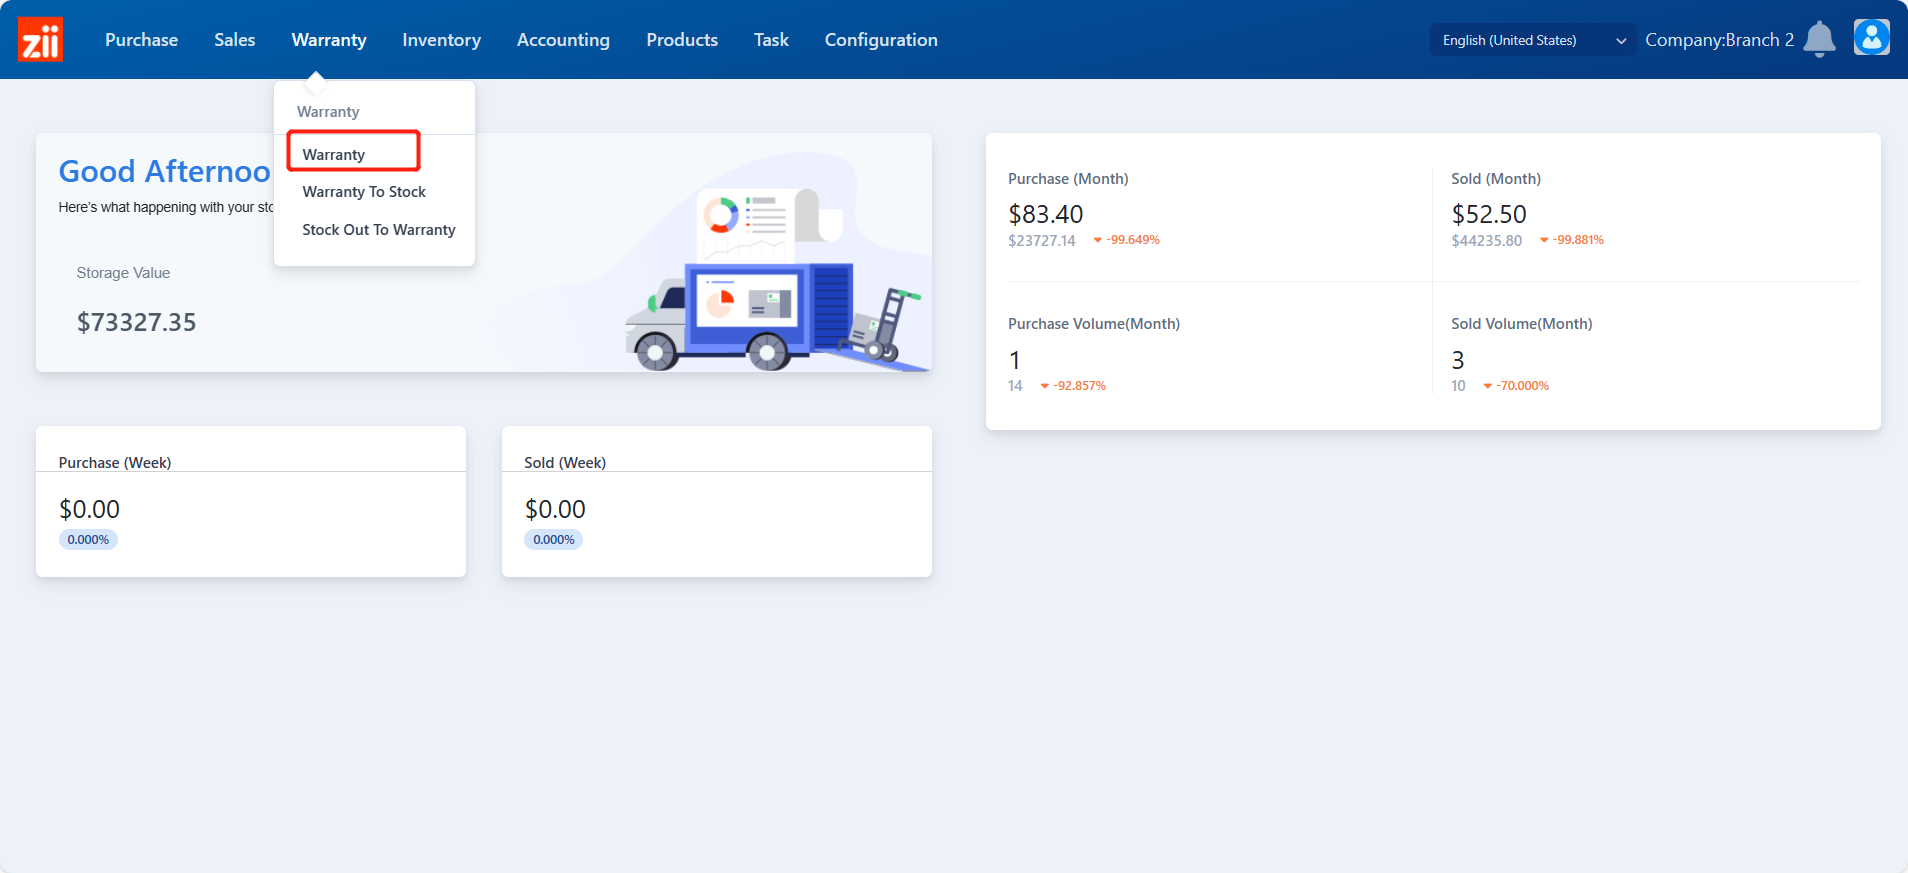
- Double click on the warranty ticket.
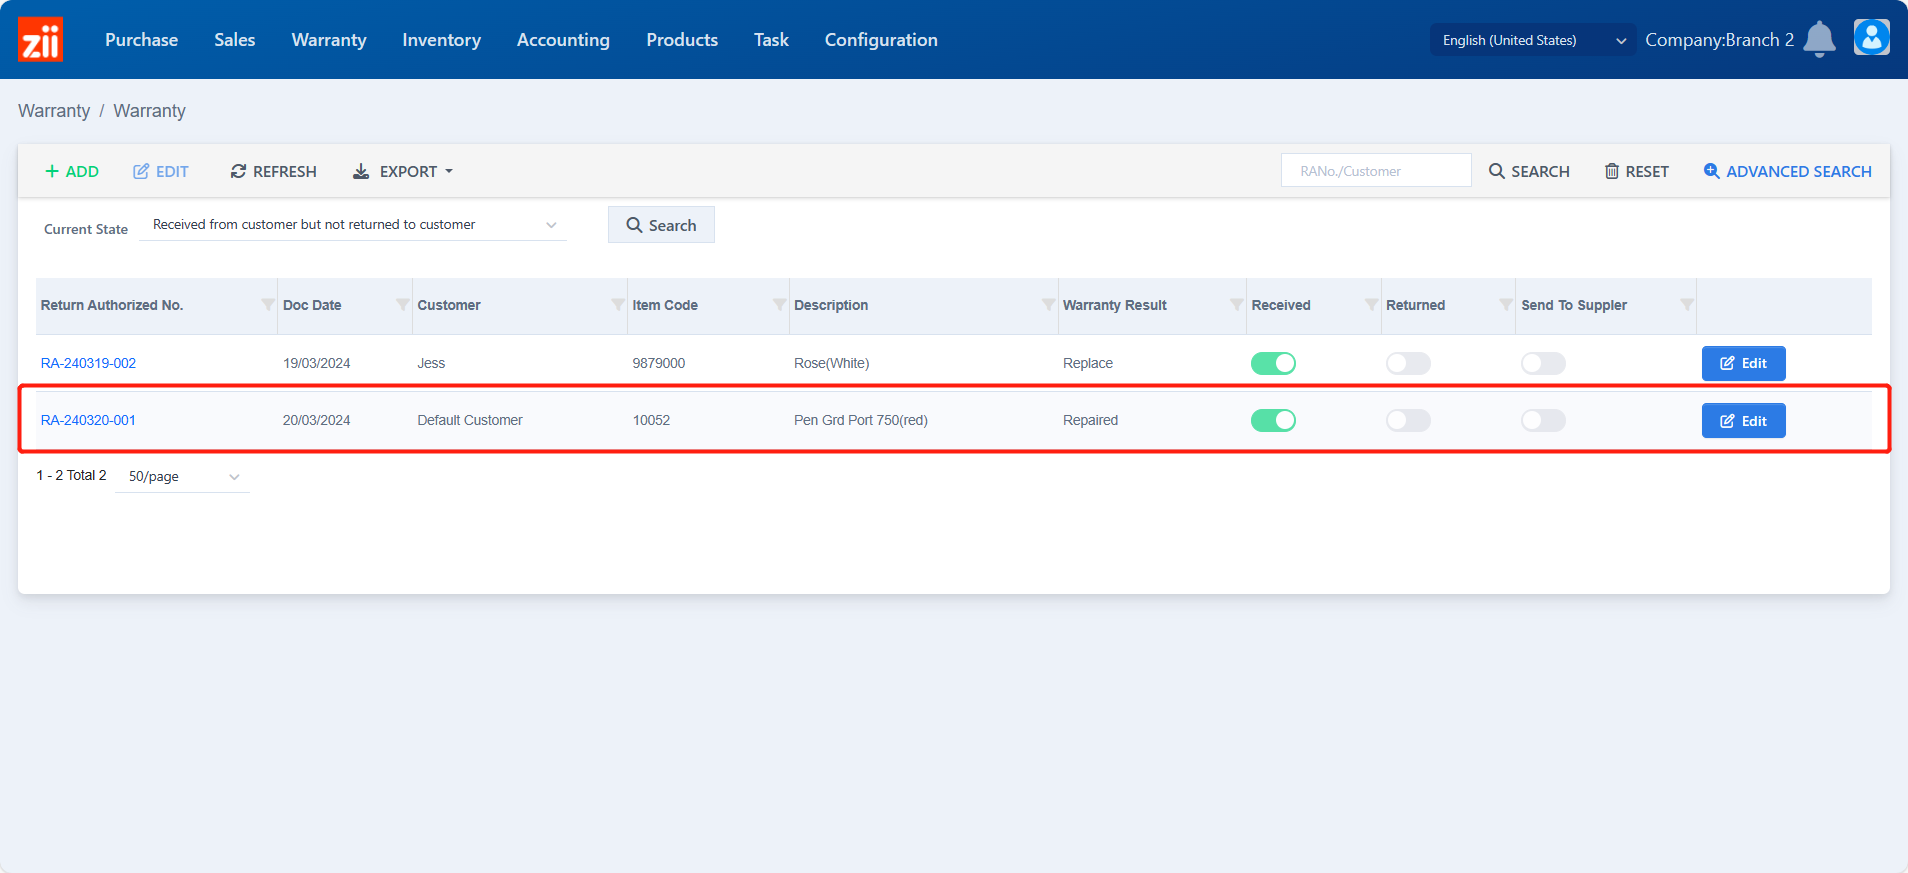
- Click “Edit”.
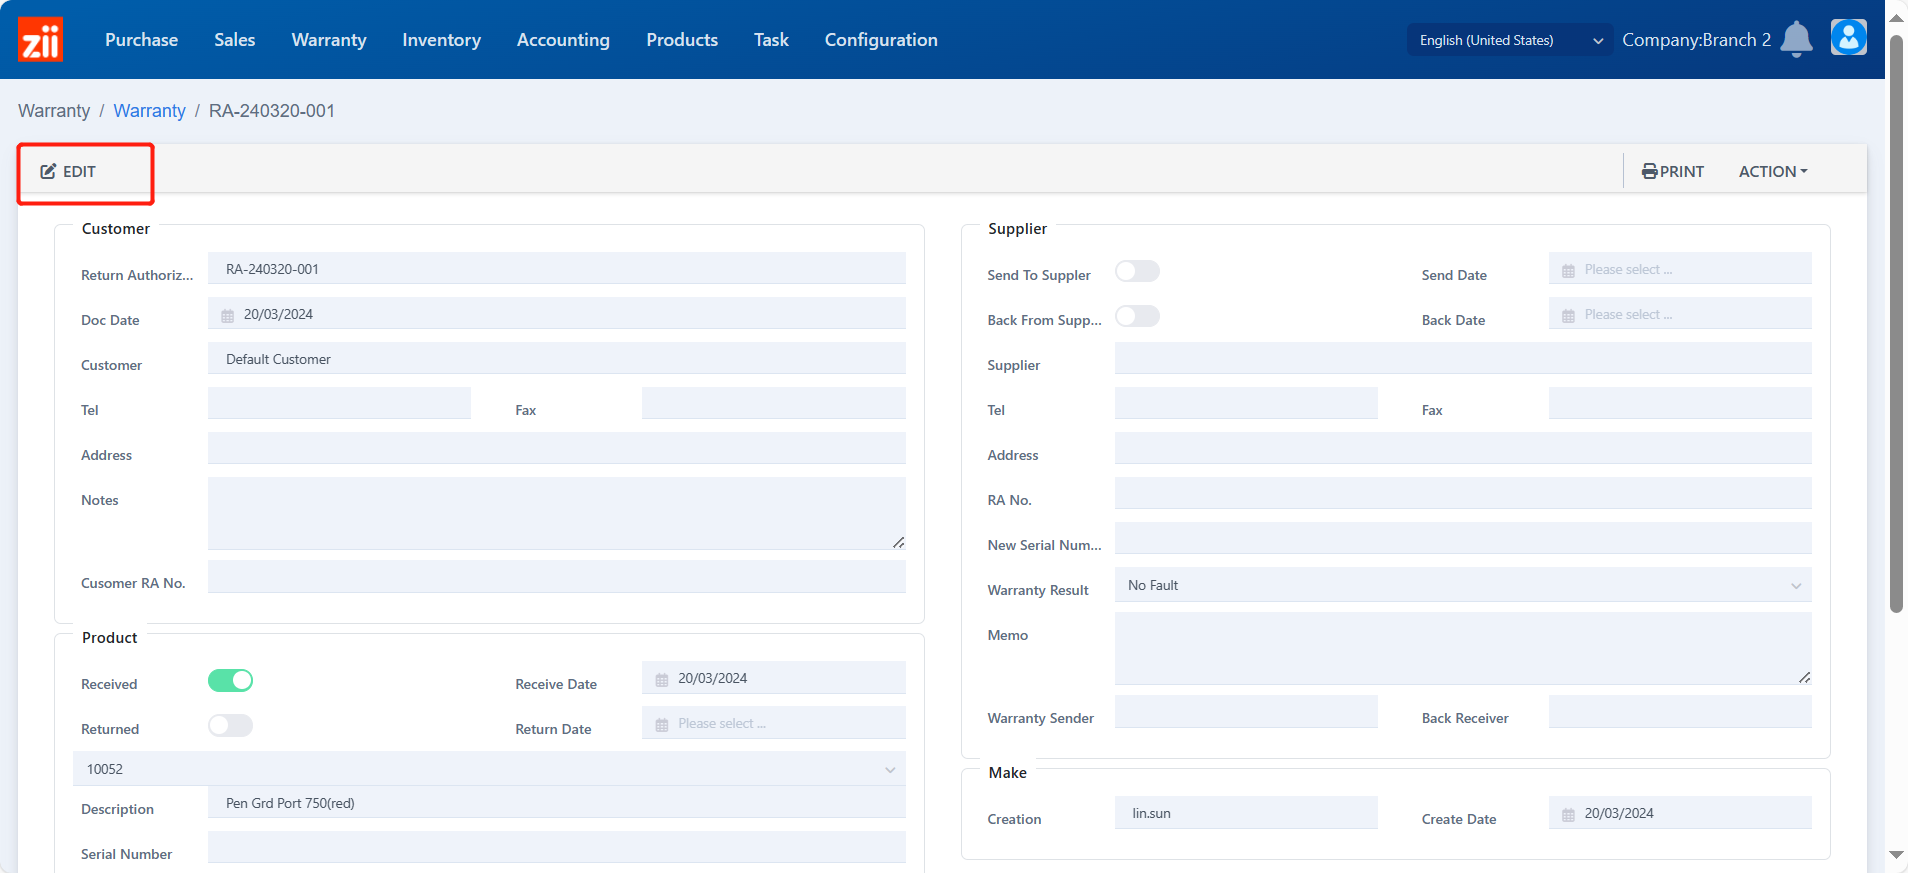
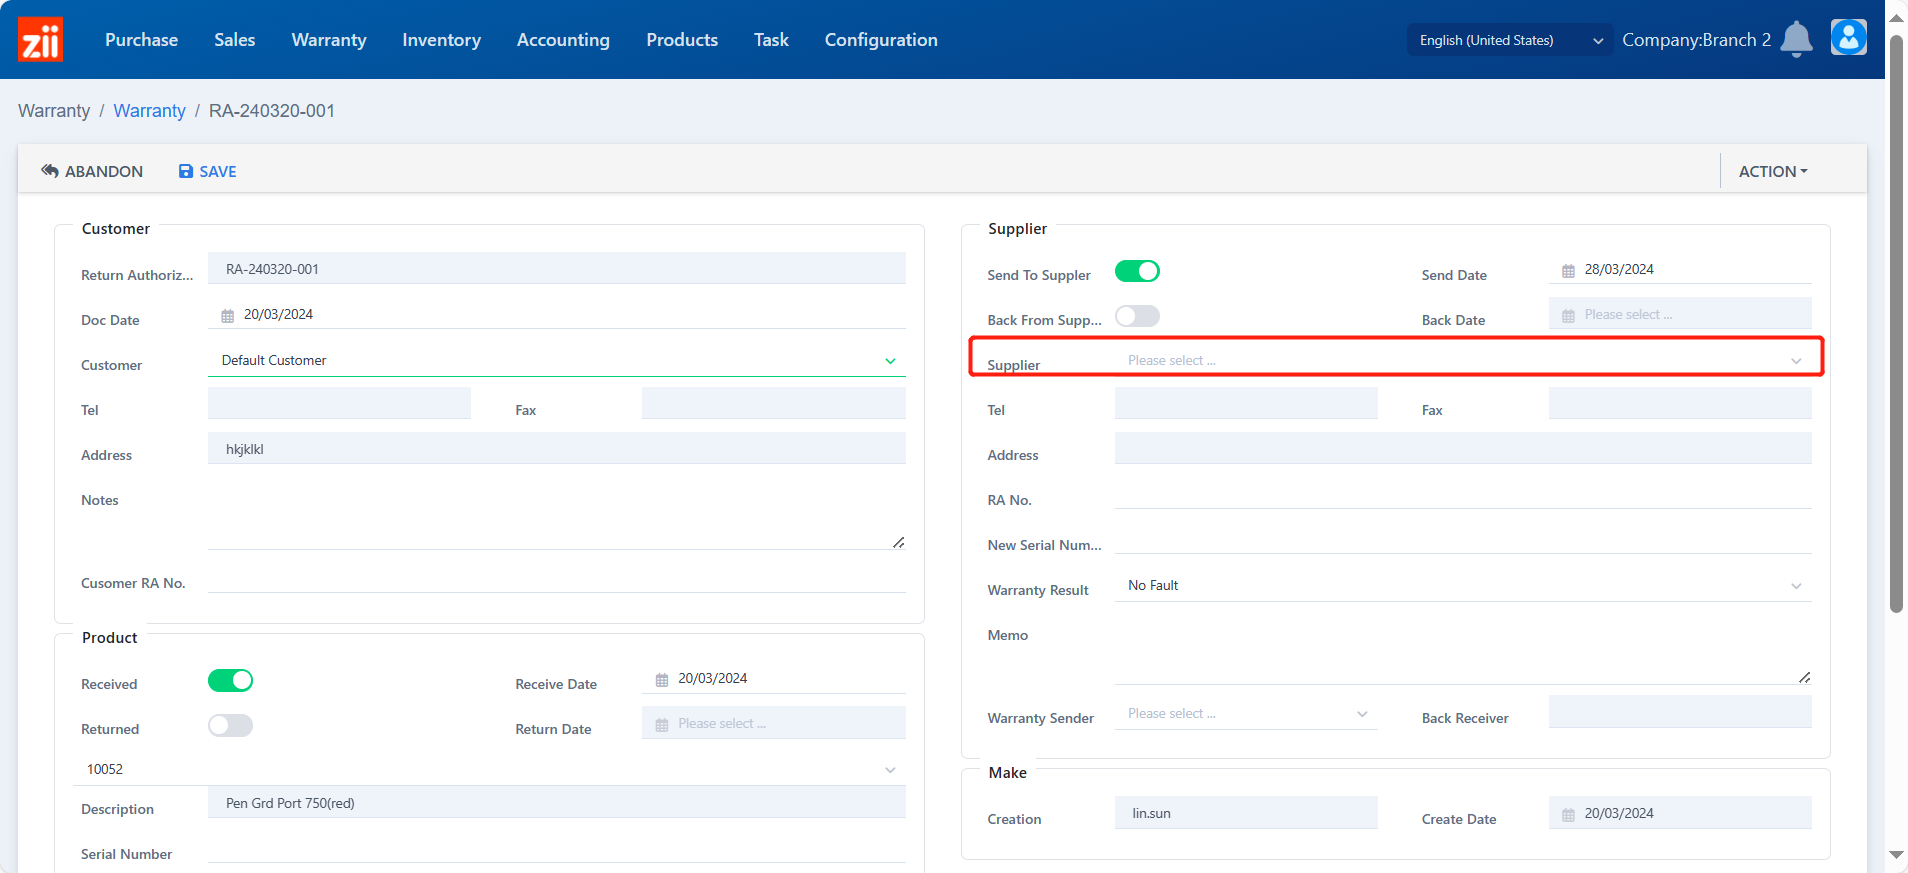
- Toggle on “Send to Supplier”.
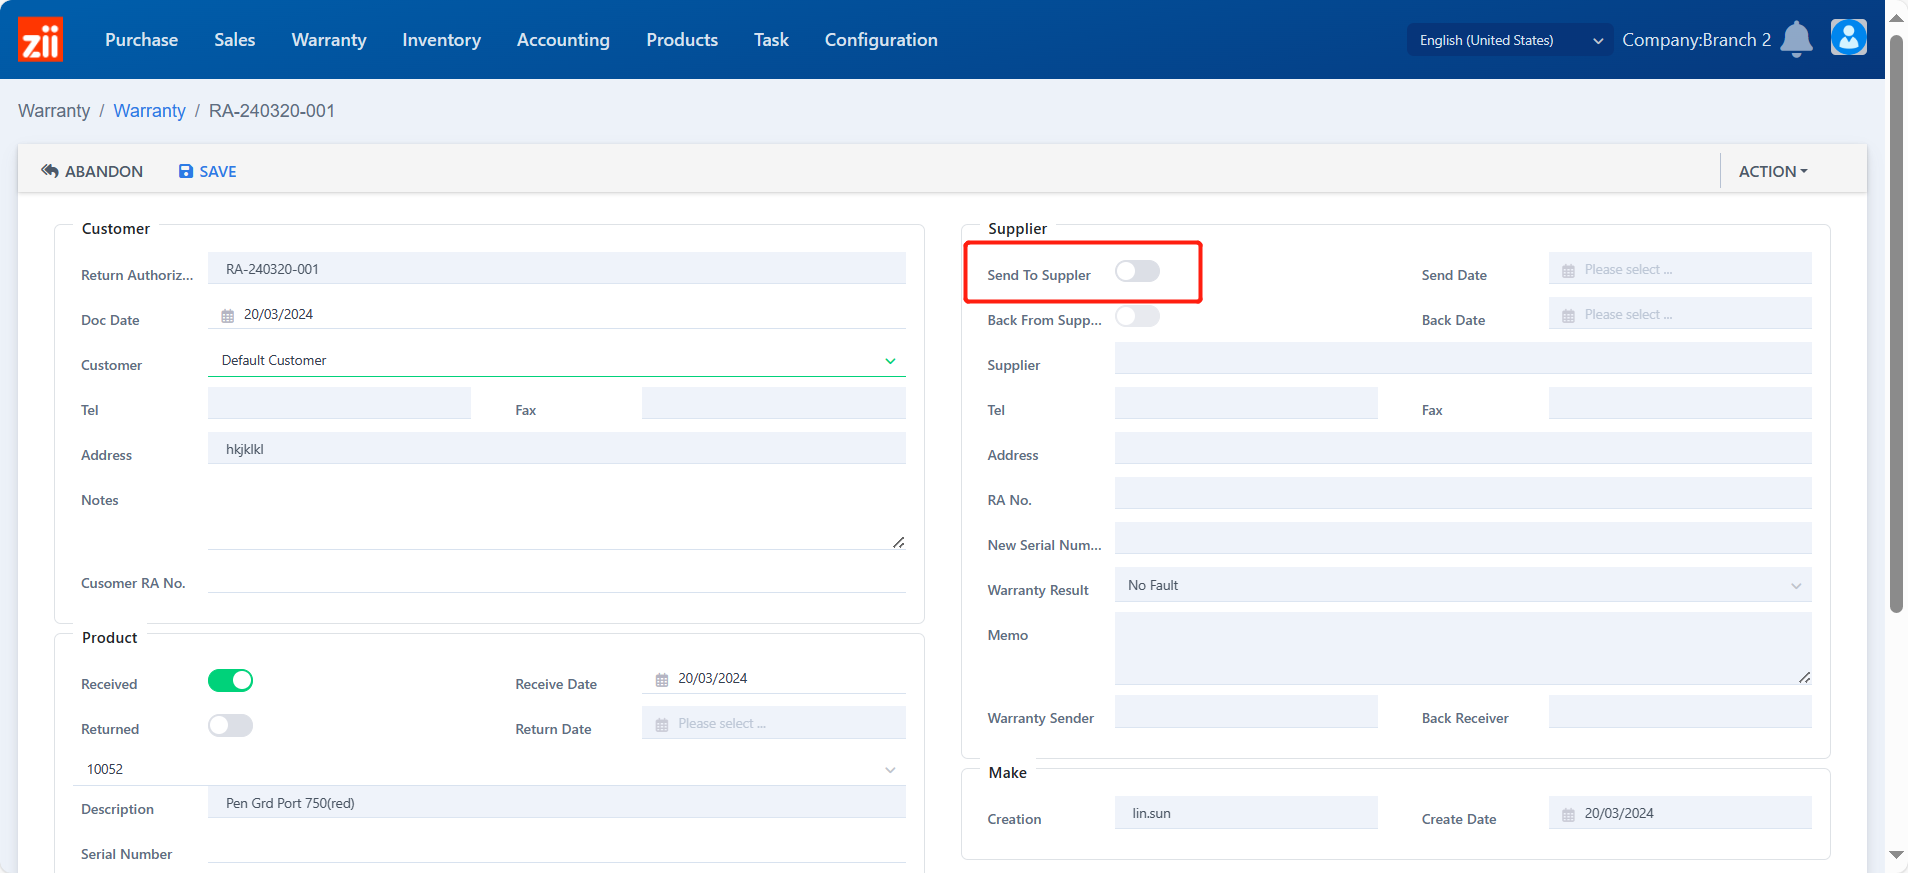
- Enter the date.
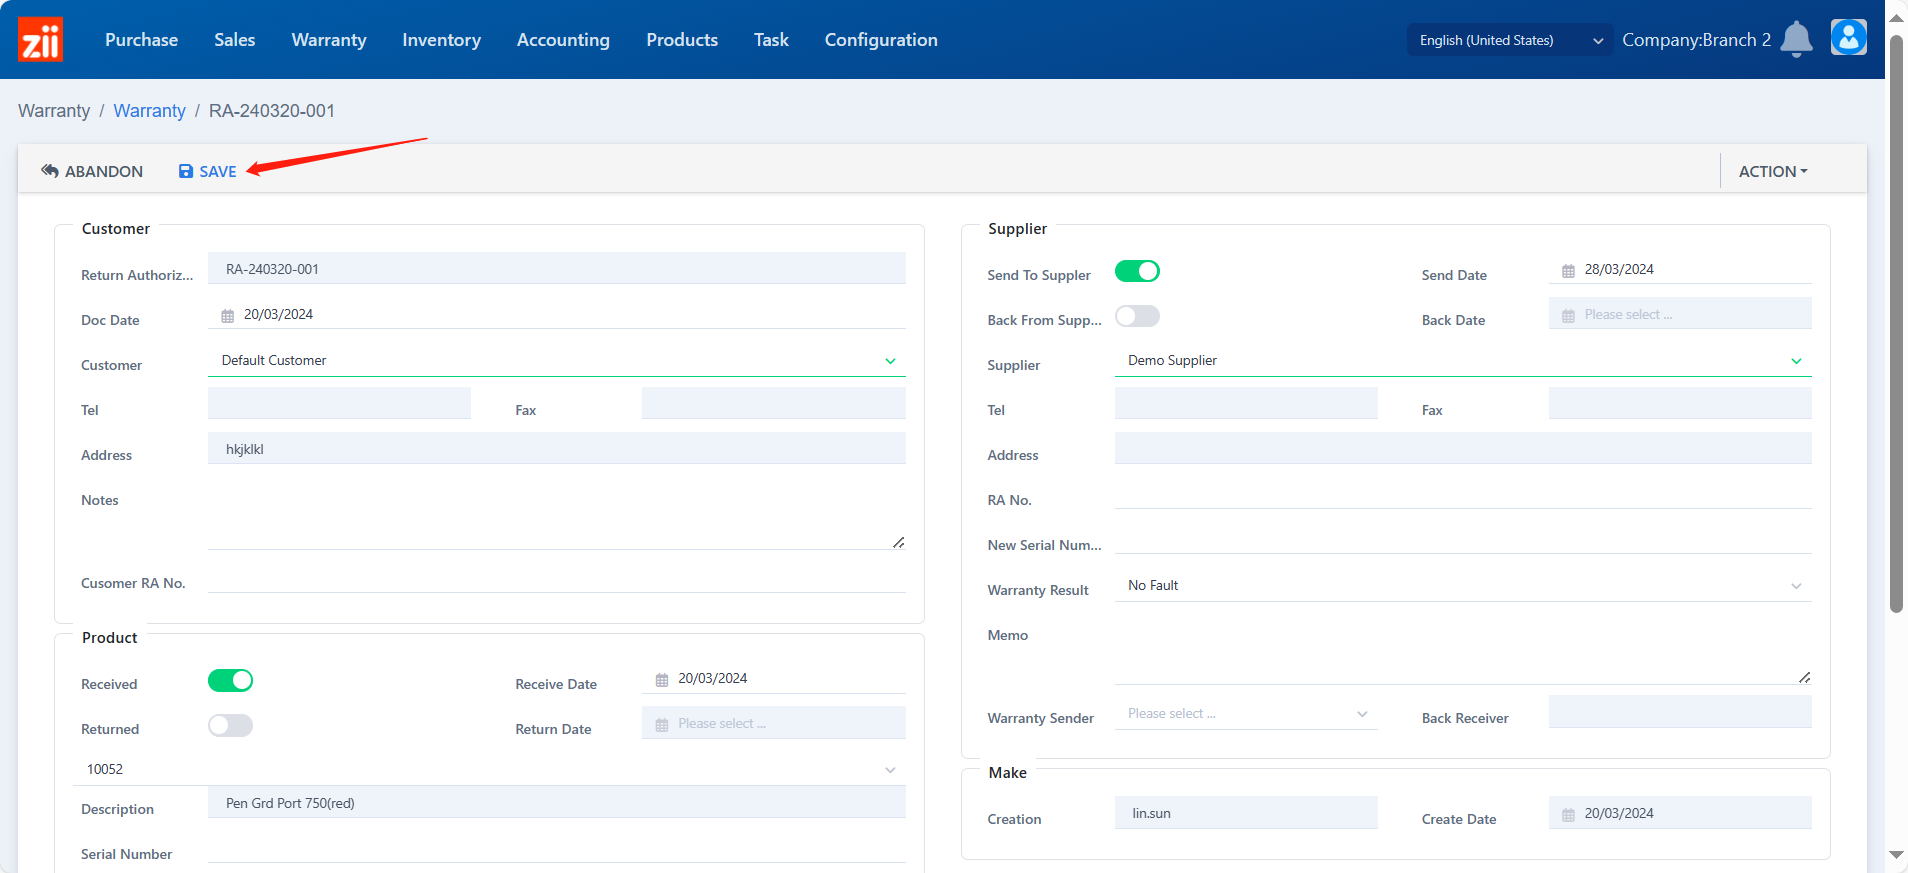
- Choose the supplier.
- Click “Save”.
Receive from Supplier
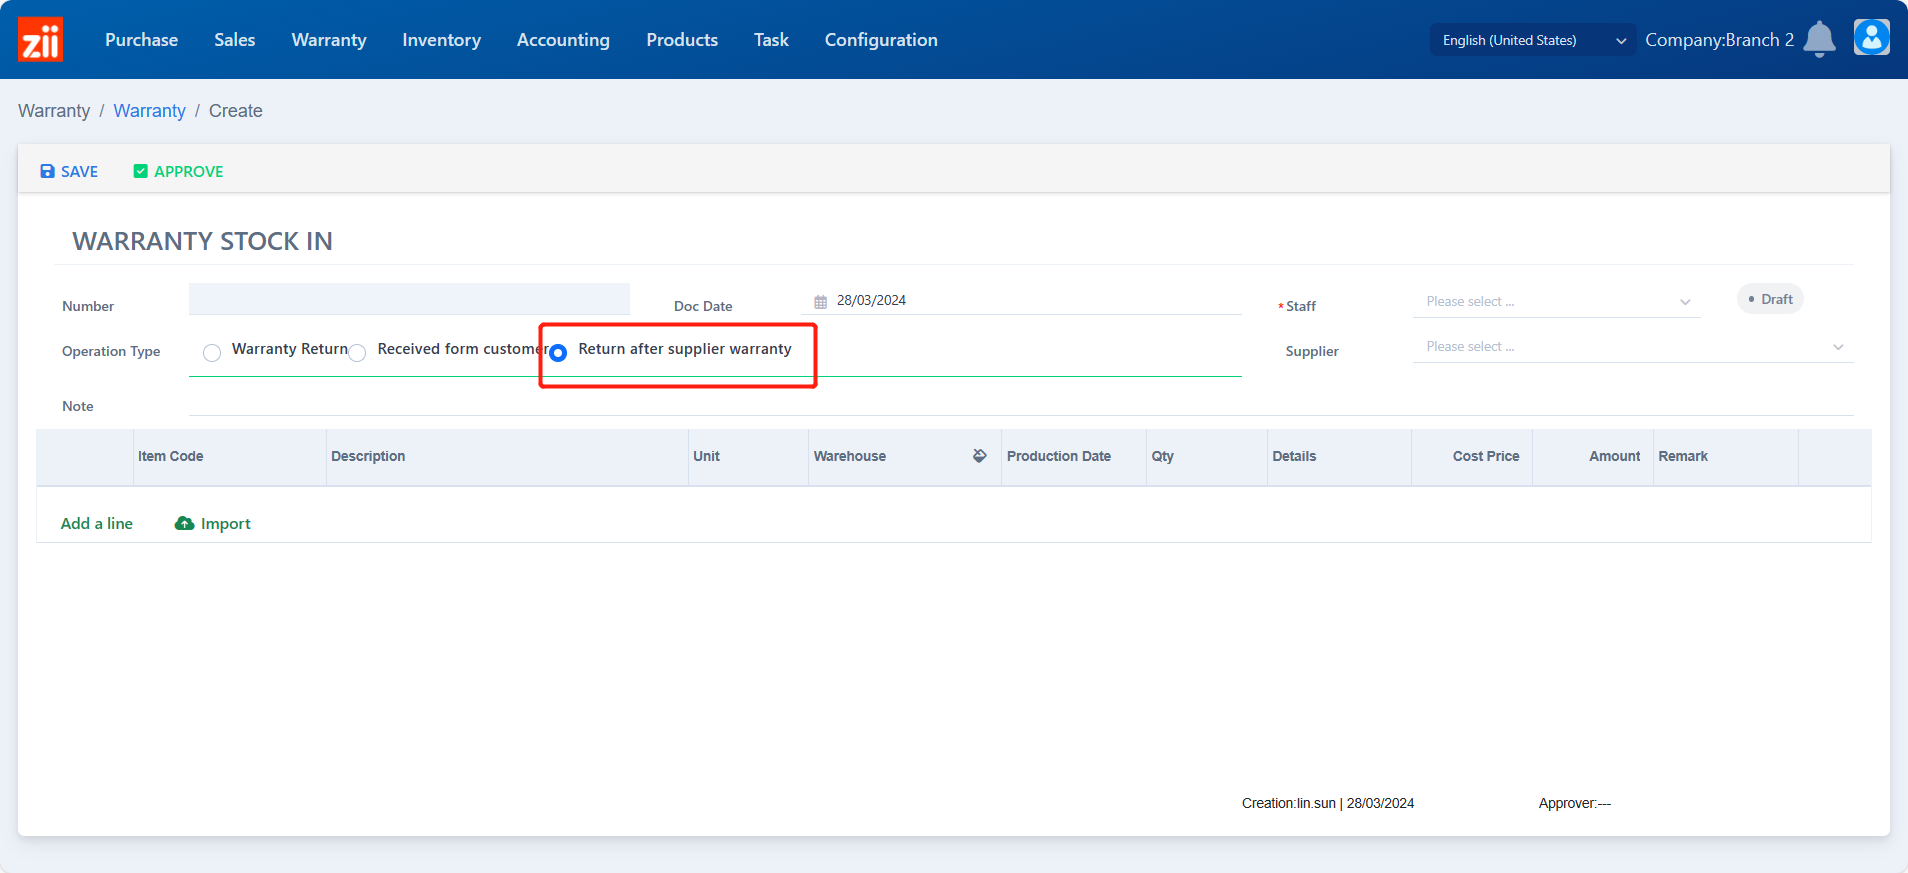
- Go to “Warranty to Stock”.
- Click on “Add”.
- Choose the type to be “Return after supplier warranty”.
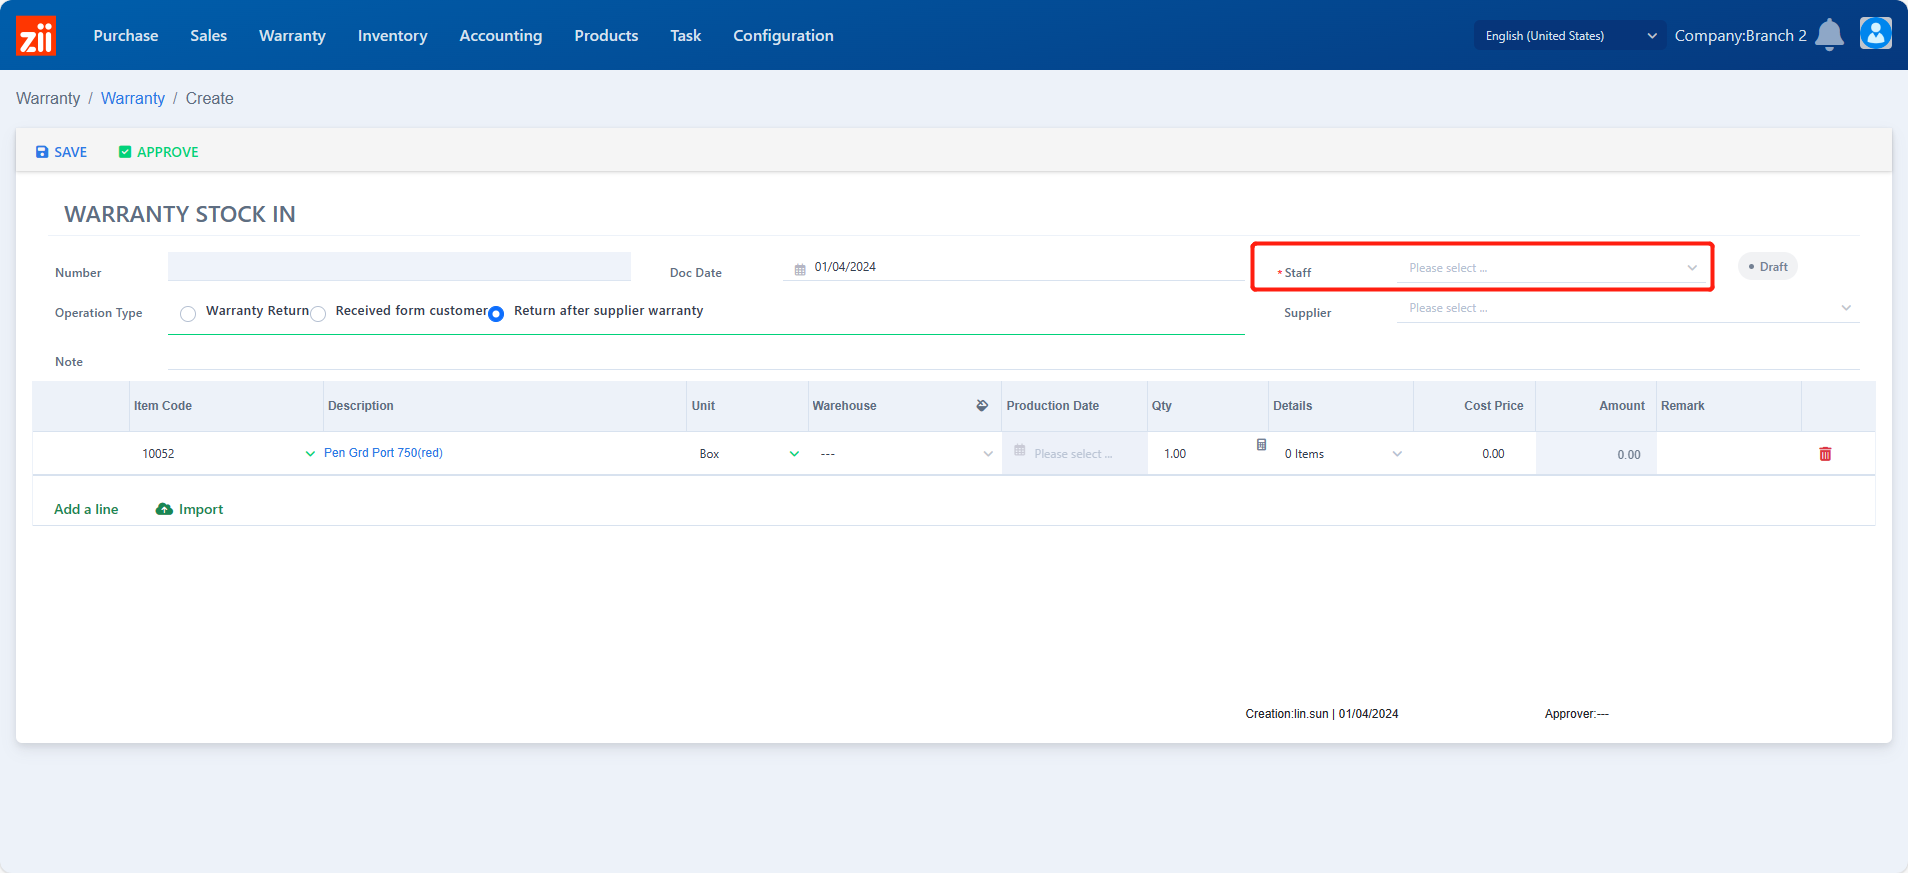
- Select the staff.
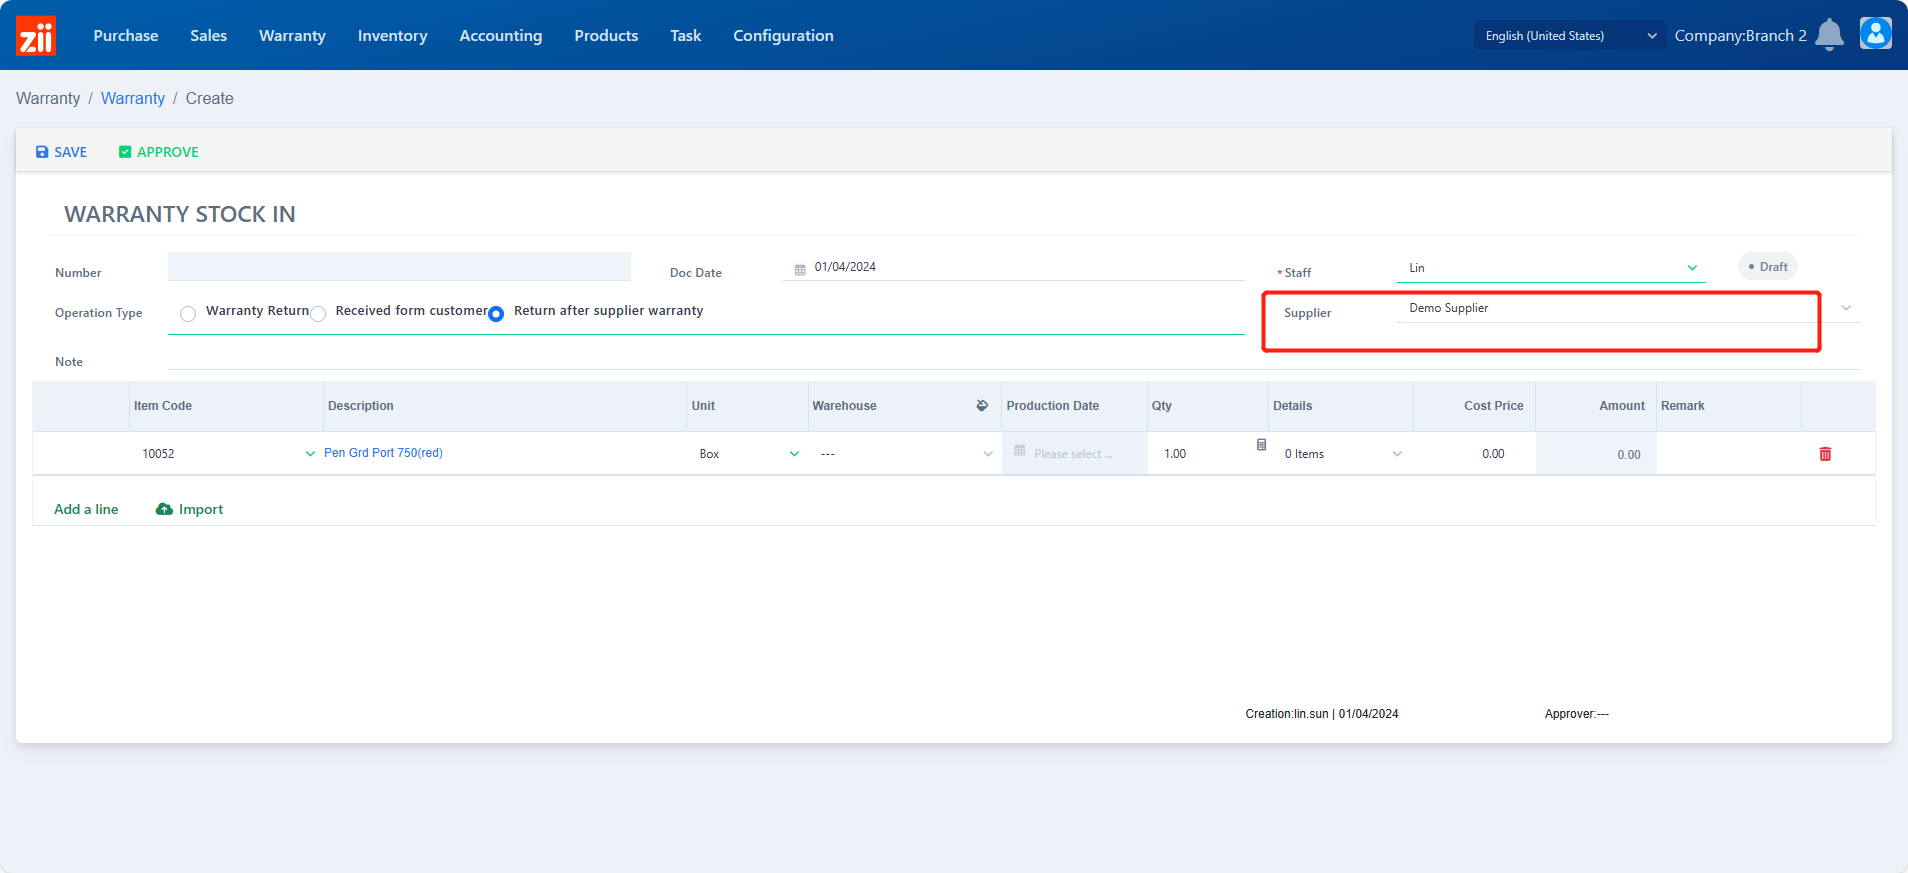
- Select the supplier.
- Click “Add a line”.
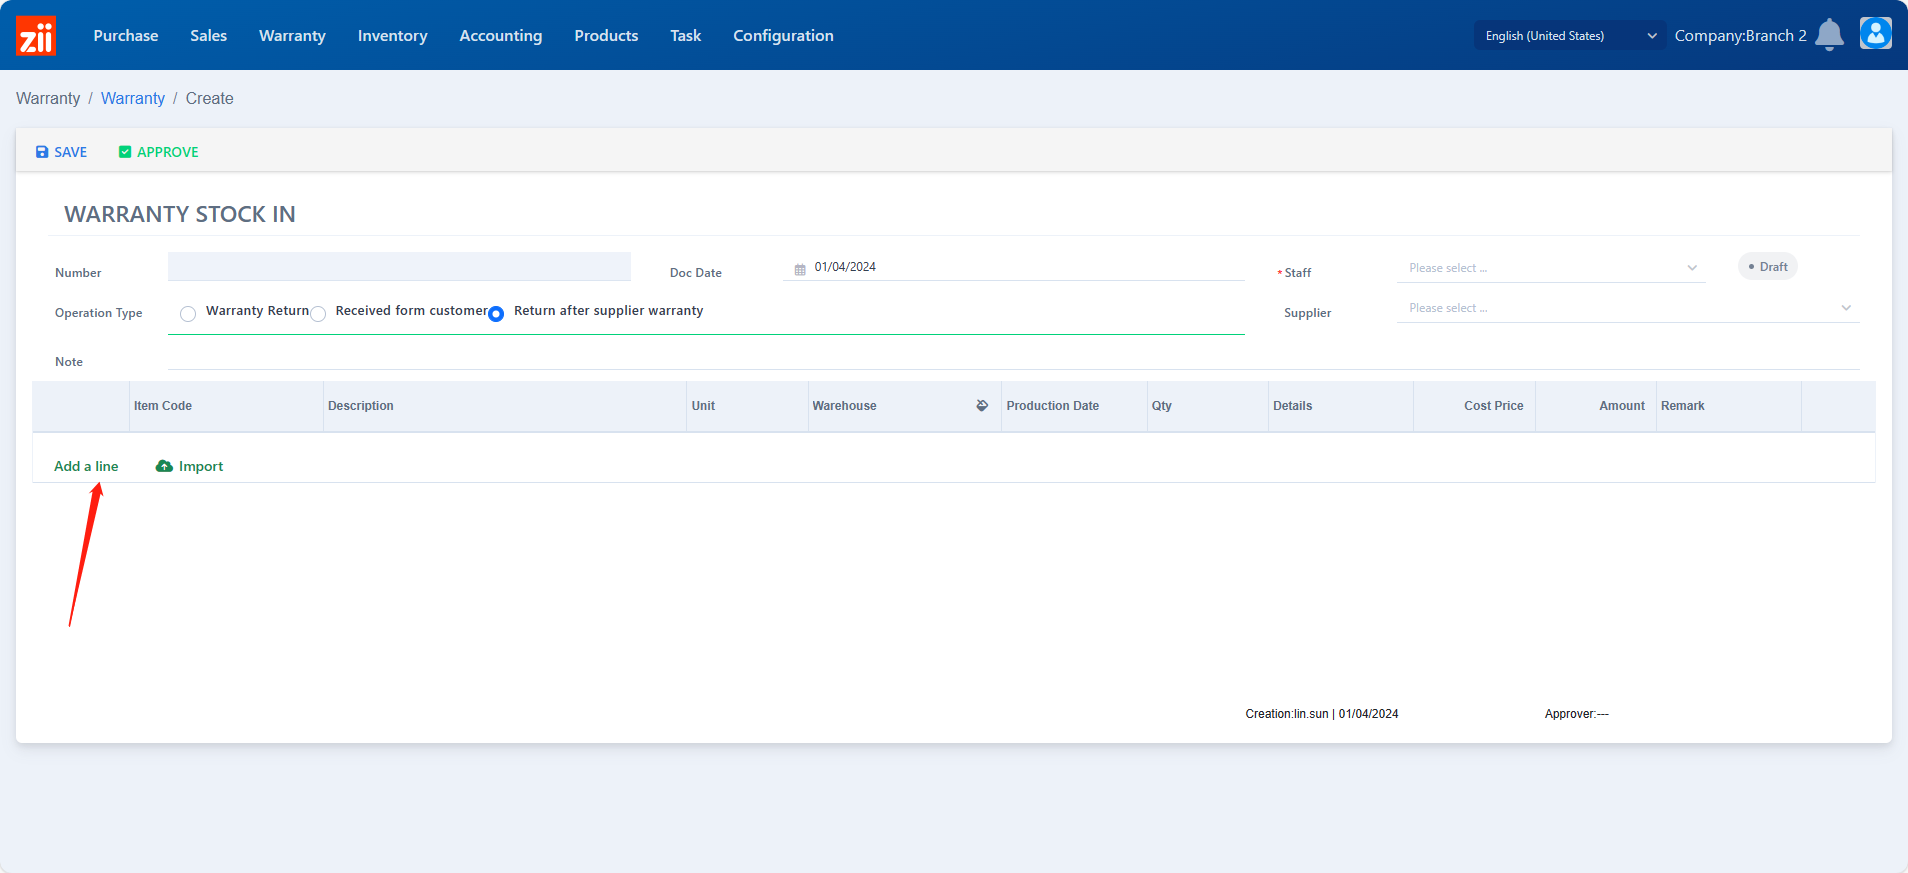
- Select the item.
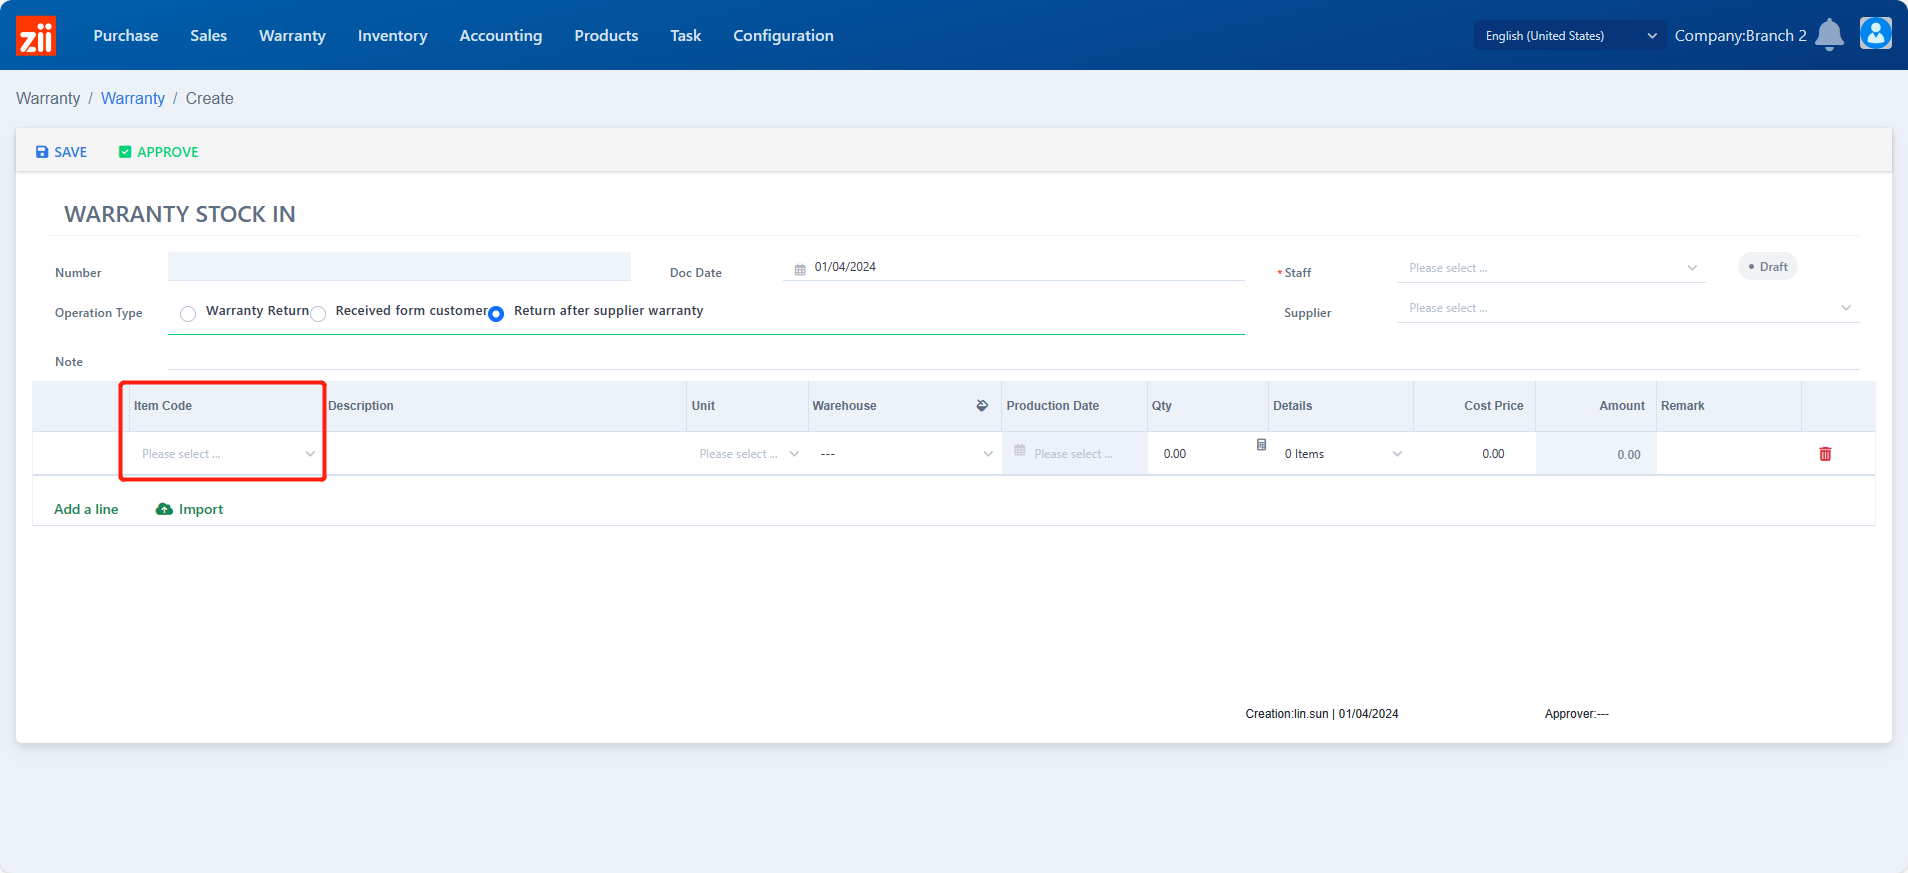
- Select the unit as needed.
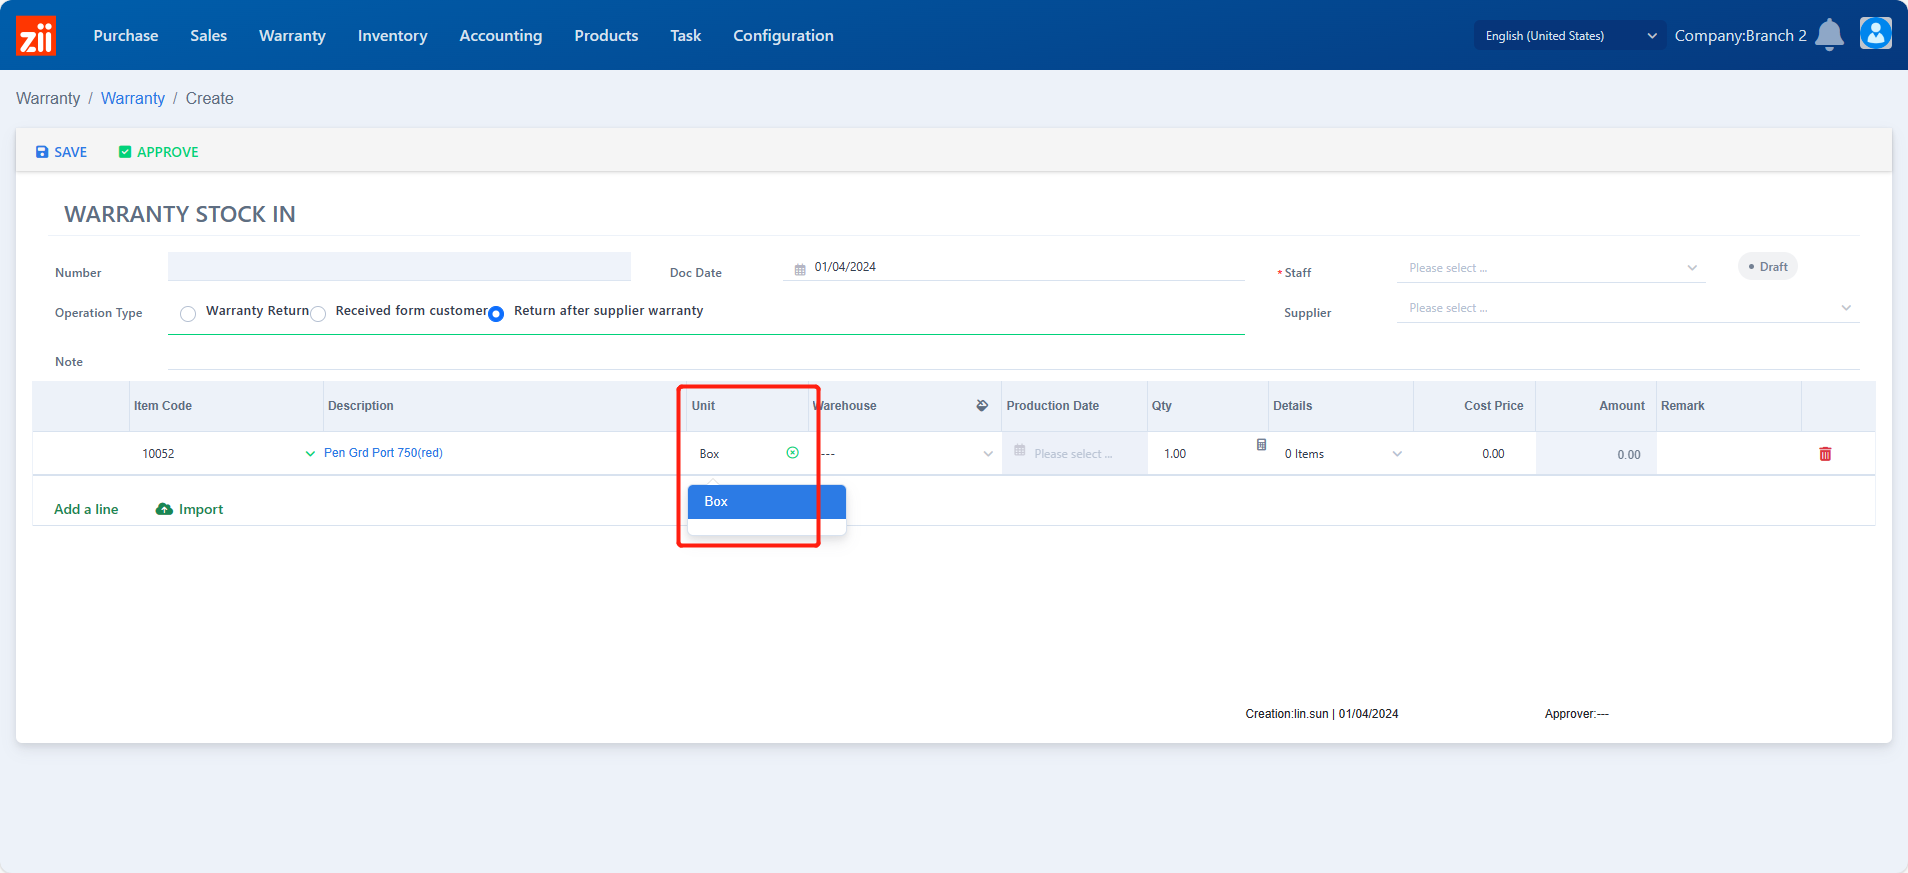
- Select a warehouse.
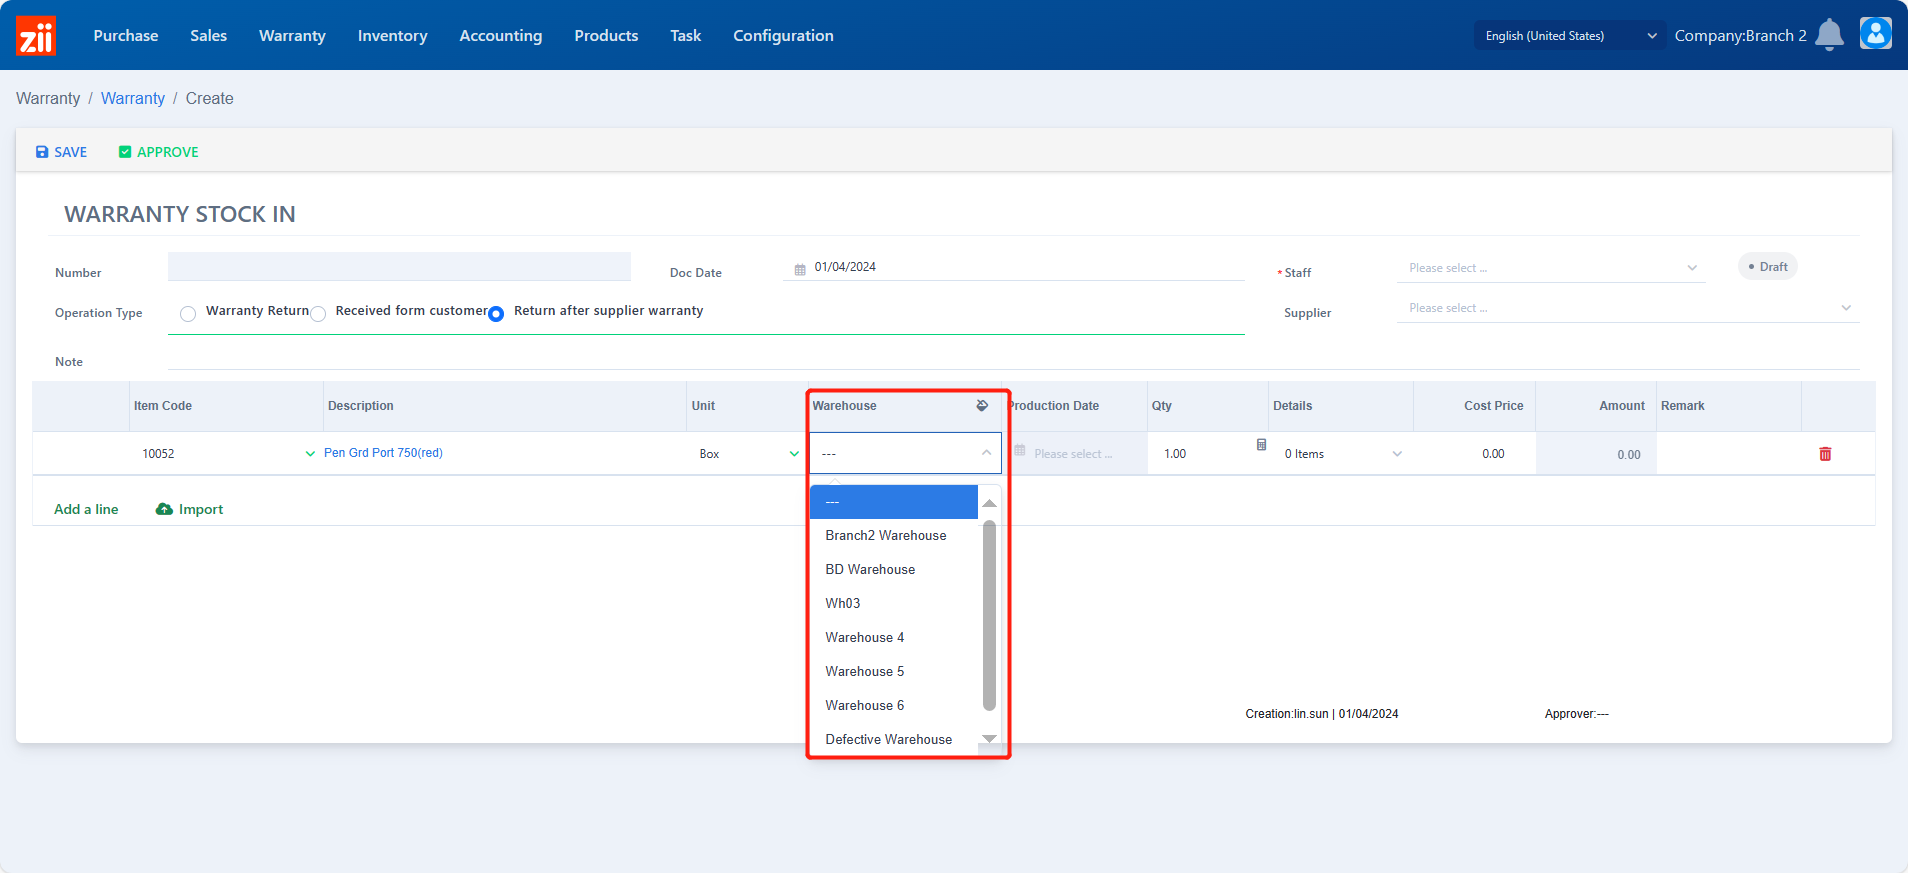
- Enter the quantity.
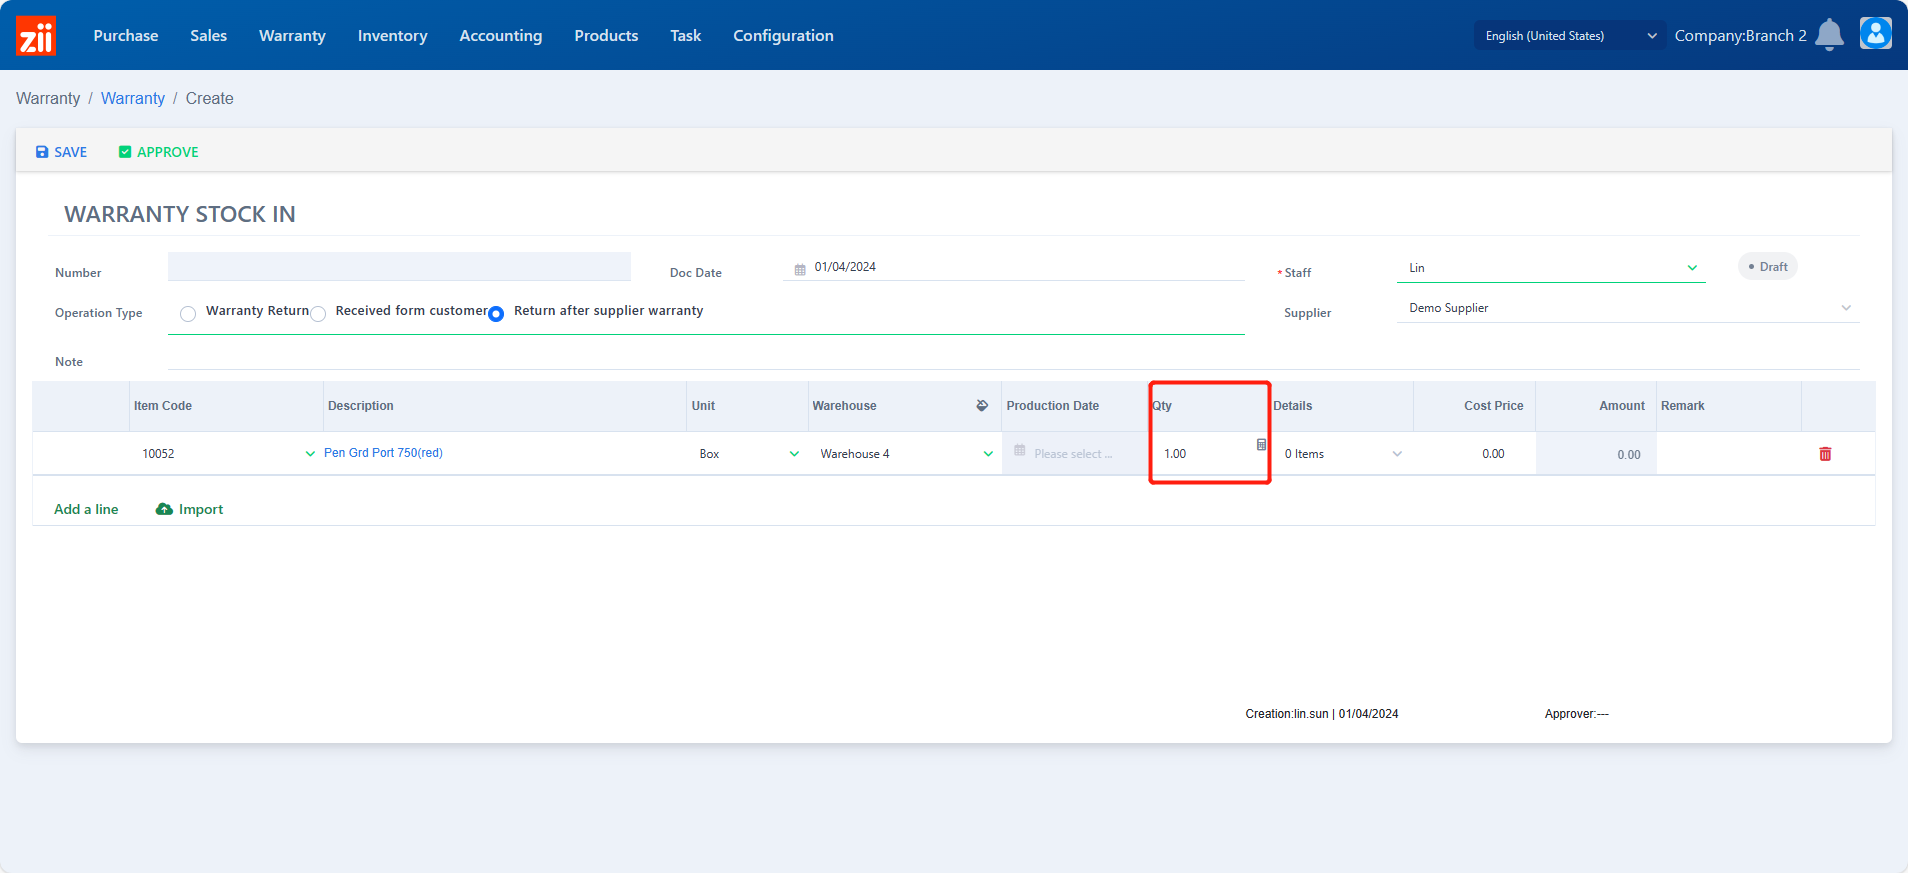
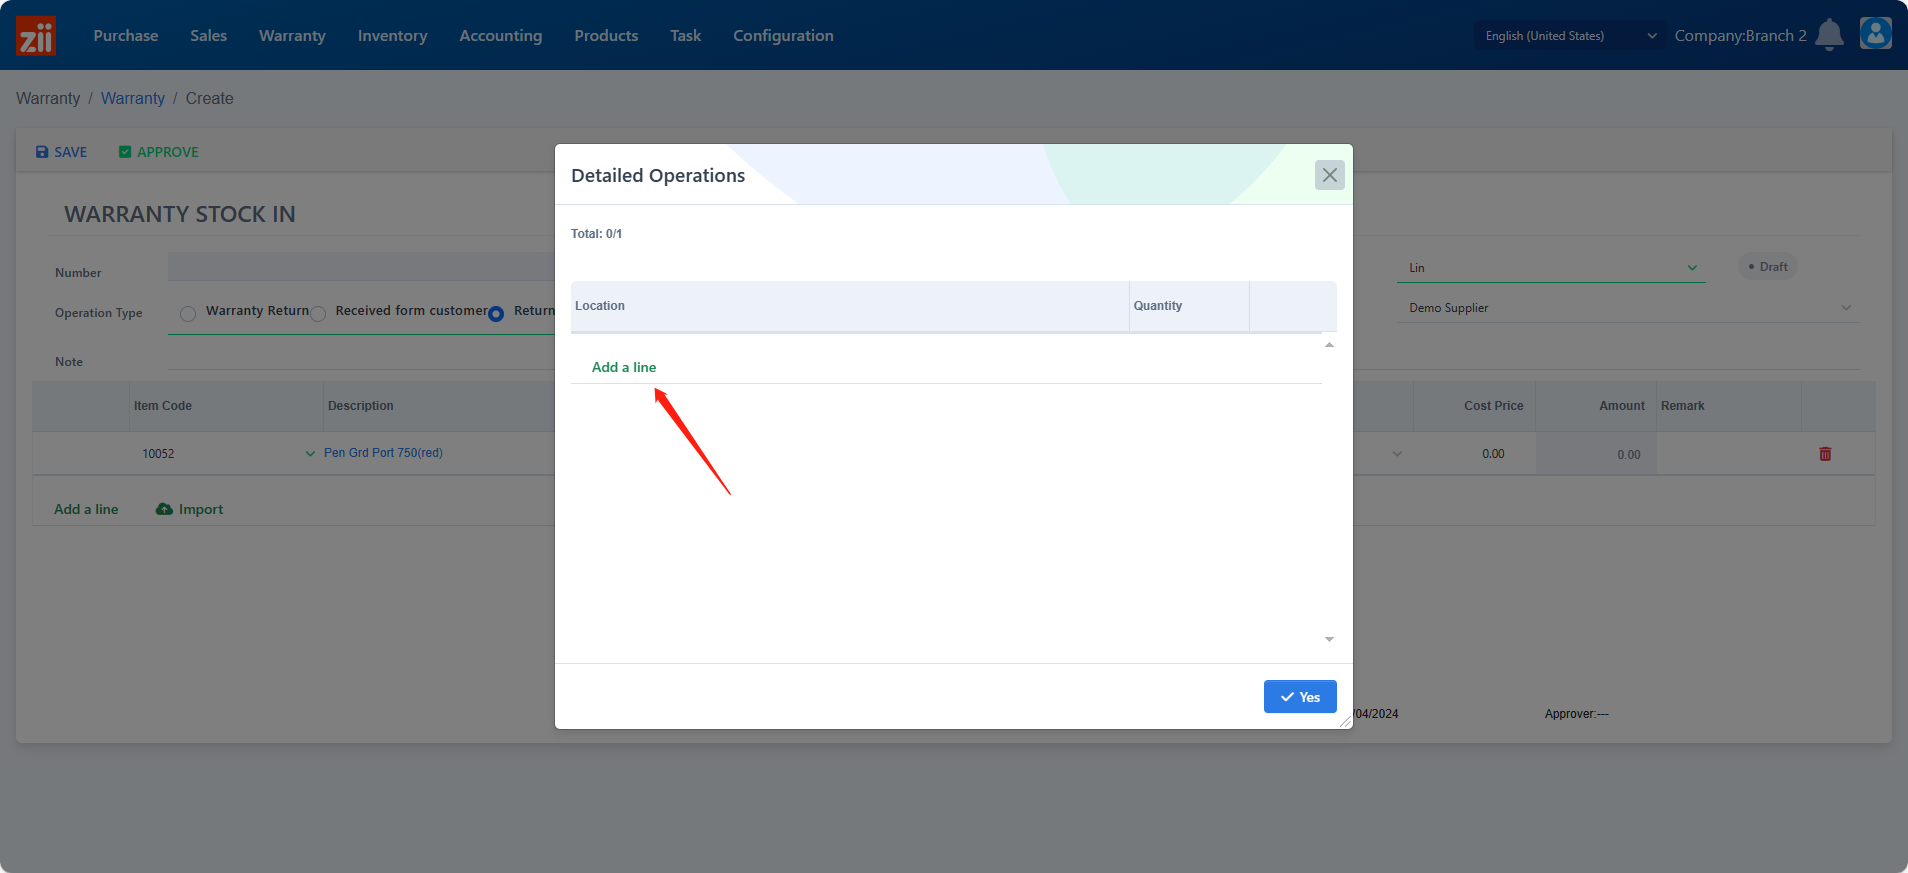
- If the warehouse is enabled with location management, location details need to be fill in by clicking the blank under “Details”.
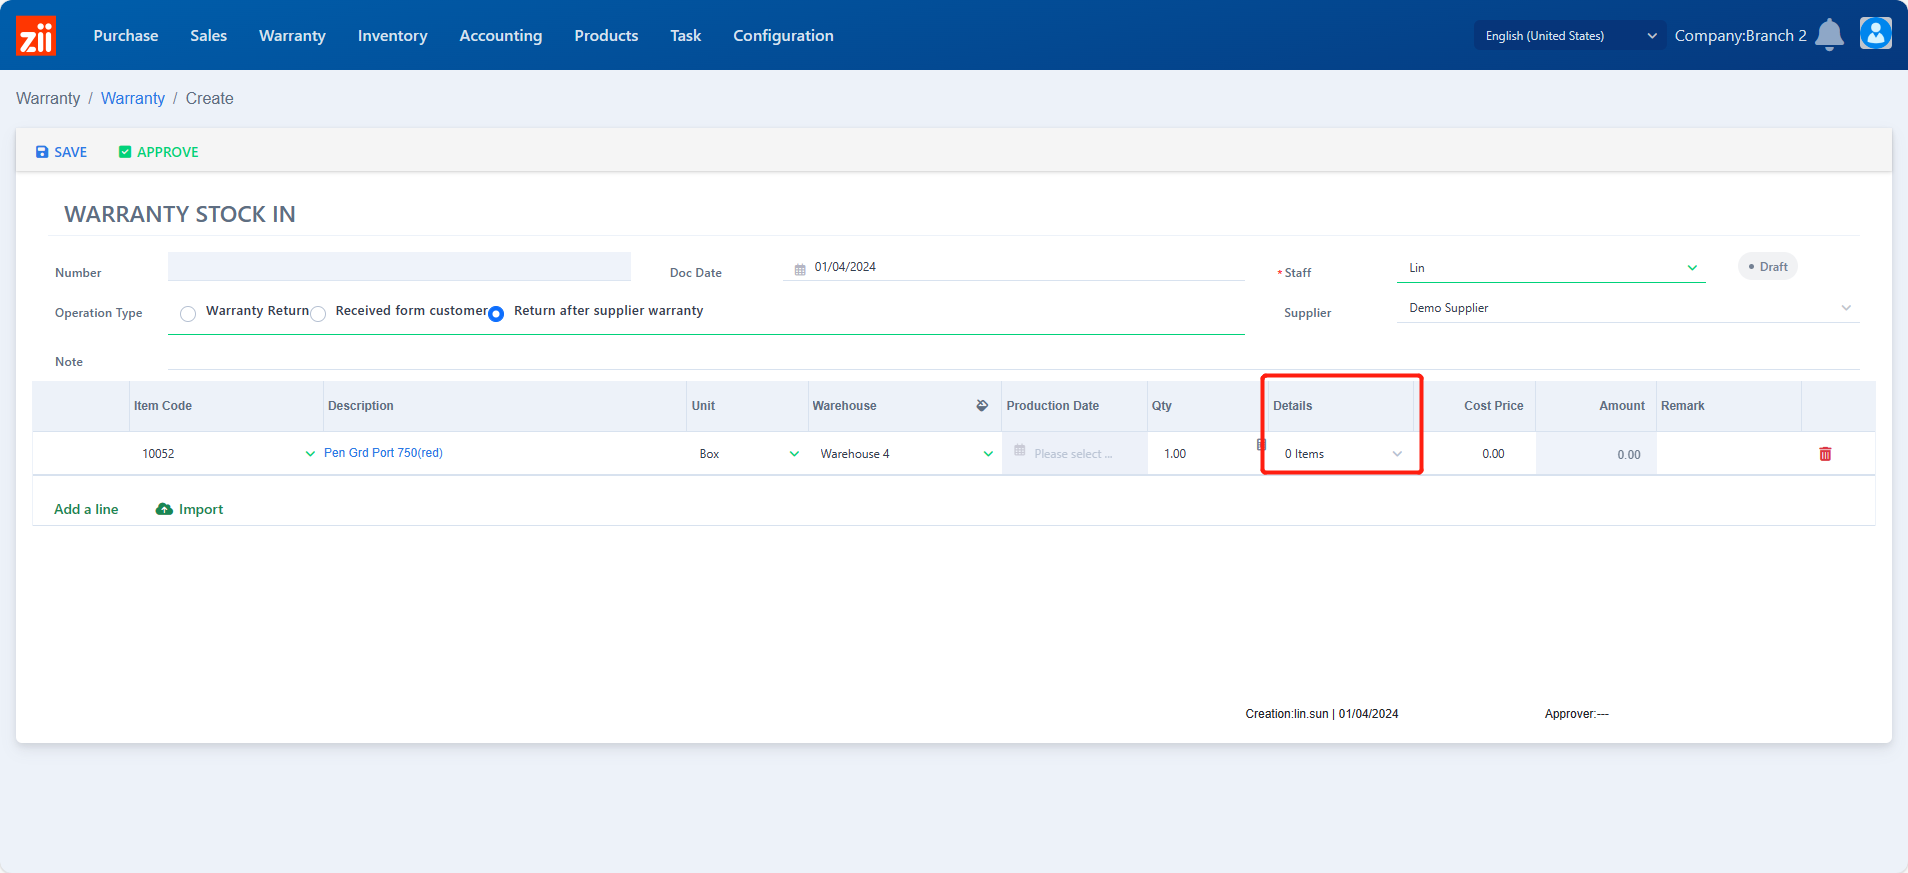
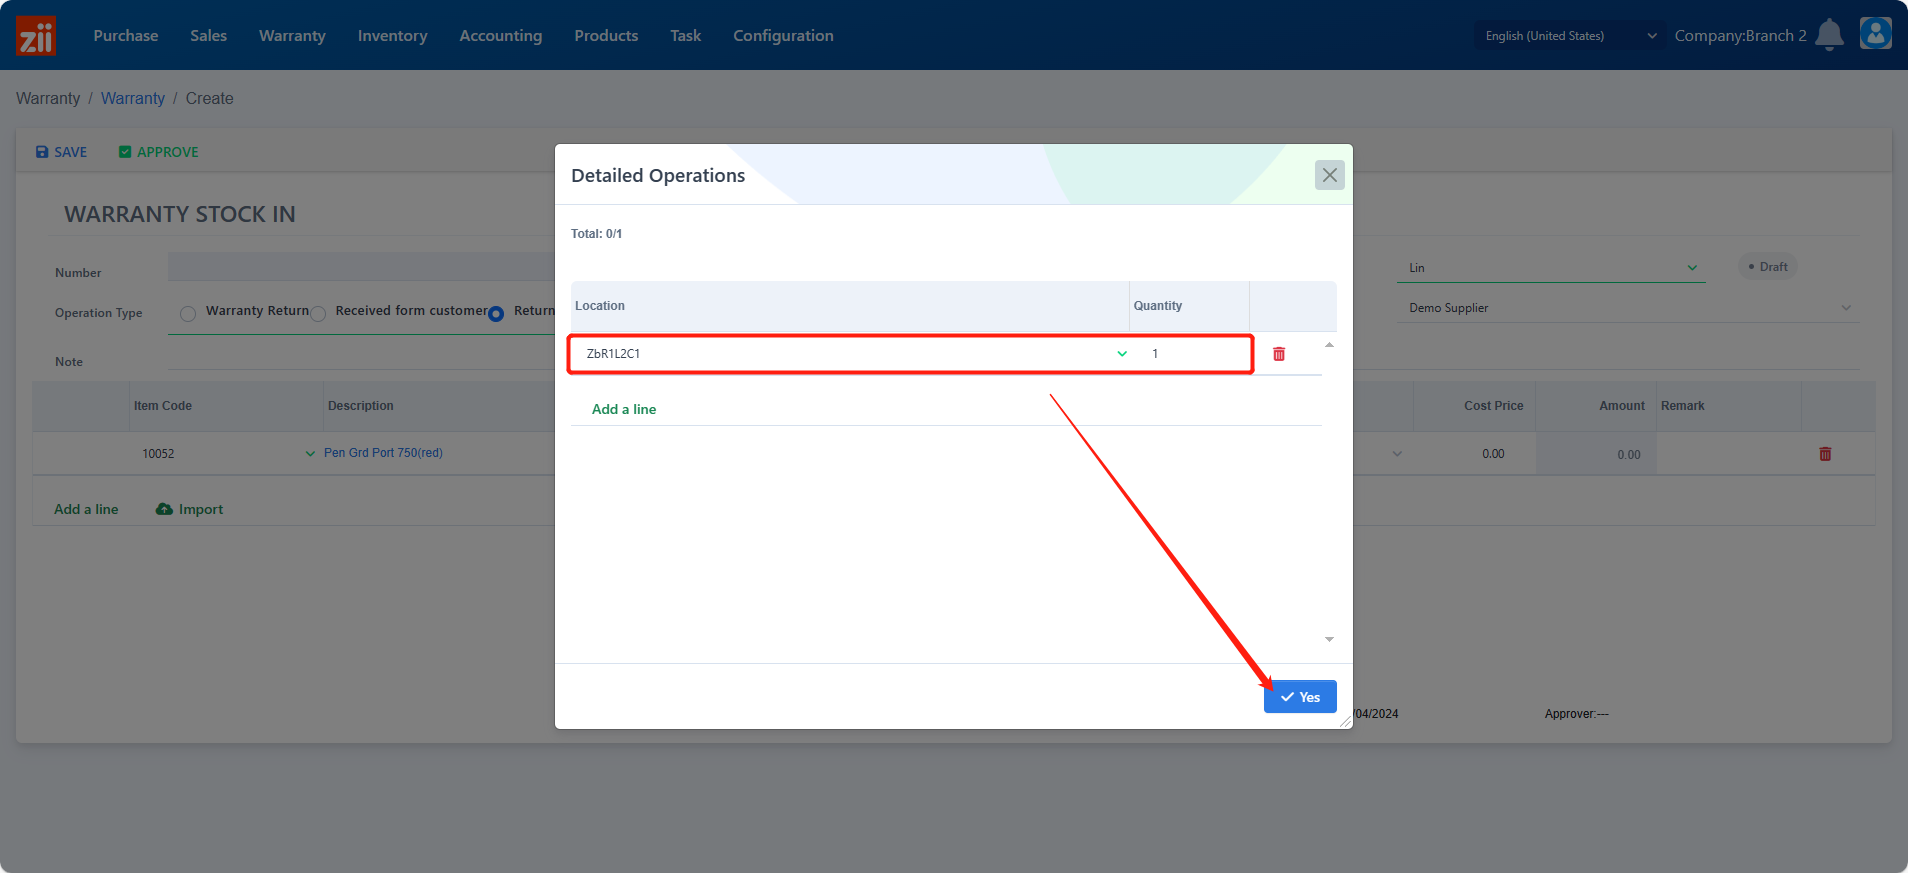
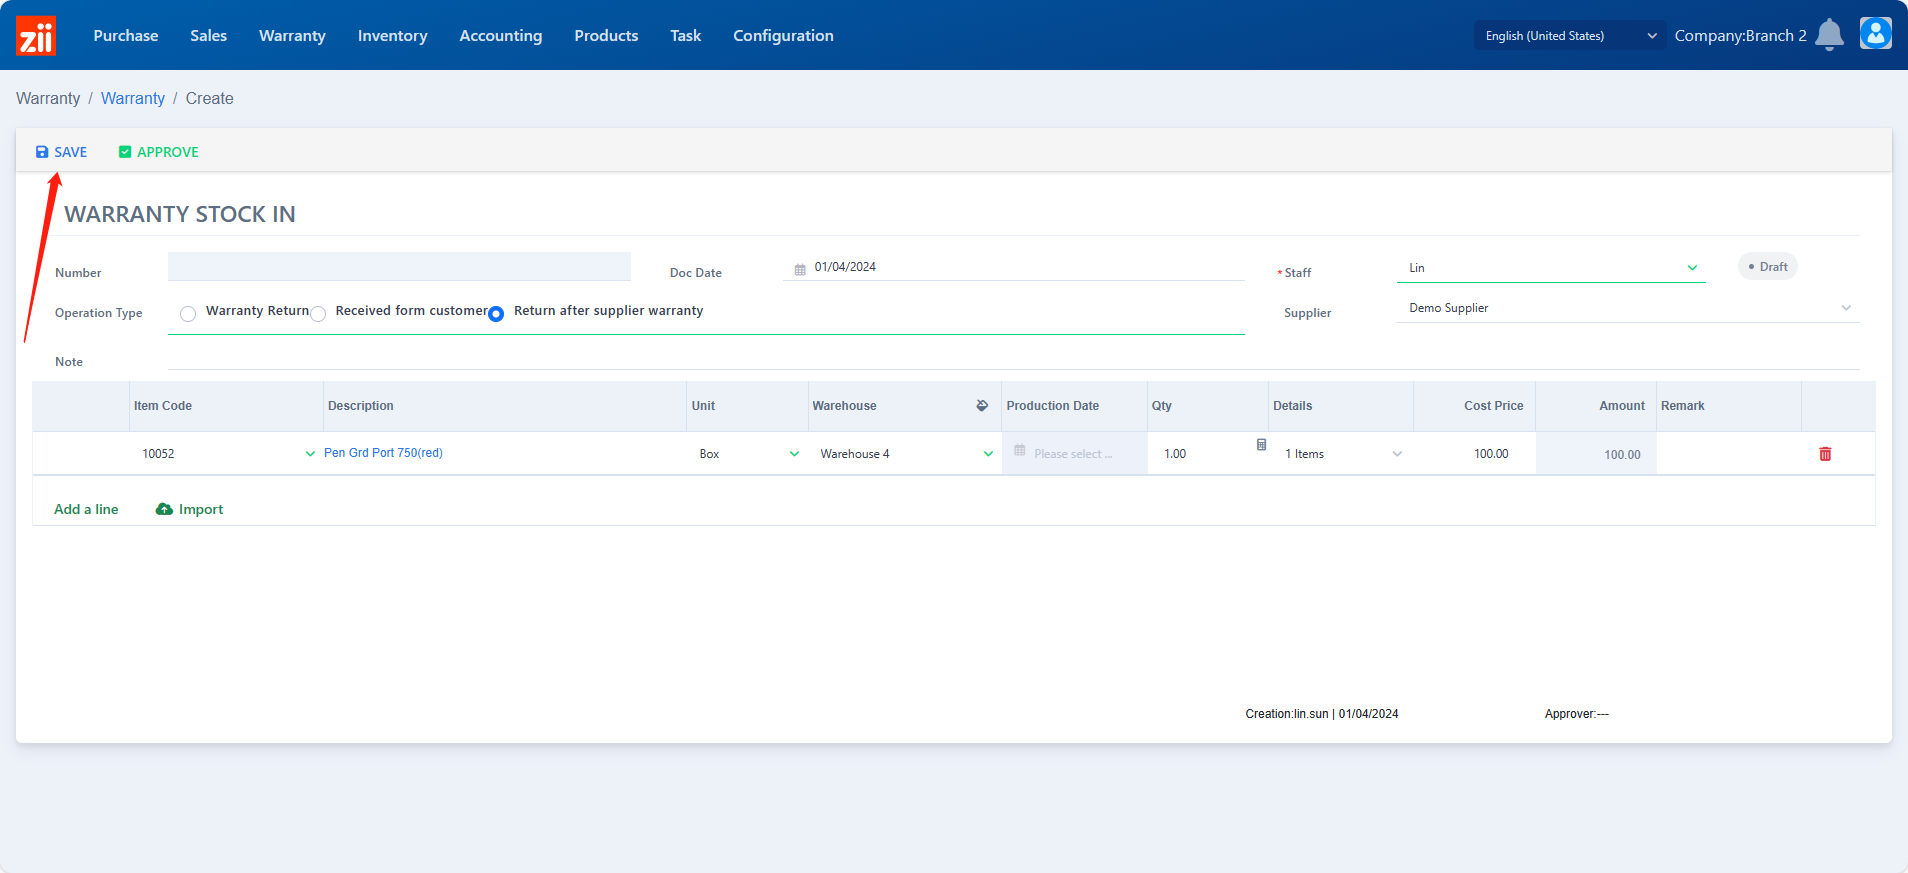
- Enter the cose price.

- Click “Save”.
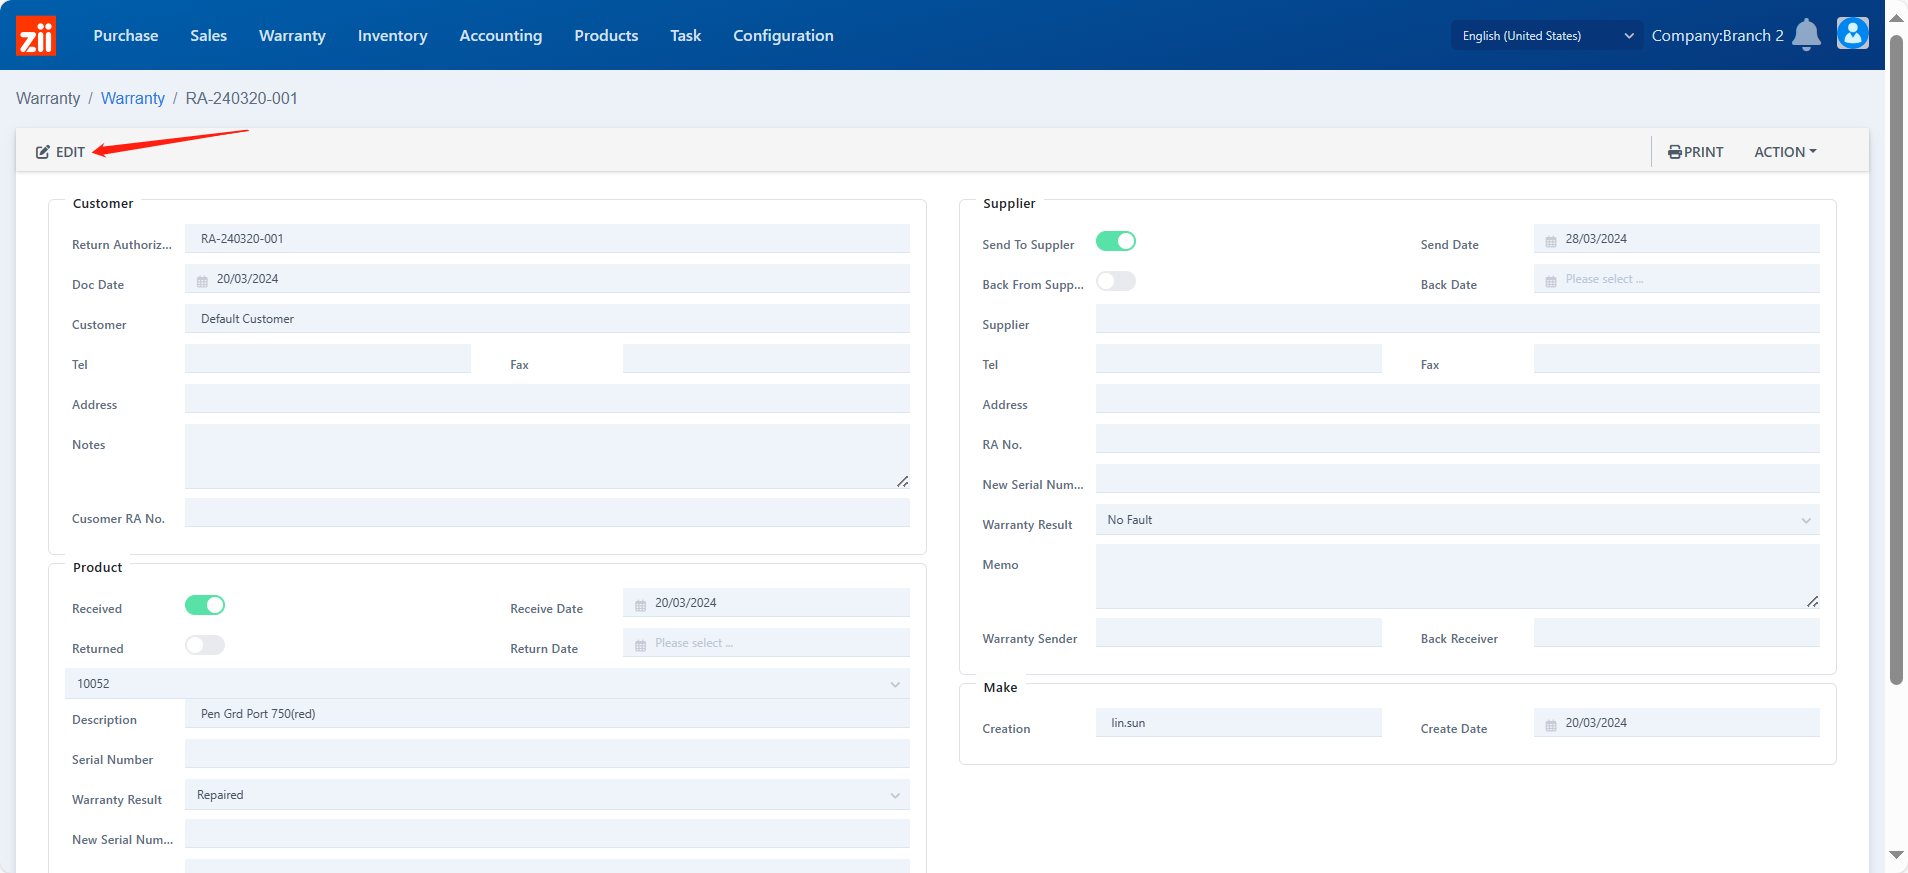
- Go to Warranty.
- Double click on the warranty ticket.
- Click “Edit”.
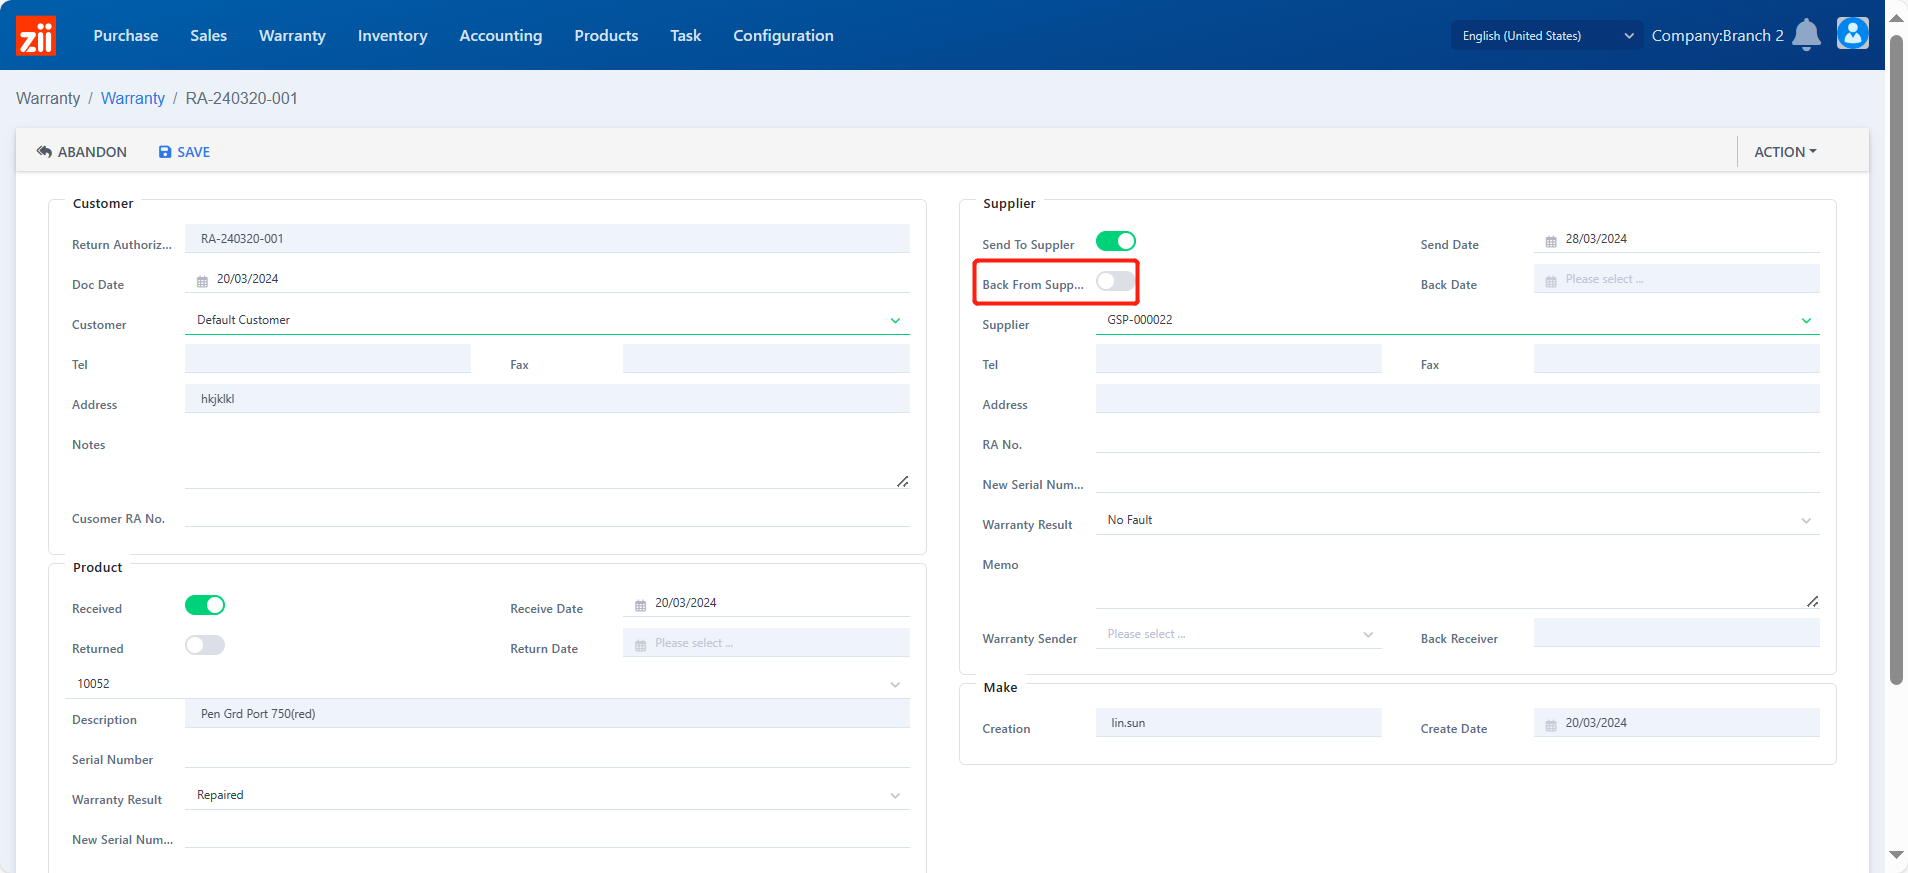
- Toggle on “Back from Supplier”.
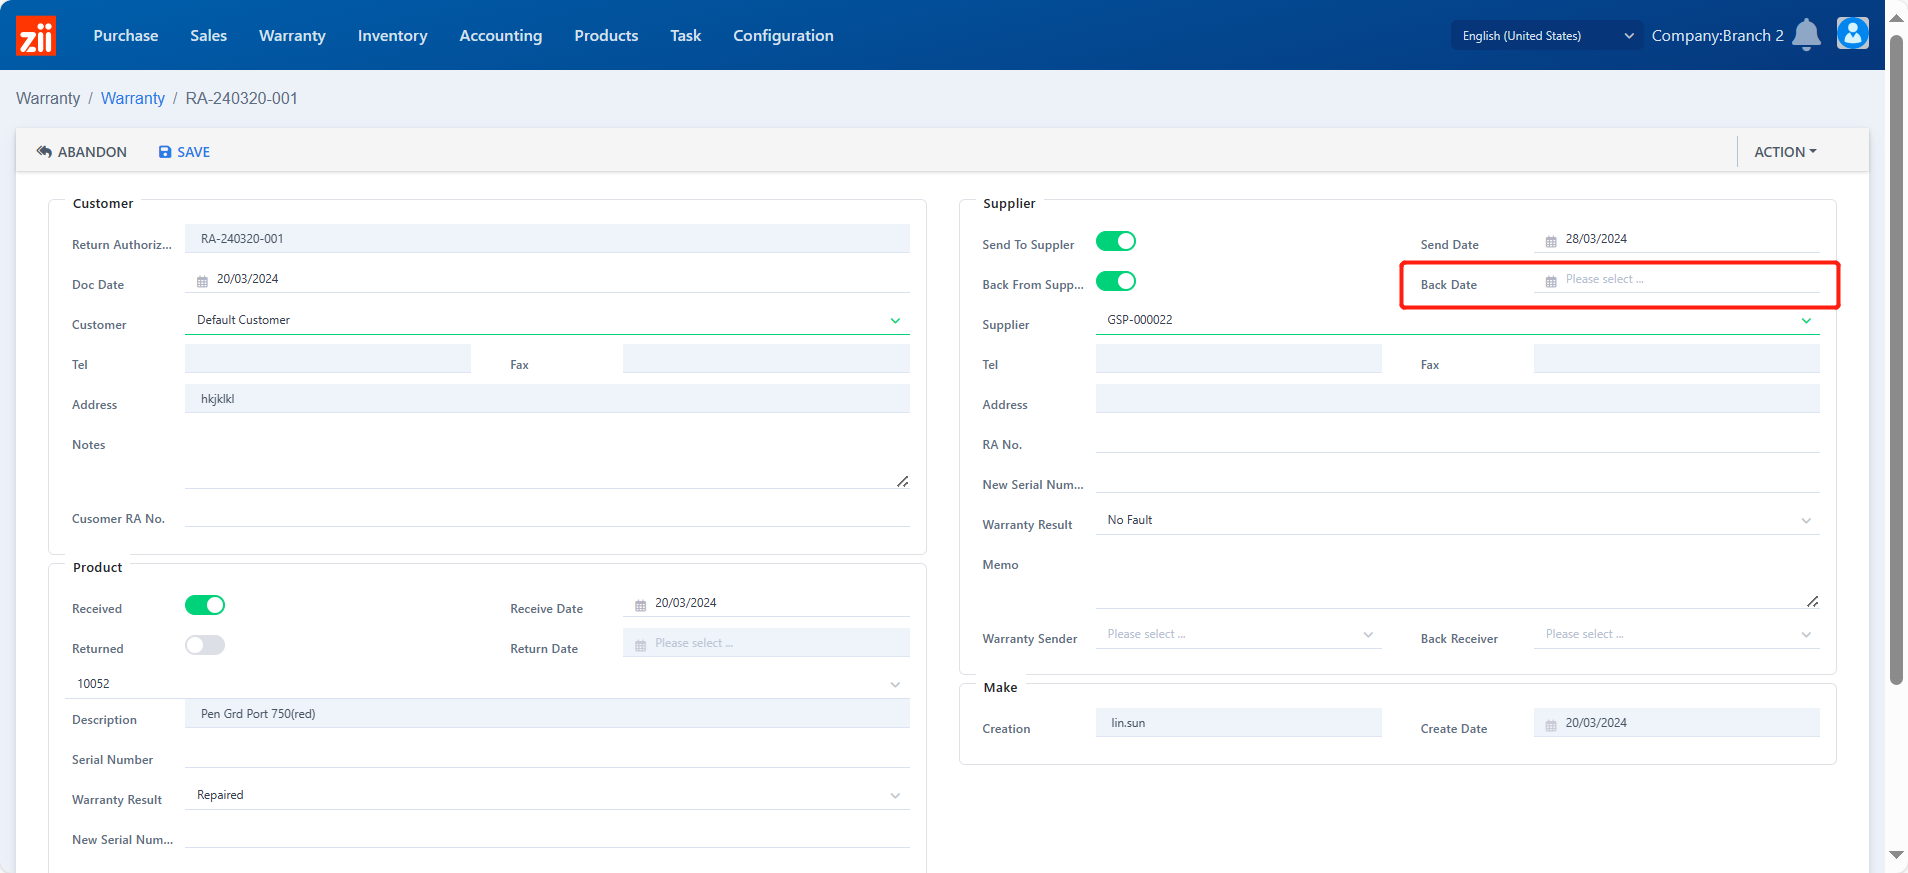
- Choose the date.
- Choose the warranty result and enter other information as needed.
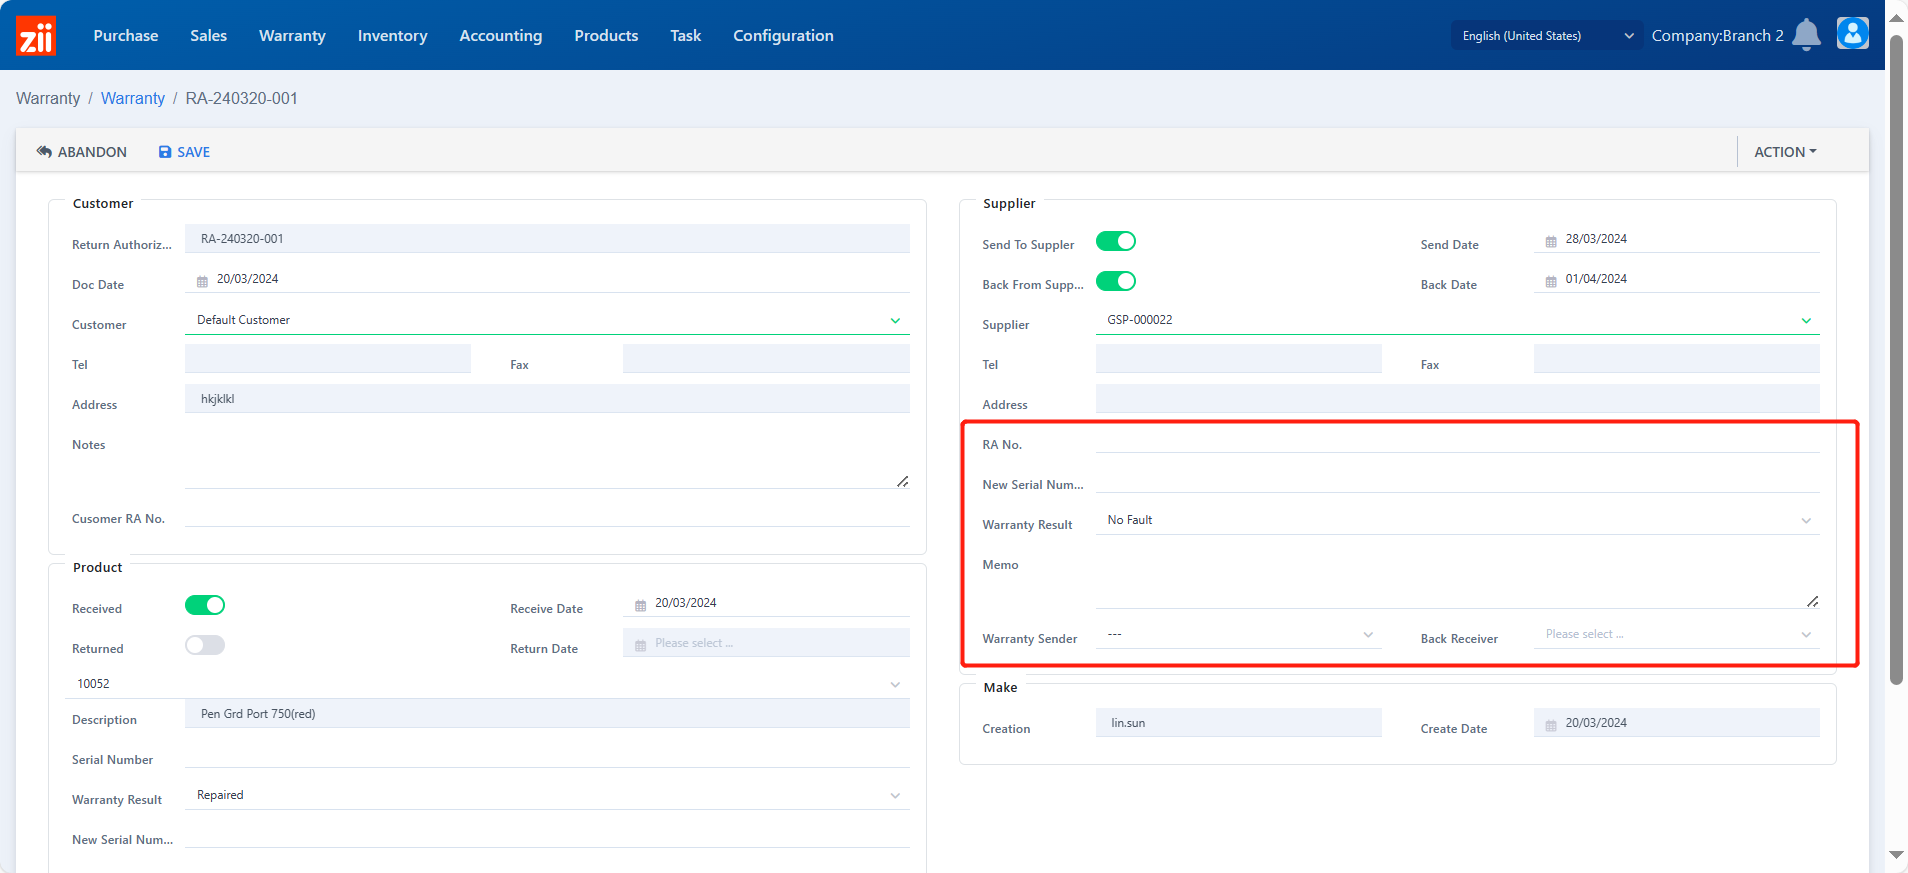
- Click “Save”.
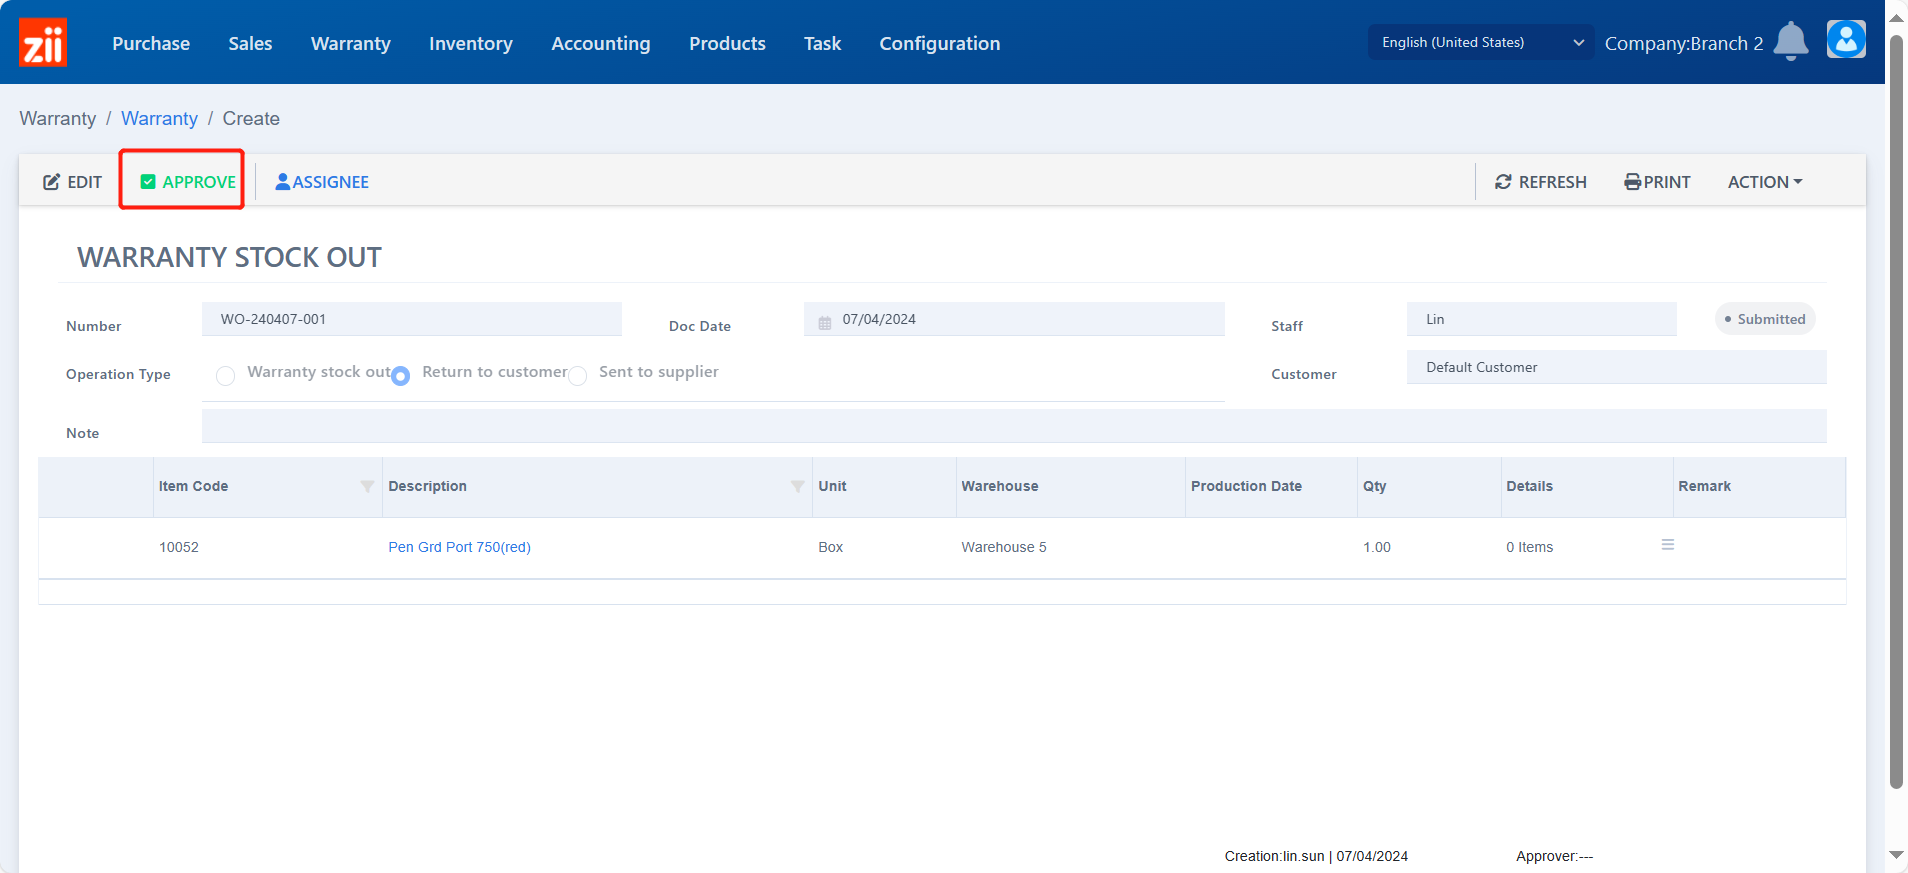
Return to the Customer
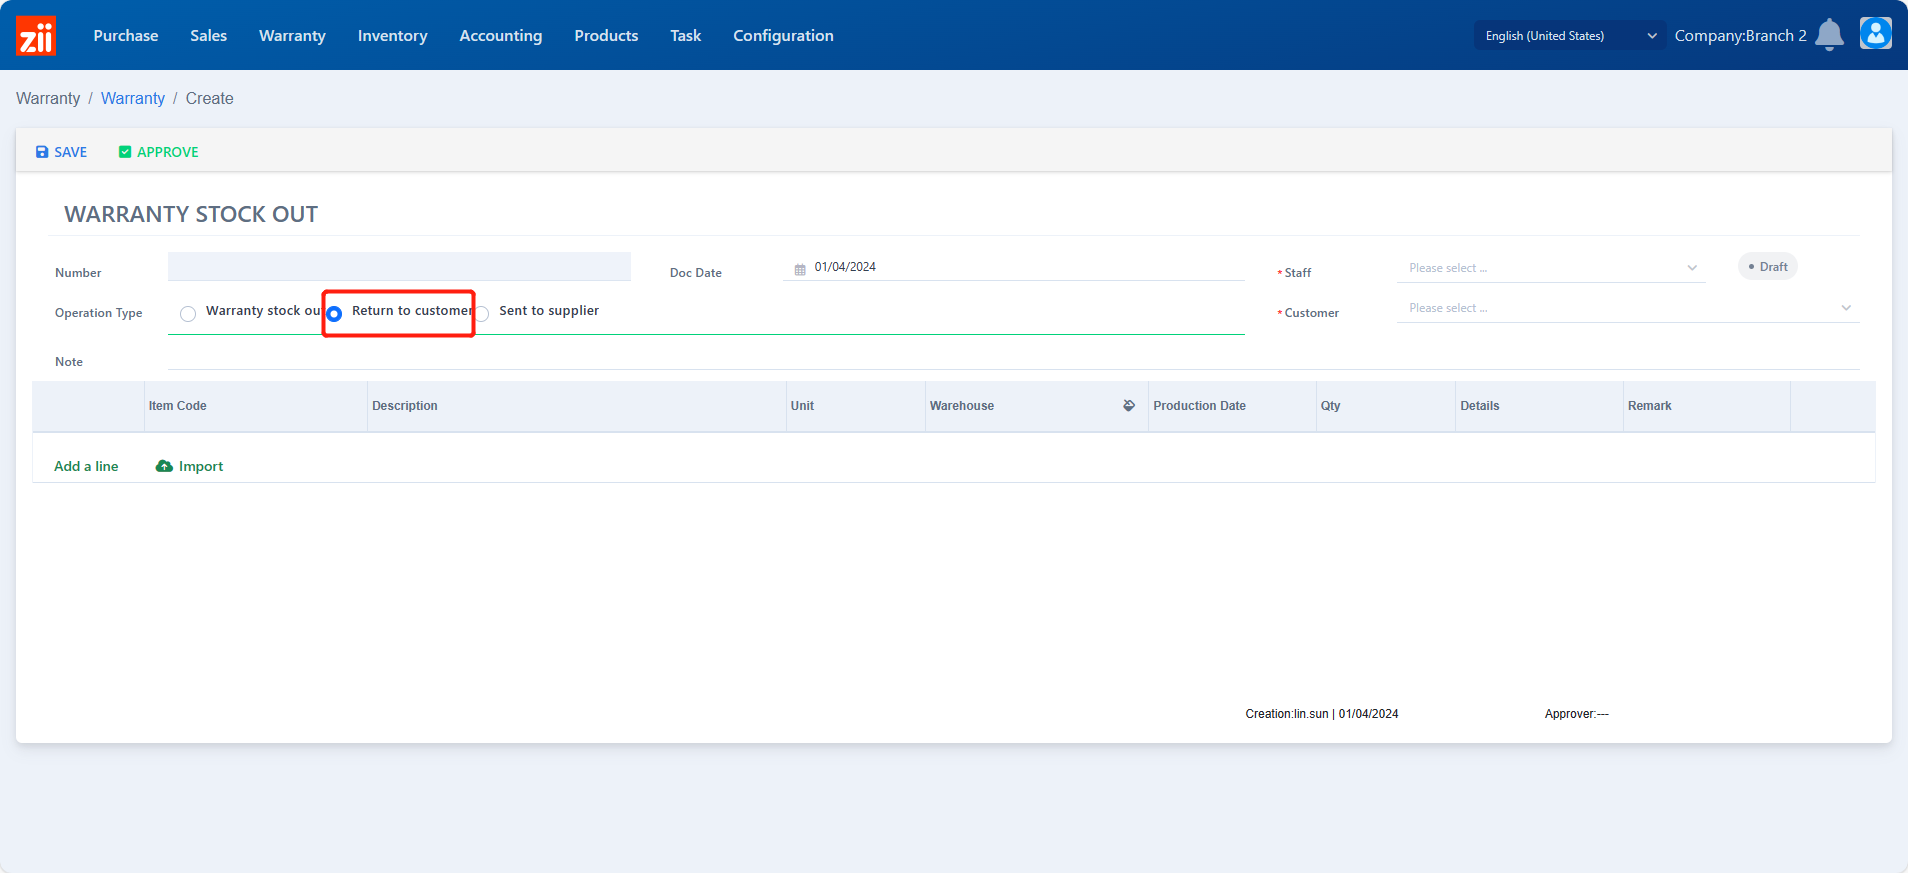
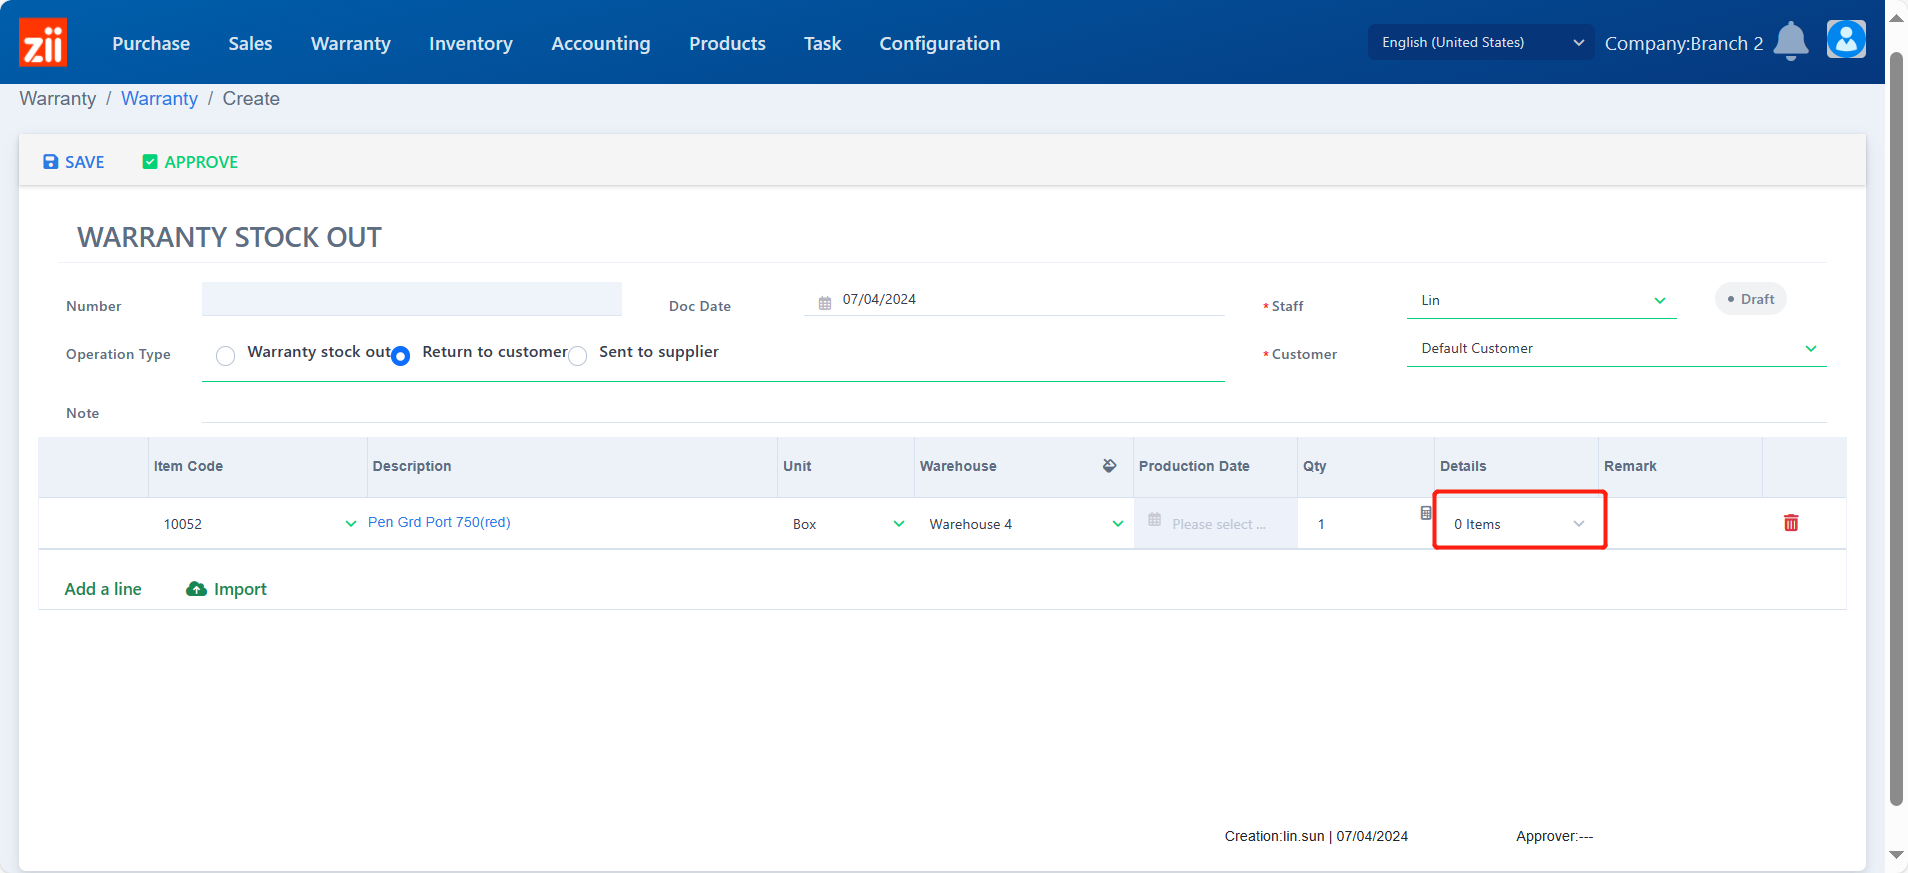
- Go to “Stock Out to Warranty”.
- Click “Add”.
- Choose the type to be “Return to customer”.
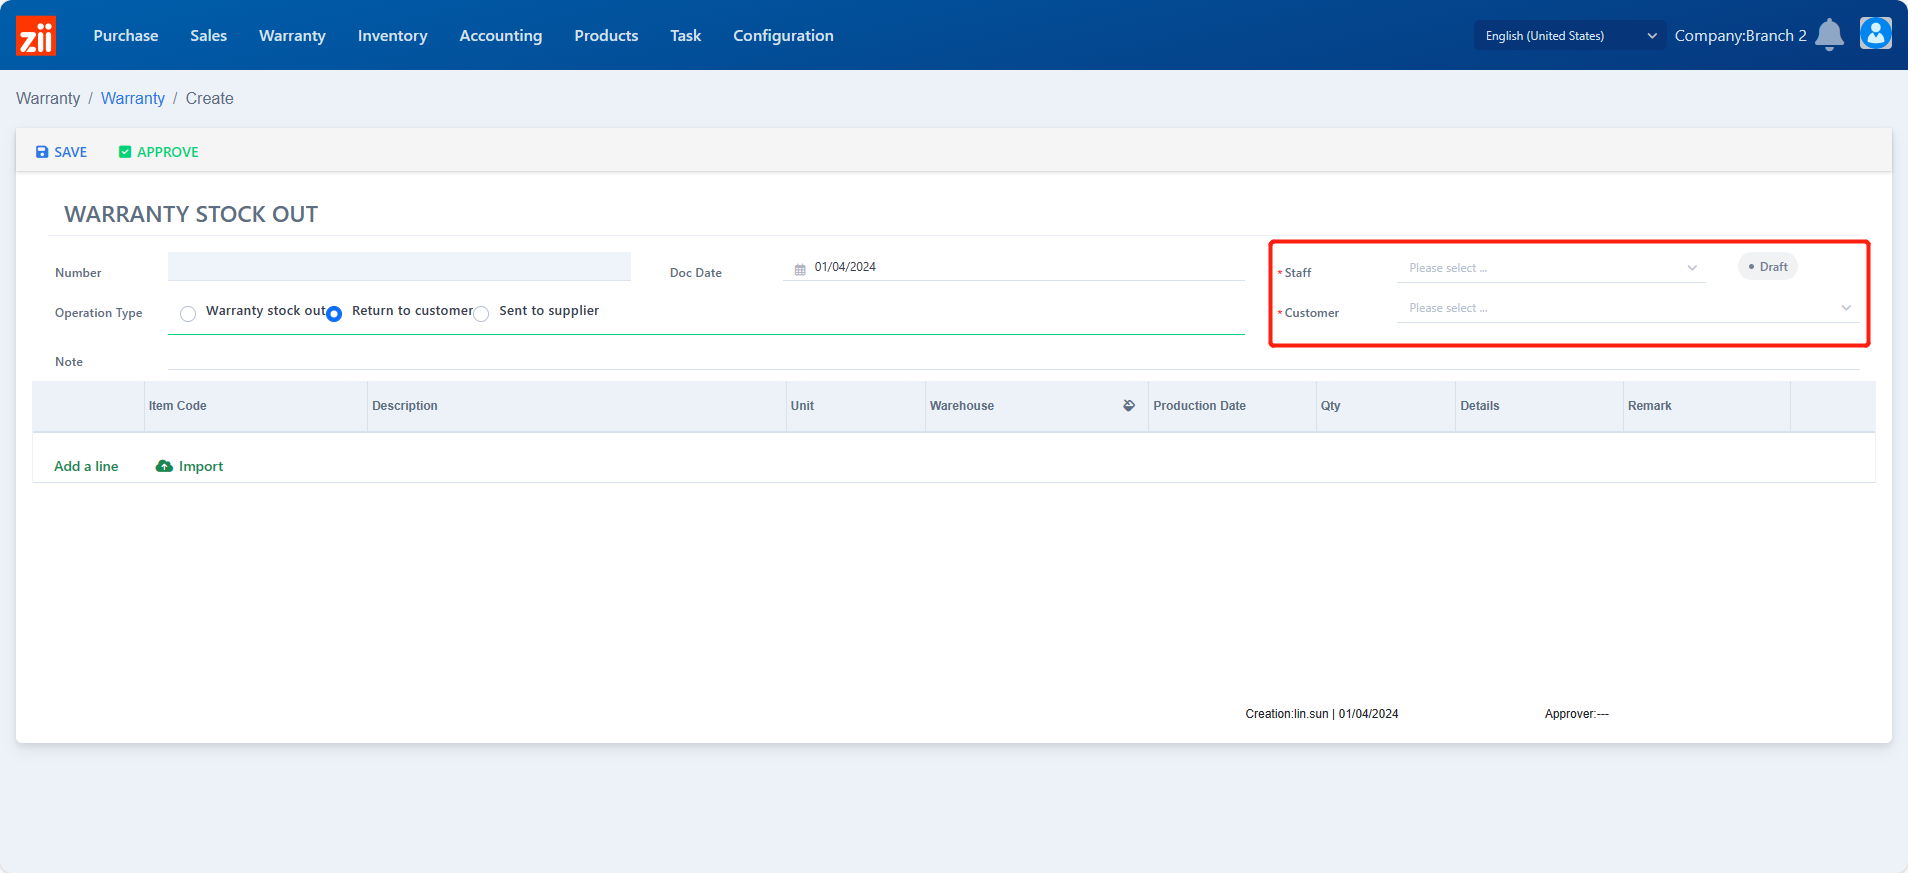
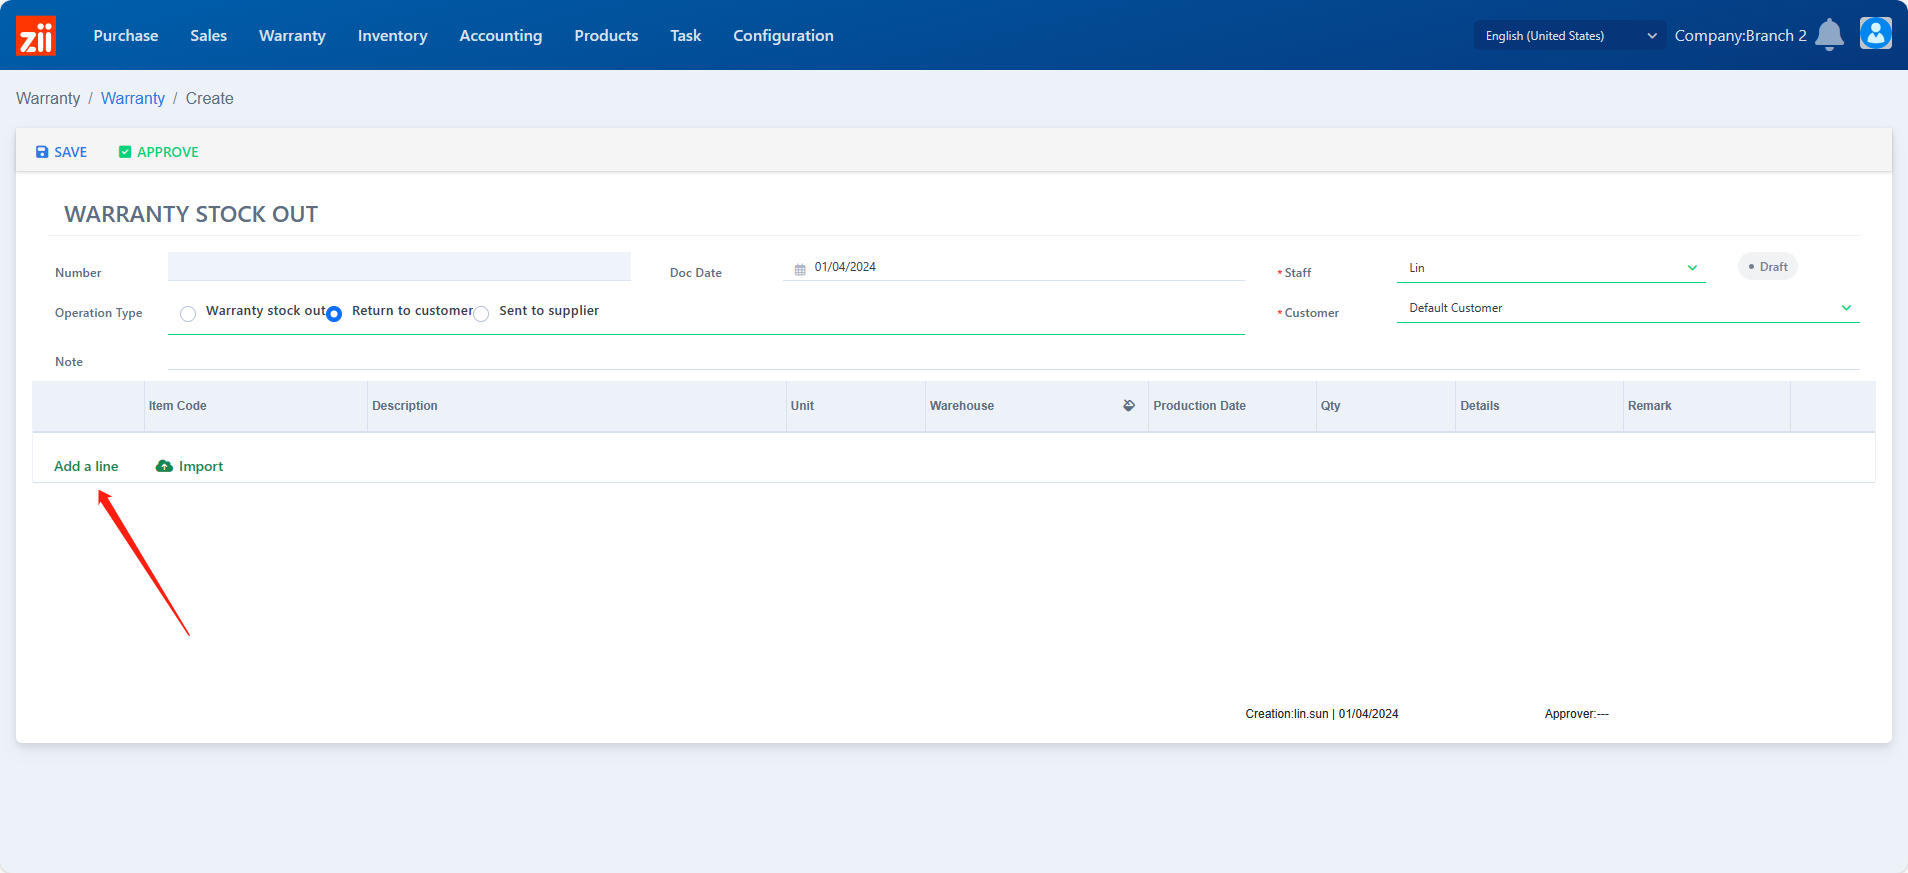
- Select the staff and the customer.
- Click “Add a line”.
- Select the item.
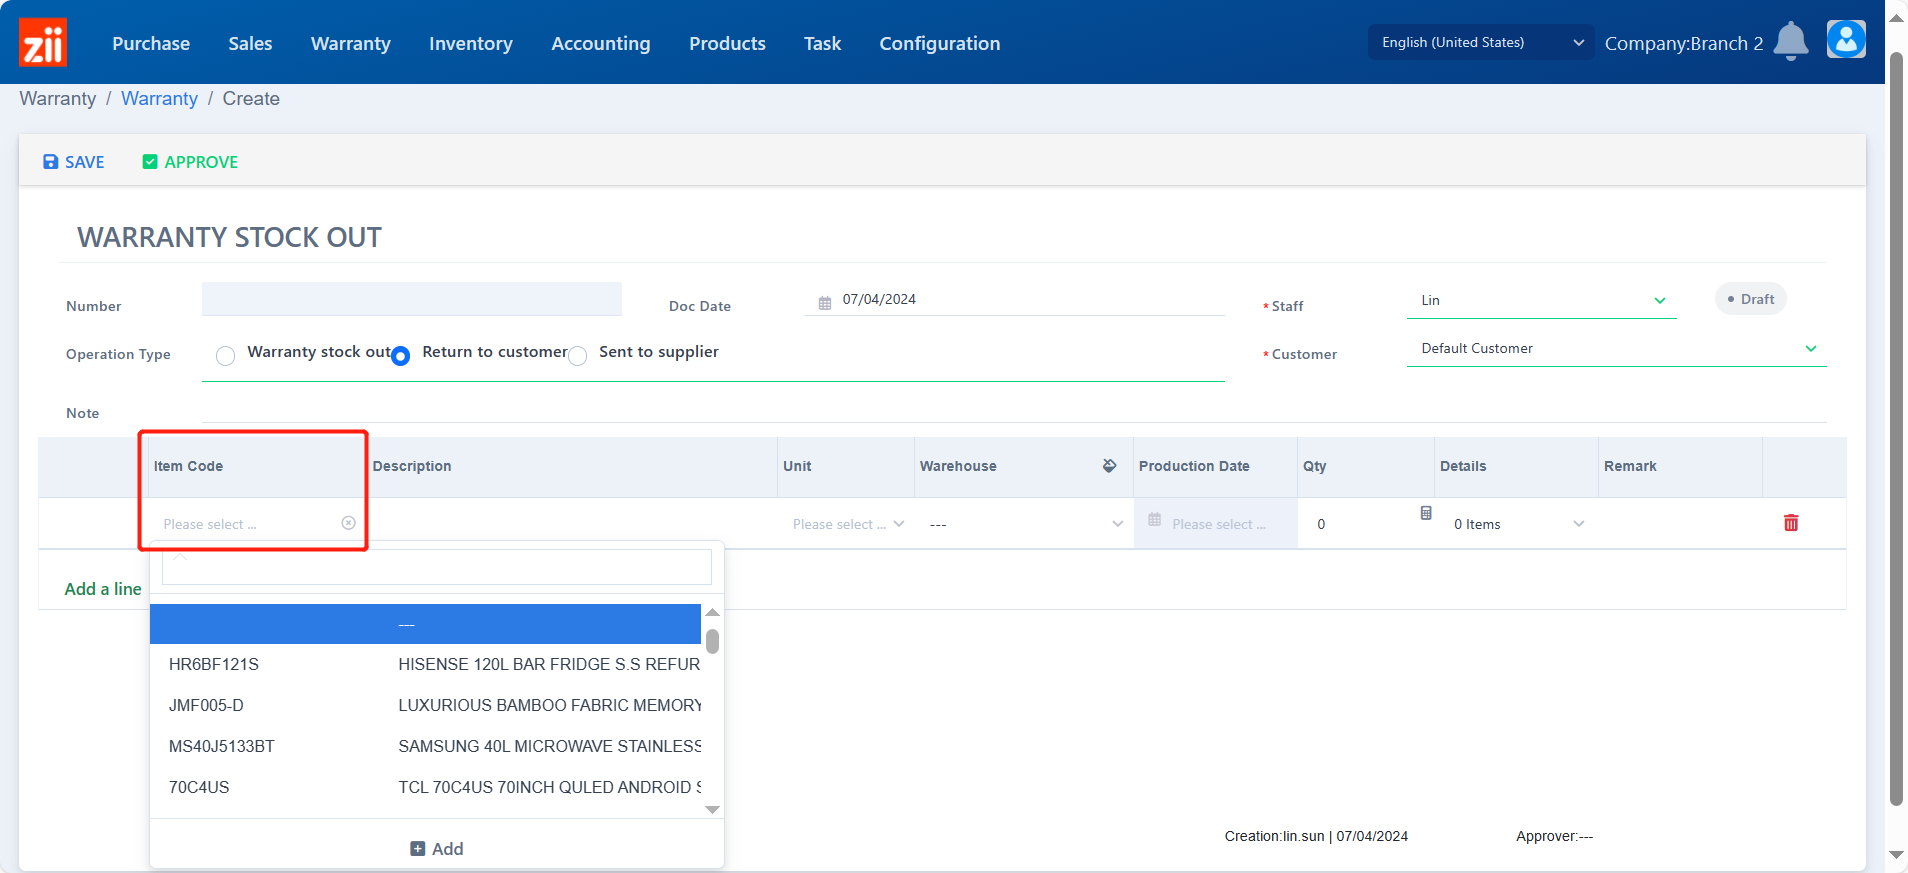
- Choose the unit as needed.
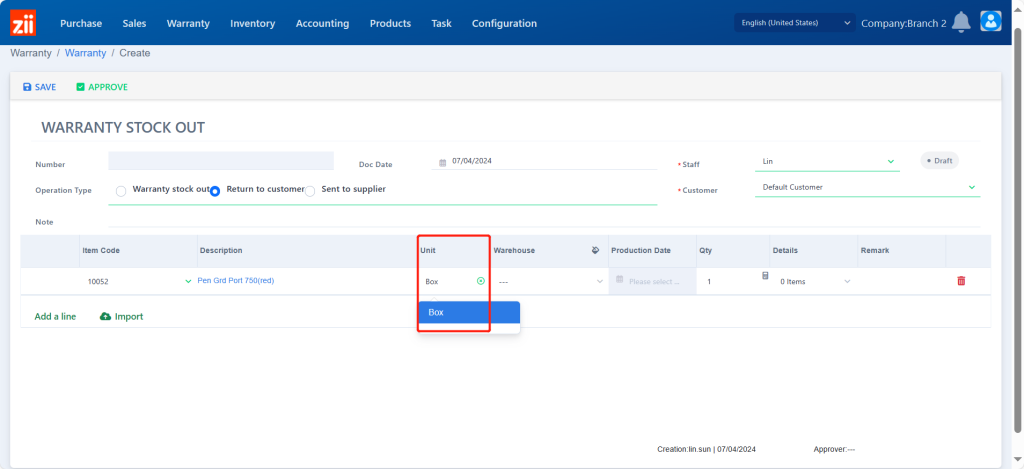
- Select the stock out warehouse.
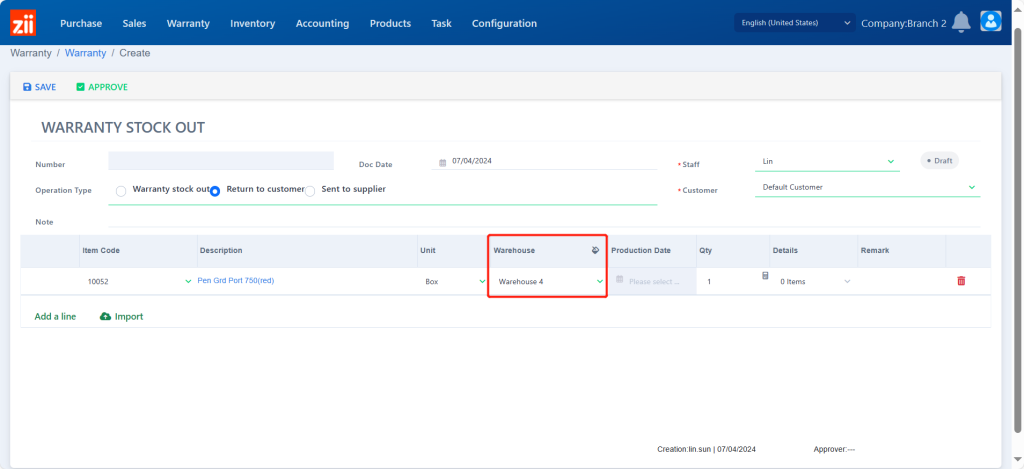
- Edit the quantity.
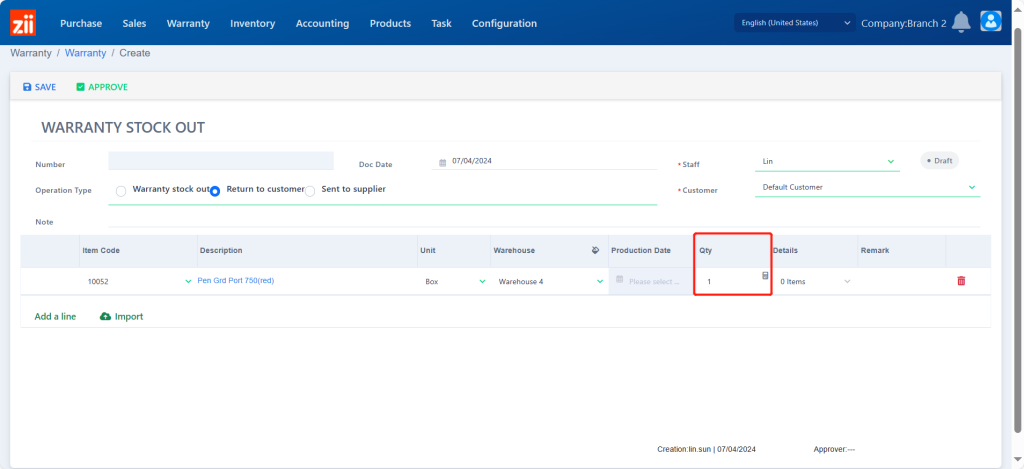
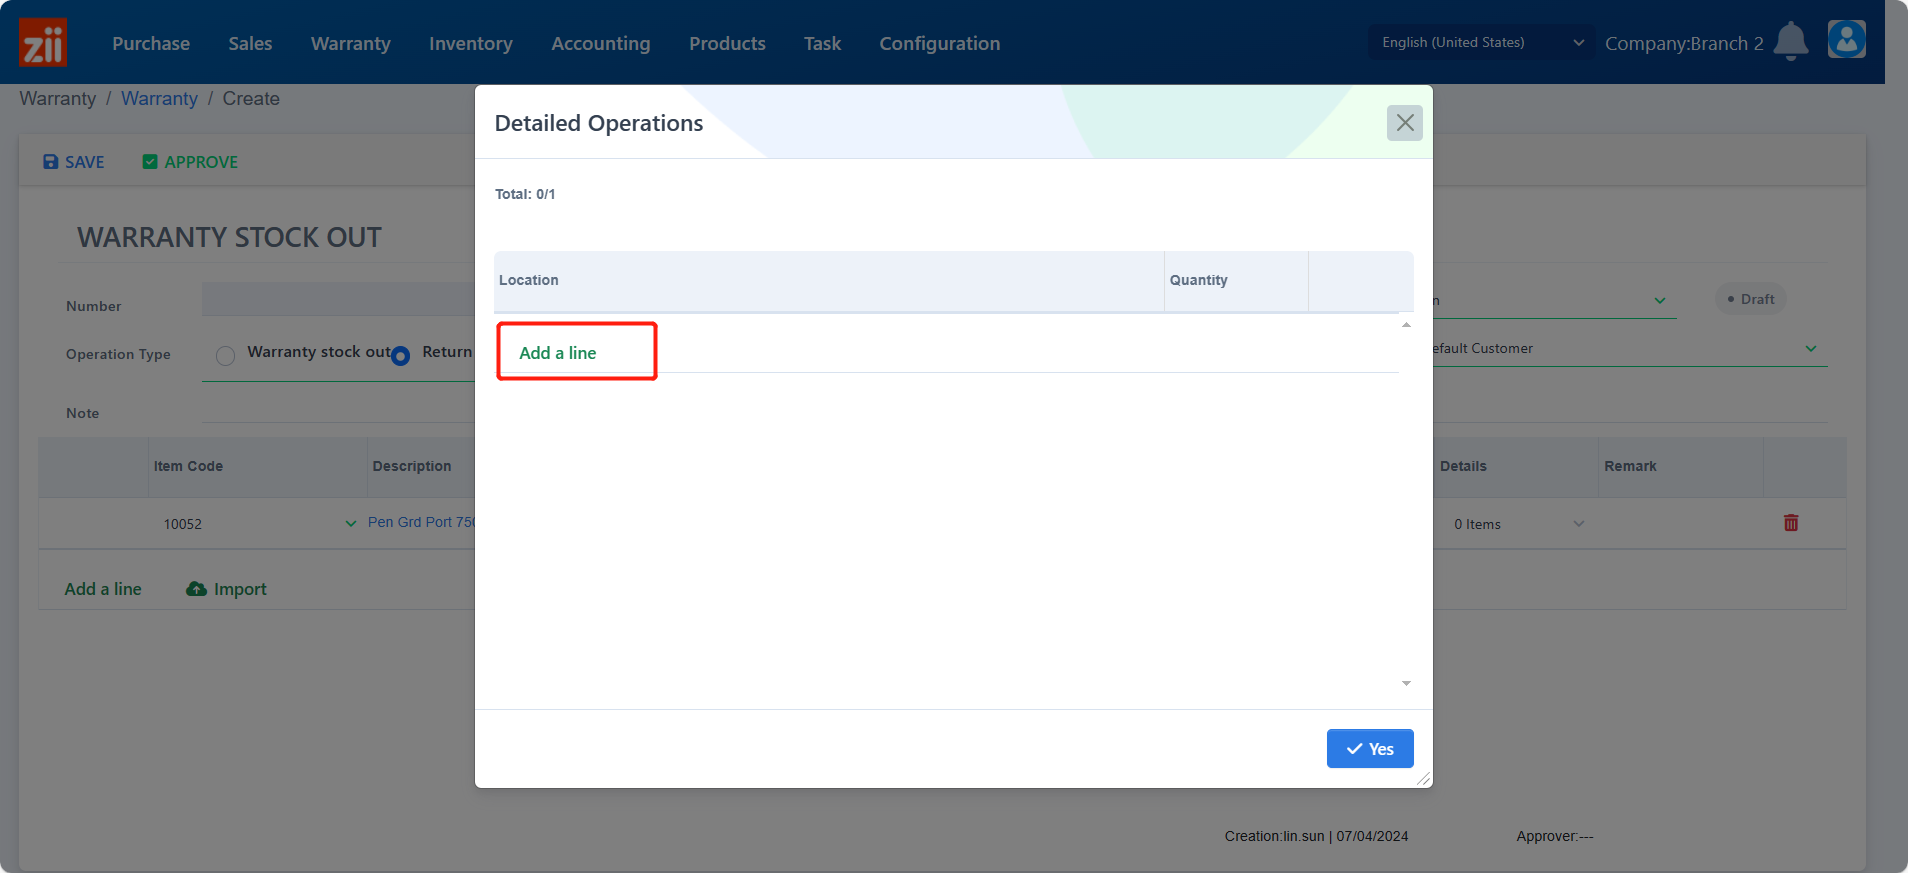
- If the warehouse is enabled with location management, location details need to be fill in by clicking the blank under “Details”.
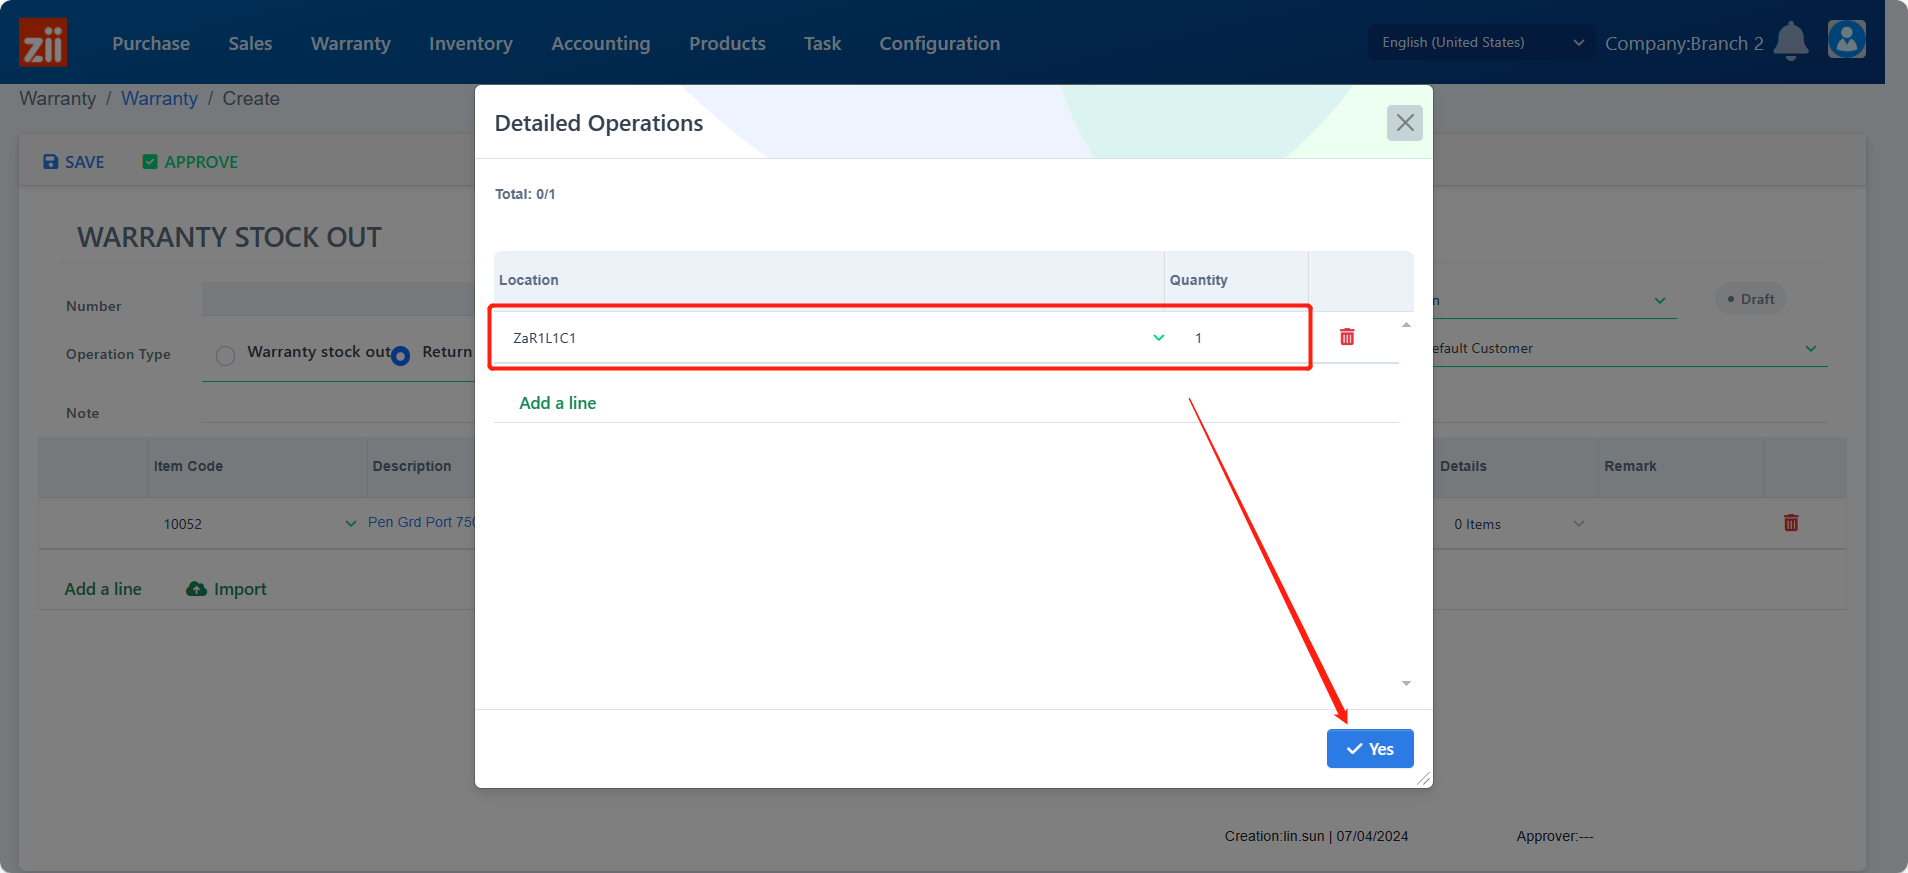
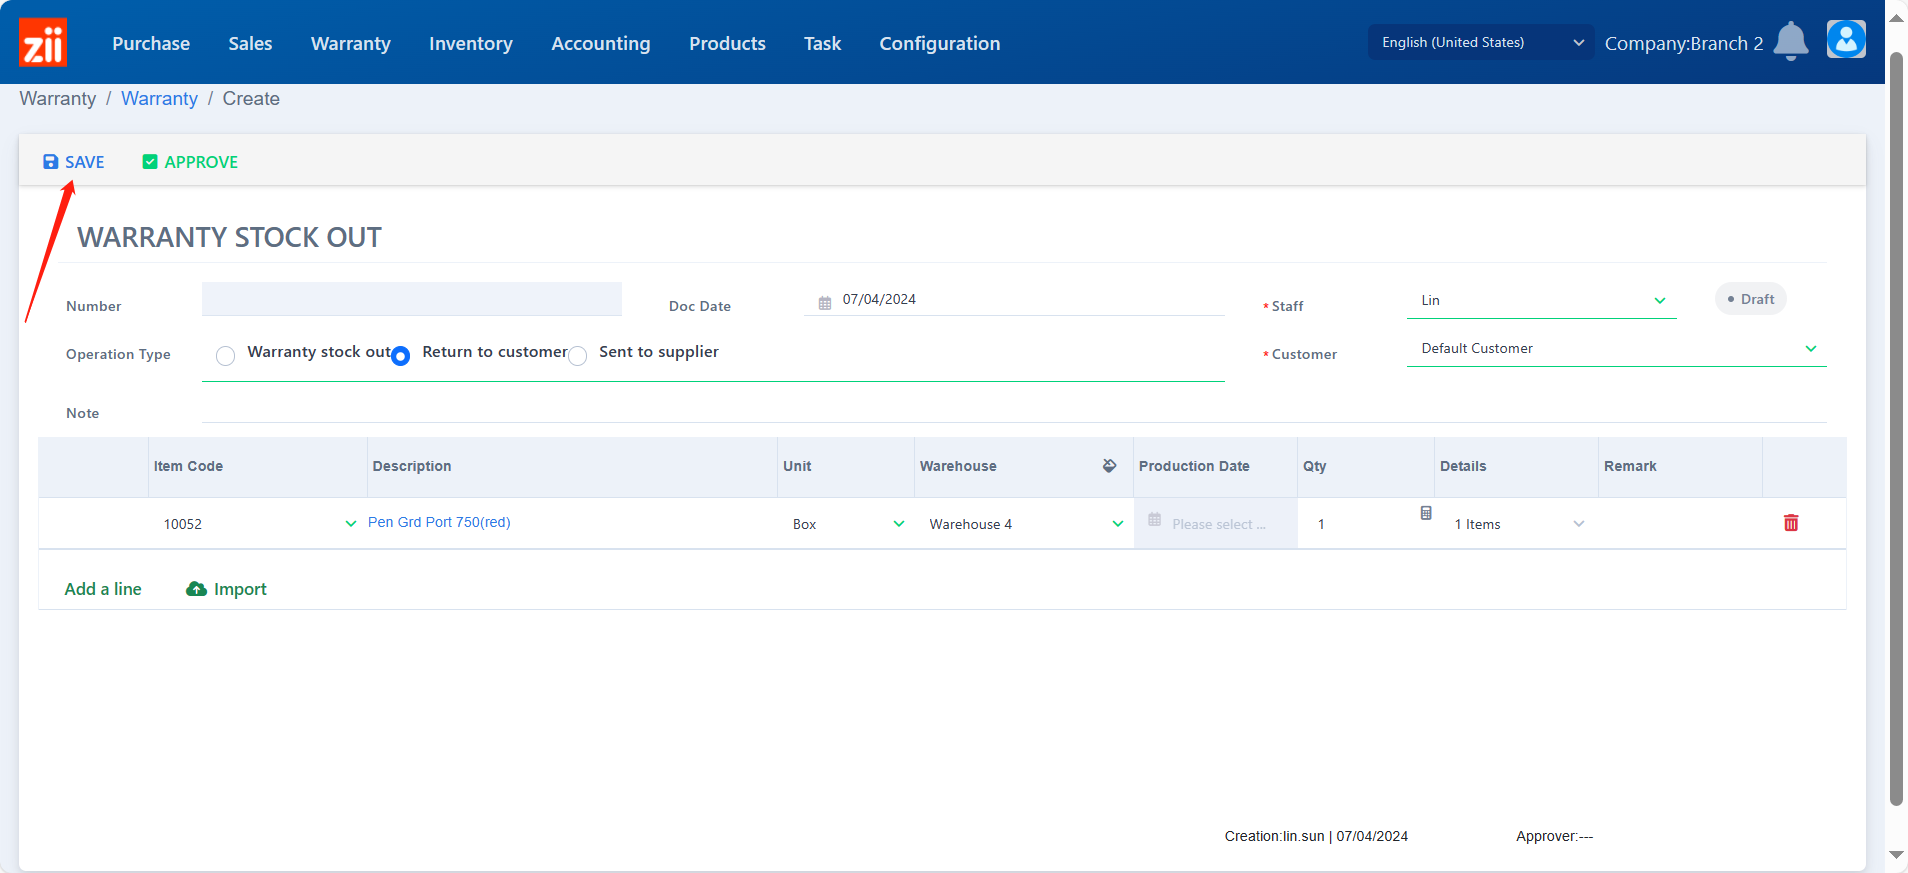
- Save and approve the ticket.
- Go to “Warranty”.
- Edit the ticket.
- Click “Edit”.
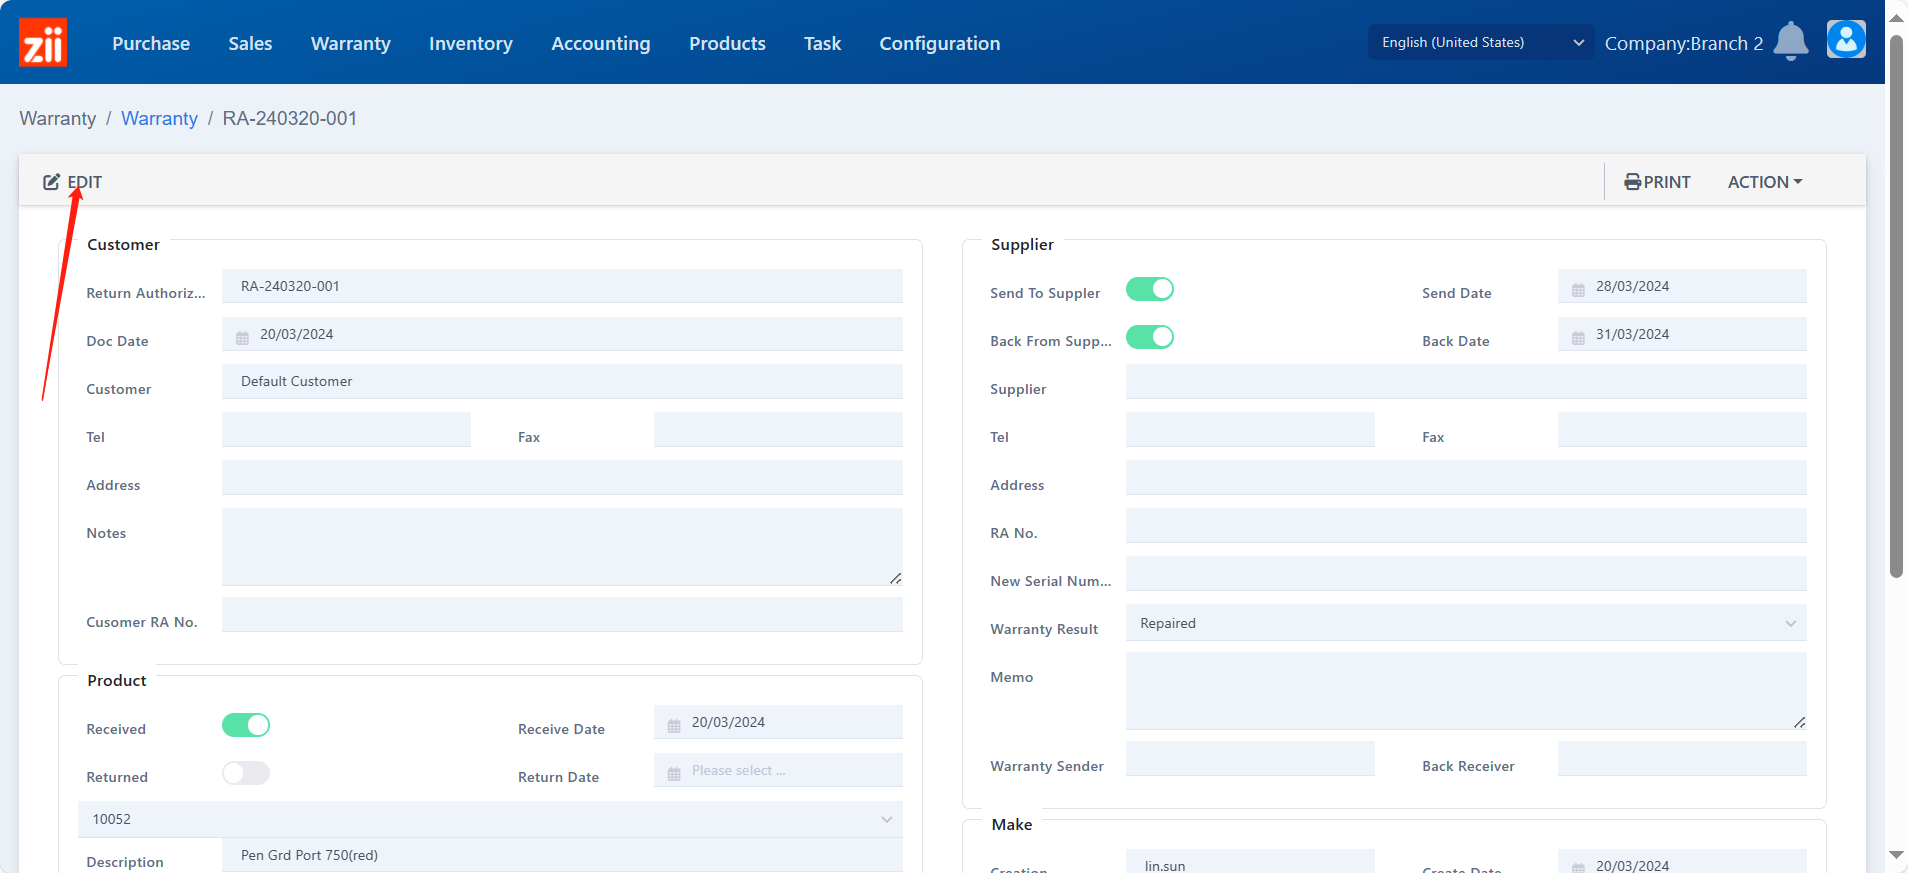
- Toggle on “Returned”.
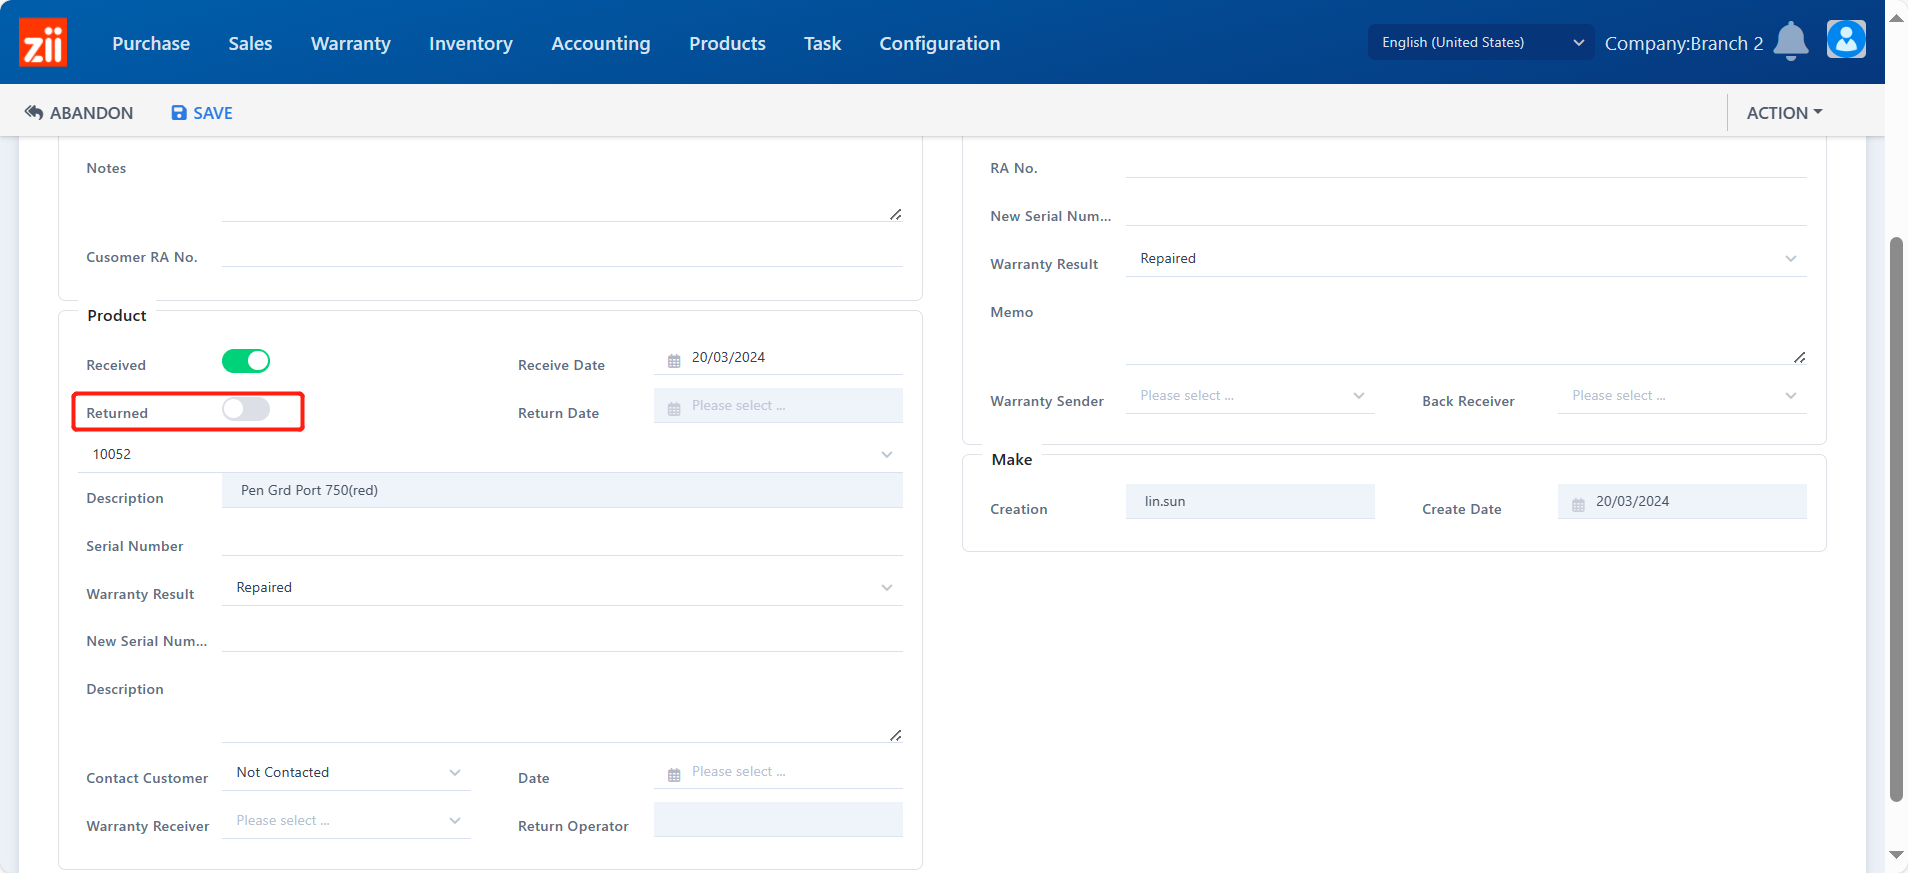
Choose the returning date.
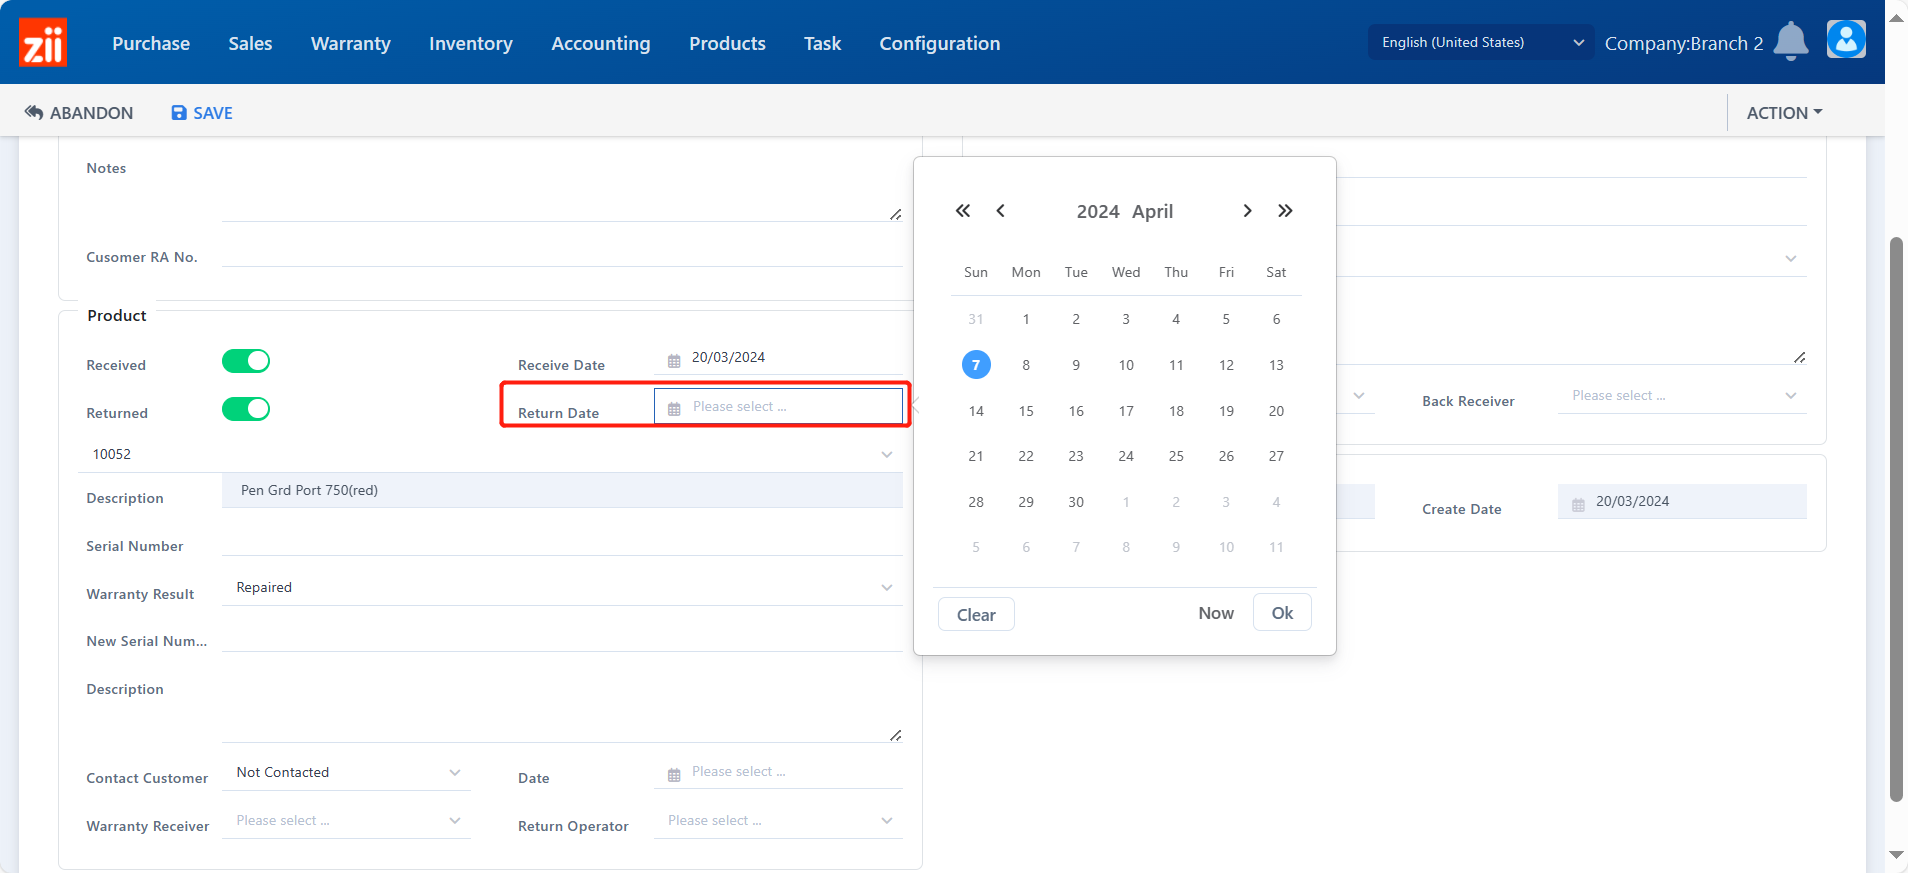
- Complete the rest of info as needed.

- Save the ticket.