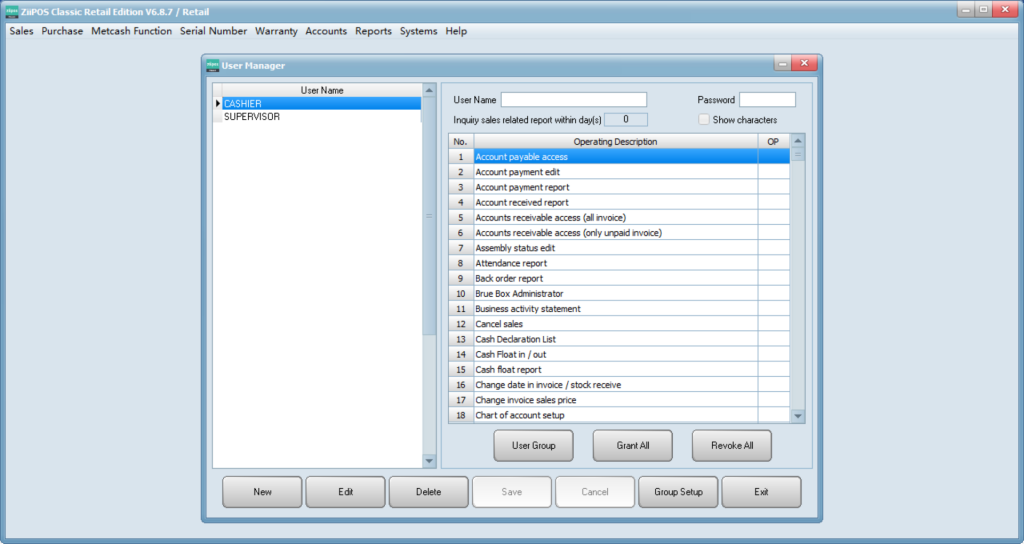
- Click “user manager”.

- You can see this page.
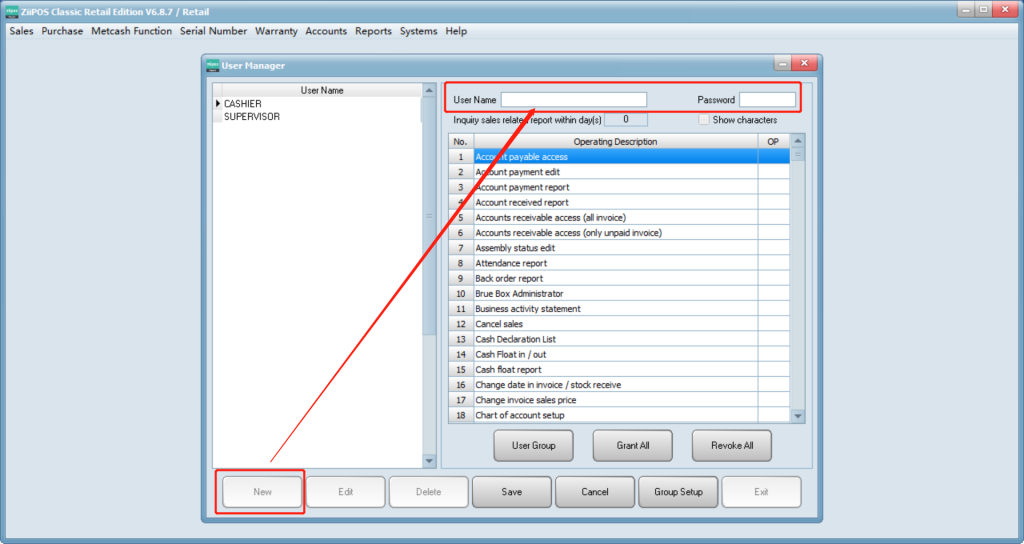
- Click on “New” to add a new user. Input a user name and assign a password for the user. Use the card ID as password if machine has swipe card read.
- Enable the function for the user by quick clicking twice in OP, Y stands for yes, blank stands for no.
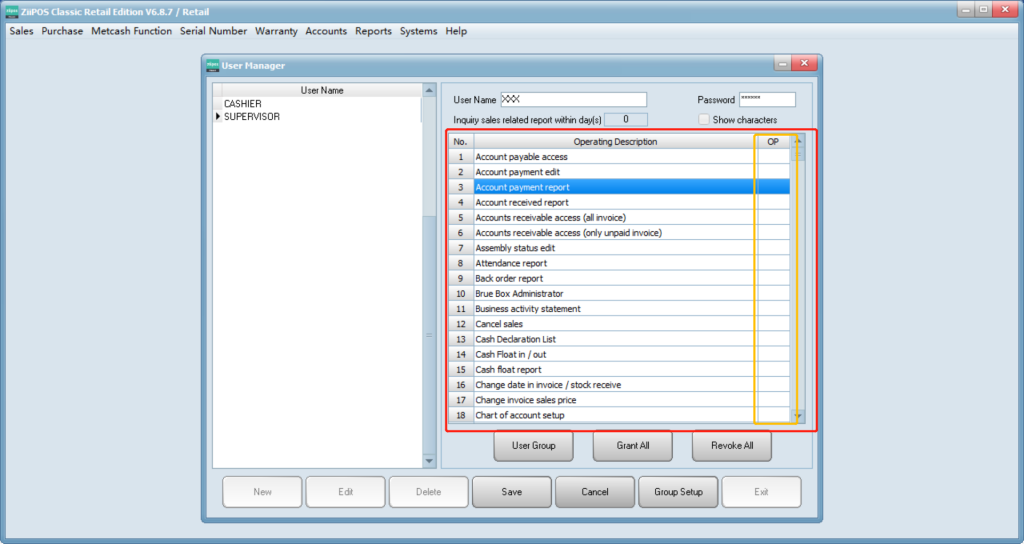
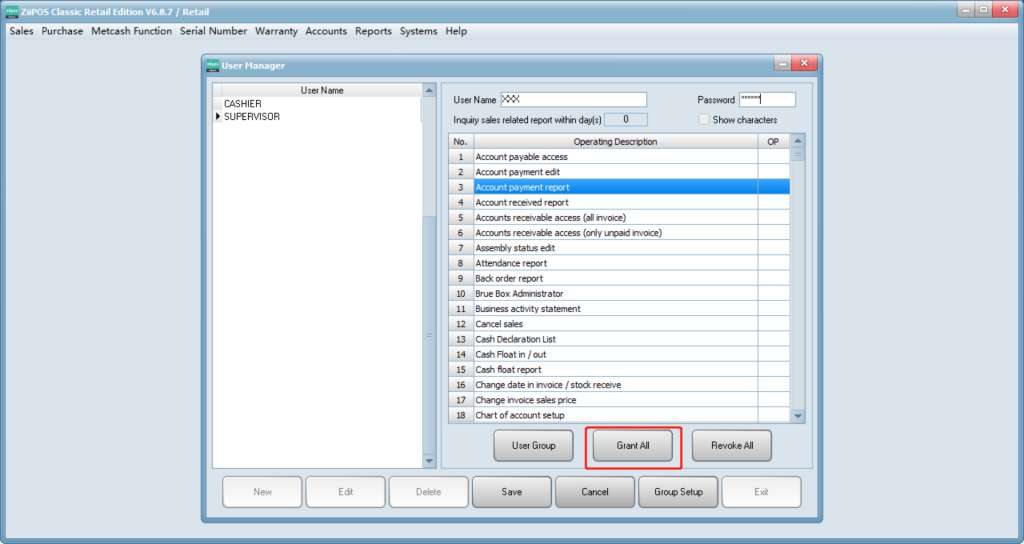
- Click on “Grant All” to allow accessible for all the operating systems.
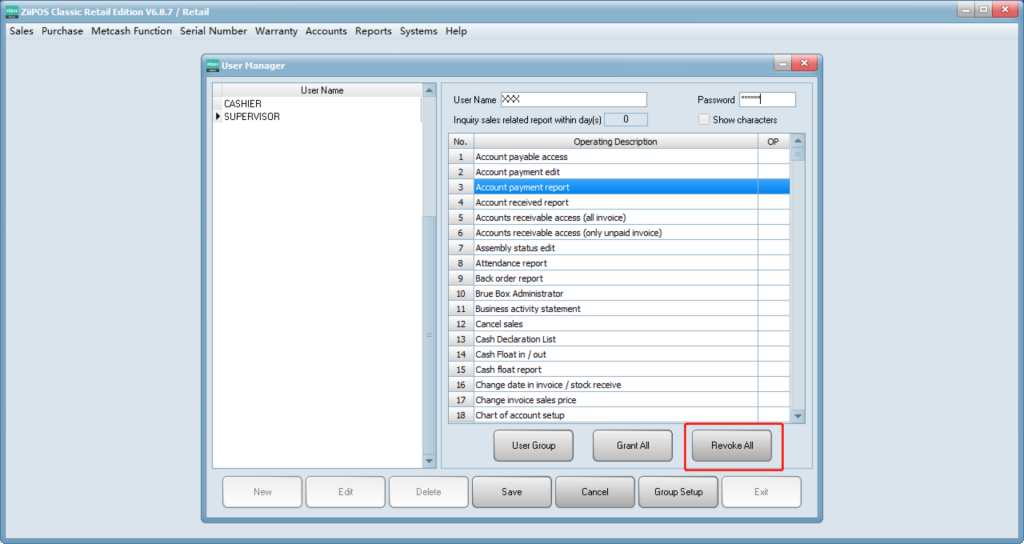
- Click on “Revoke All” to withdraw all the operating systems from user access.
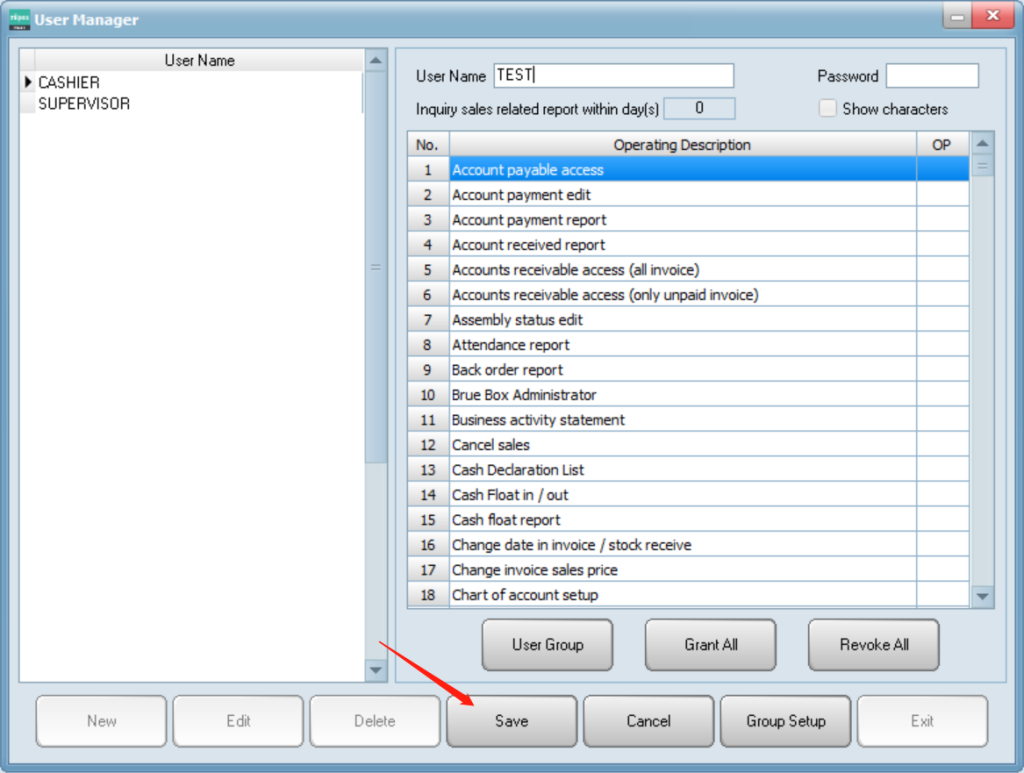
- Click on “Save” to save your settings.