
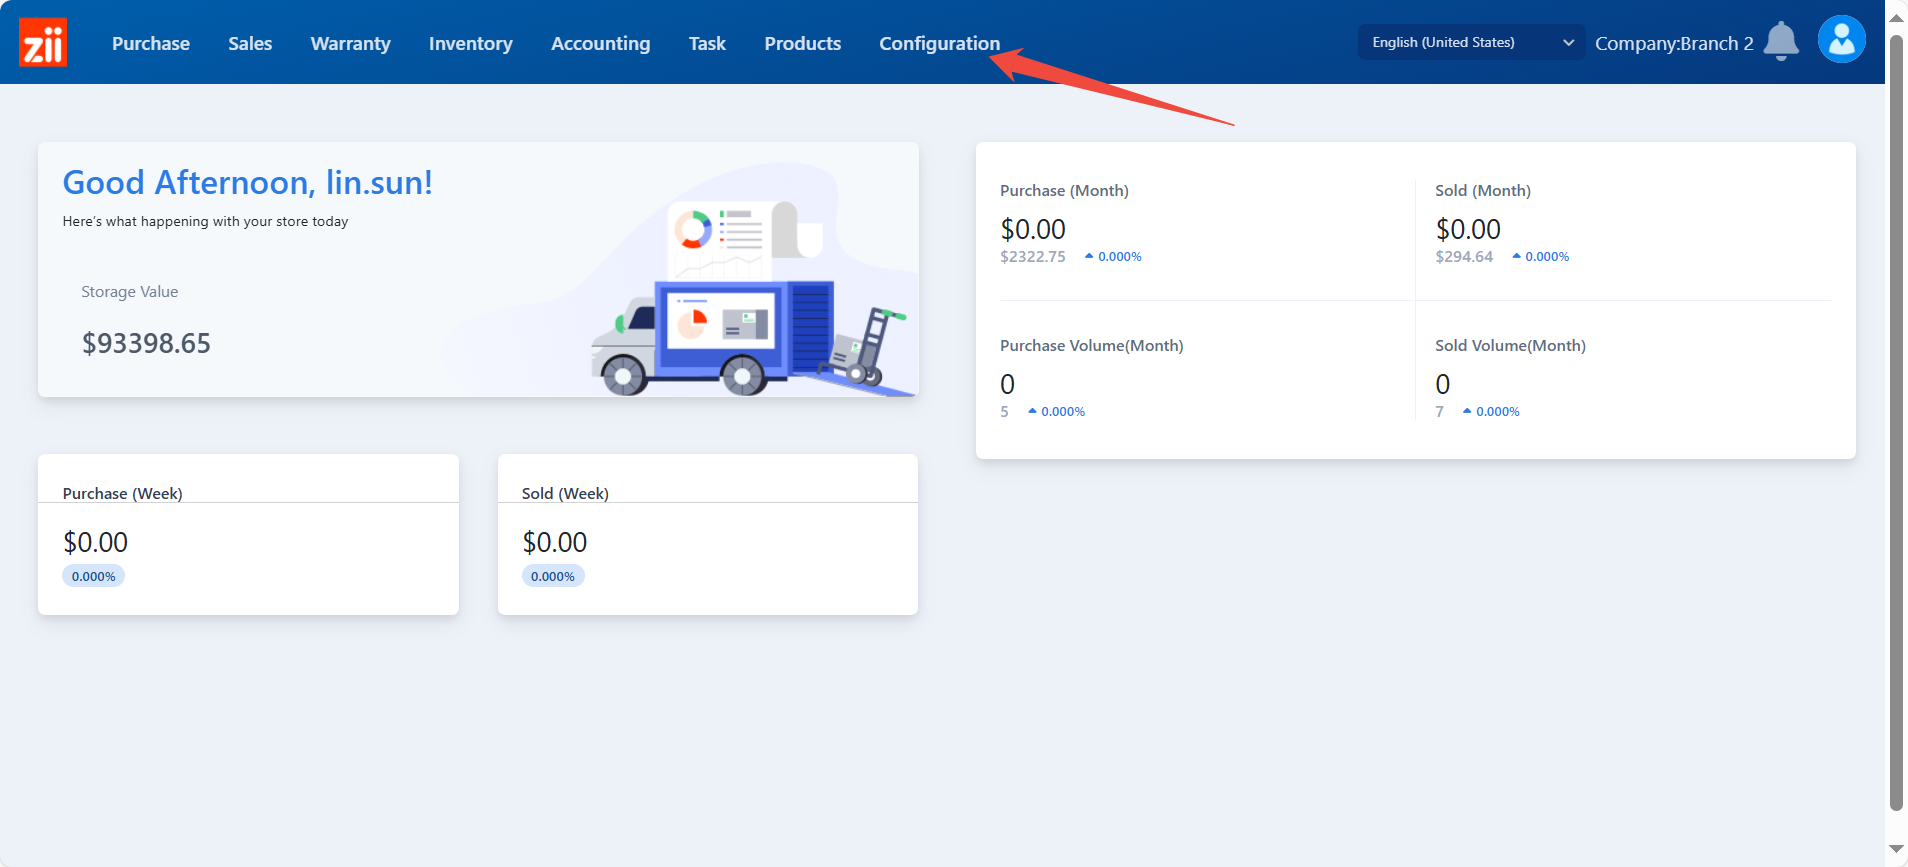
Go to “Configuration”.
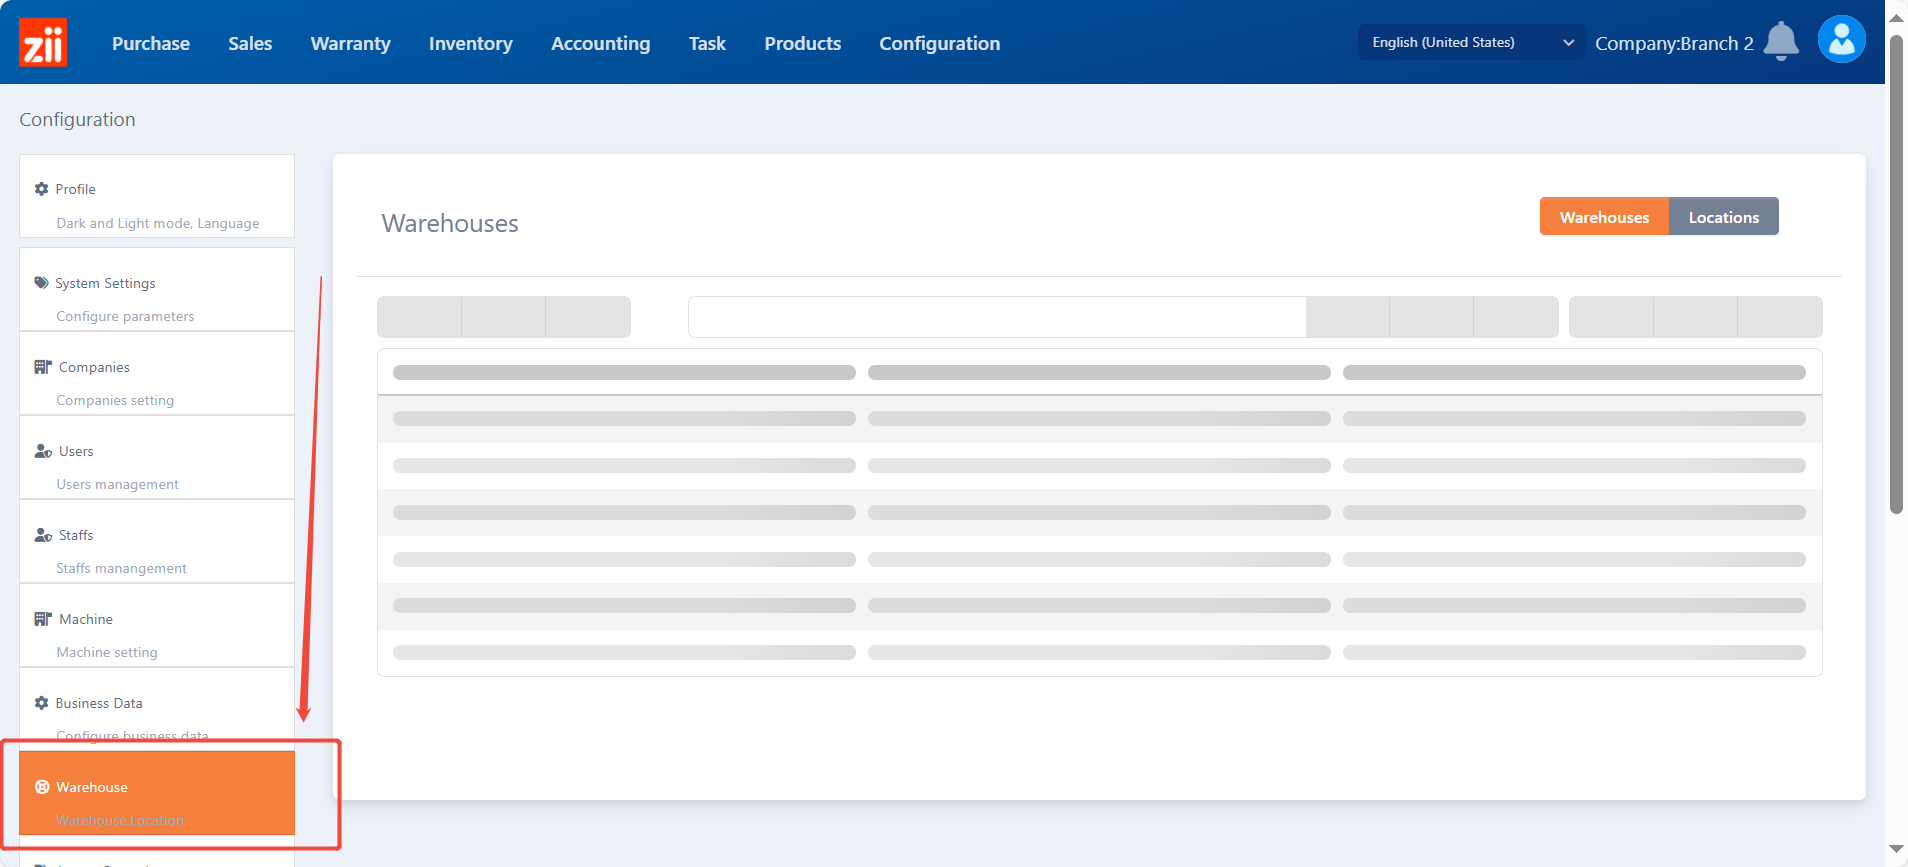
Go to “Warehouse”.
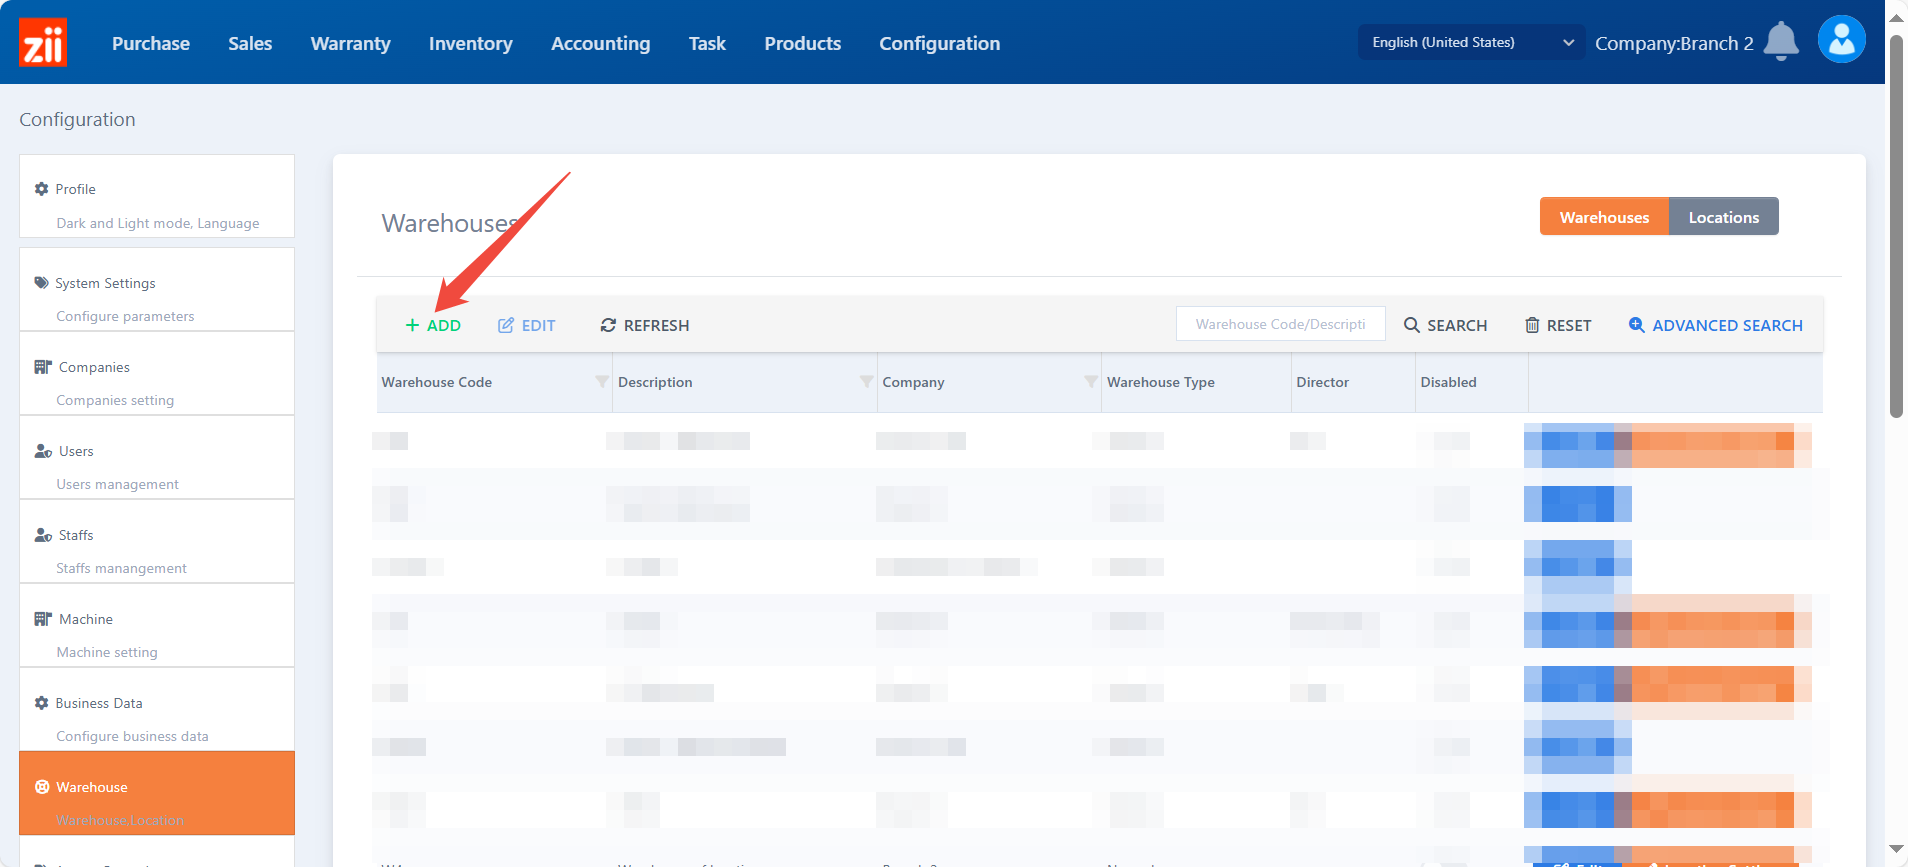
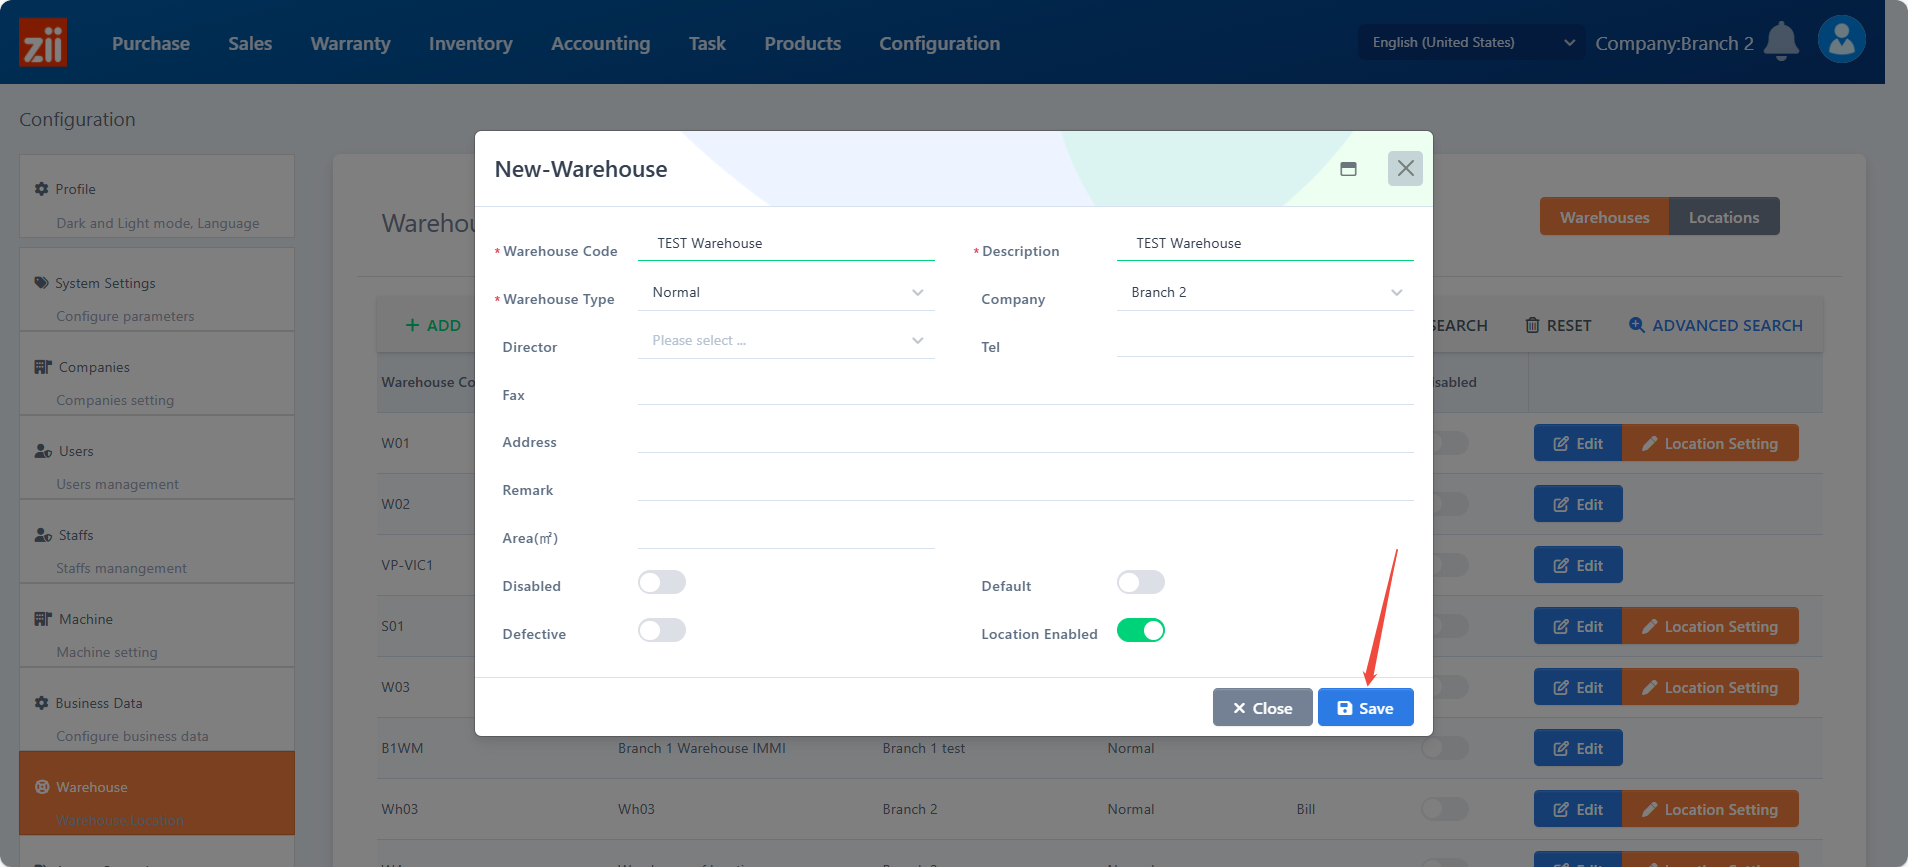
Click on “Add”.
Set up the code and name.
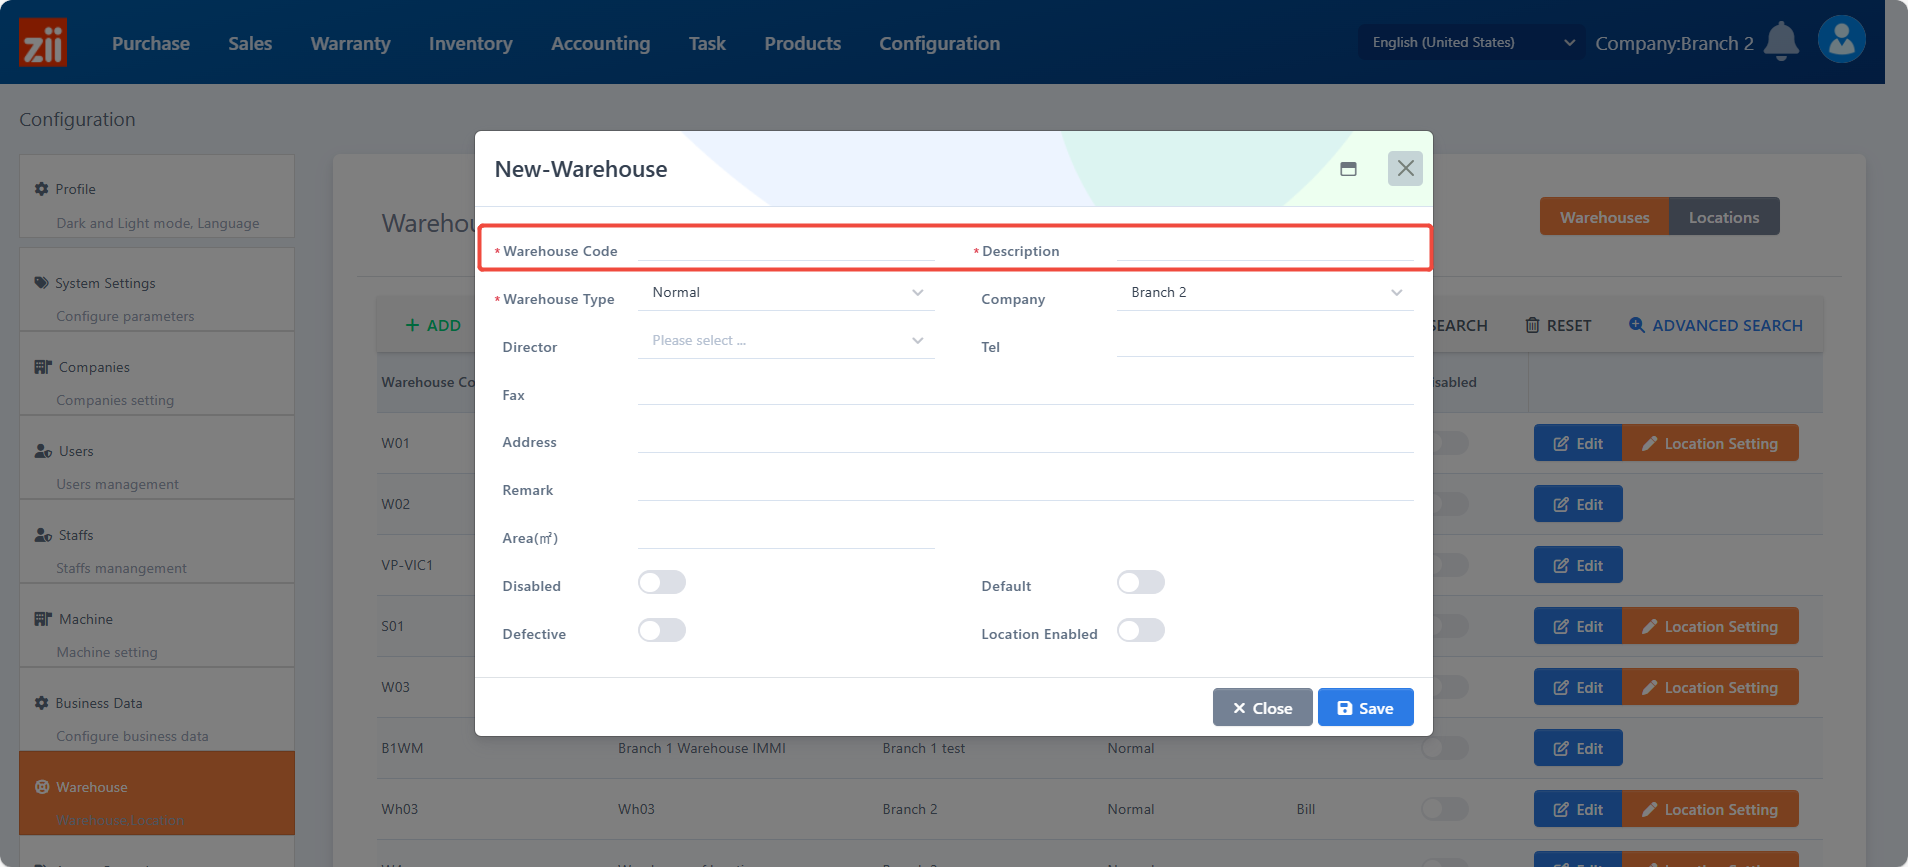
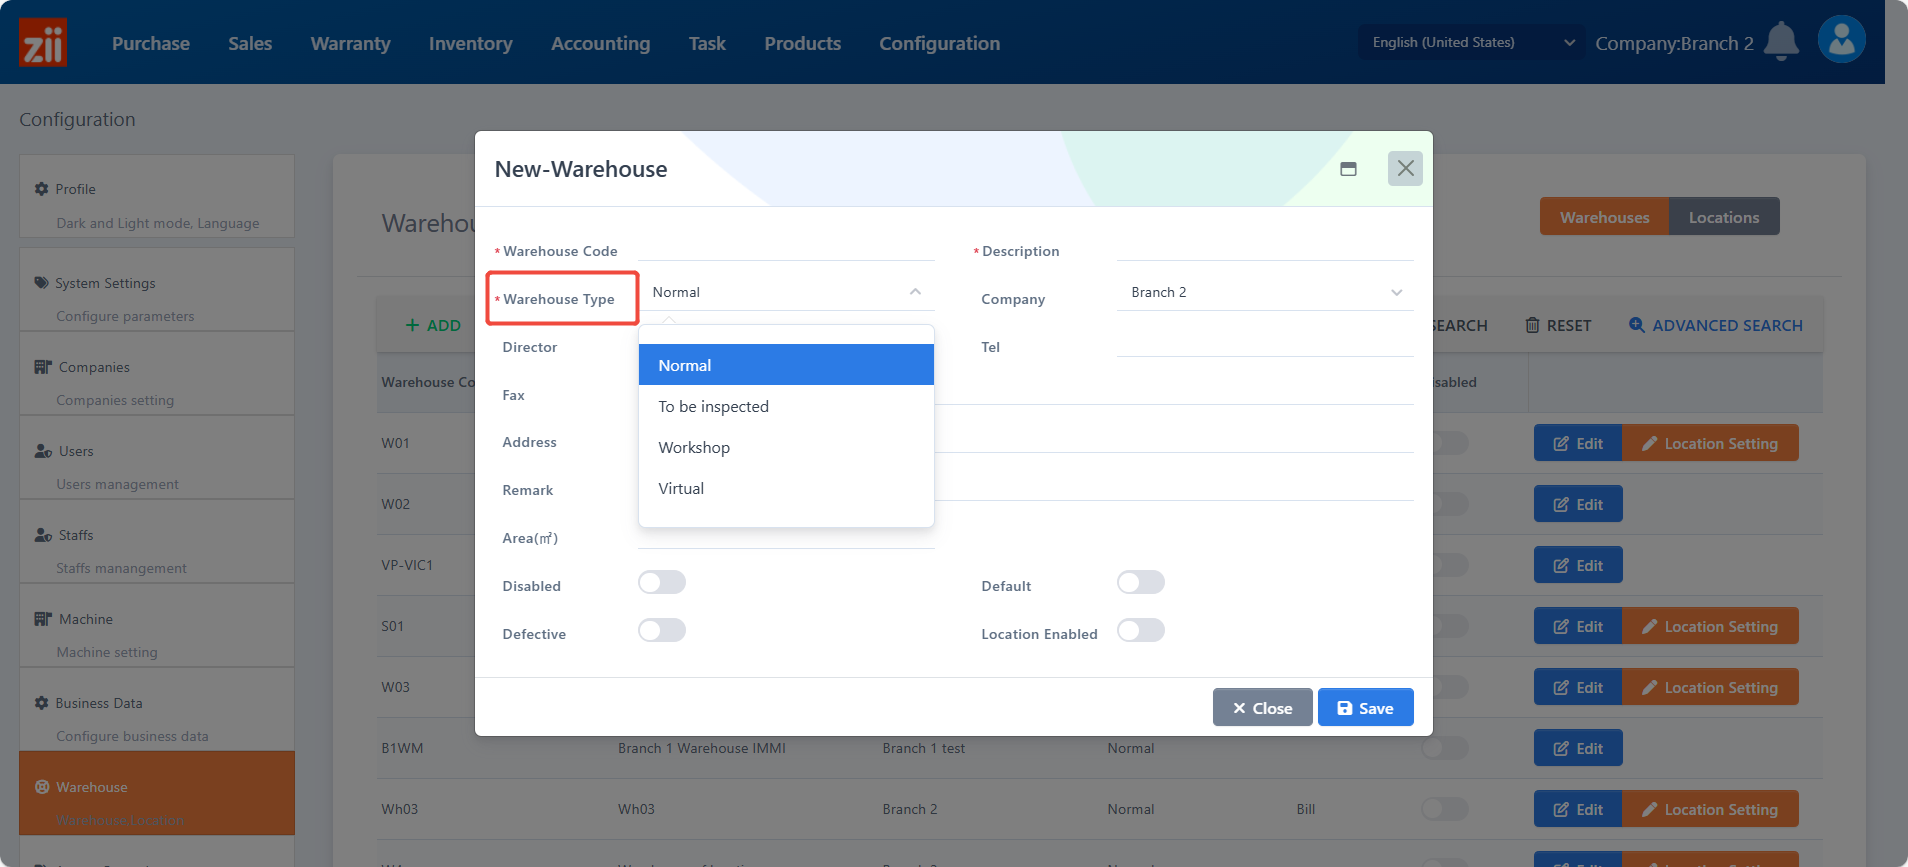
Choose the warehouse type.
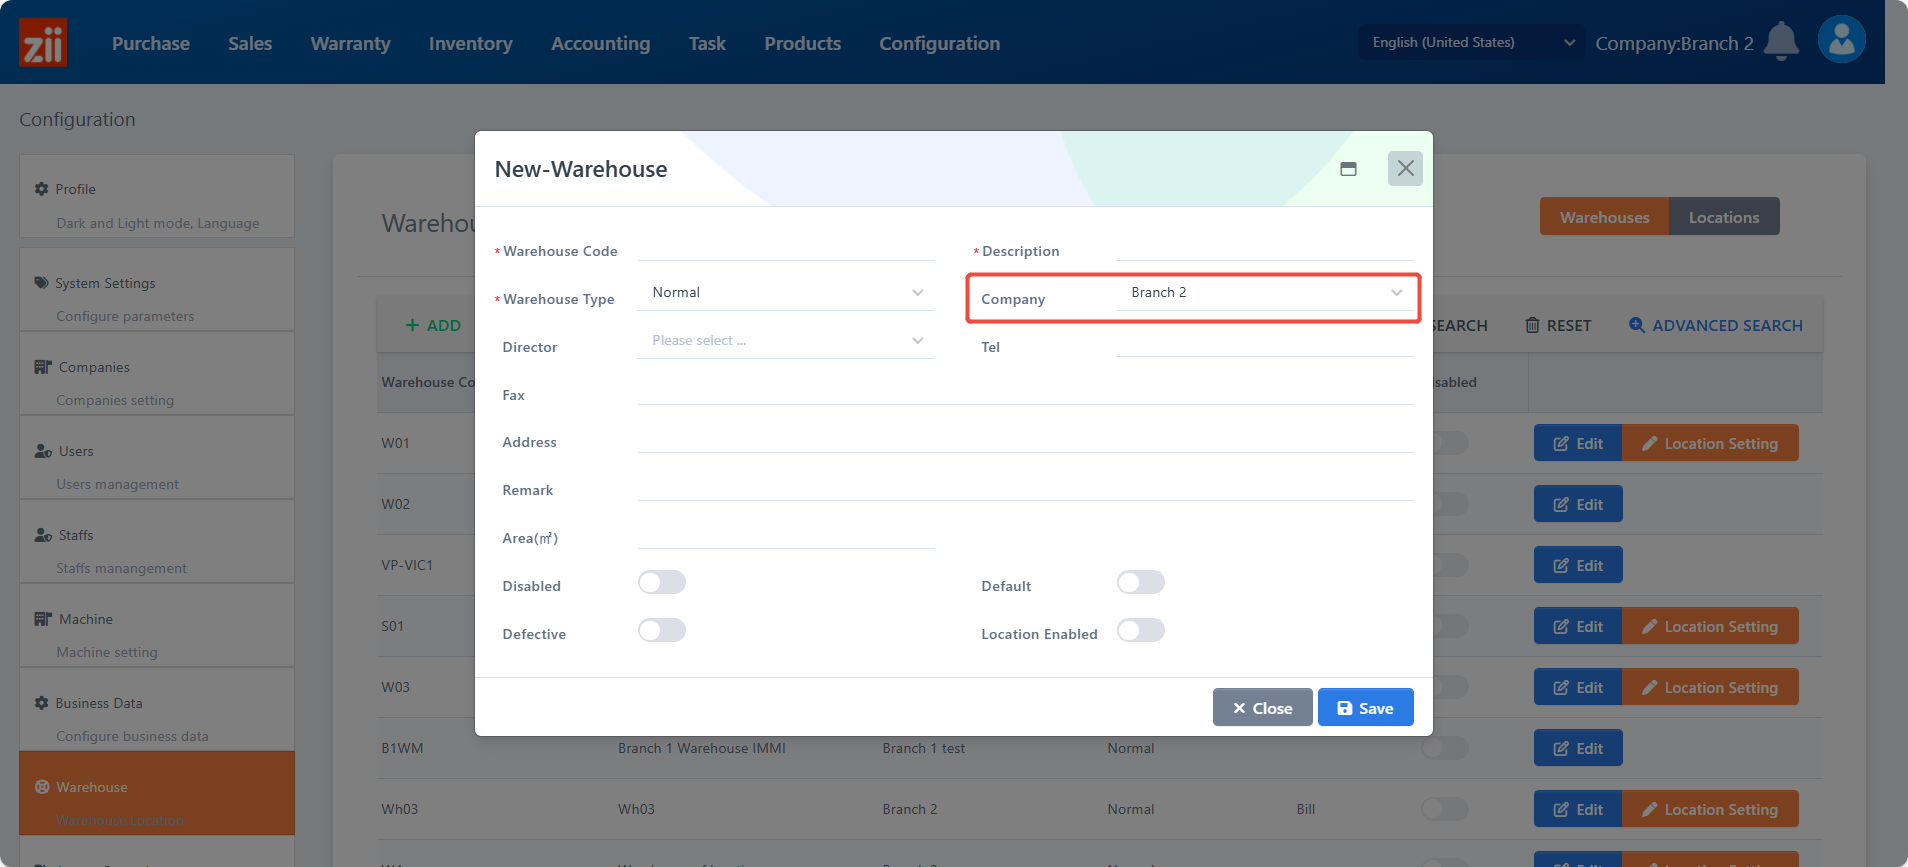
Choose the appropriate company.
Fill in these info as you need. (Optional)

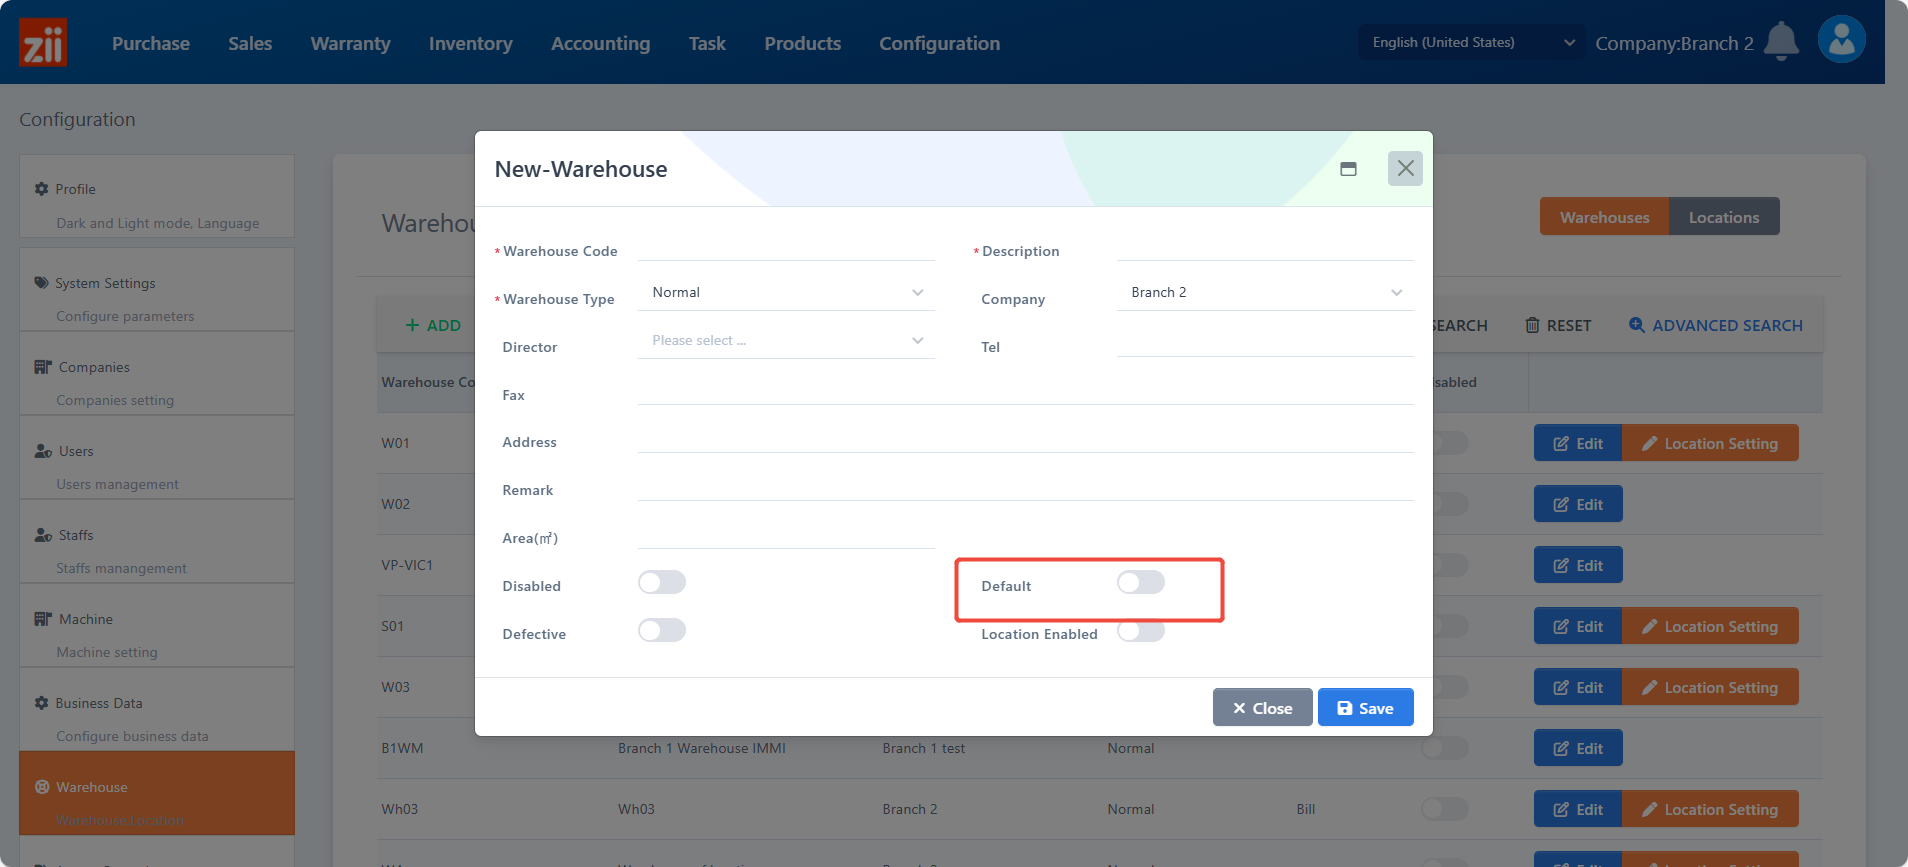
Turn on “Default” if you want this warehouse to be the default one.
Turn on “Location Enabled” if you need. (Optional)

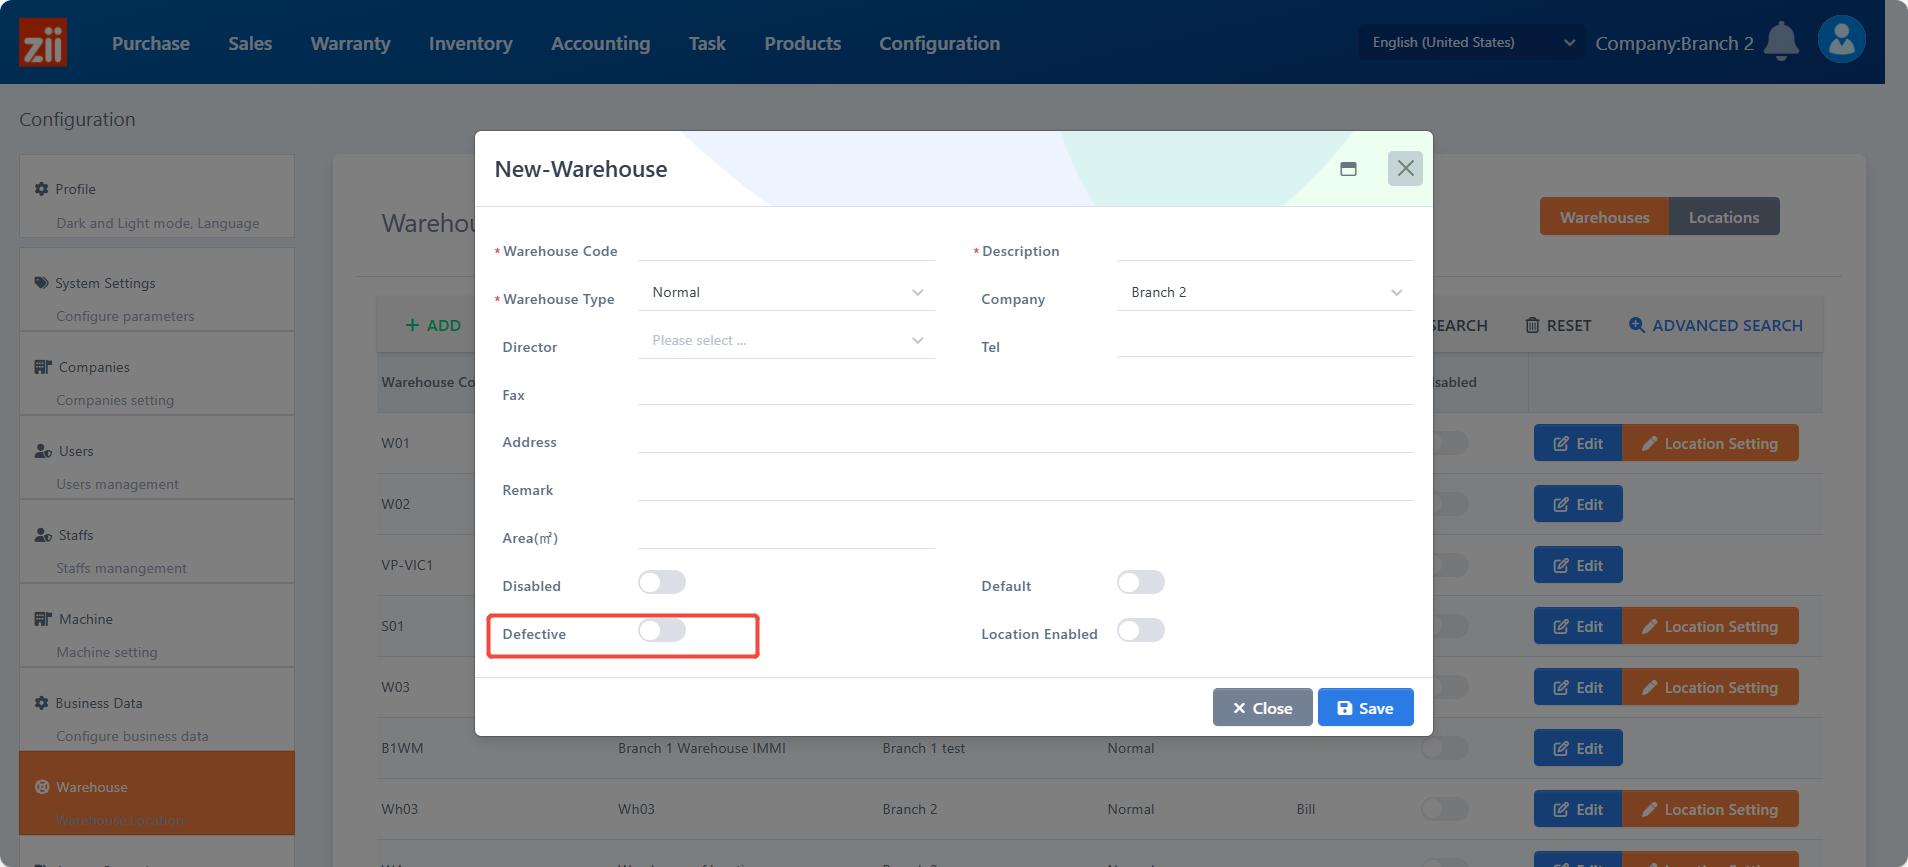
Turn on “Defective” if this warehouse stores defective products.
Click on “Save”.
Then the warehouse is setup well.