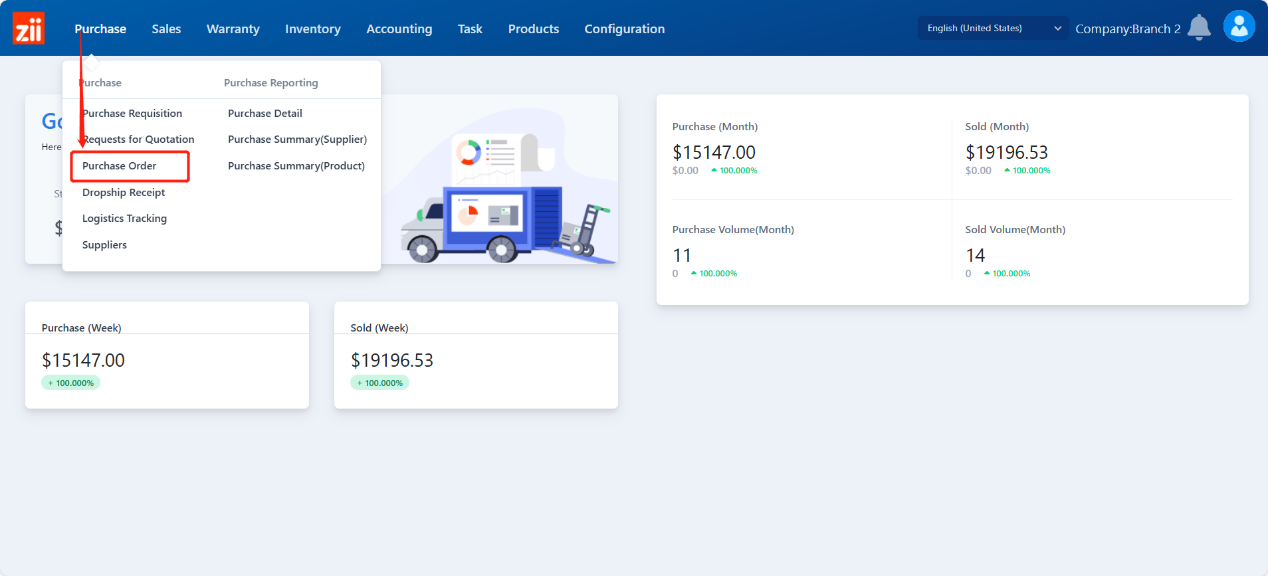
Branch A: Purchase
- Go to “Purchase Order”
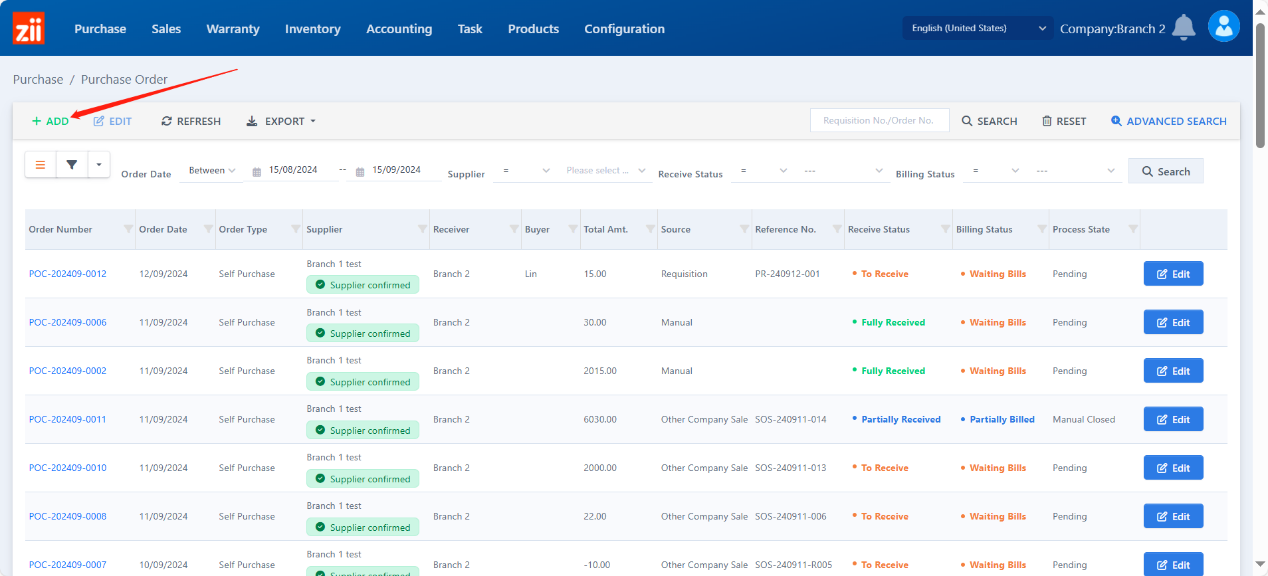
- Click “+ADD”.
- Select the supplier to be the merchant.

- Click “Add a line” to add products.
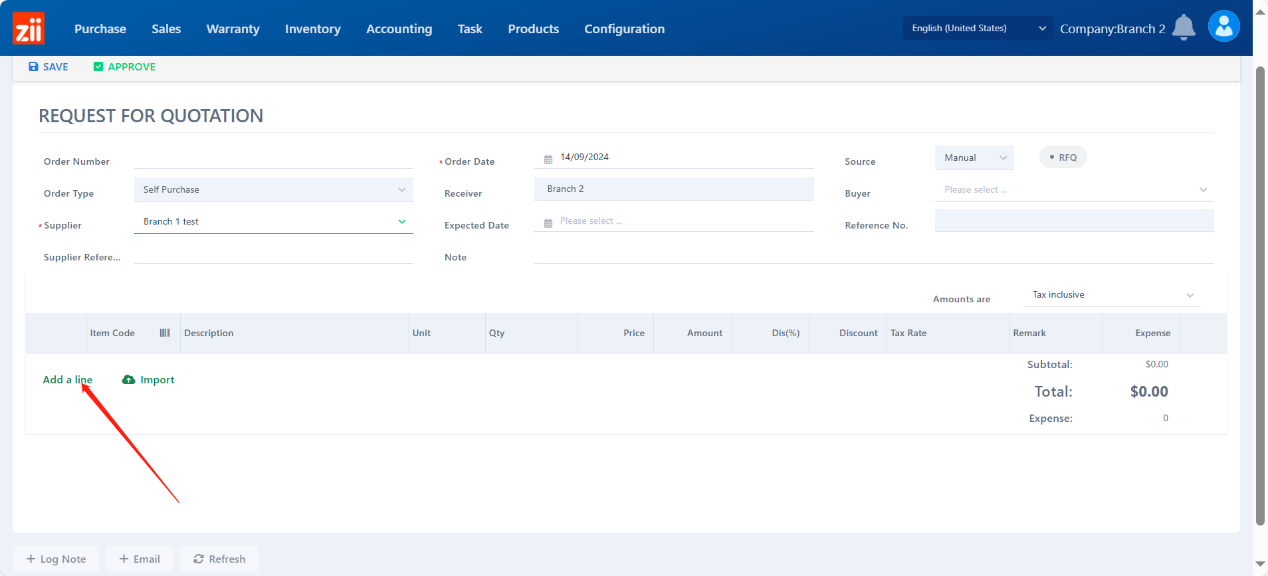
- Modify the quantity and tax info.
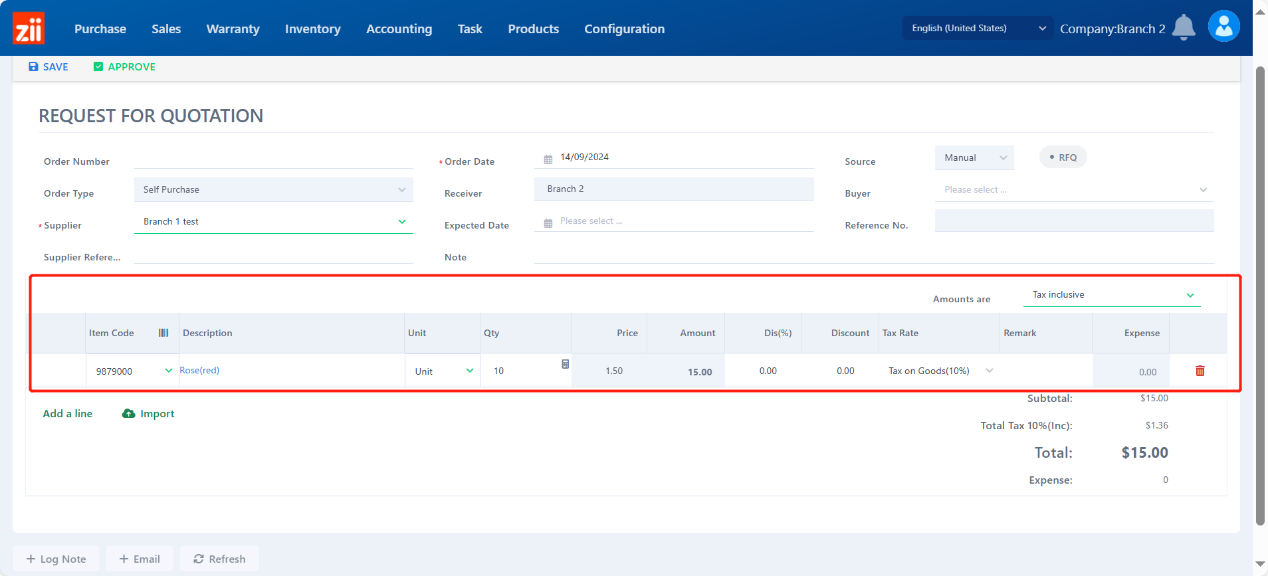
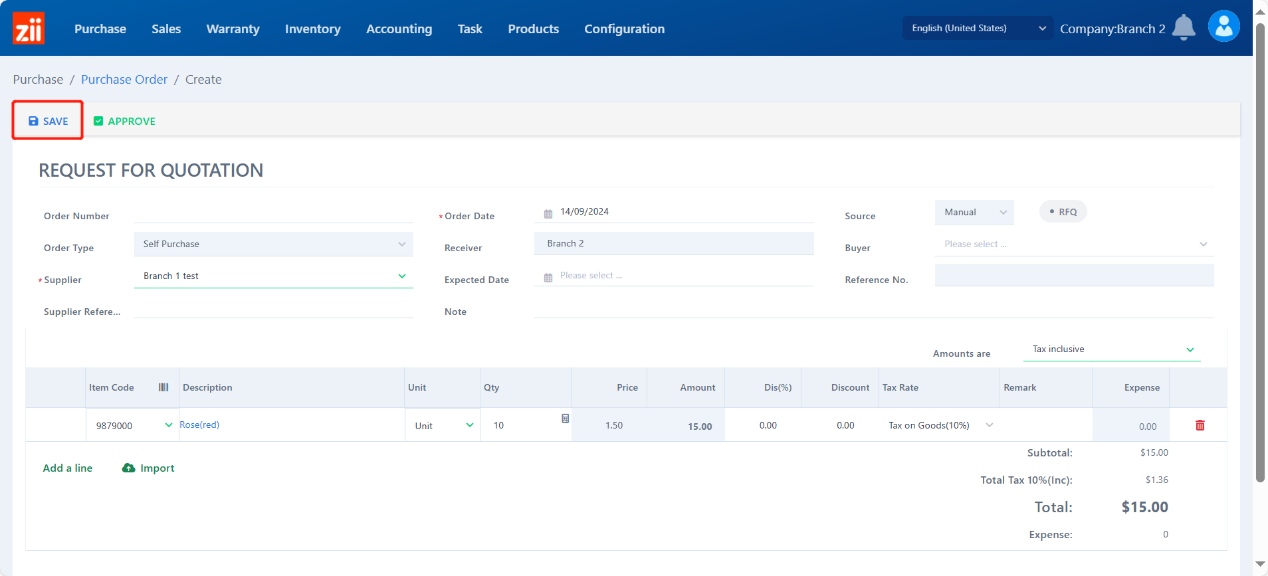
- Click “SAVE”.
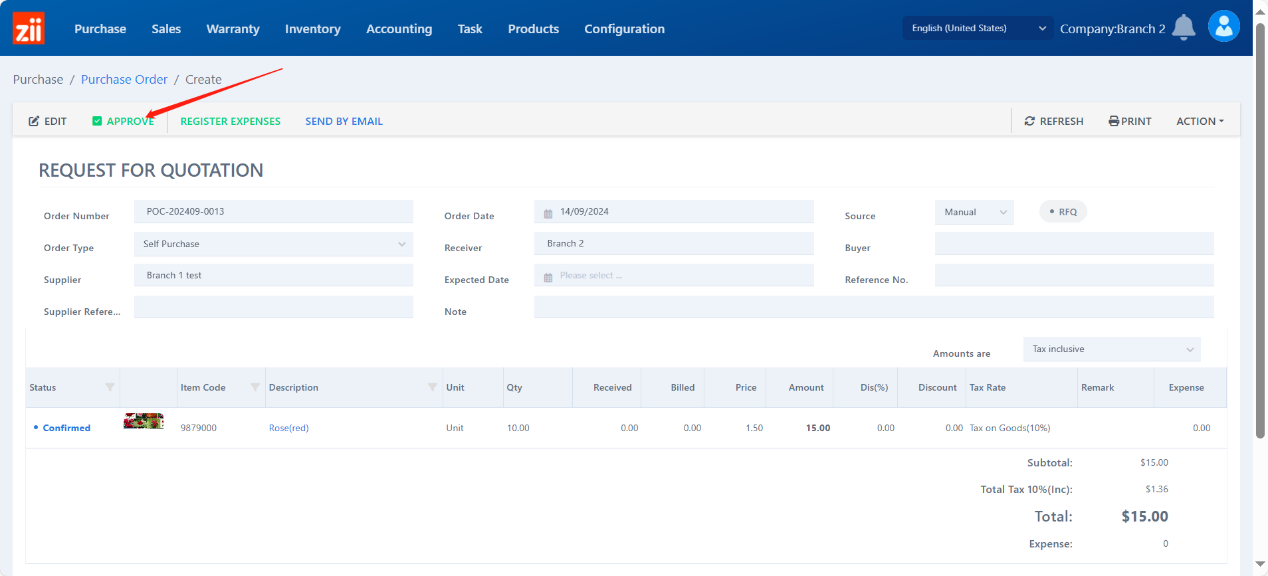
- Click “APPROVE” to confirm.
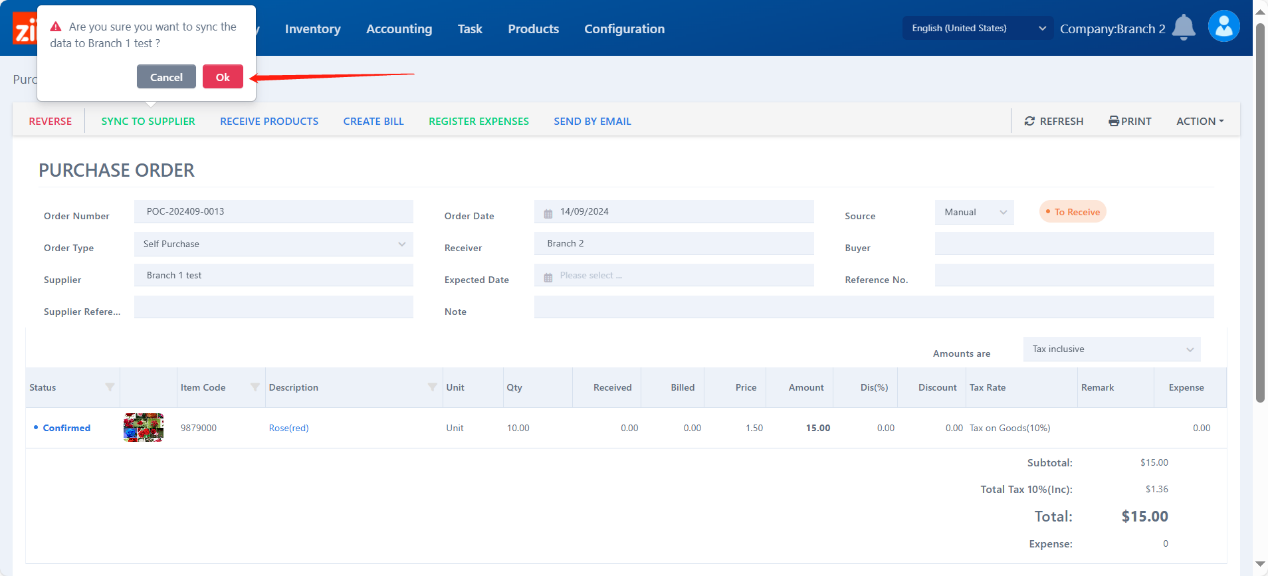
- Click “SYNC TO SUPPLIER” to generate a sales order for the supplier branch.
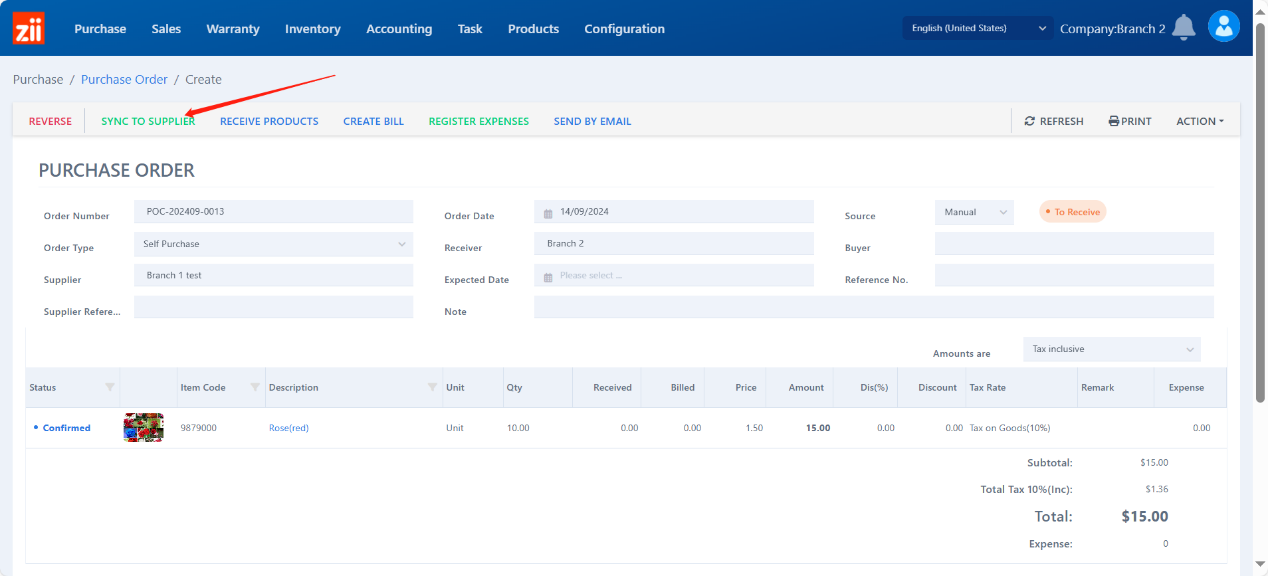
- Click “OK”.
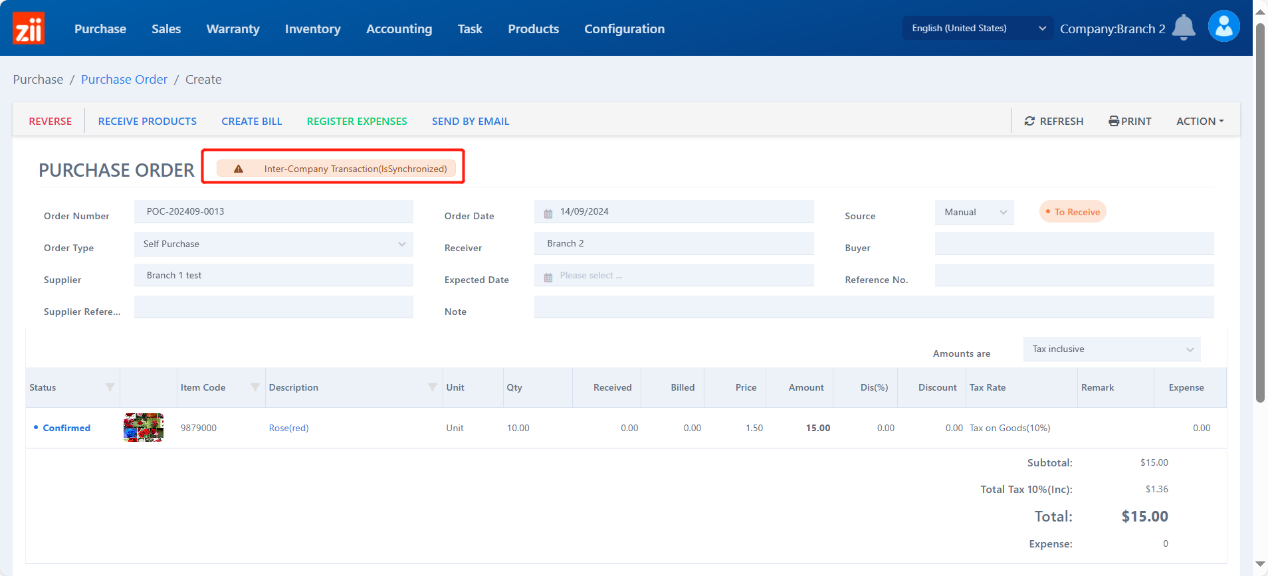
- Then the order has been transferred to the supplier branch.
Merchant: Sales
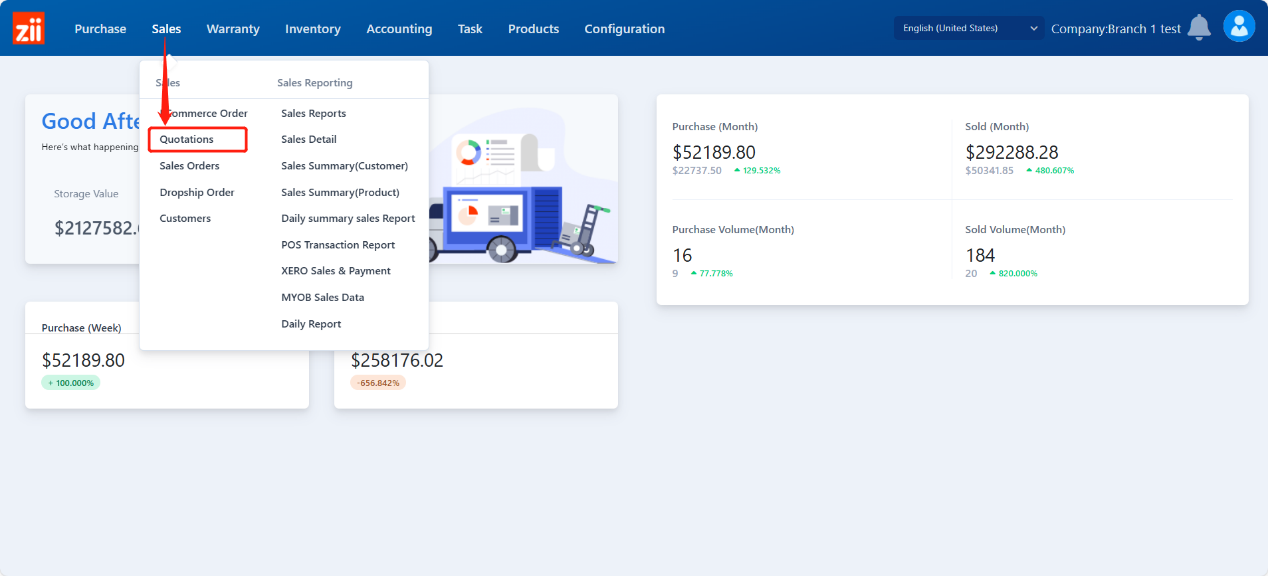
- Go to “Quotations” under “Sales”.
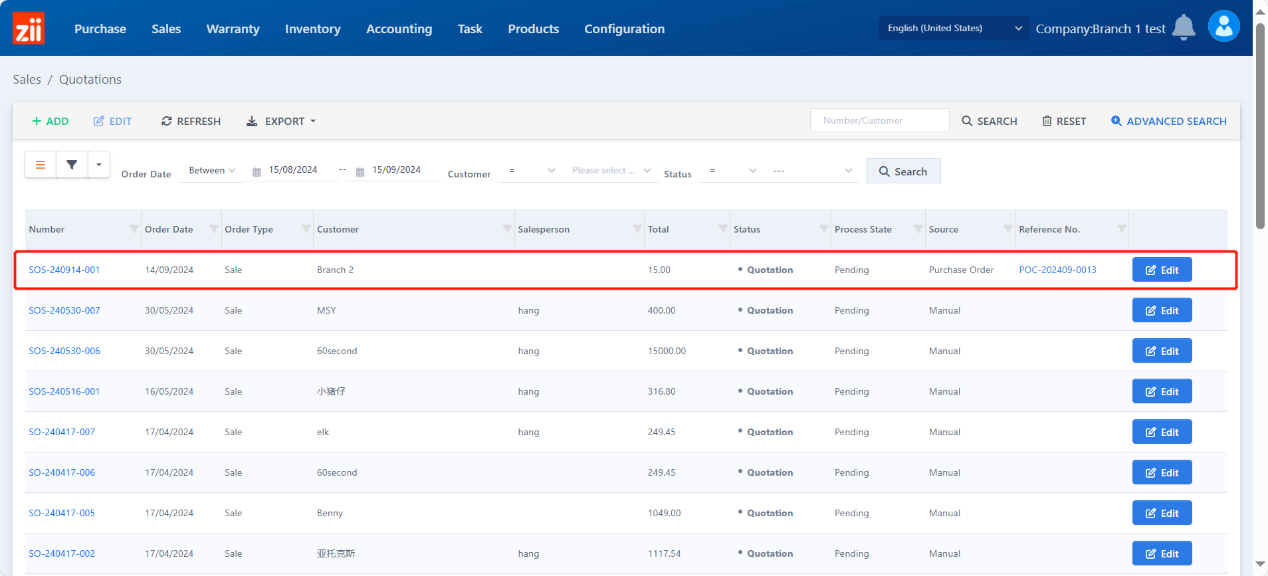
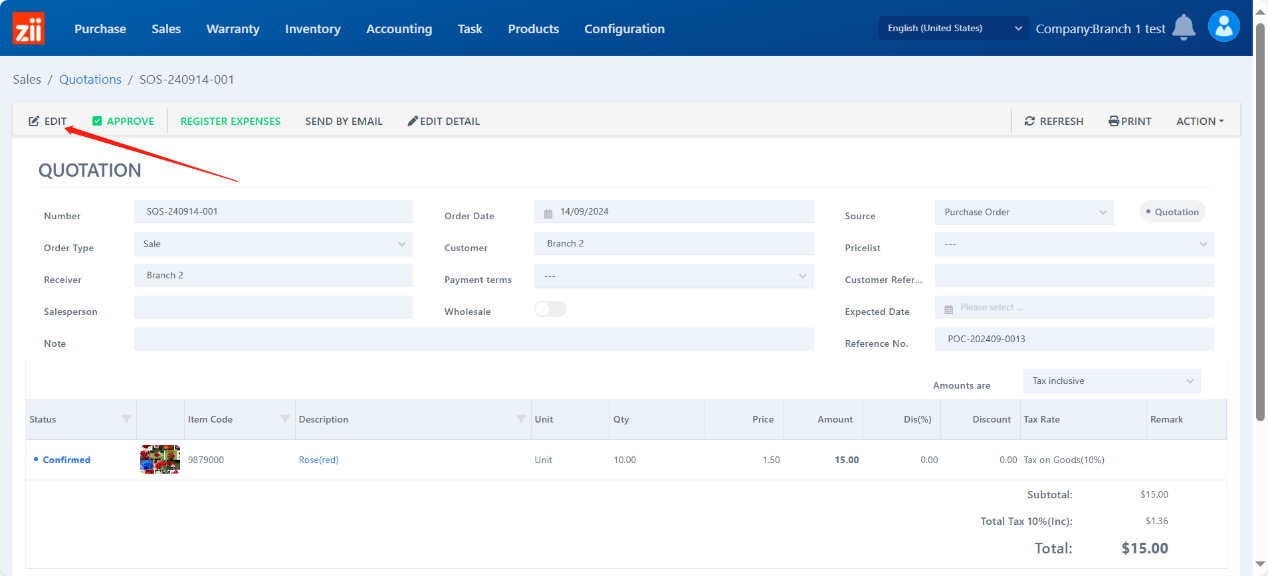
- You’ll find the purchase order generated a quotation here. Click “Edit”.
- Click “Edit” if you would like to modify the ticket.
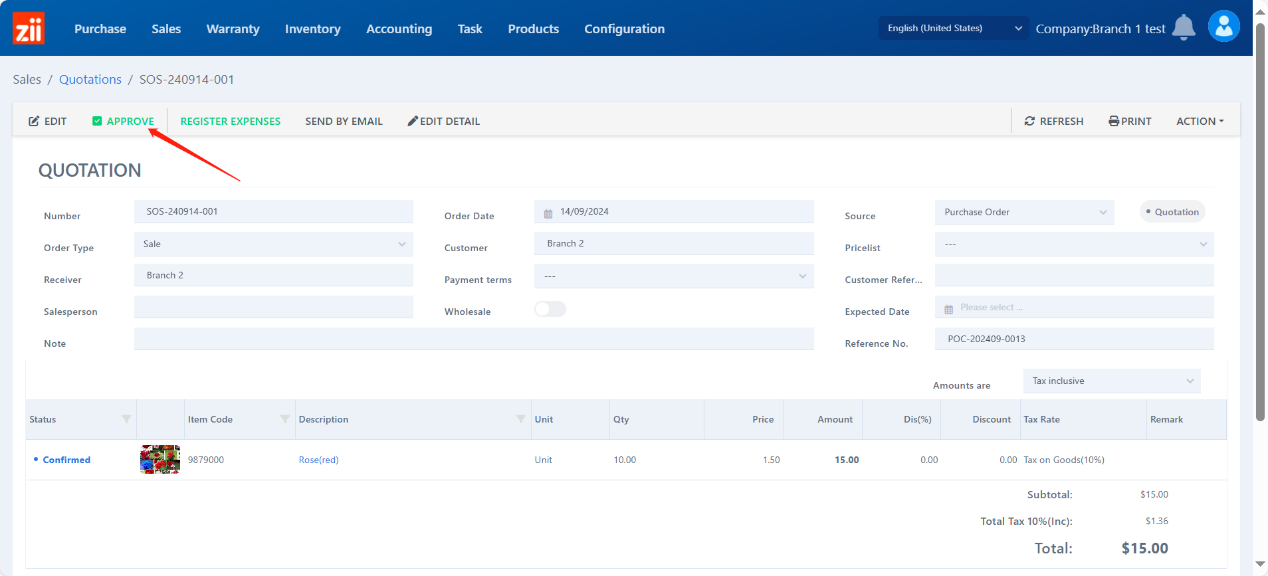
- Click “APPROVE” to generate a sales order.
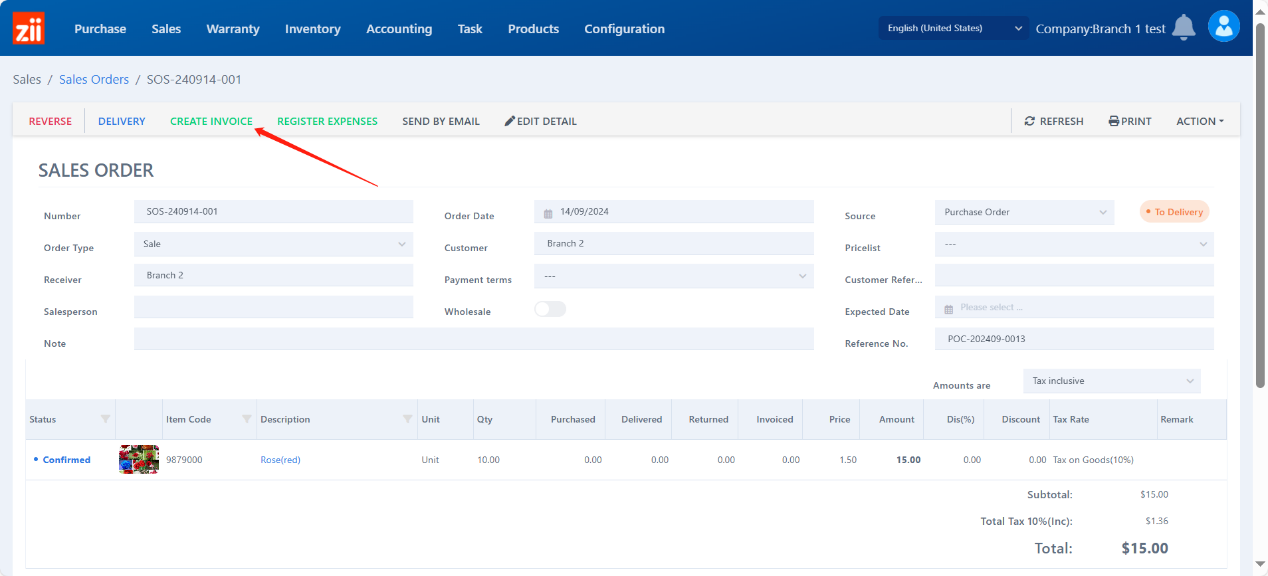
- Click “CREATE INVOICE” to generate invoice.
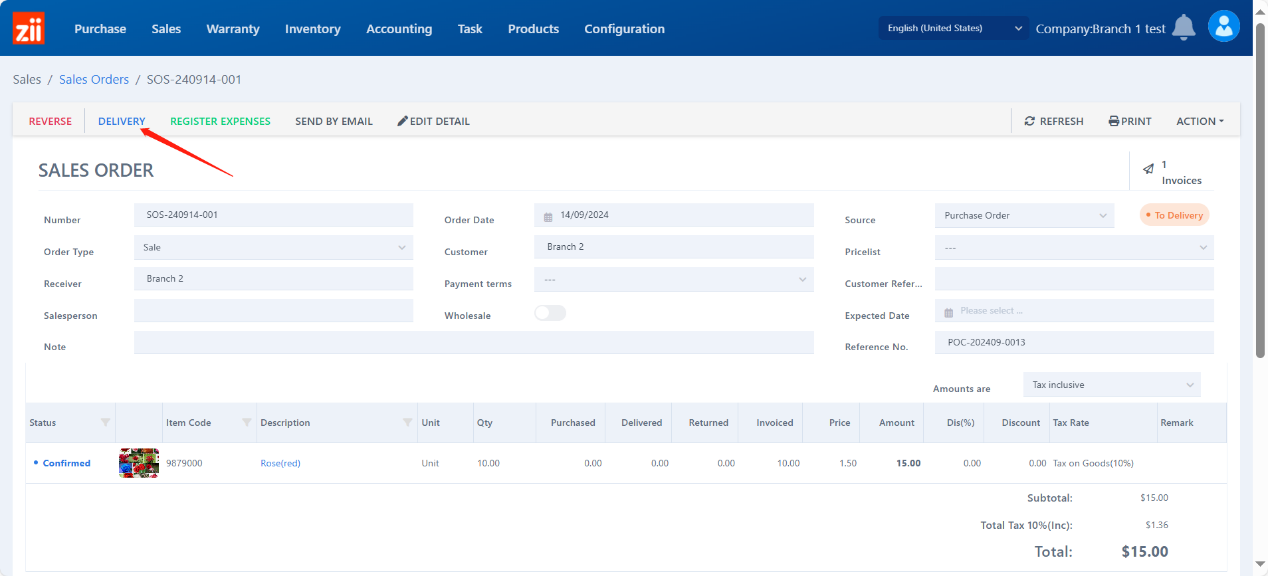
- Click “DELIVERY” to generate the delivery ticket.
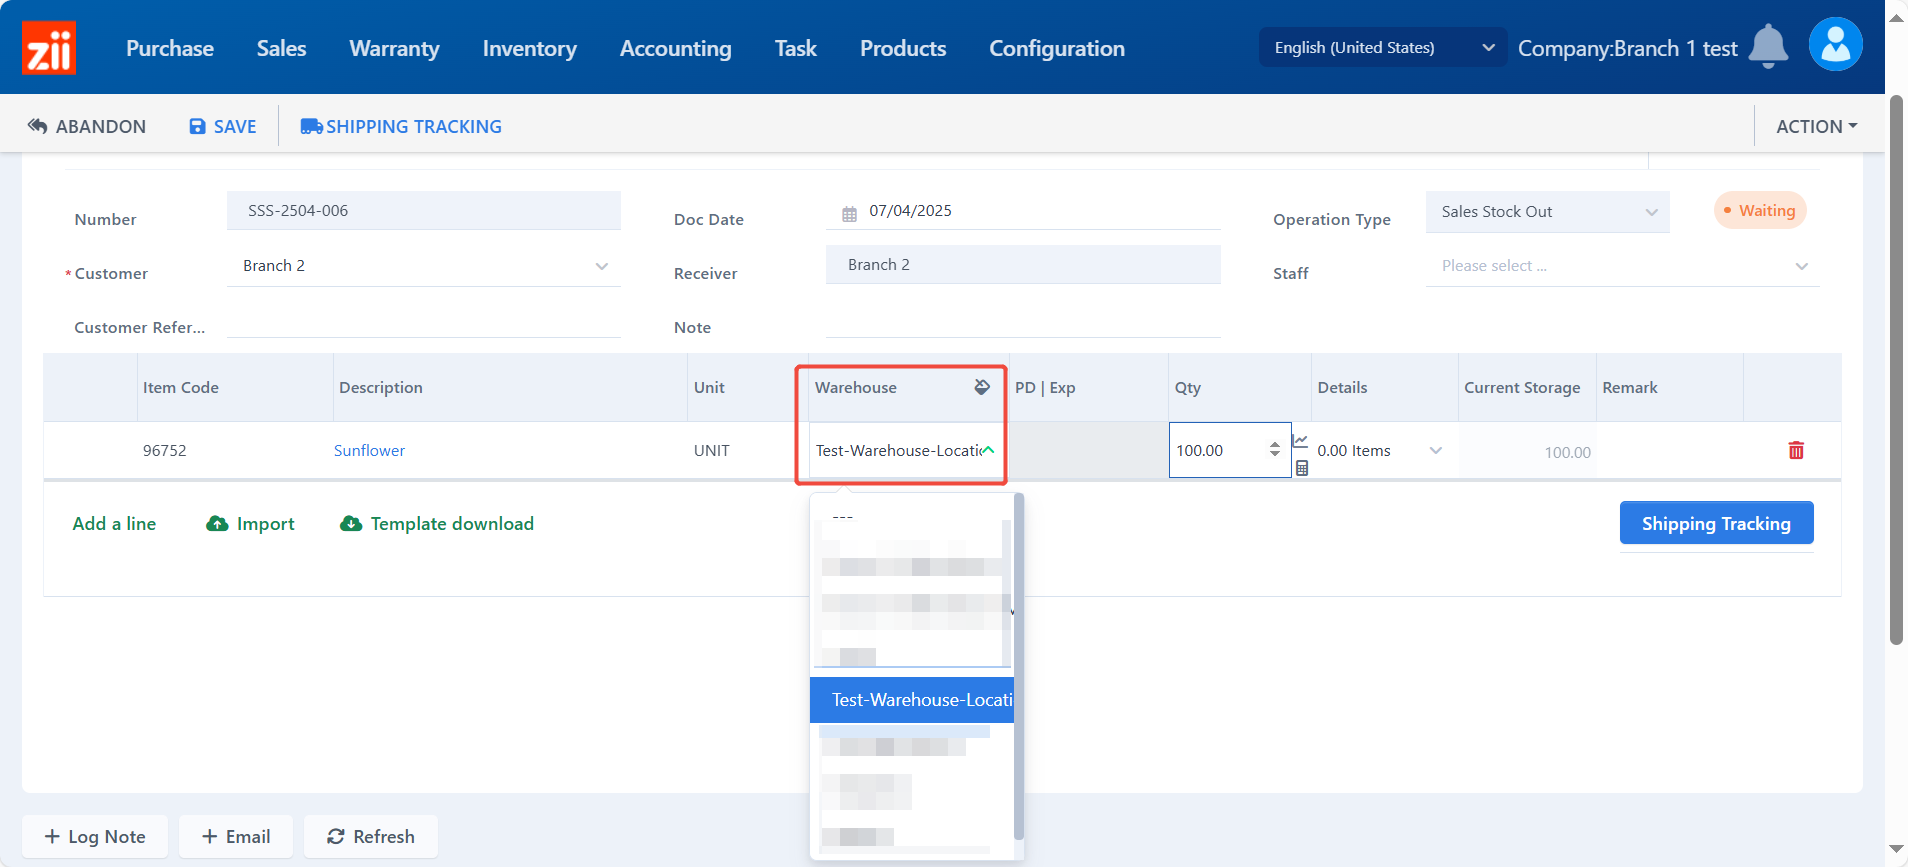
- Modify the stock-out warehouse.
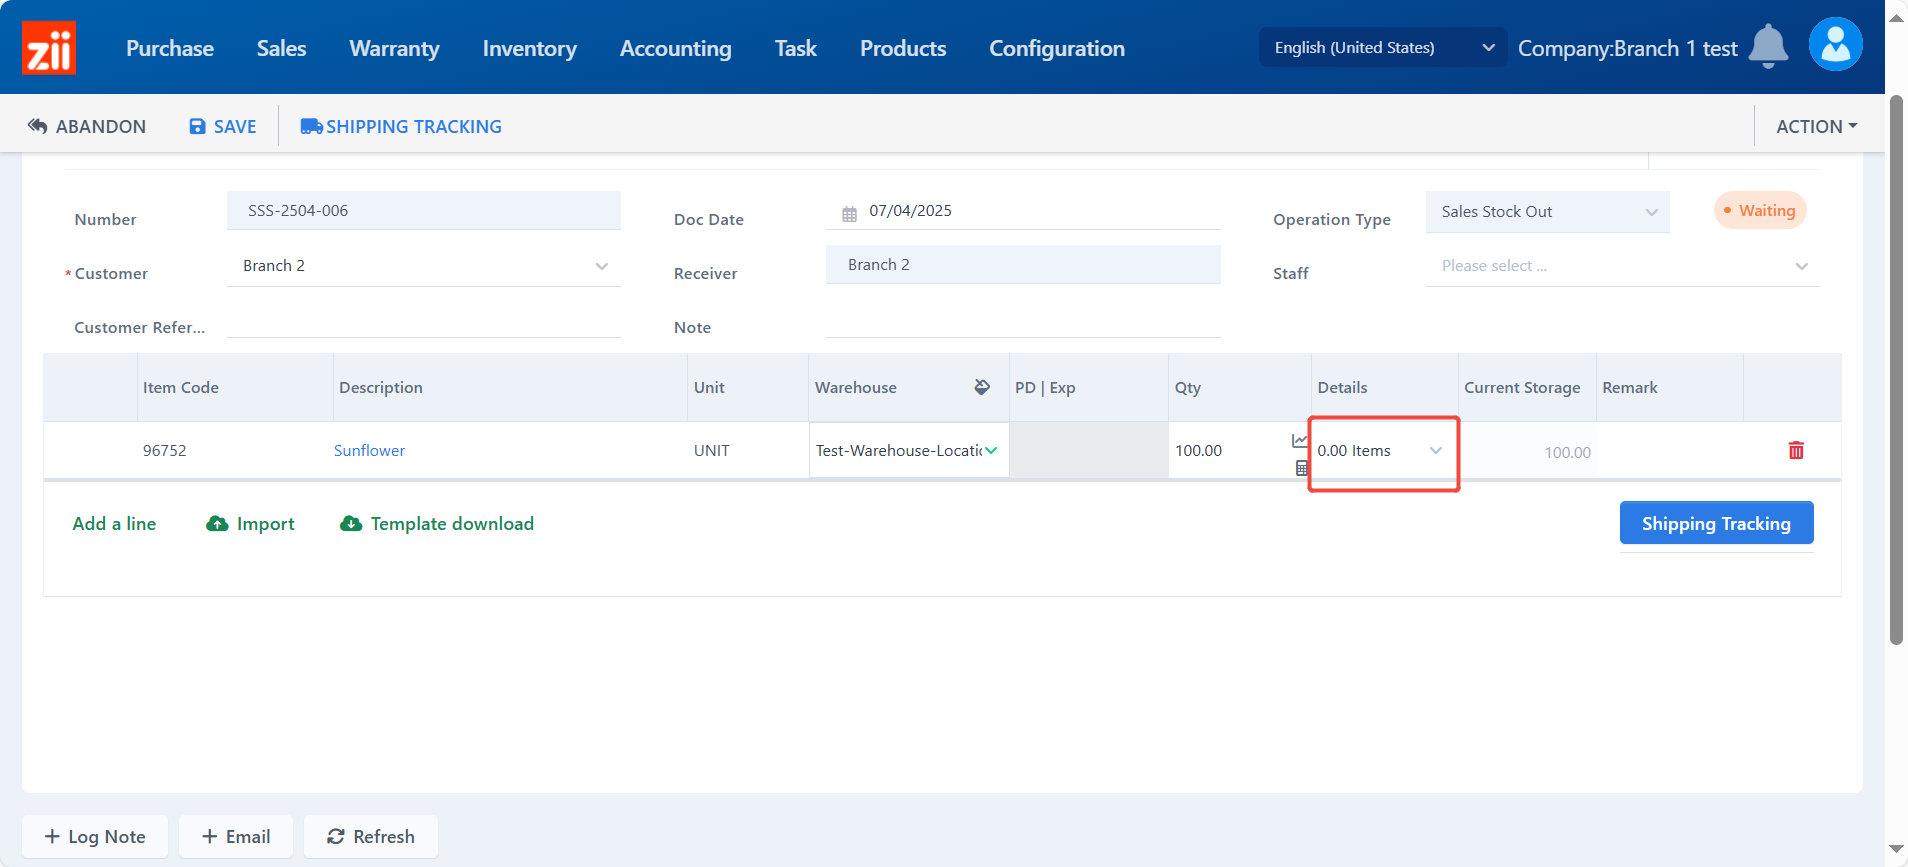
- Click the blank under “Details”.
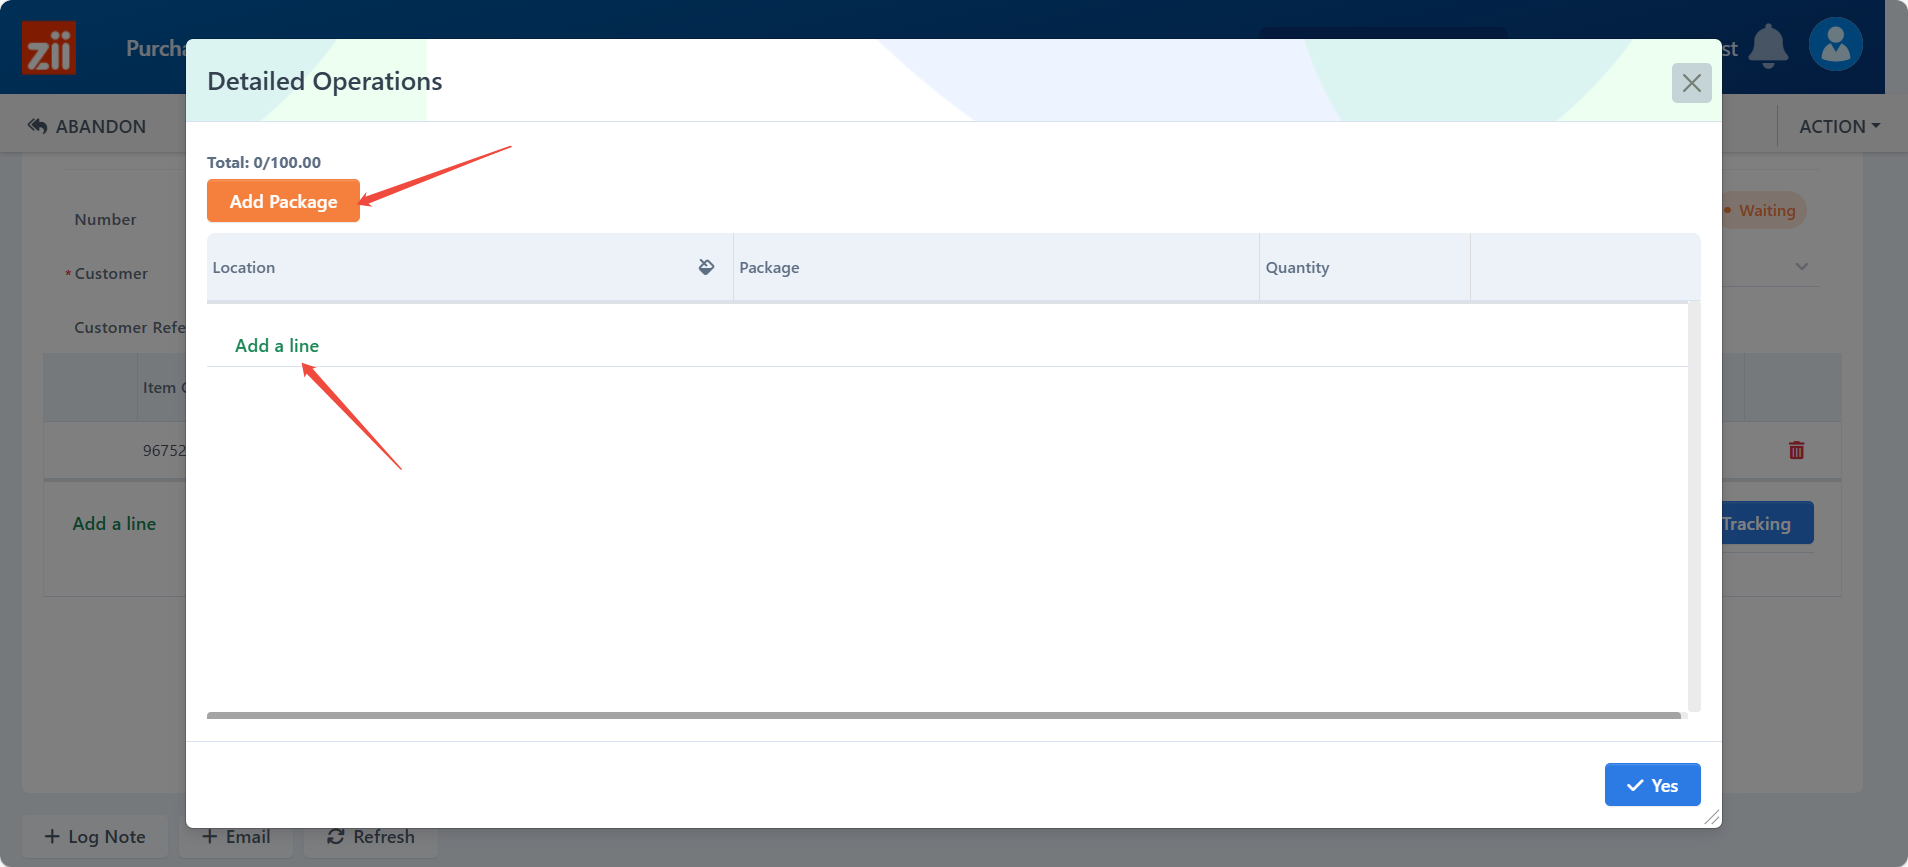
- Click “Add Package” and click add a line.
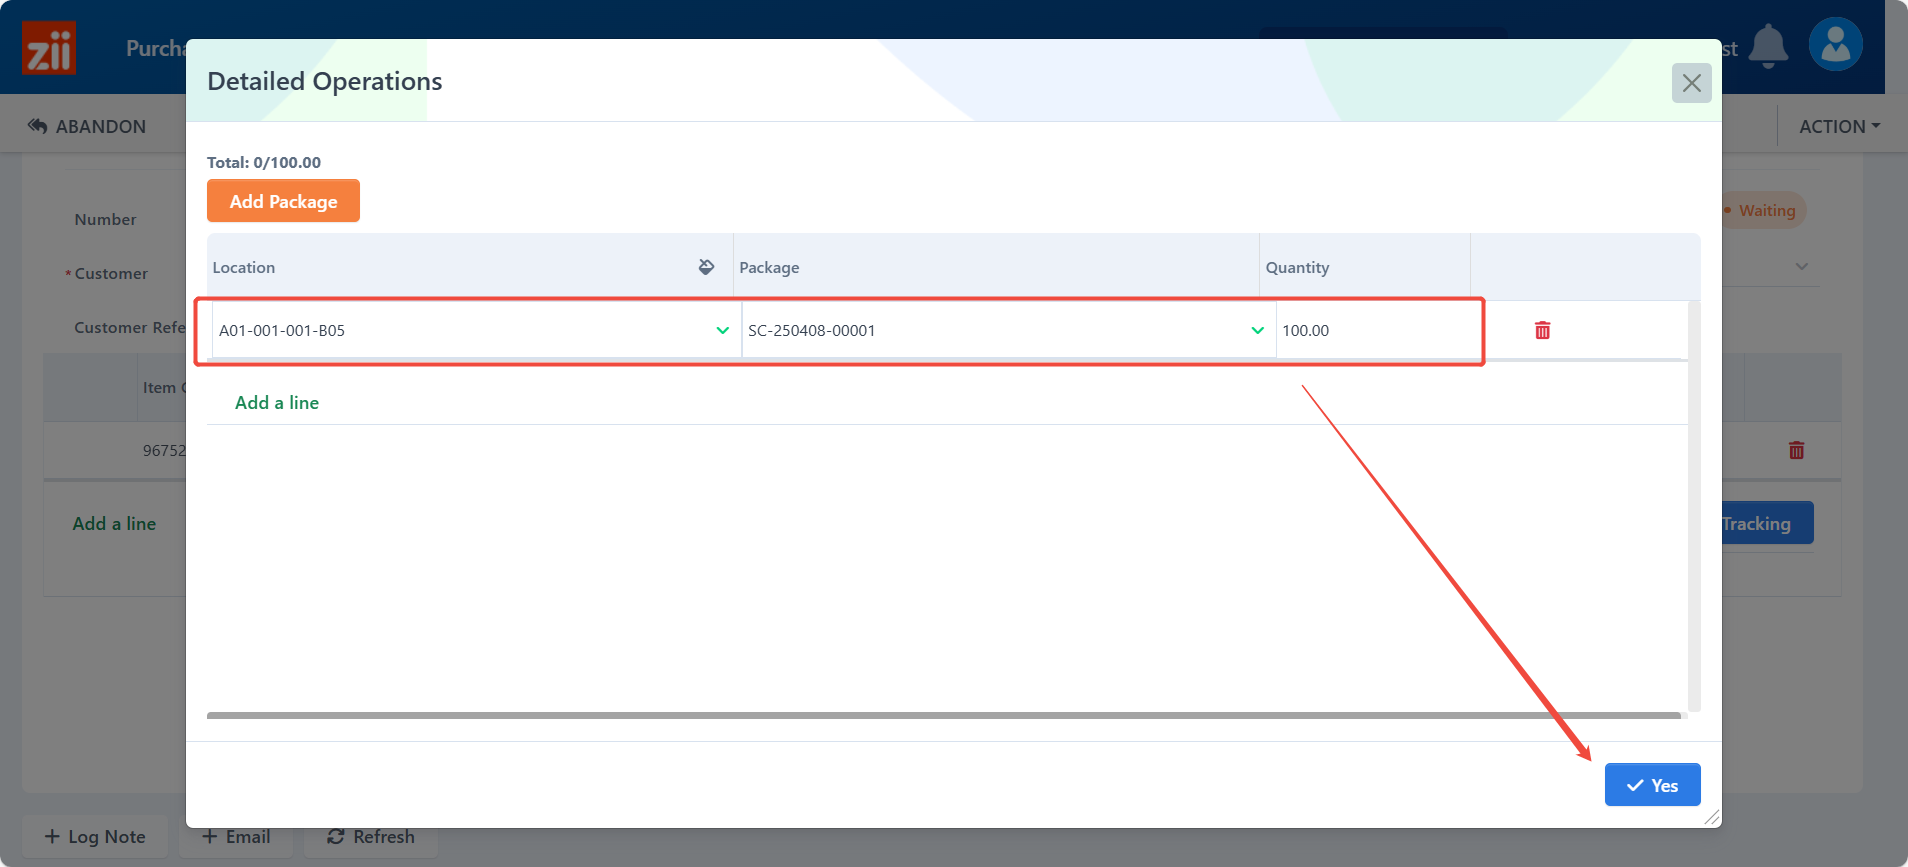
- Select the item’s location, and select the package. It will fill in the quantity automatically. Click “Yes” to save.
- Click “SAVE”.
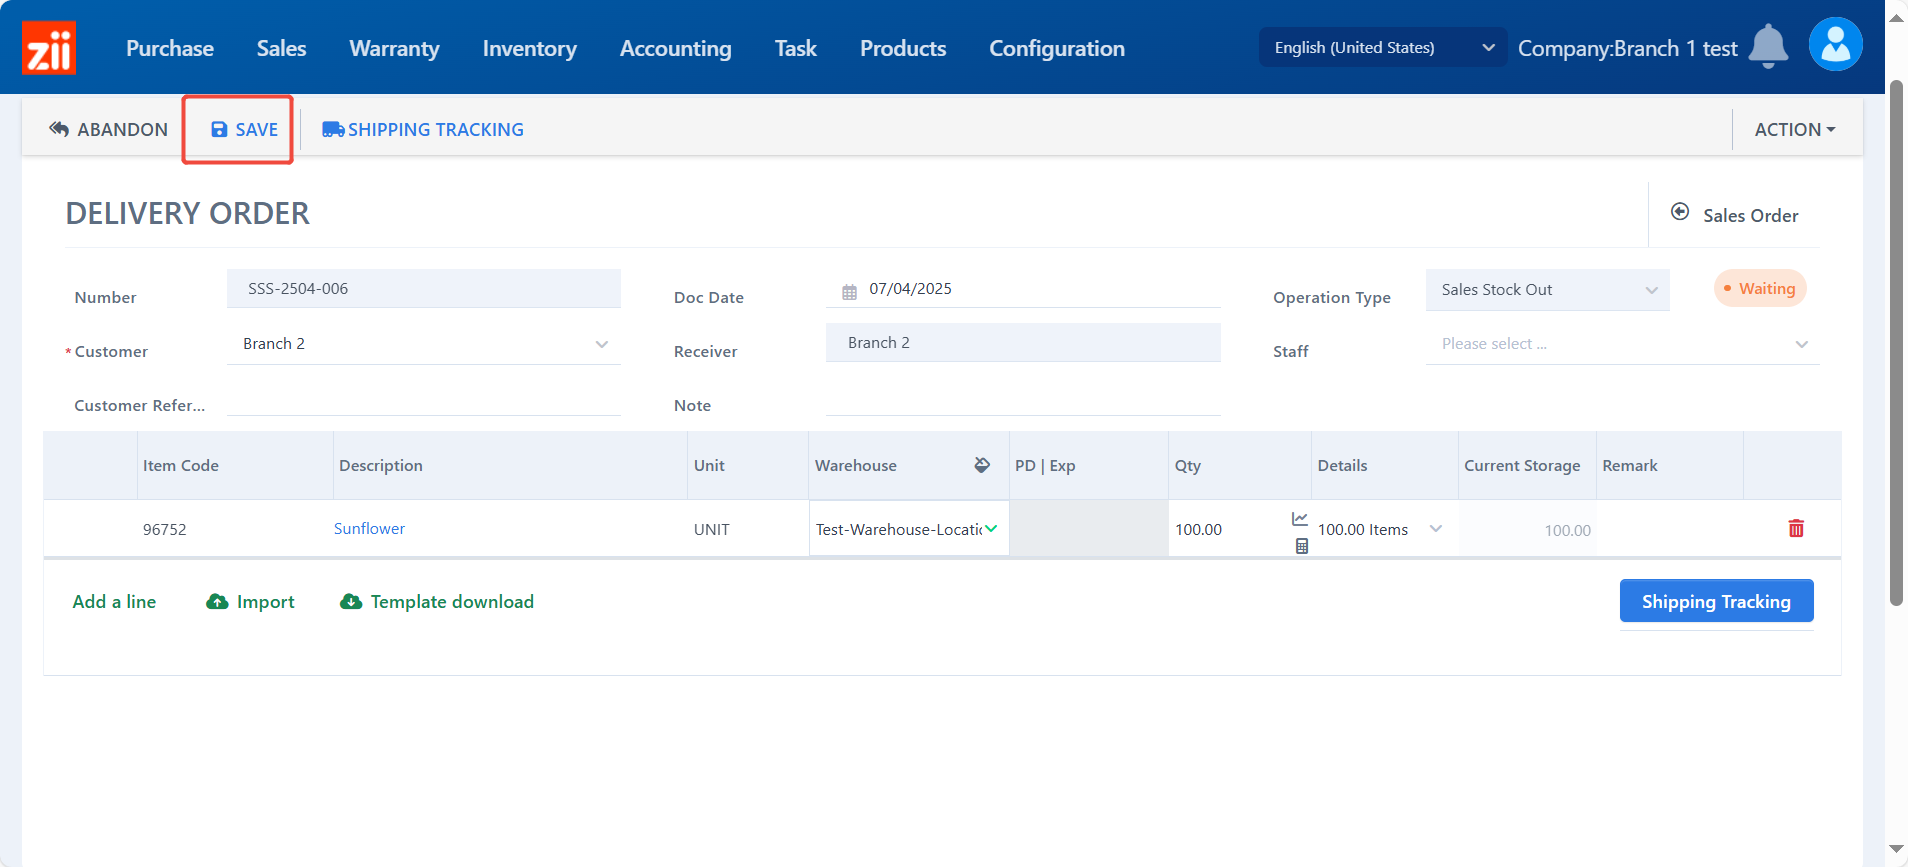
- Click “Picking List”.

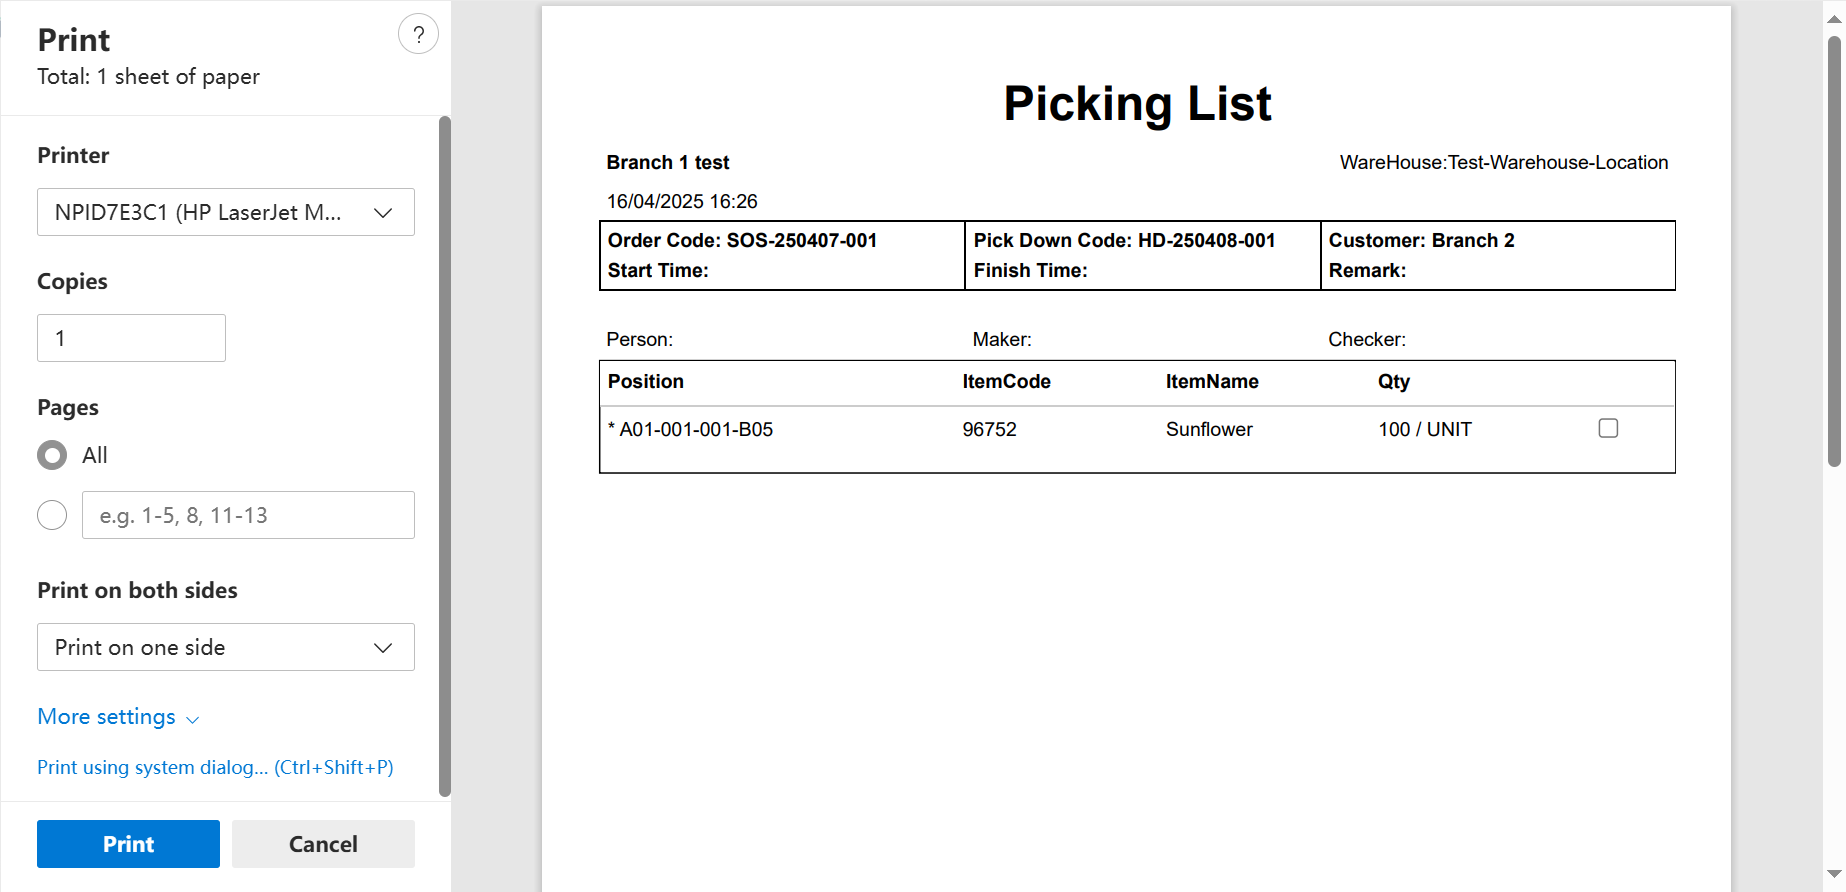
- Click “PRINT PICKING LIST” to print out a list for picking.
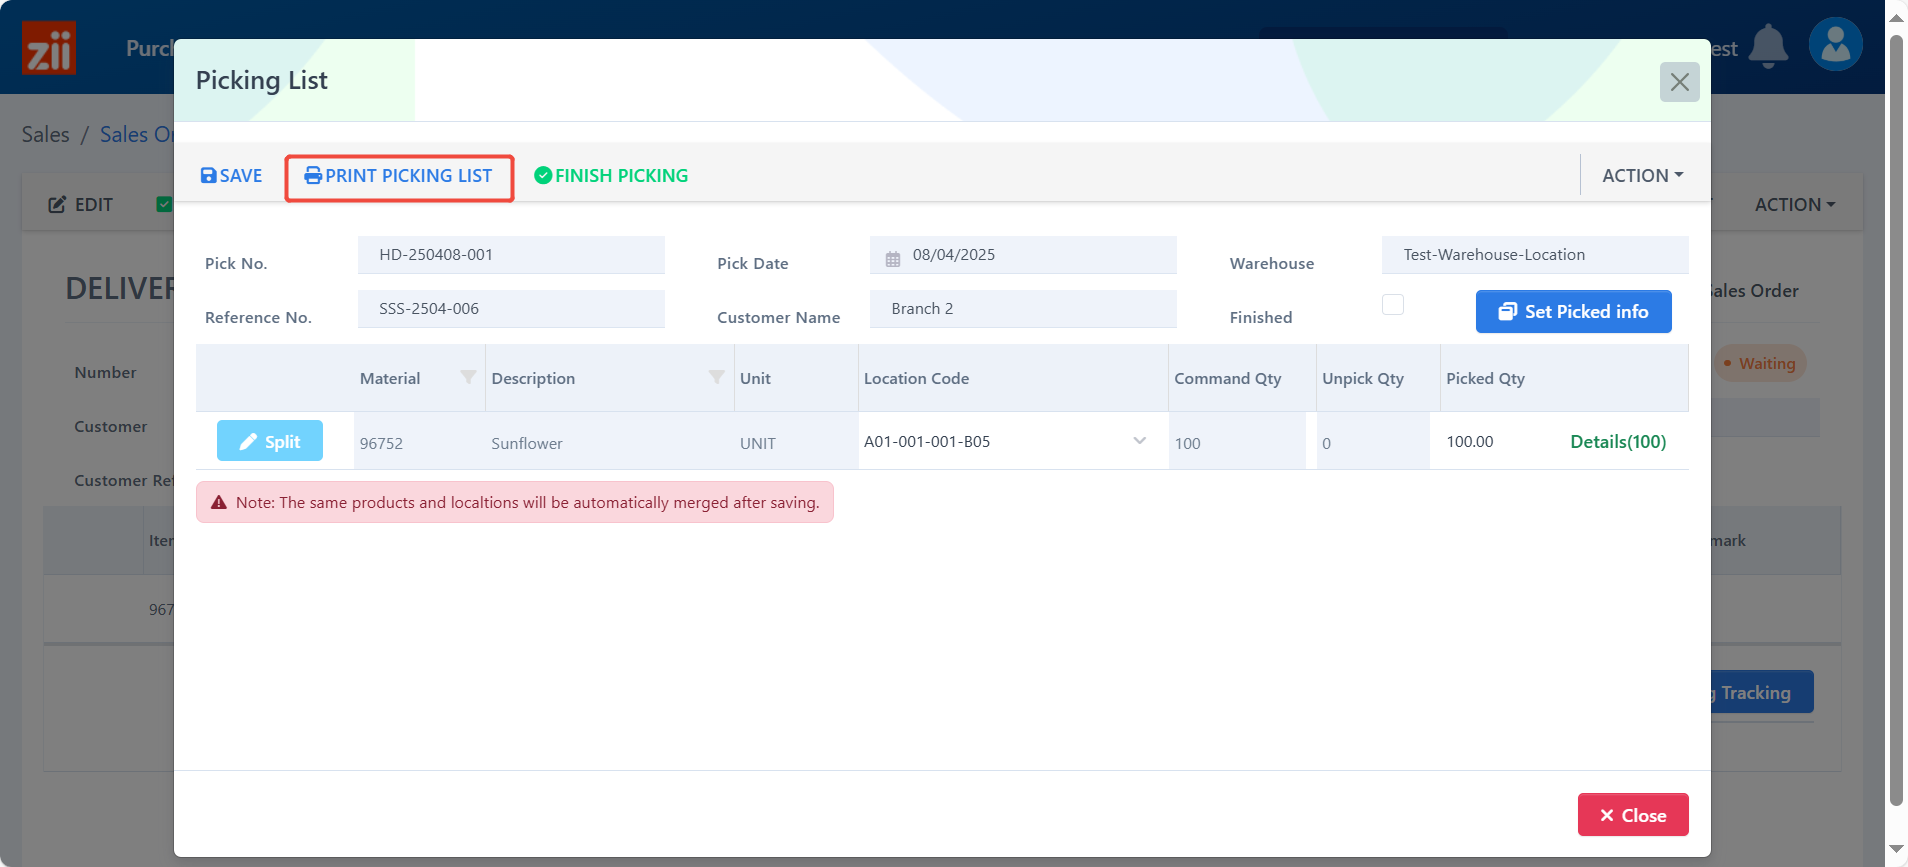
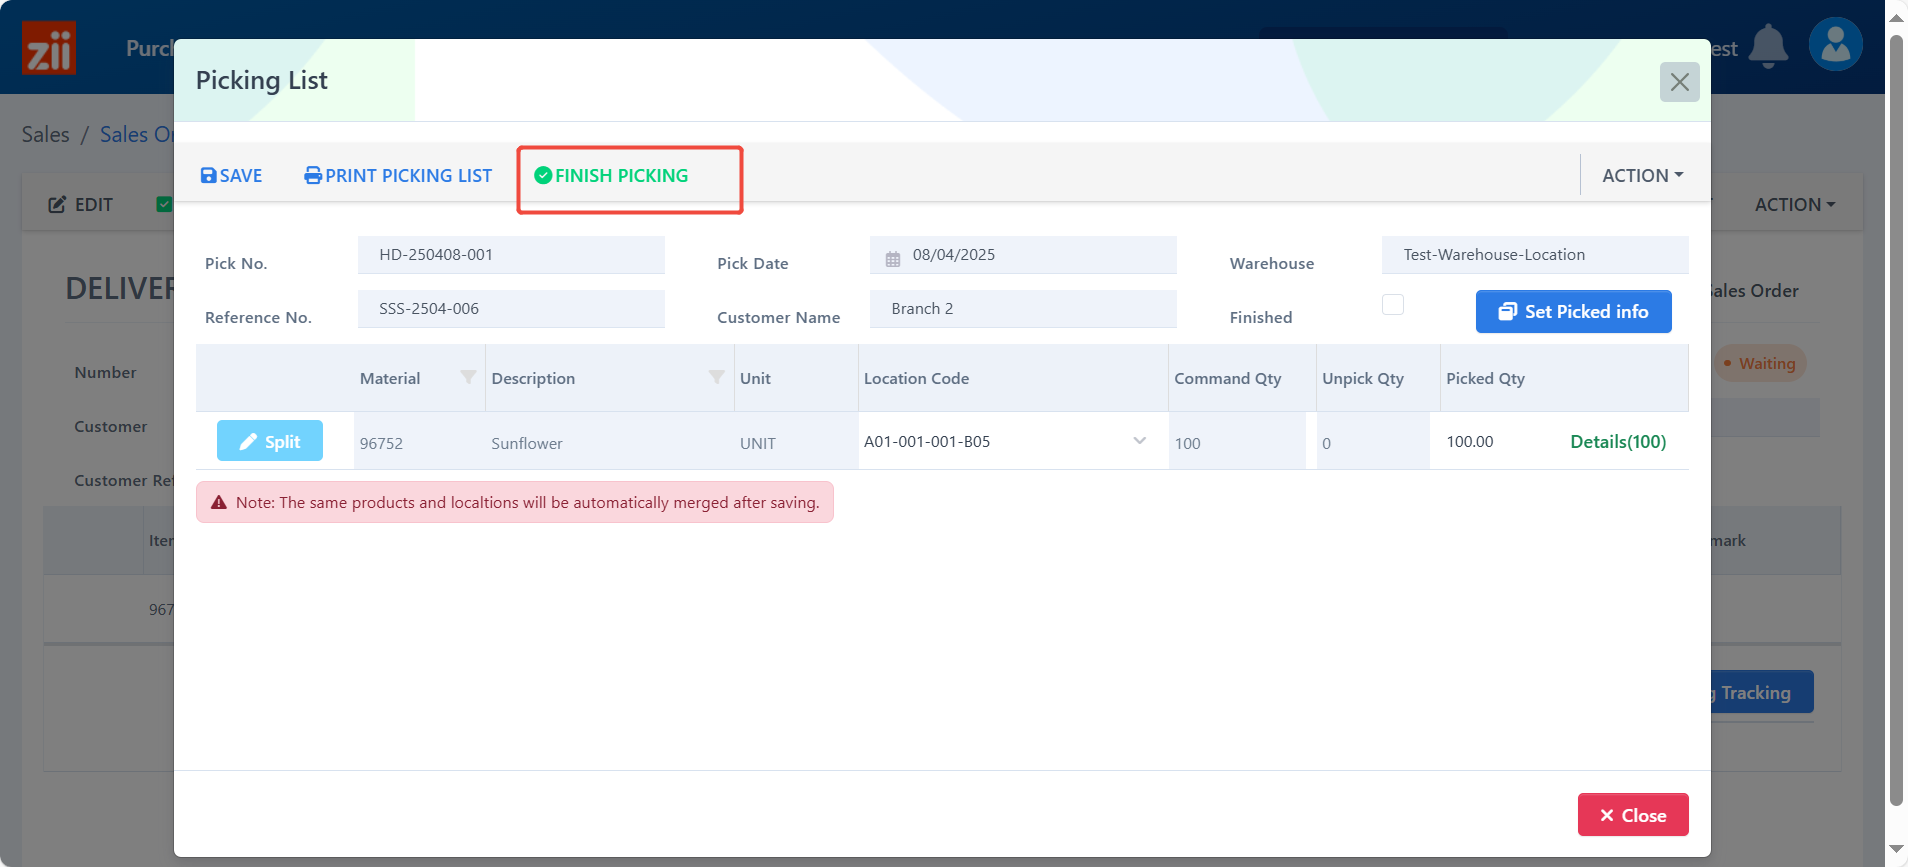
- Then click “FINISH PICKING” after it’s done.
- Click “APPROVE” to confirm.
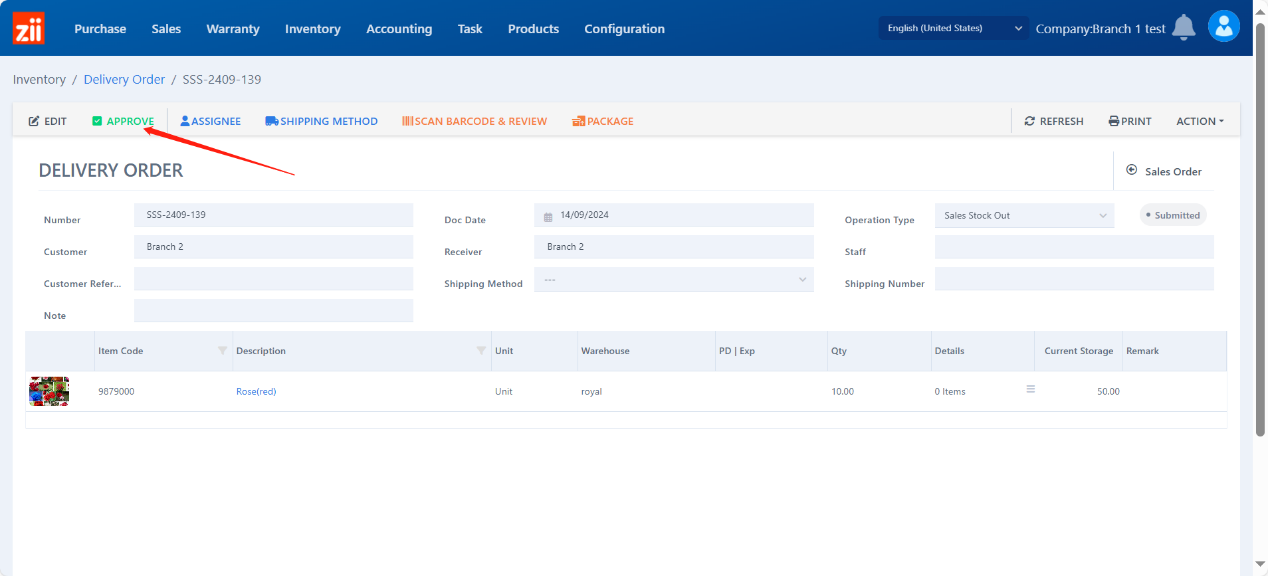
- Then the ticket will be synced back to the purchase branch.
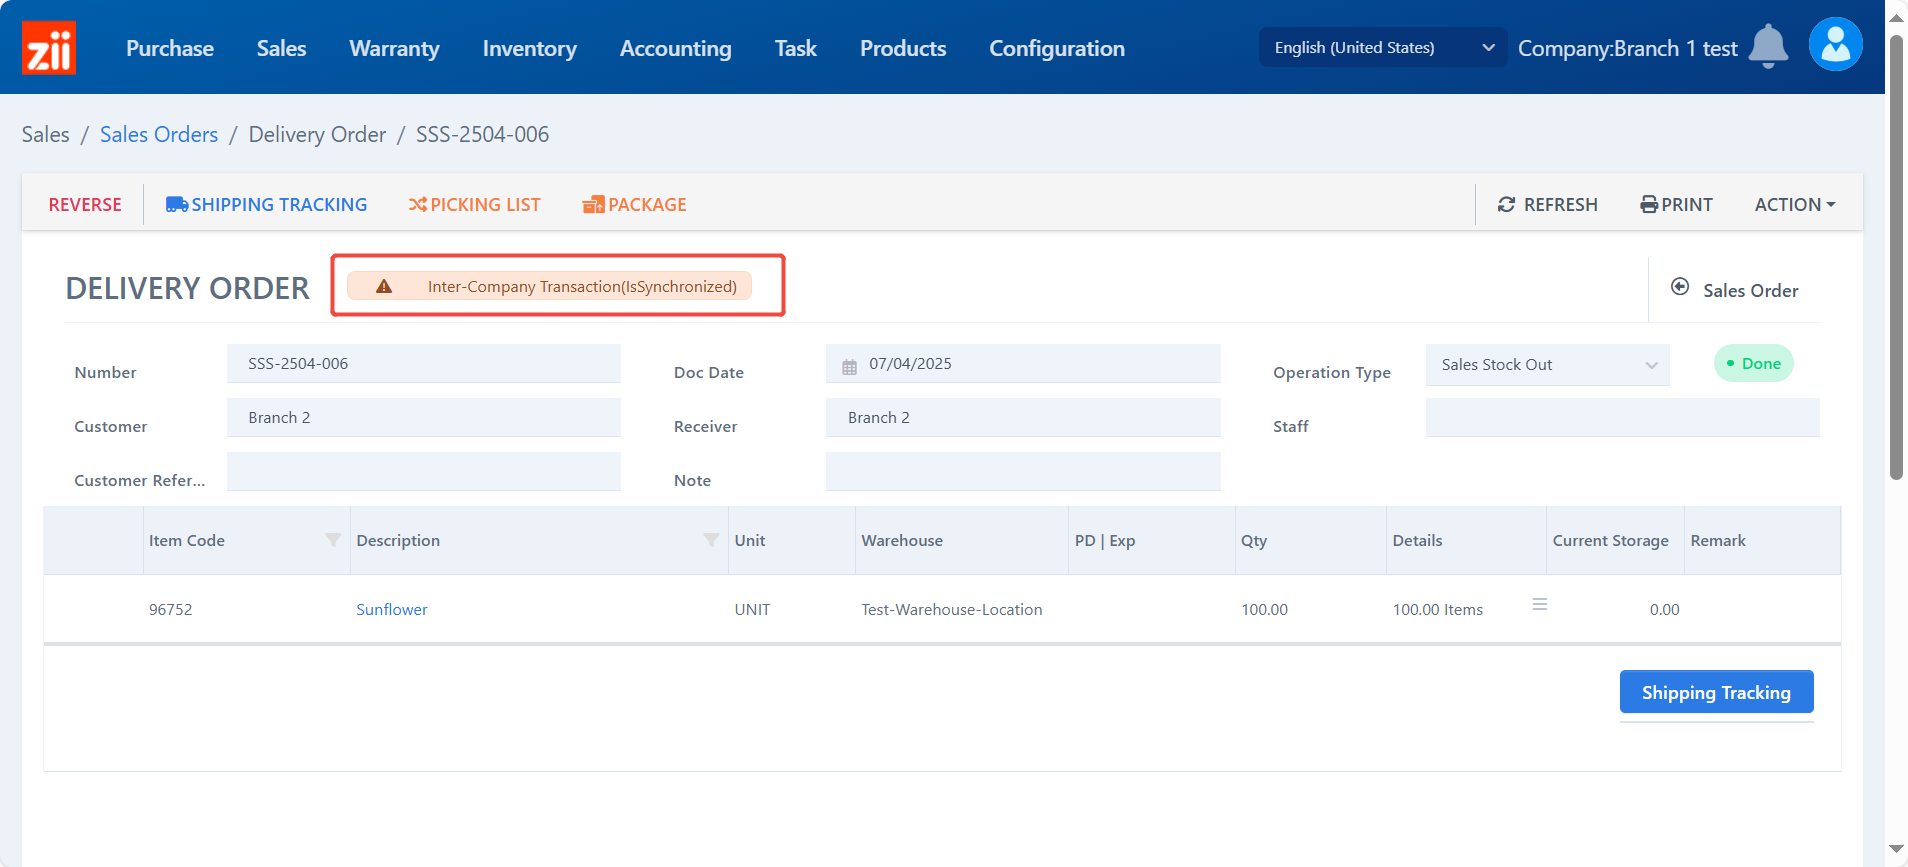
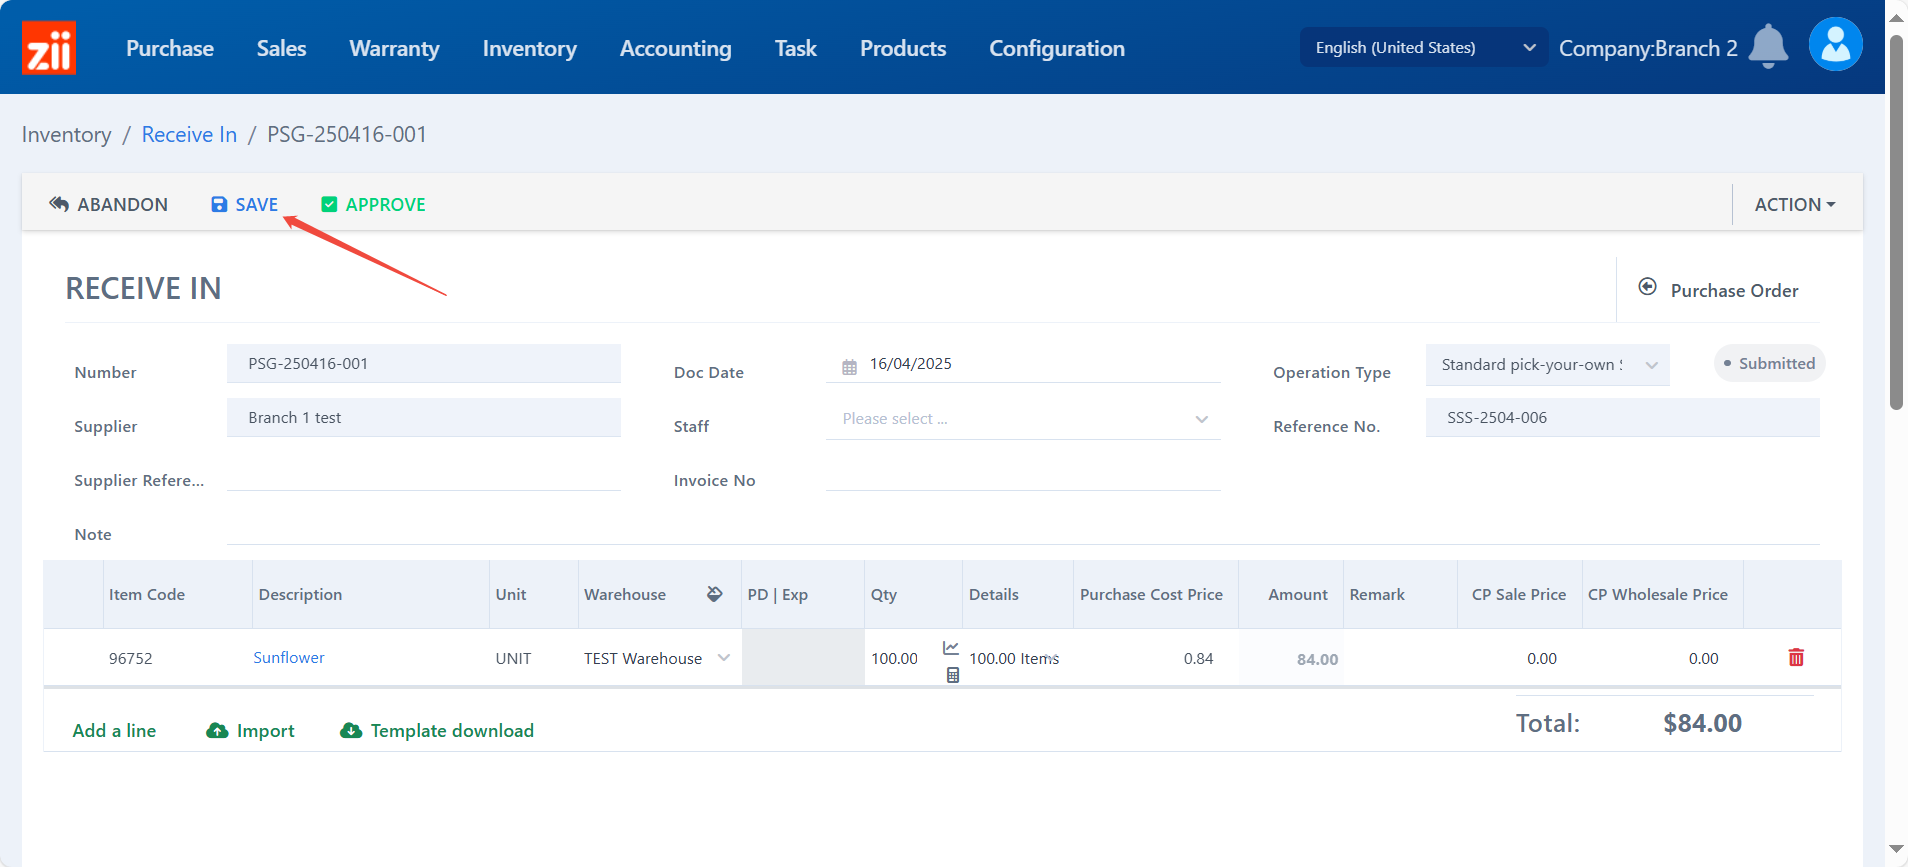
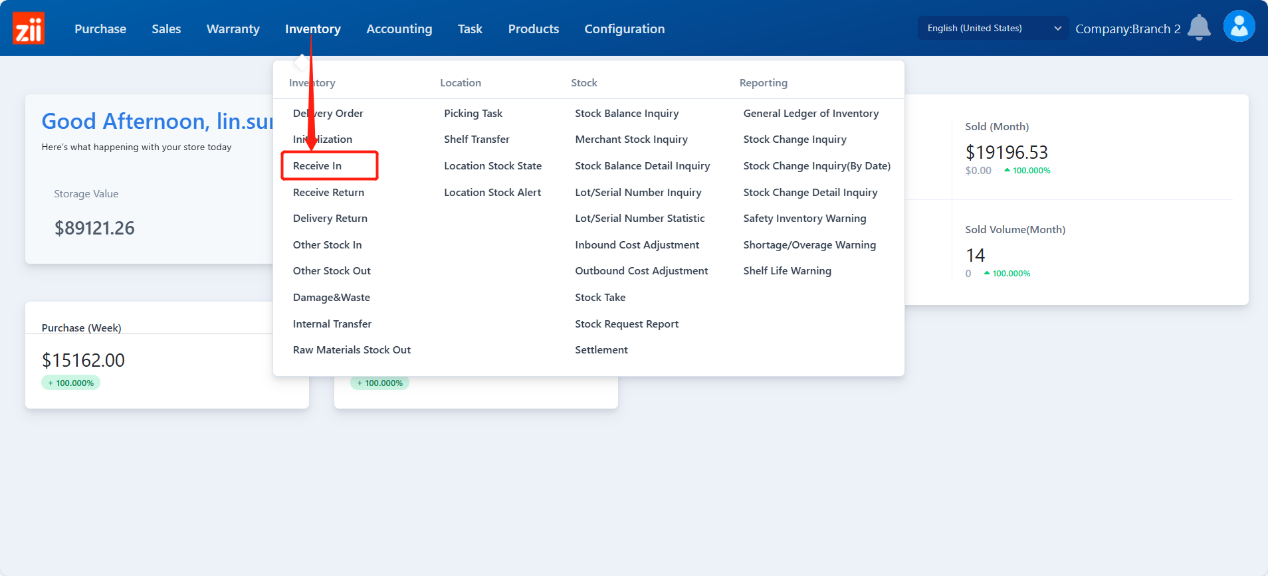
Branch A: Receiving
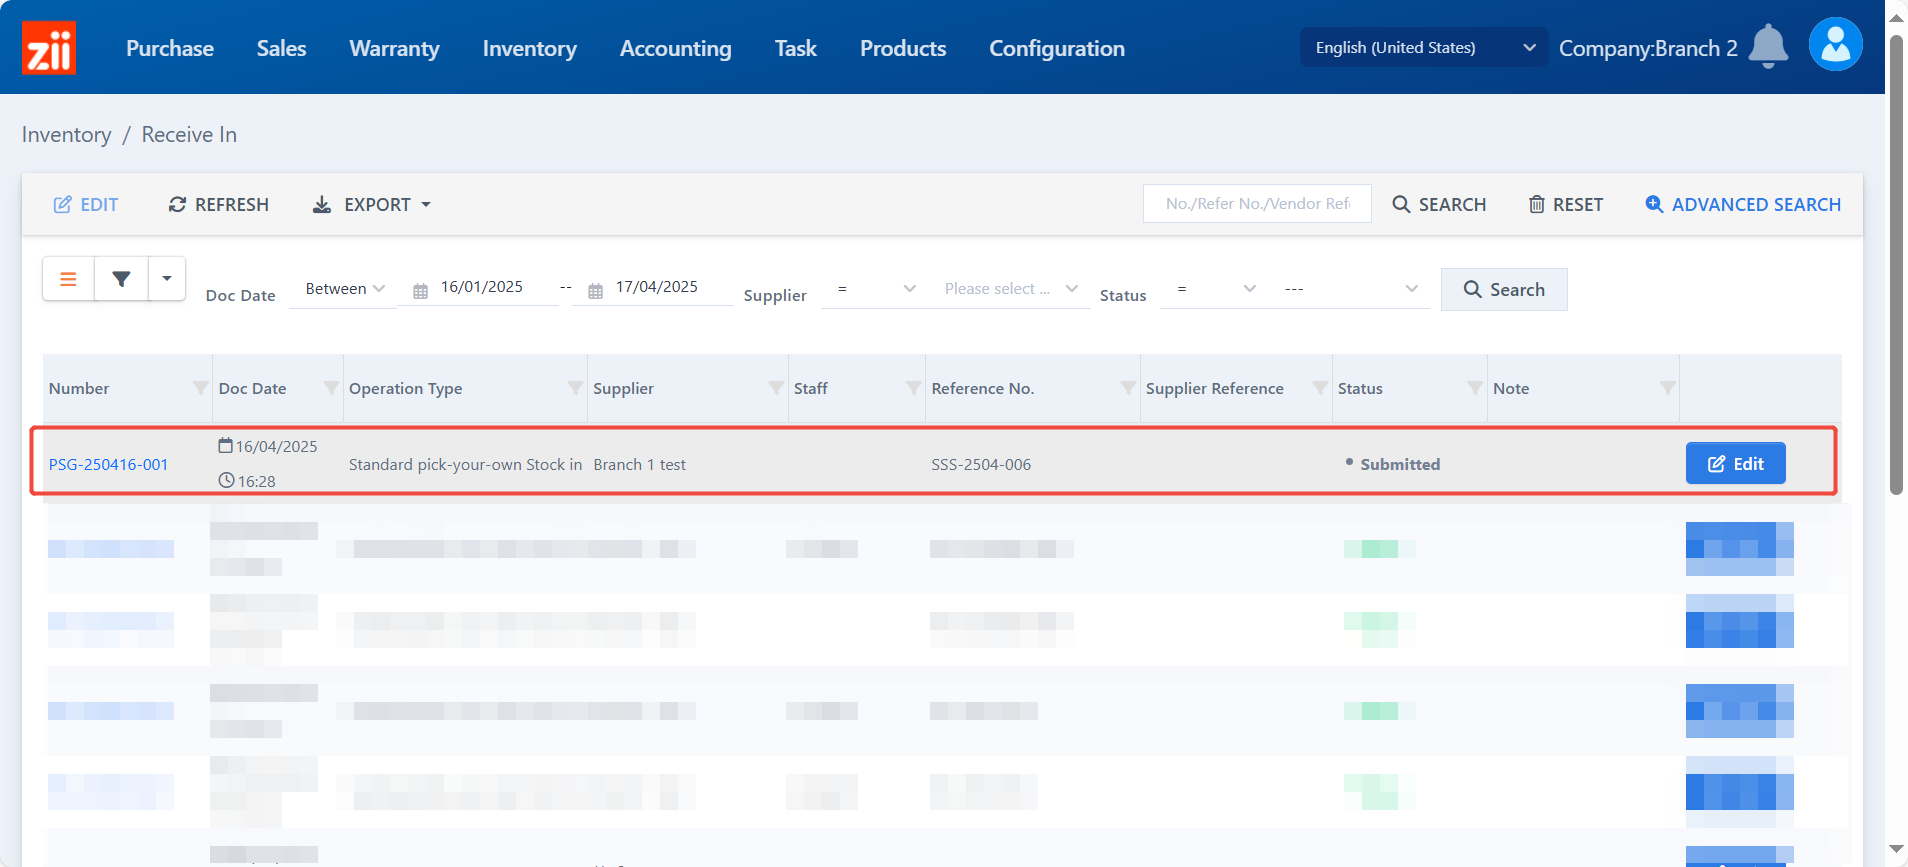
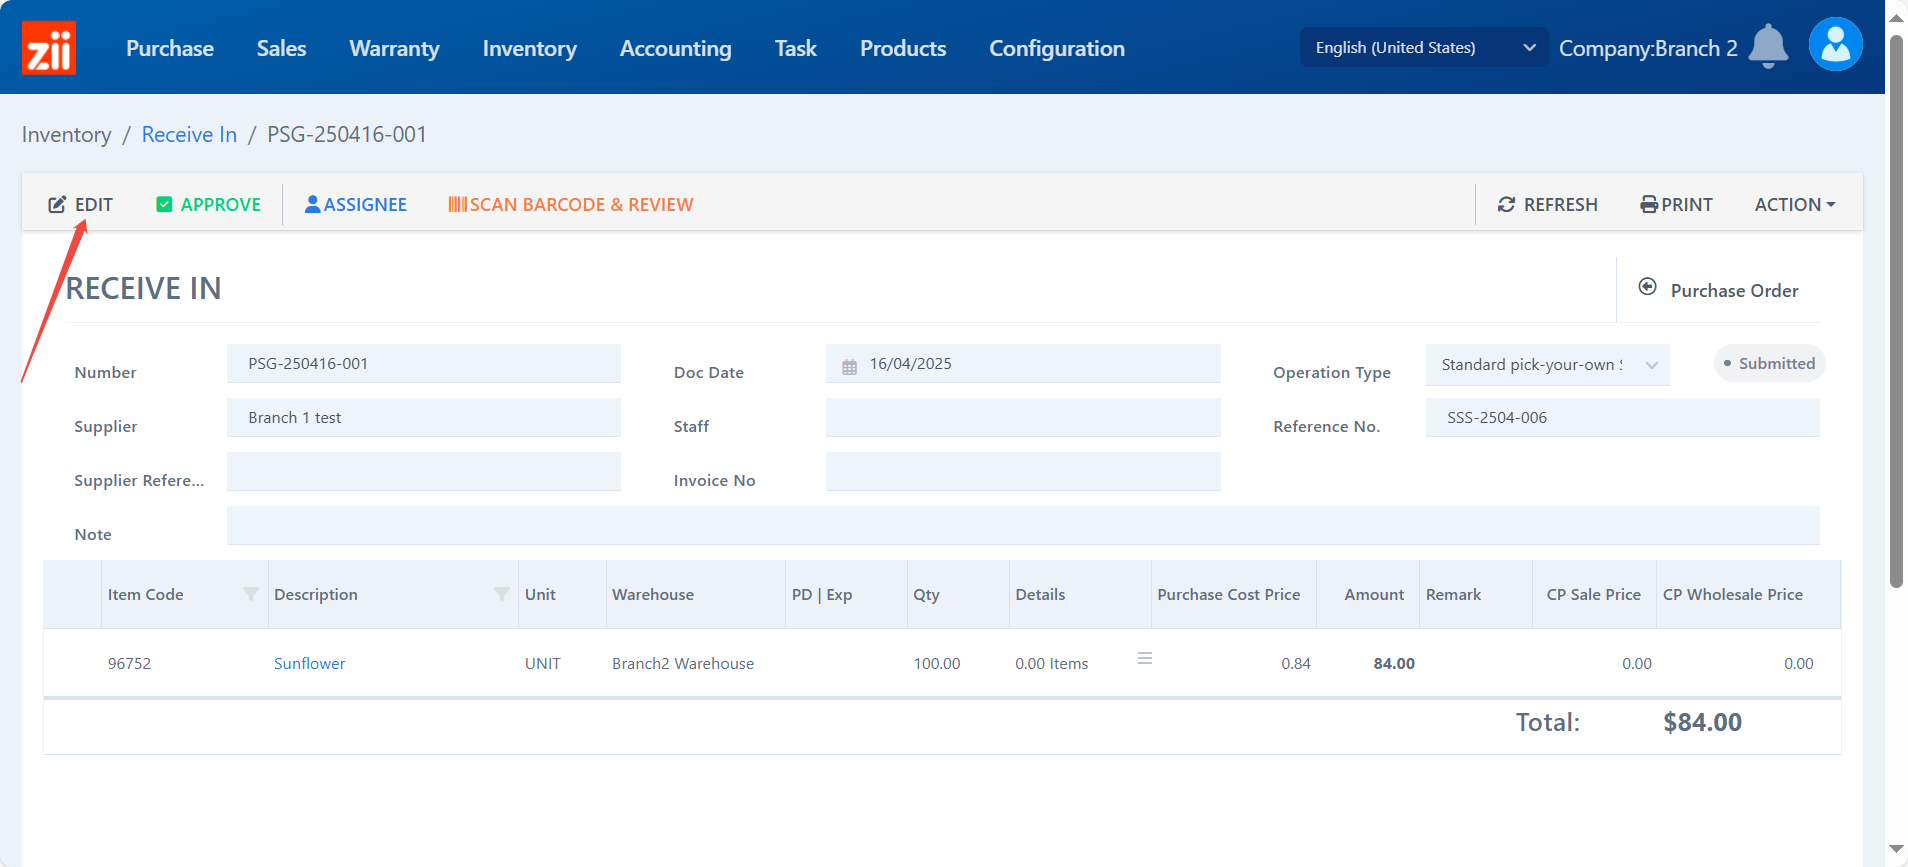
- After the delivery ticket being approved by the supplier branch, a receive-in ticket will be generated automatically. Click “Receive in”.
- Click “Edit”.
- Click “Edit”.
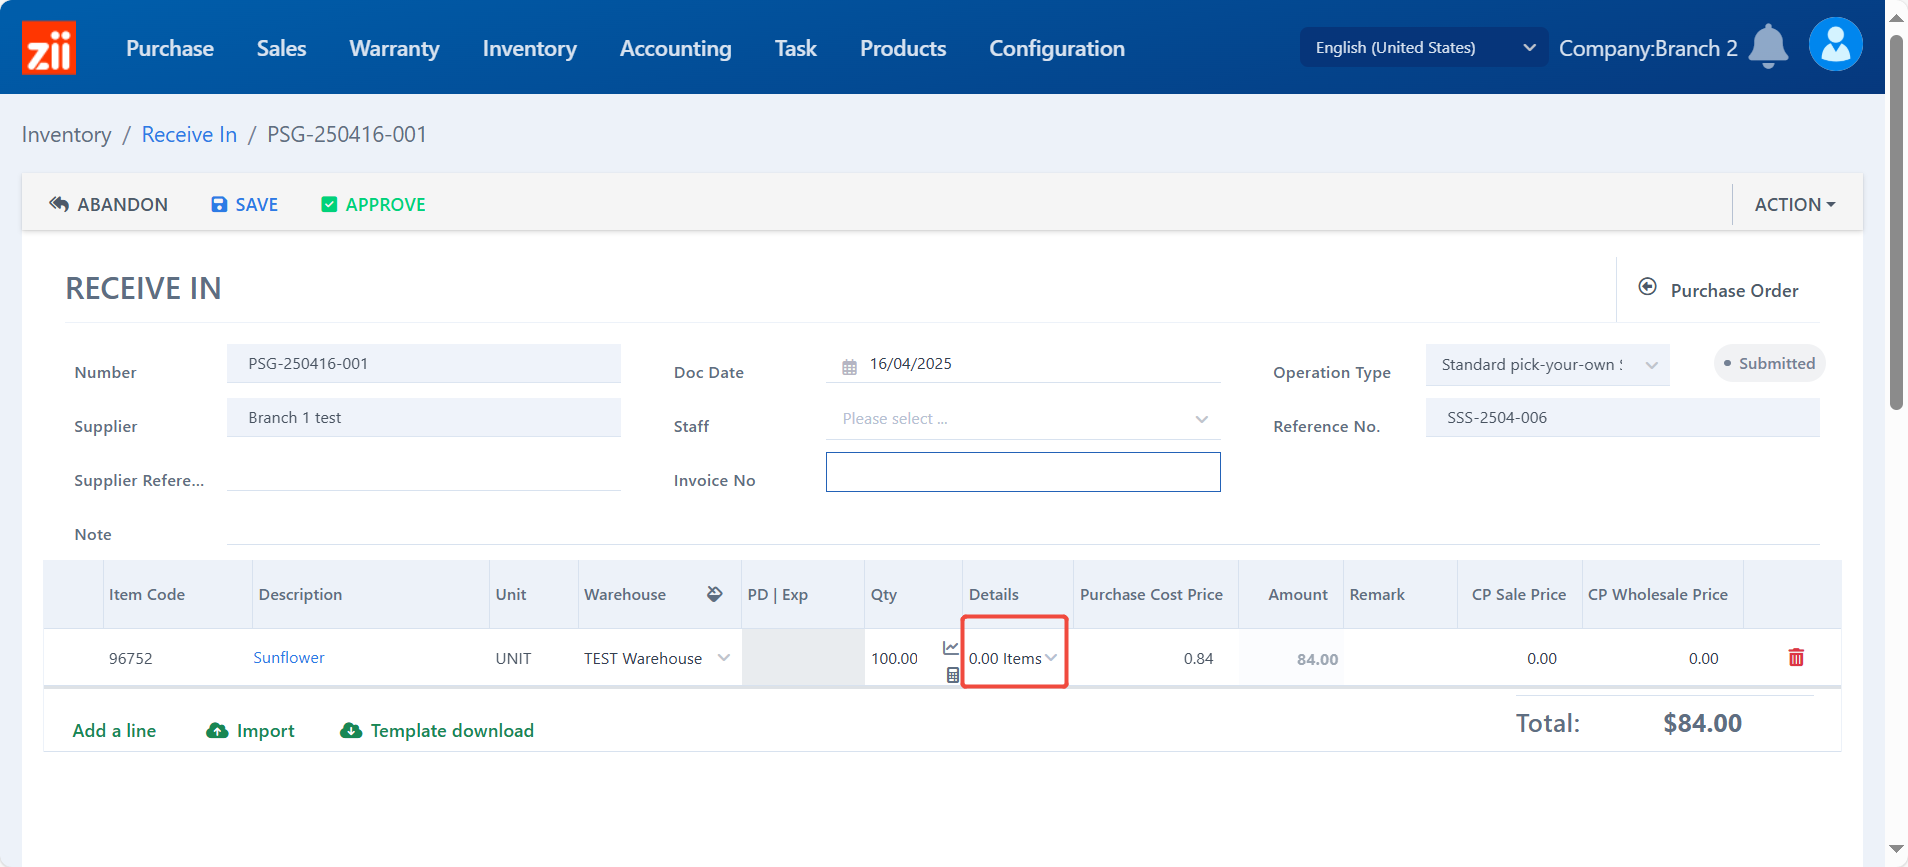
- Select a warehouse.

- Click the blank under “Details” to modify its location. (It will be auto-filled in input zone if you skip this step.)
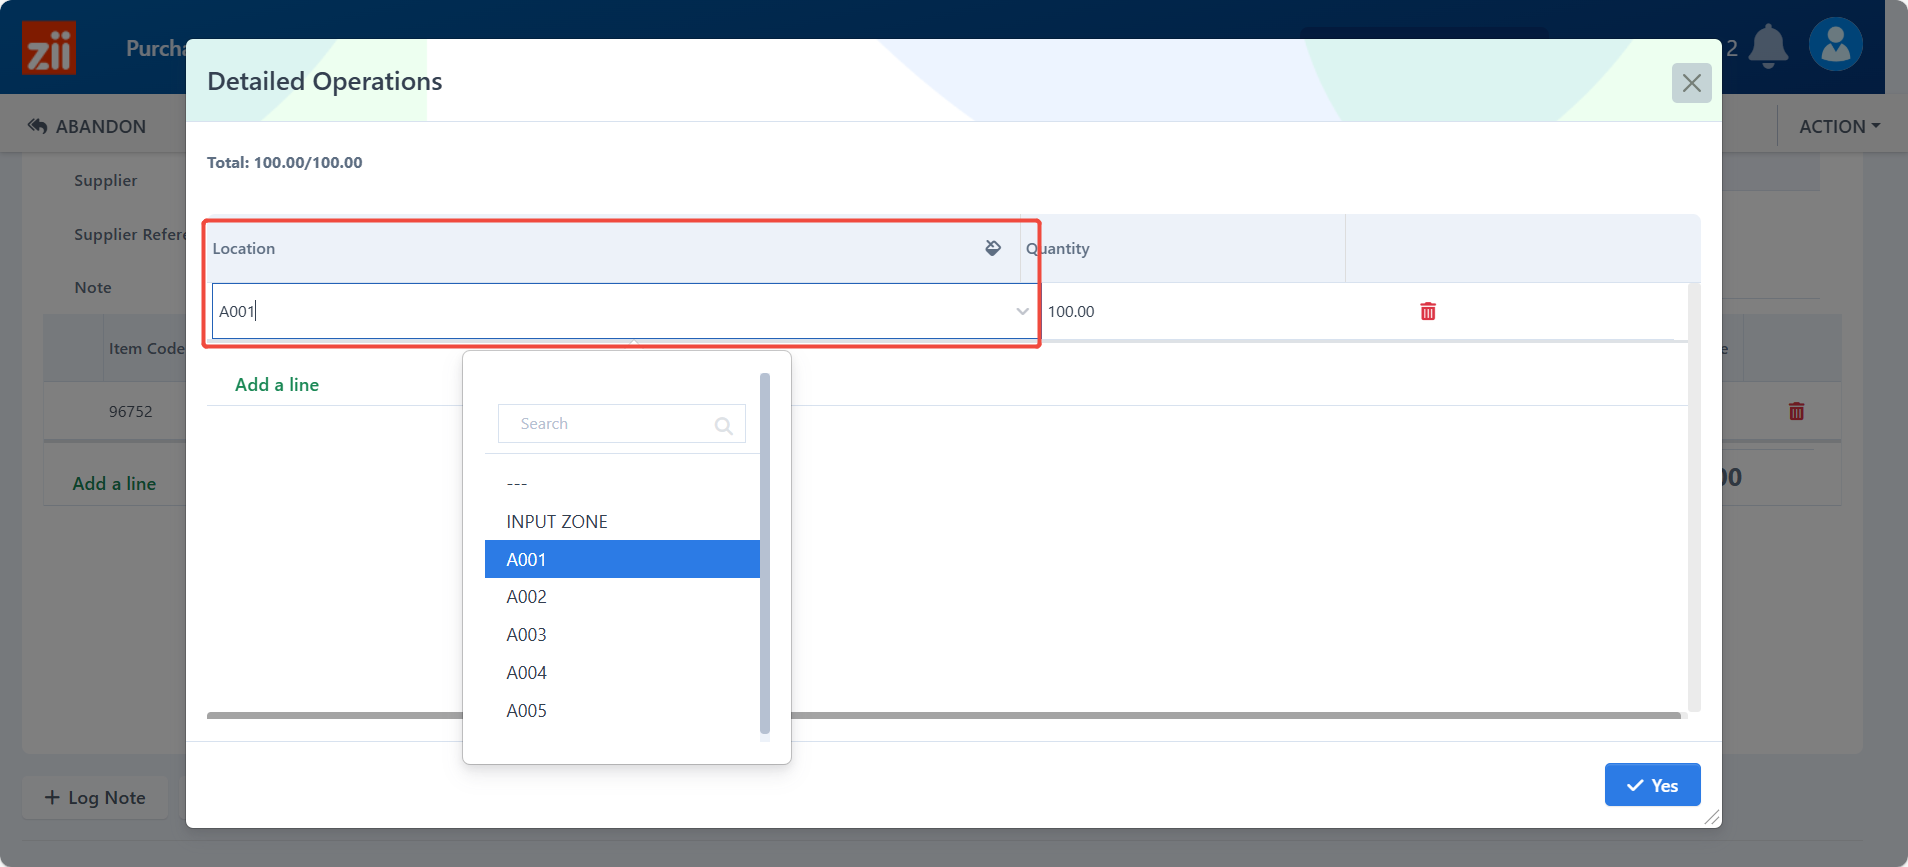
- Select a location of this warehouse.
- Click “Yes”.
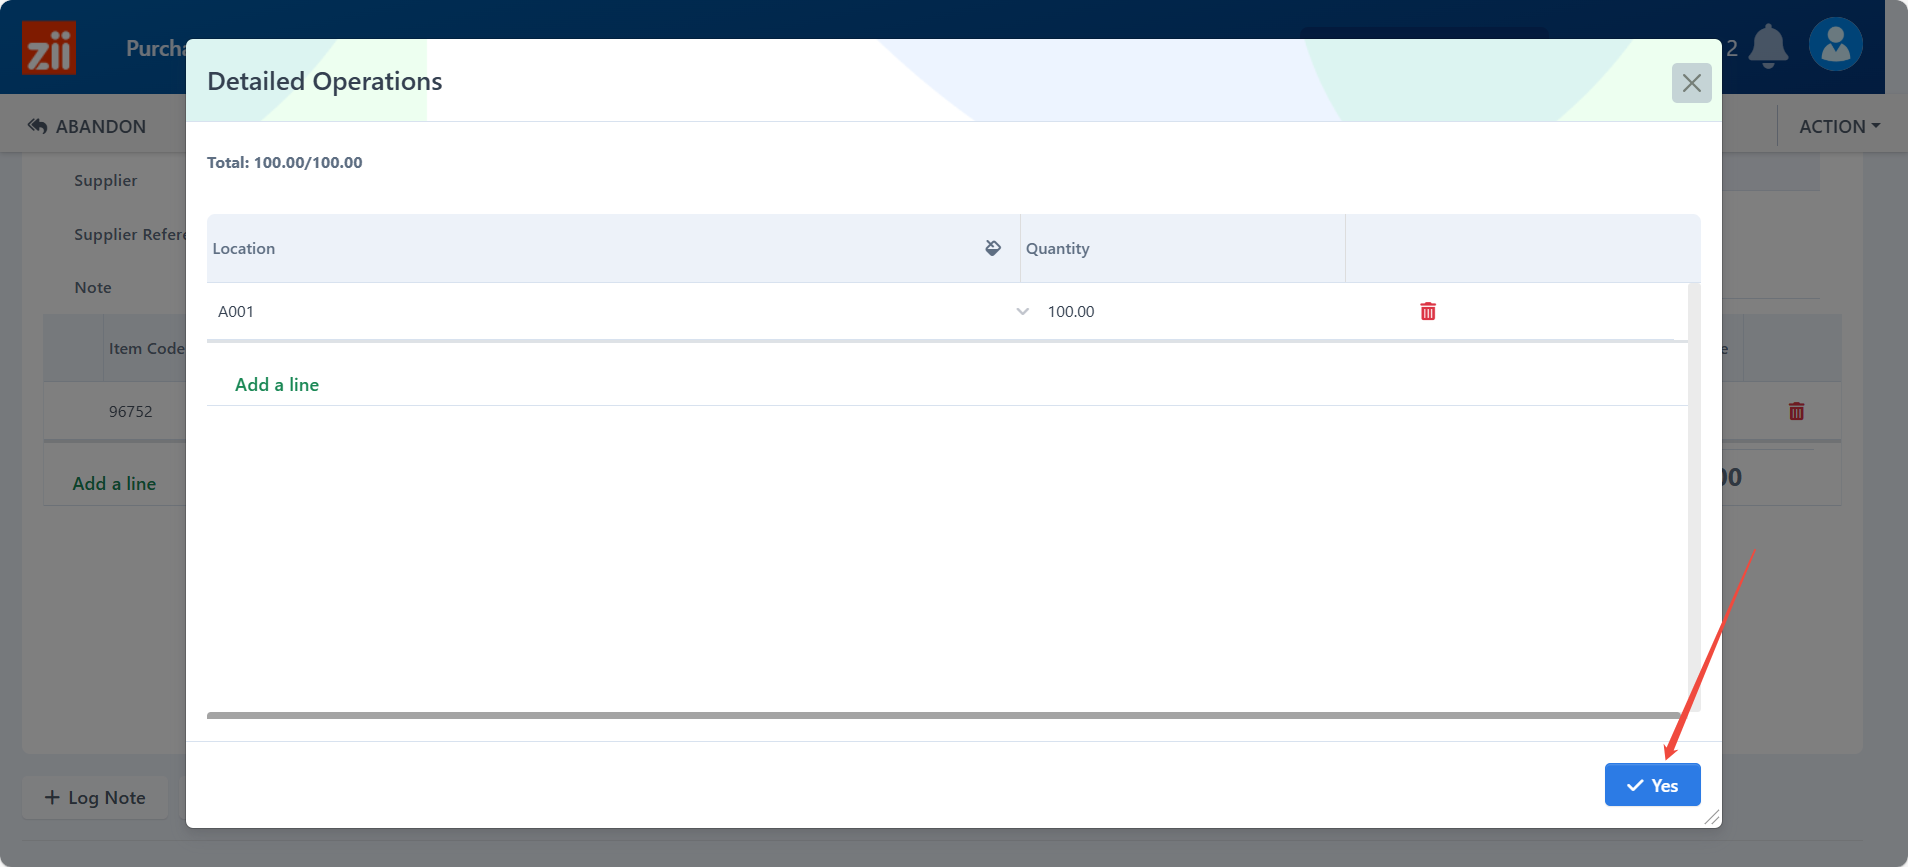
- Click “Save”.
- Click “APPROVE” after the order being received.