Before you start, this guide doesn’t include the process of receiving, if you would like to know how to do receiving, please refer to:
ZiiPSI-How to Do Products Receiving – Zii Help Center (ziicloud.com)
ZiiPSI-How to Do Products Receiving without Purchase Orders – Zii Help Center (ziicloud.com)
With the location management of your warehouse, products need to be shelved and recorded into the system. There are two ways of shelving and recording.
METHOD I: Shelving Products While Receiving and Recording Them Through the Receive-in Ticket
Under this situtation, products are shelved once you receive it. The product’s rack location info can be entered in the receive-in ticket.
- Click in the blank under “Details”.

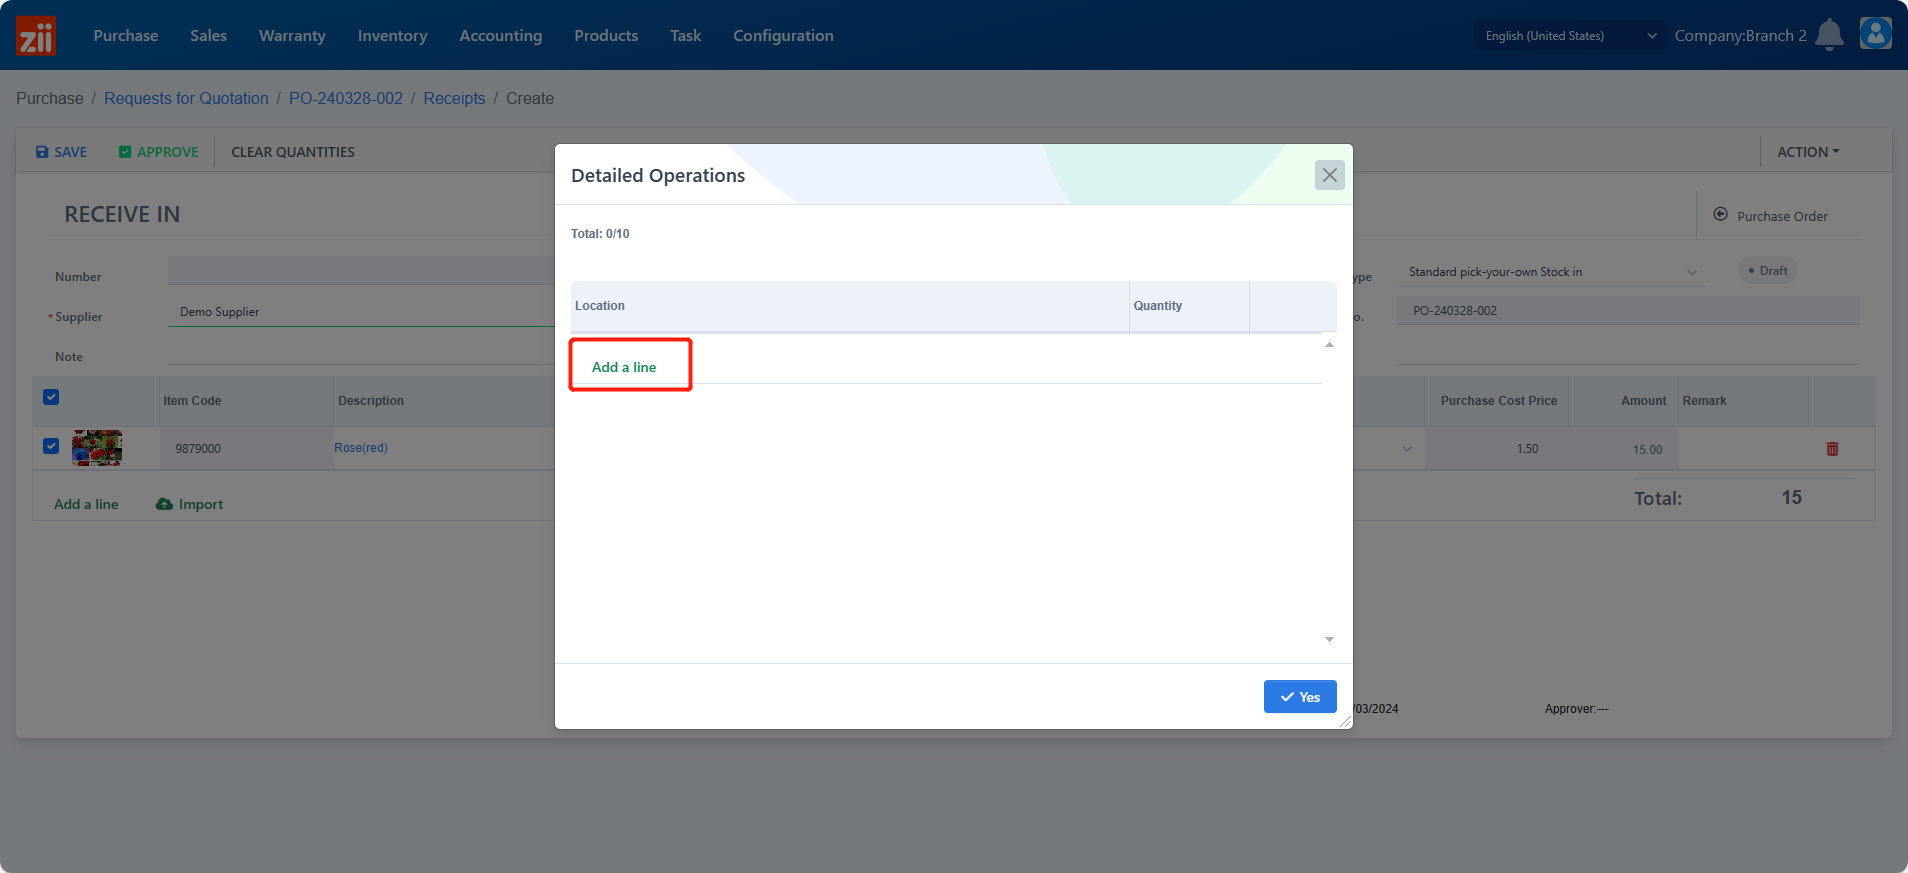
- Click “Add a line”.

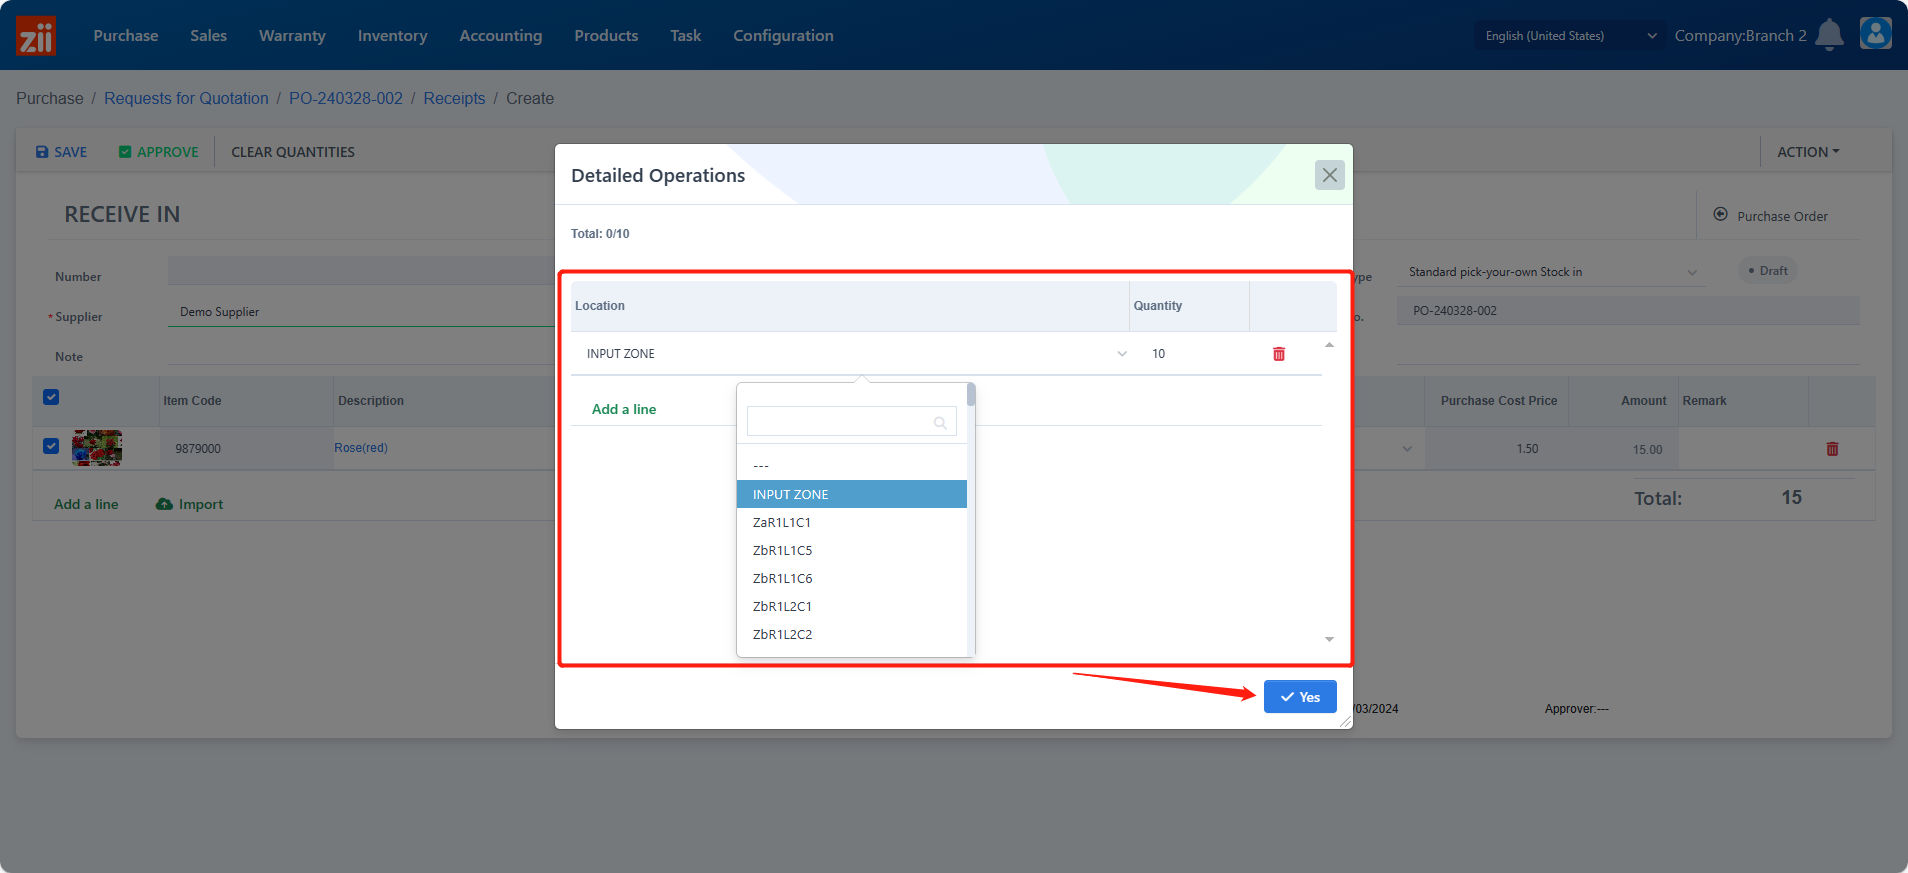
- Record its location based on the rack where you’ve stored the product, and click “Yes” to save.

Method II: Placing Products in the Input Zone and Shelve and Record Them by “Shelf Transfer”.
Under this situtation, products are placed in an input zone after being received. Then you can shelve them later and record them by “Shelf Transfer”.
In the Receive-in Ticket
- Click in the blank under “Details”.

- Click “Add a line”.

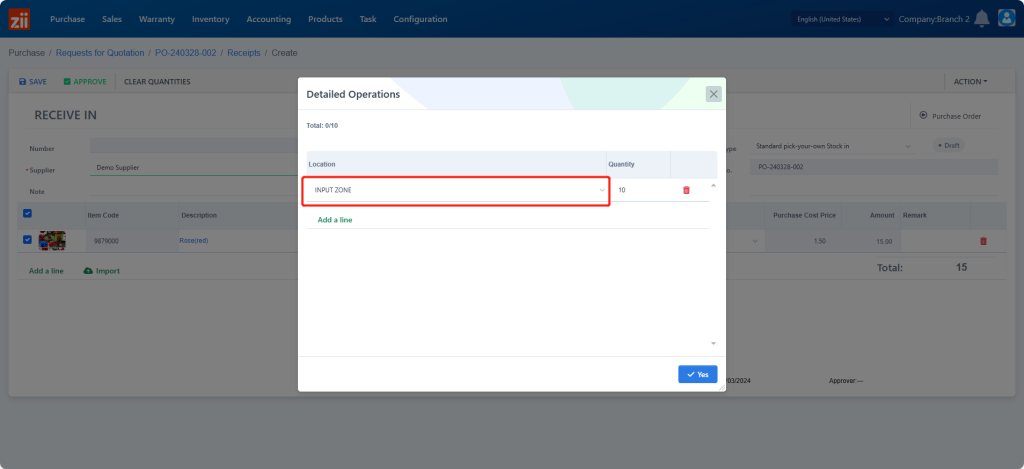
- Keep the location to be “INPUT ZONE” and click “Yes”.

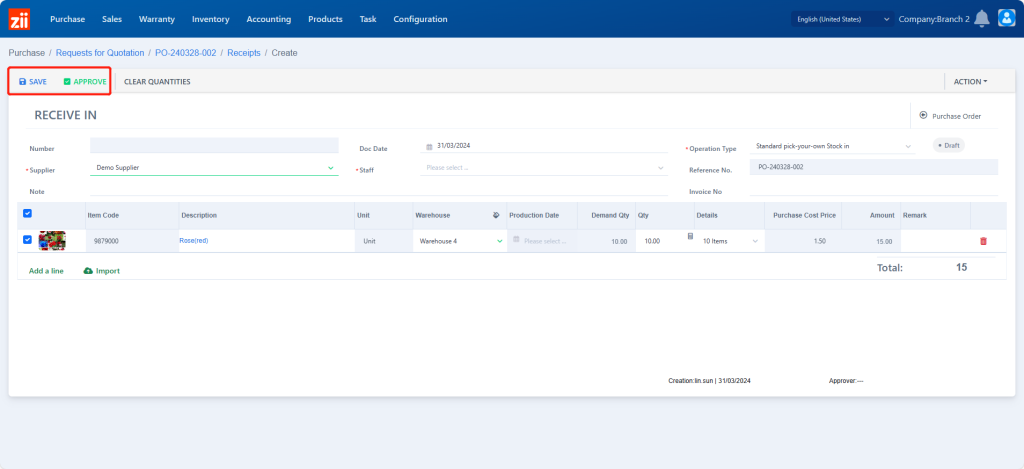
- Save and approve this ticket.

Transfer Products
- Go to “Shelf Transfer”

- Click “ADD”.

- Select the warehouse.

- Click “Add”

- Select the “From Location” to be “INPUT ZONE”.

- Click in the blank under “Item Code” and it will show you the product that in the input zone of this warehouse.

- Enter the quantity.

- Select the “To Location”

- Click “Save” to save the item and the ticket.

- Click “APPROVE” to approve this shelf transfer ticket.

