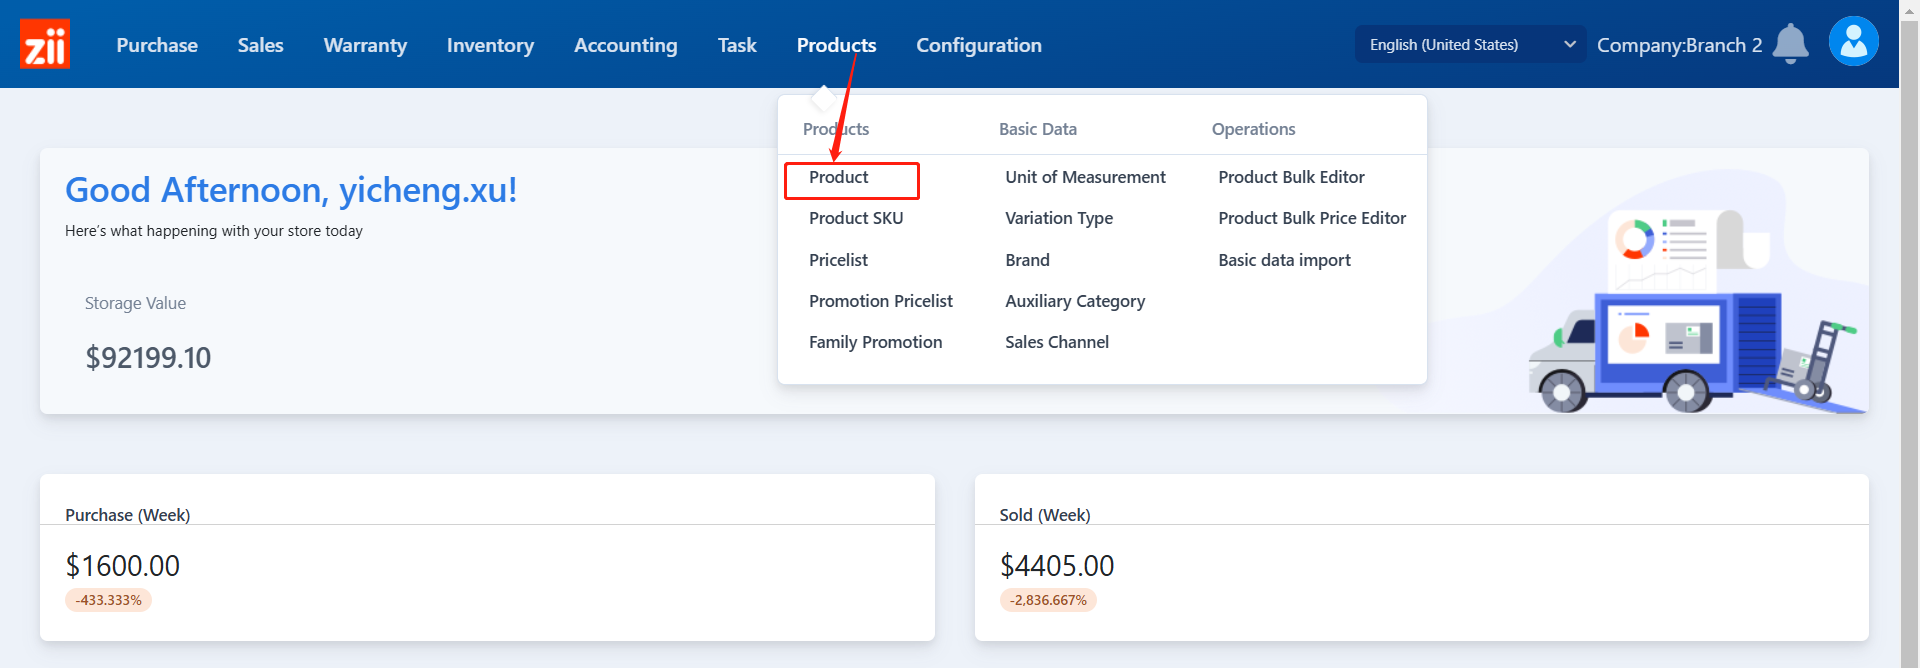
Go to “Product” under “Products”.
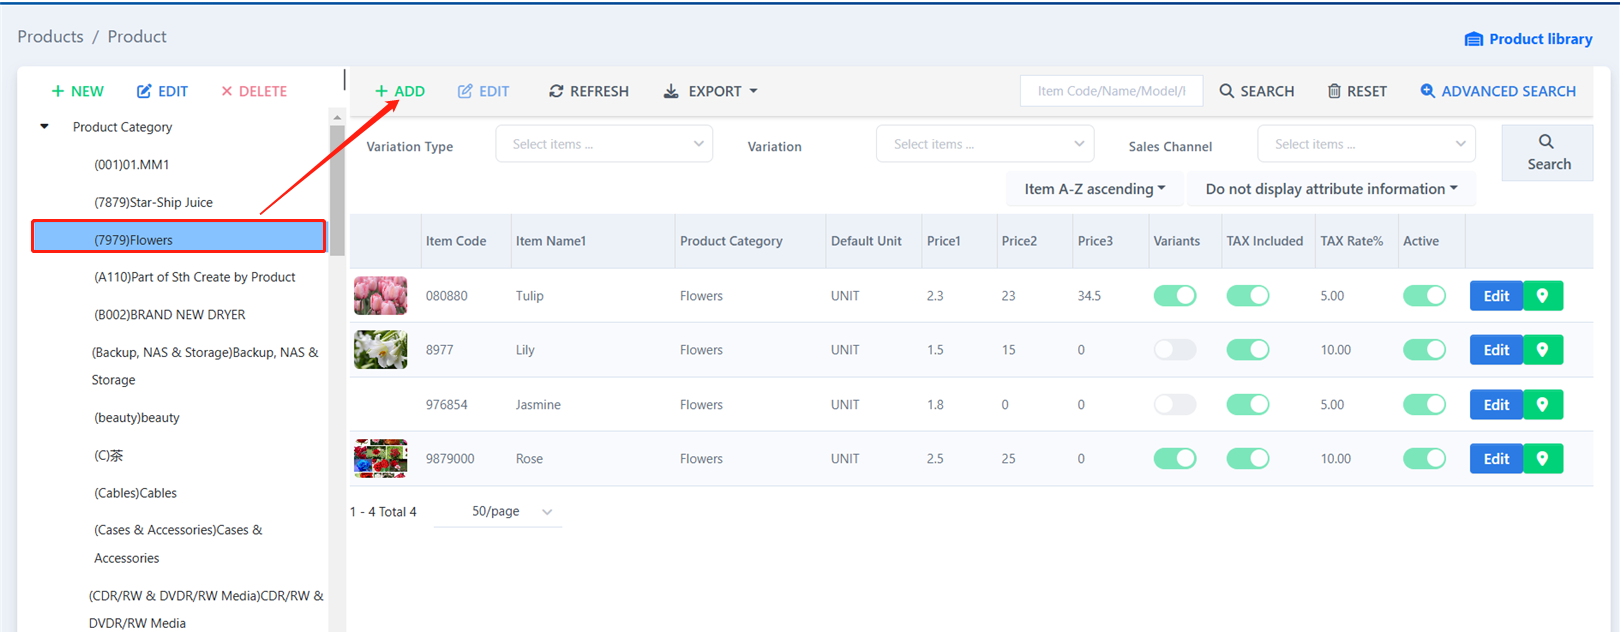
Select the category that the item belongs to and click on “Add”.
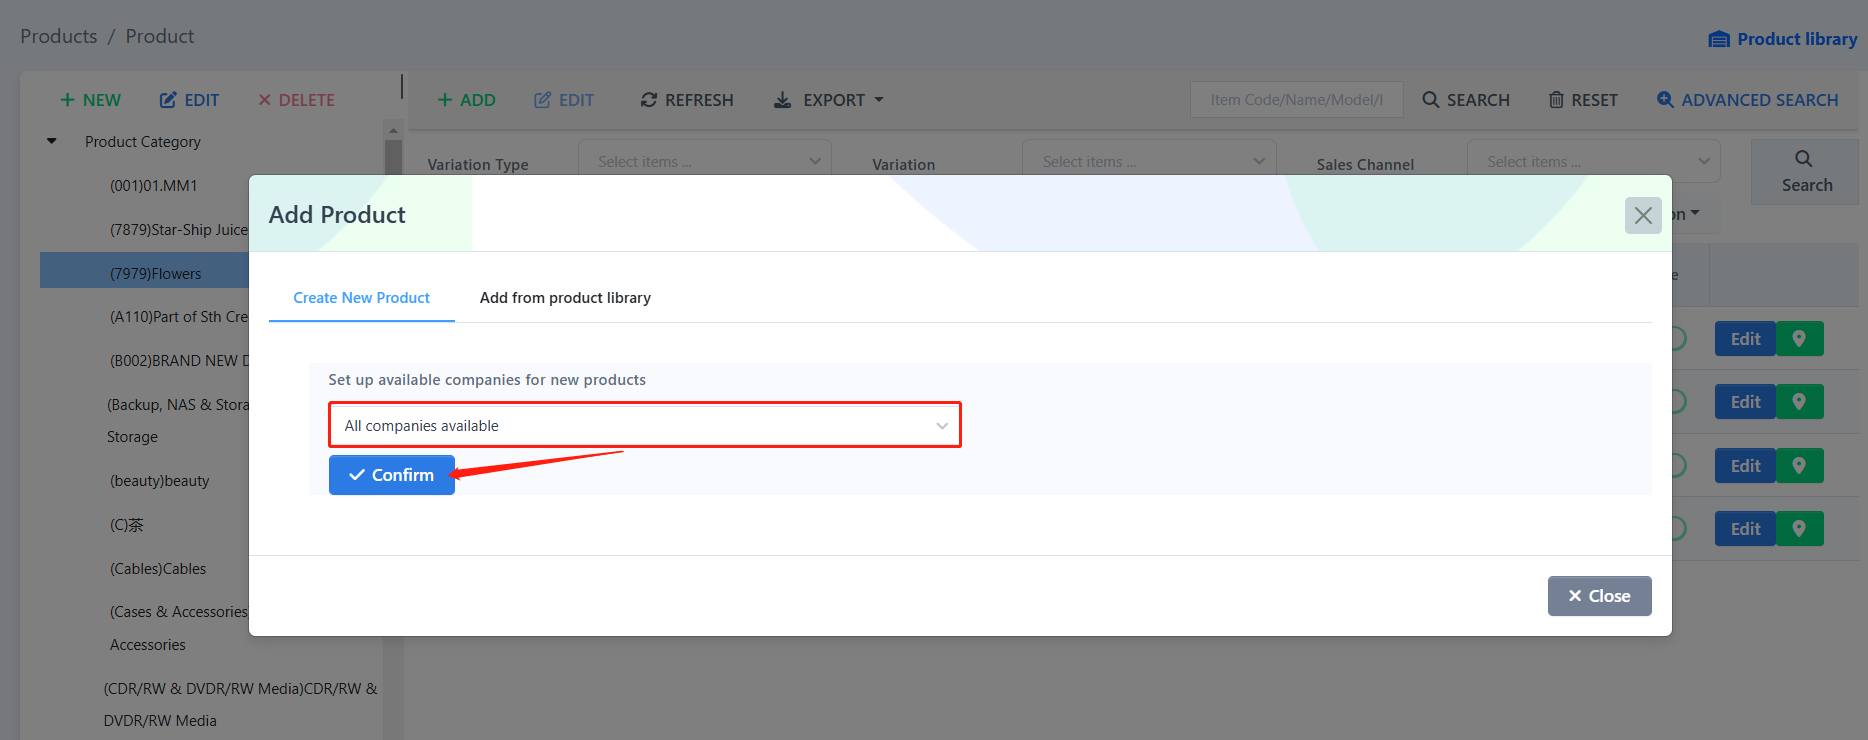
Choose “All companies available” then click confirm
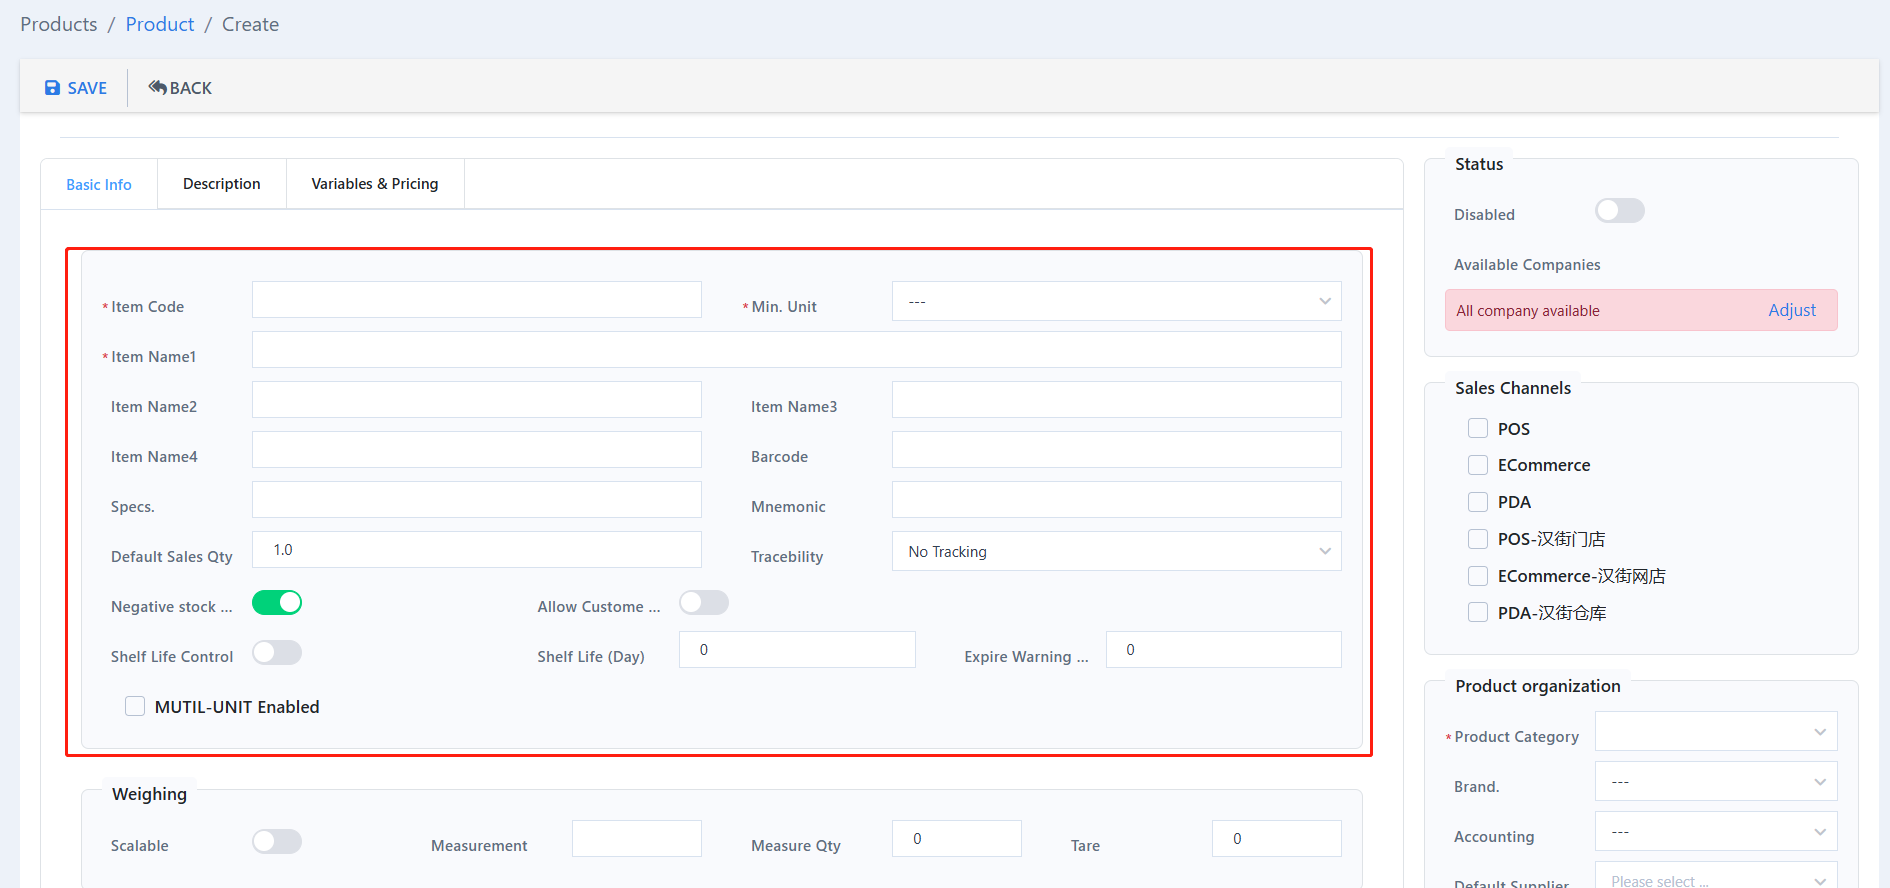
First of all, you need to edit its basic info.
Enter an item code and at least one name, the info with “*” is necessary.
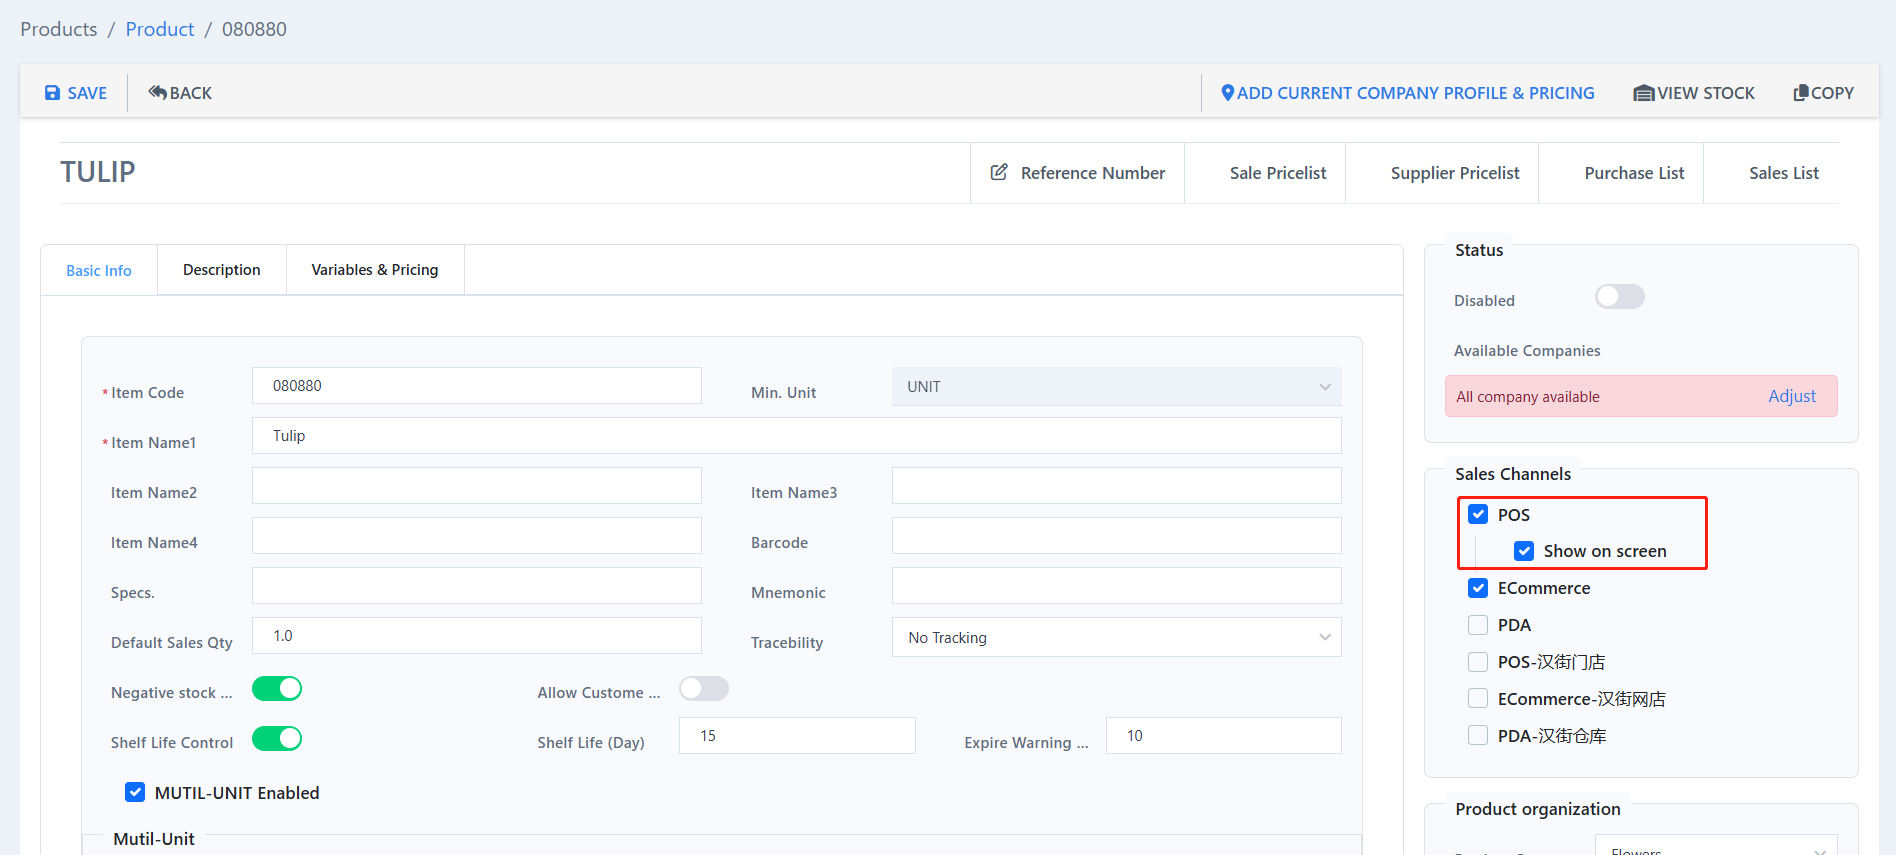
To make the item display on POS page, tick on “POS” and “Show on screen”
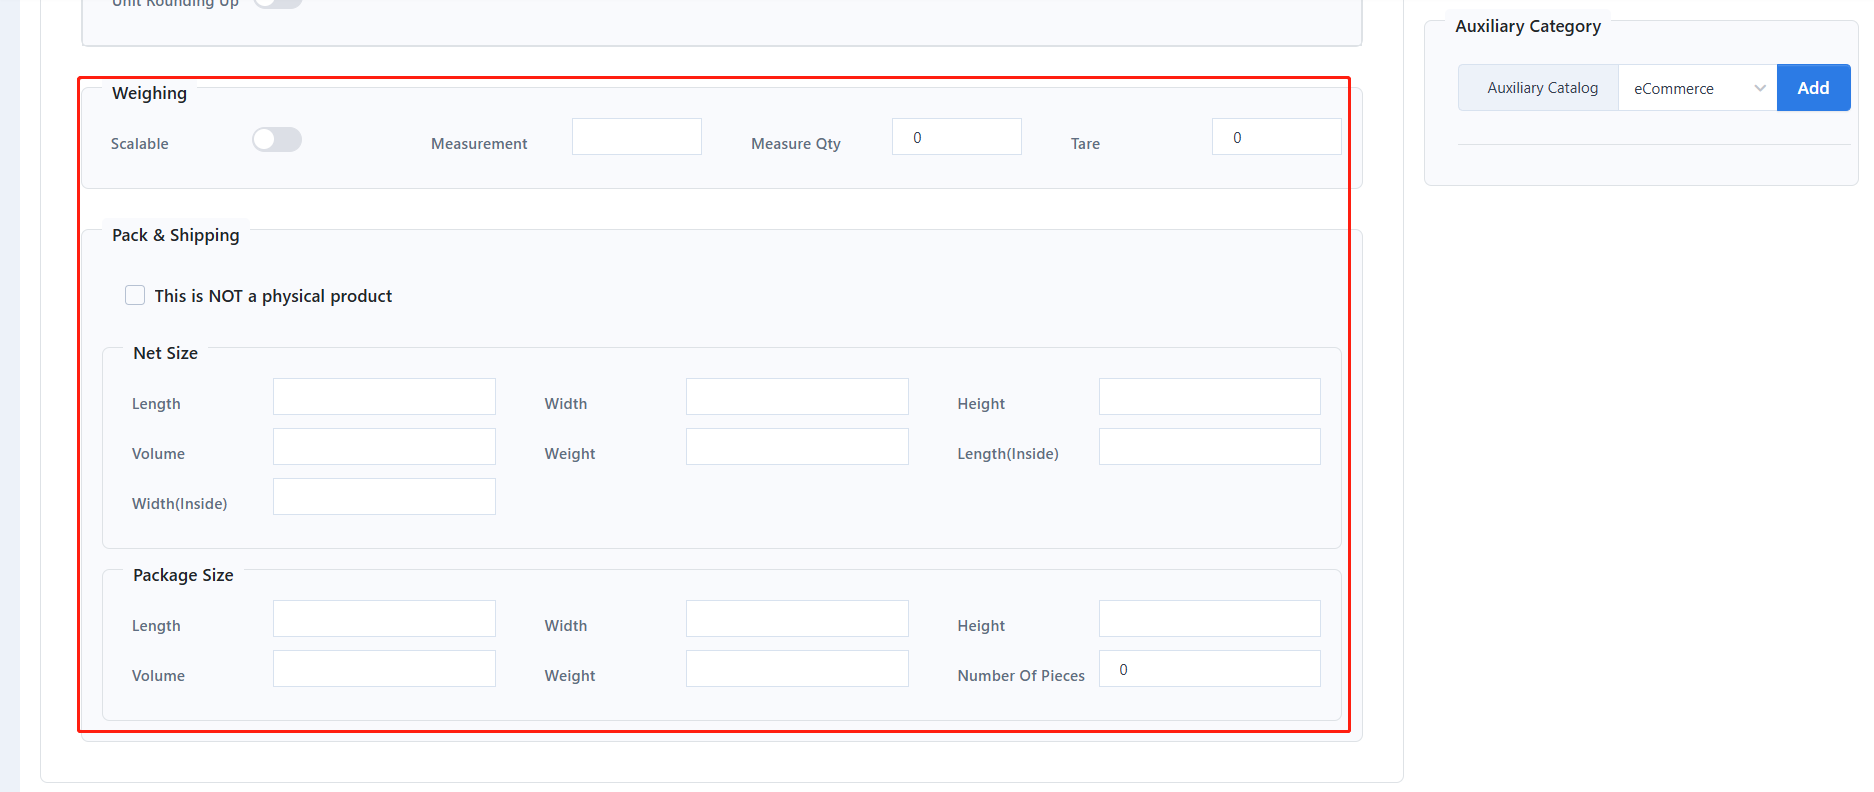
Setup the item’s weighing and pack info if needed.
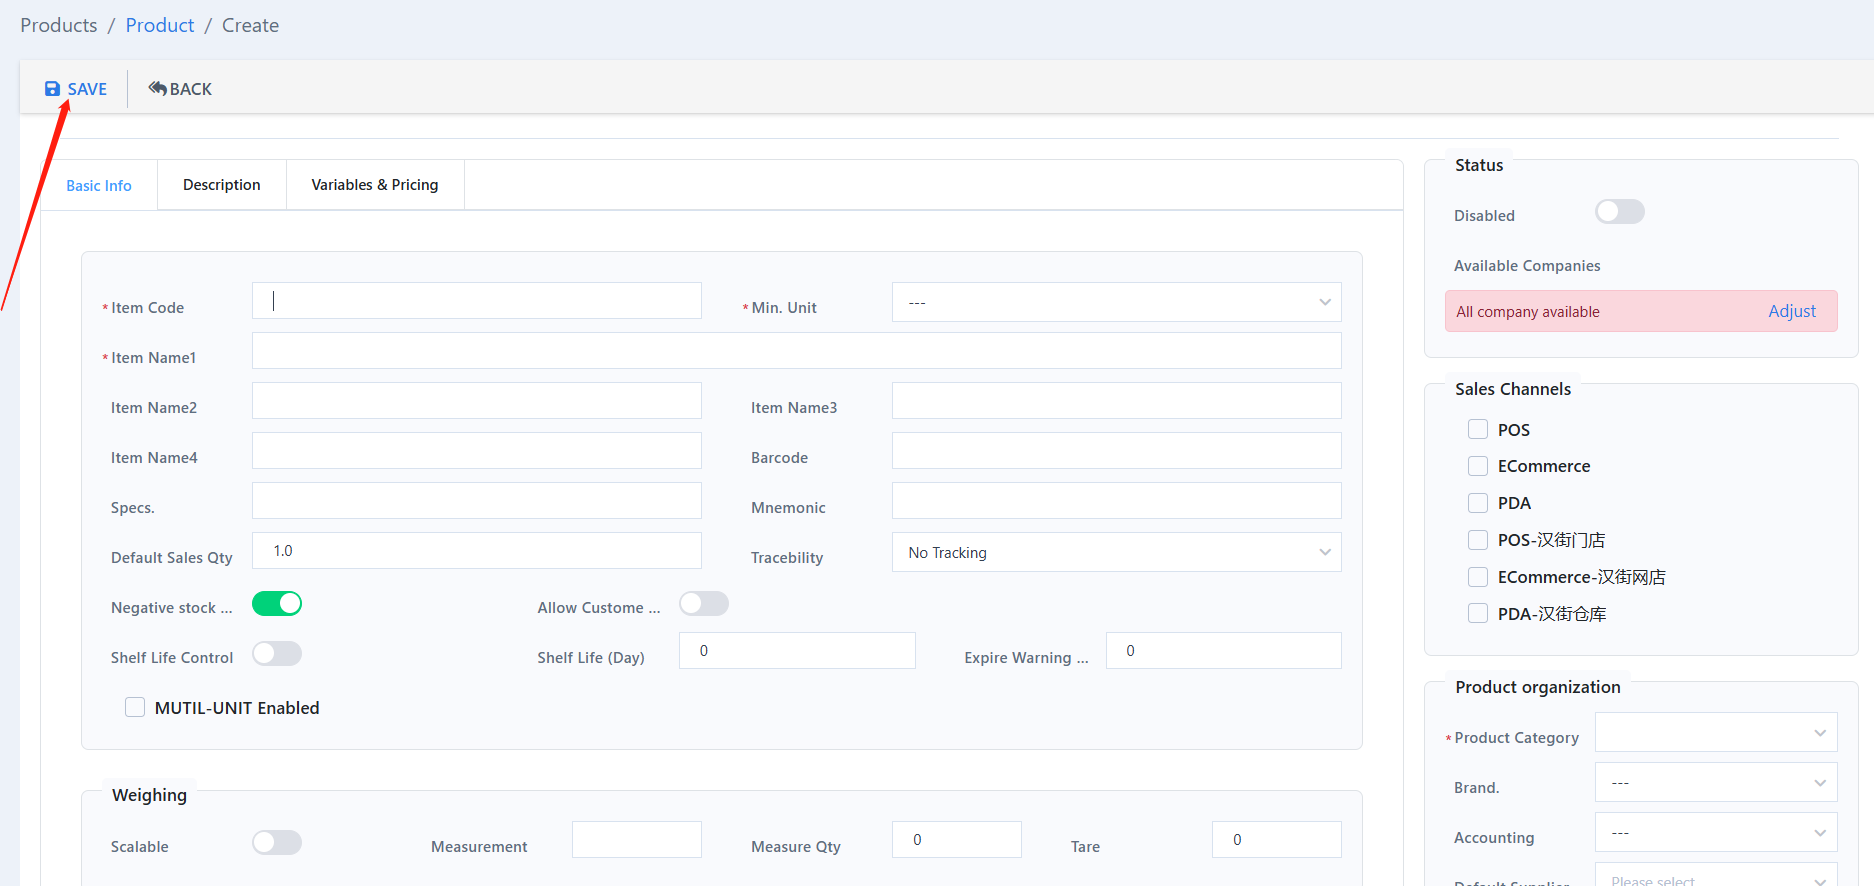
Click on “Save”.
And also you can upload a picture for this item.
Click “Description”.
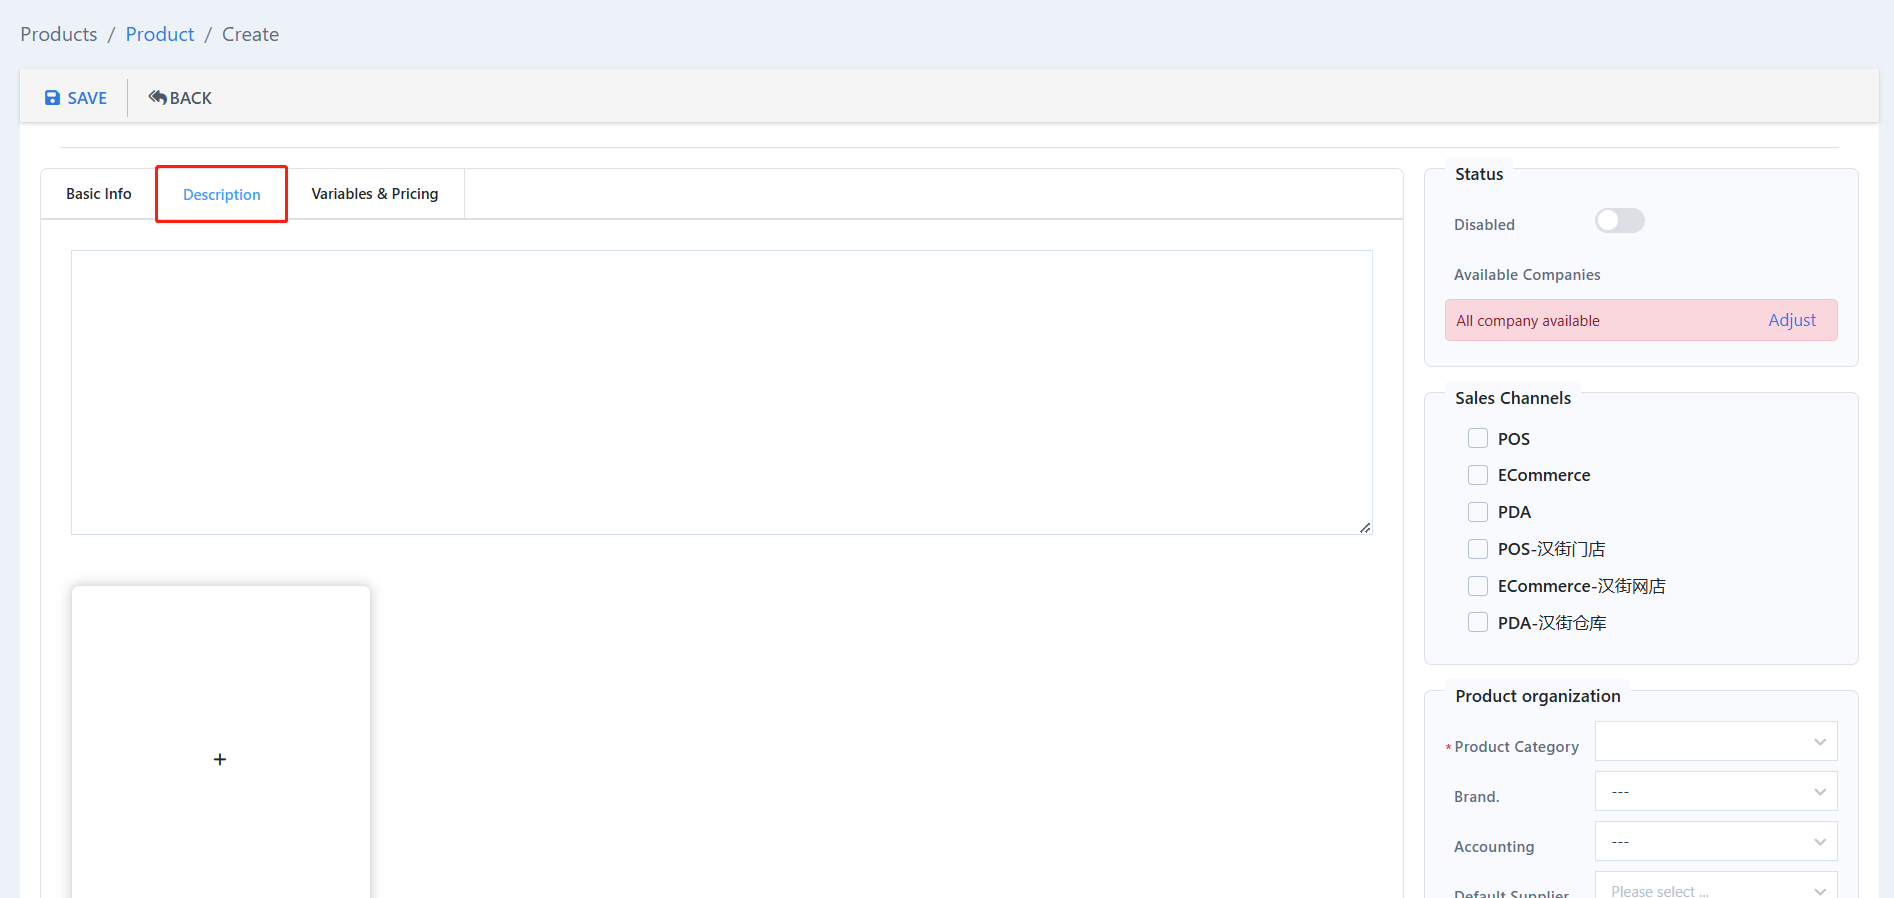
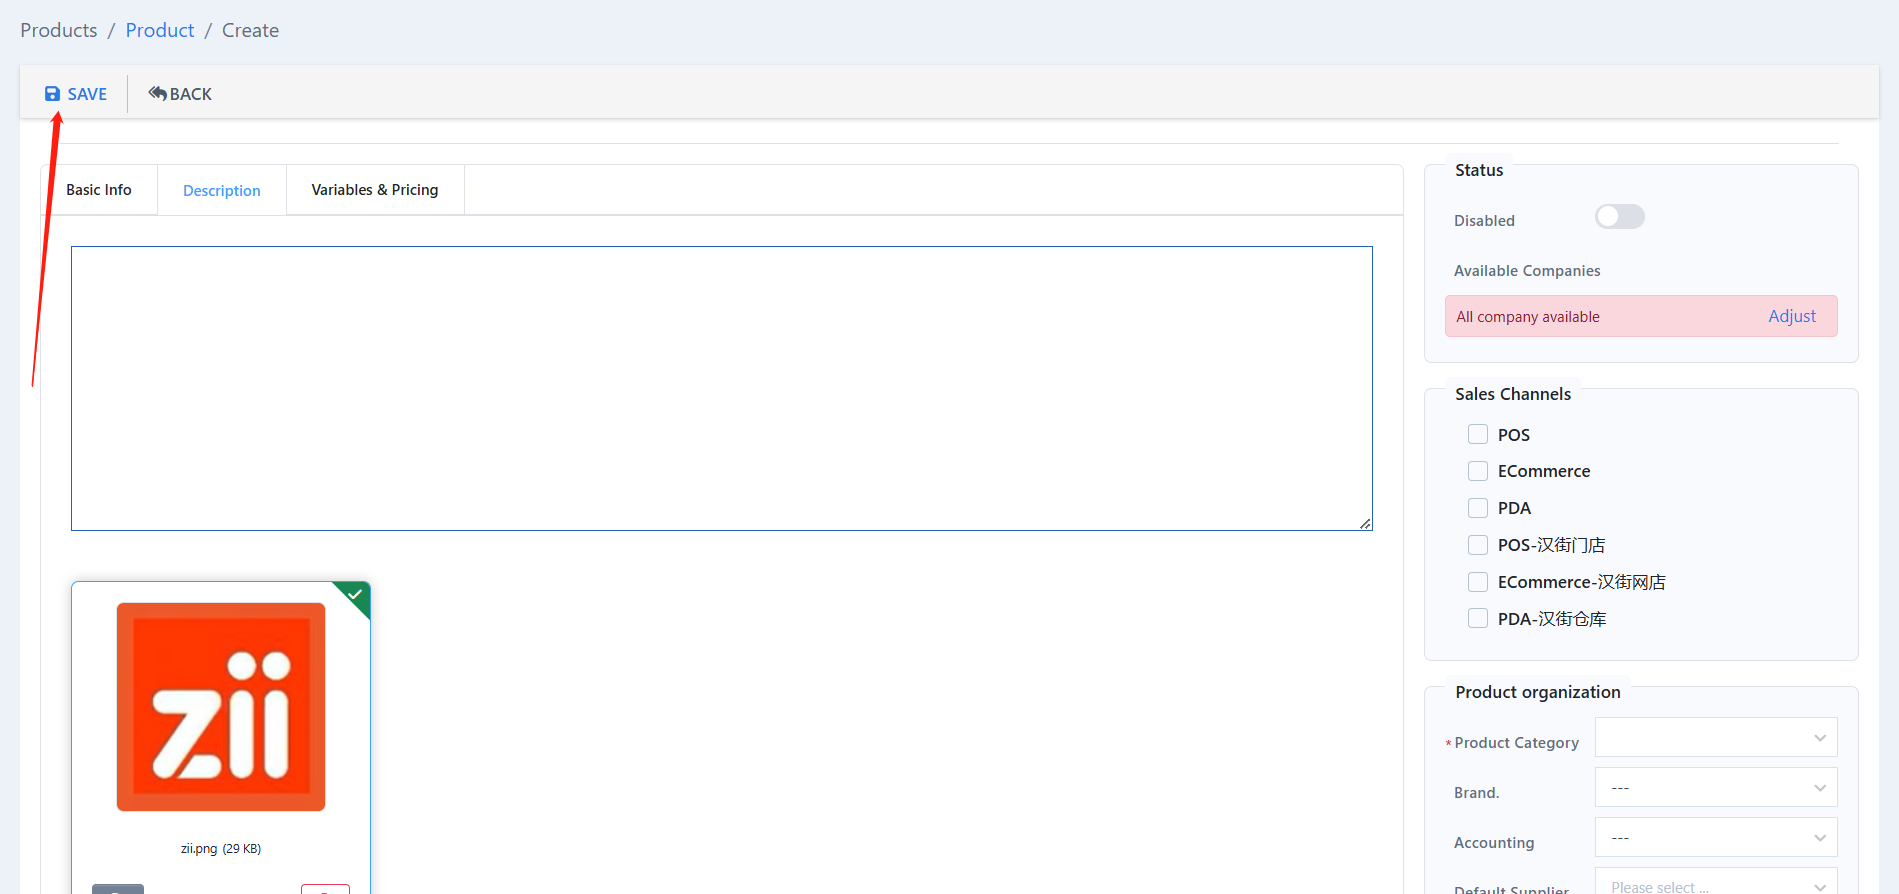
Click to open the folder and select the picture.

Click “Save”.
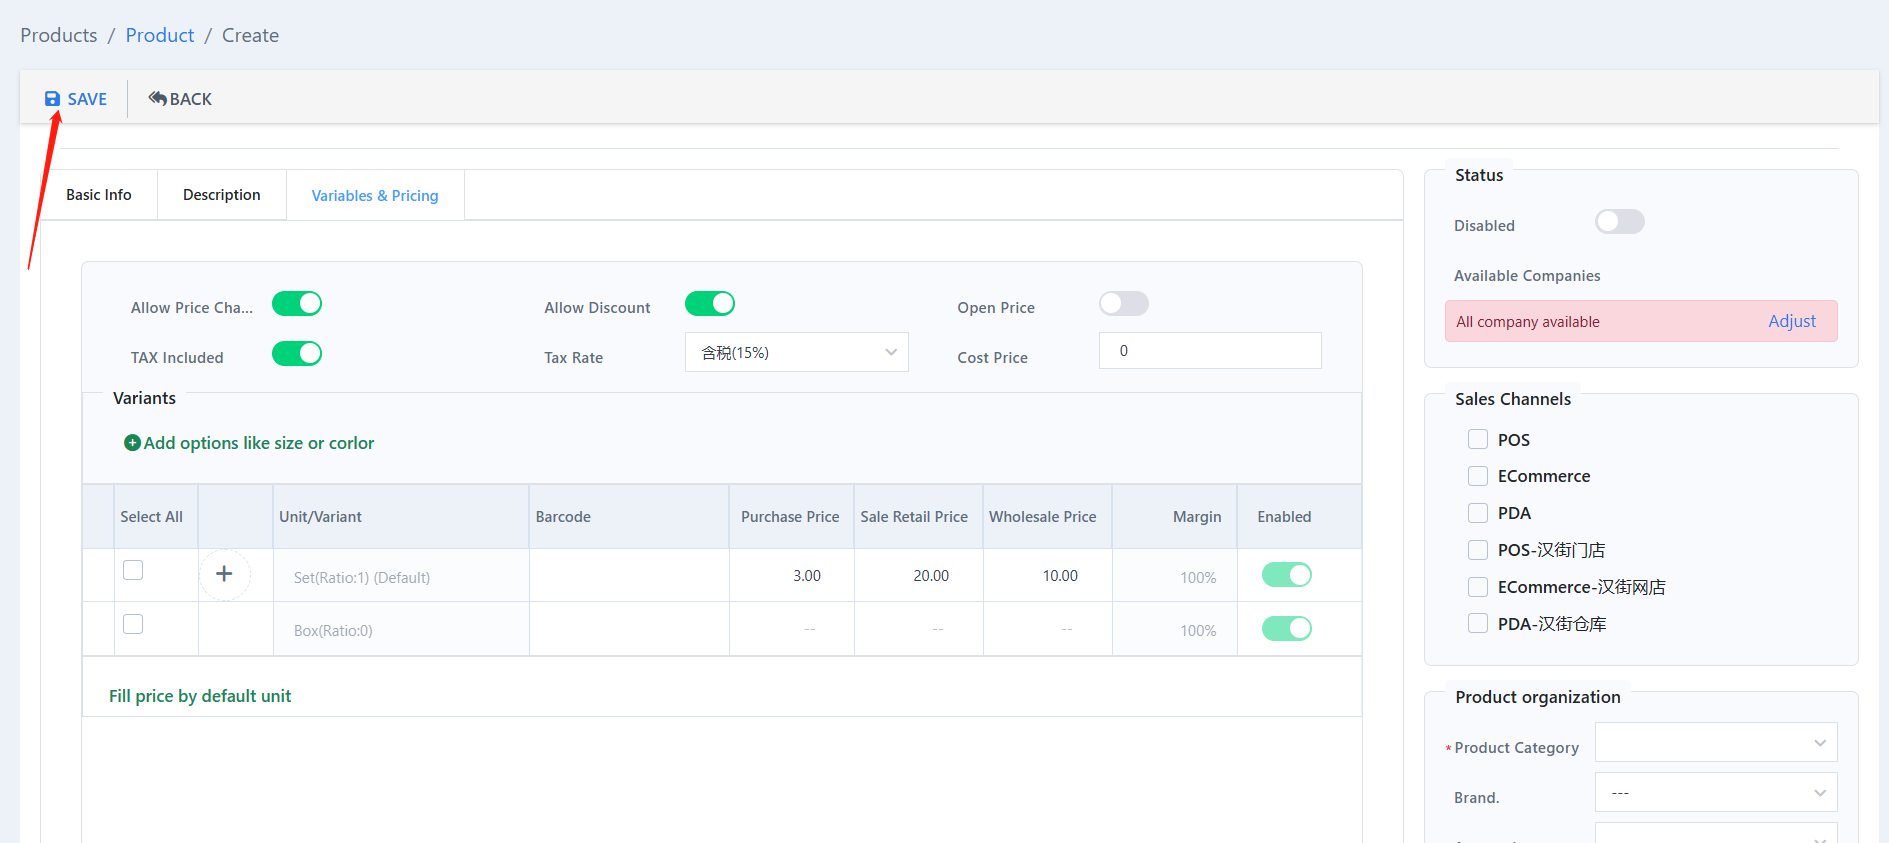
Then you can move on to edit its price related settings.
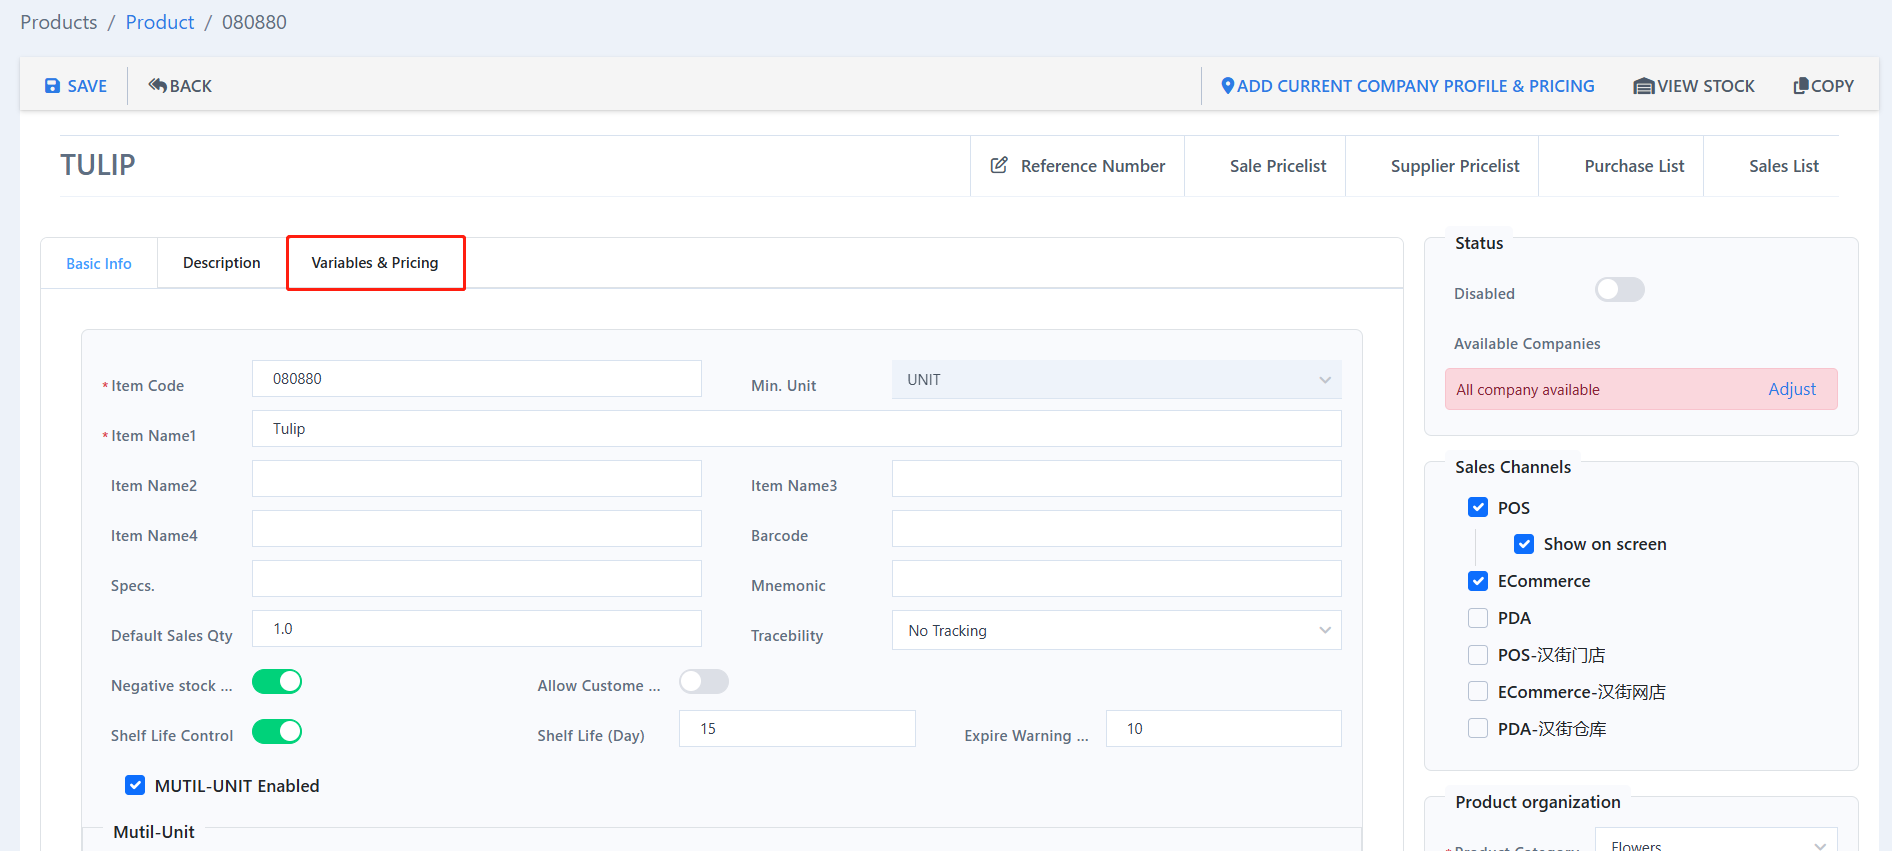
Click on “Variables & Pricing”.
You can set choose the tax rate and control if it is included in the sales price.

Toggle on “Allow Price Change” to allow this item’s price to be modified when doing documents, such as sales orders, quotations, and so on, in the web inventory system.
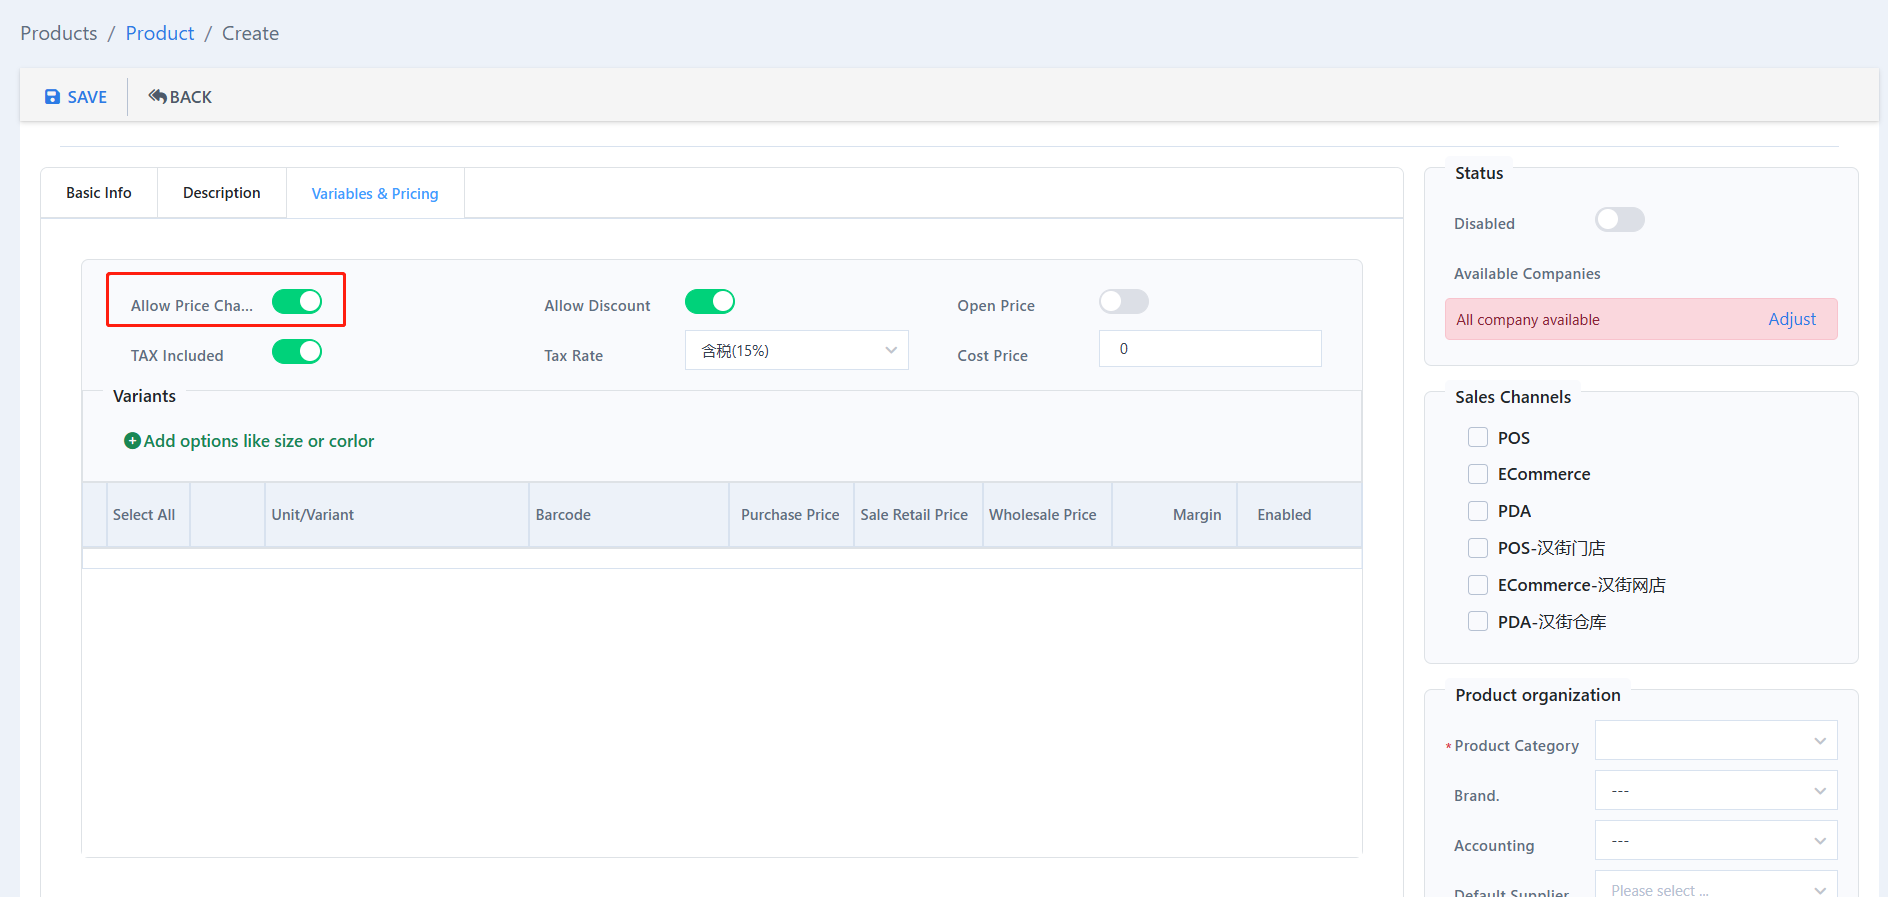
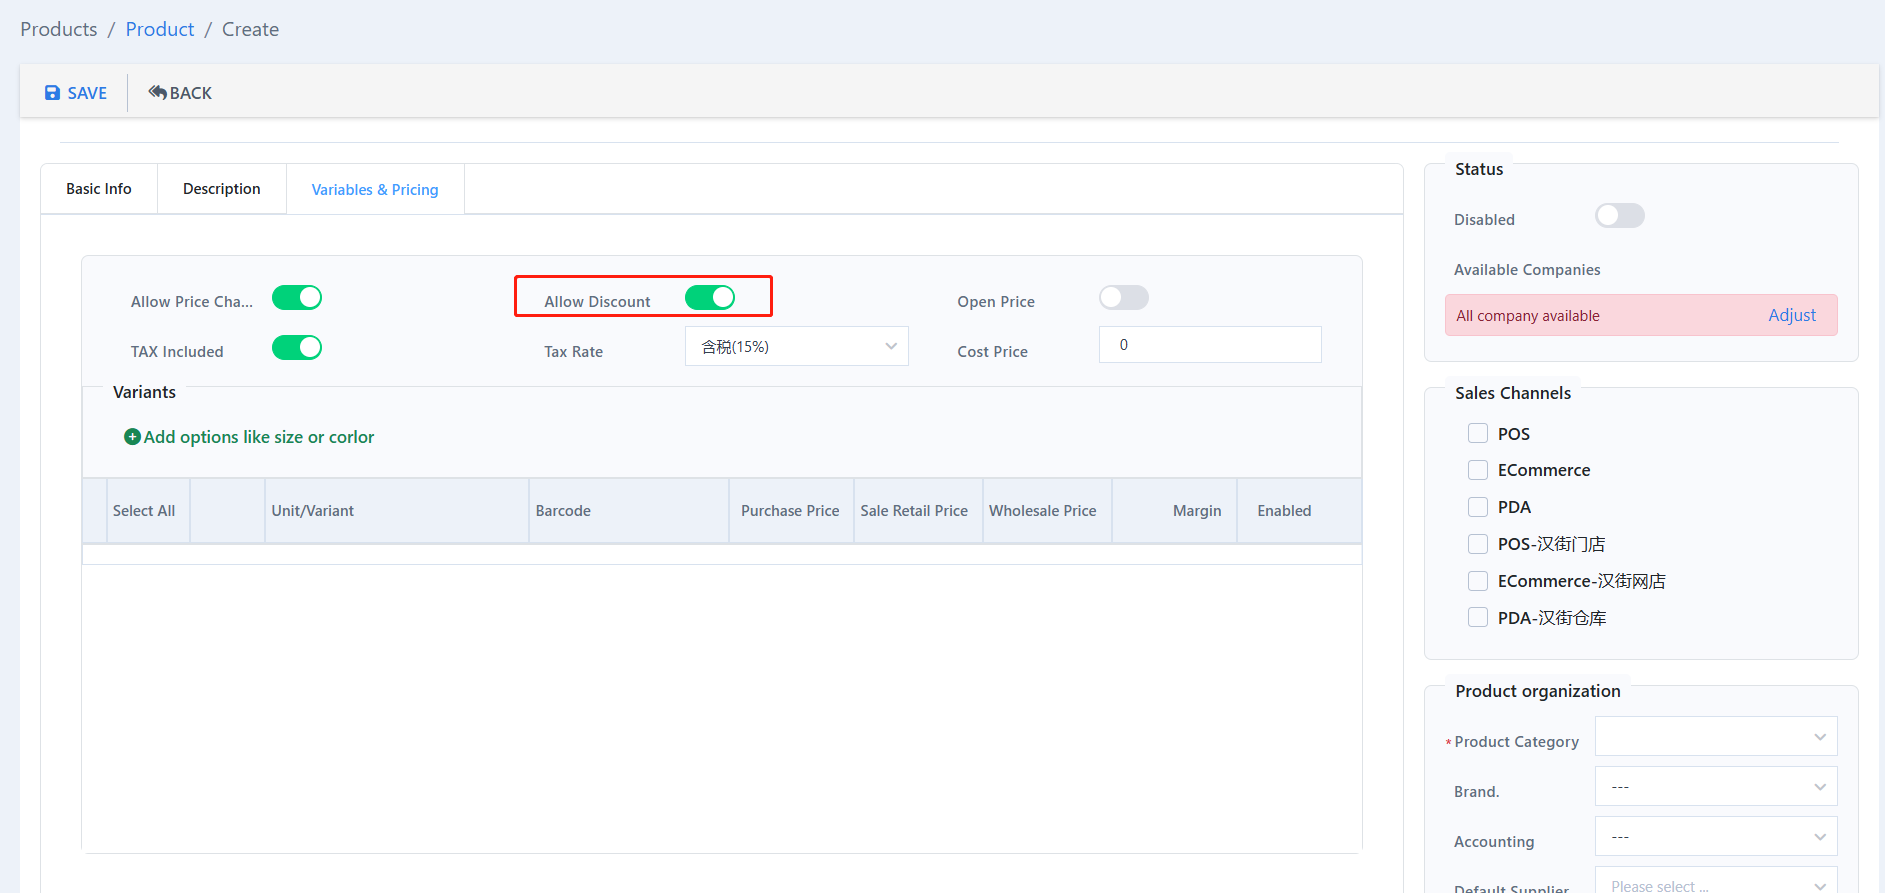
Toggle off “Allow Discount” if you don’t want this item to be discounted.
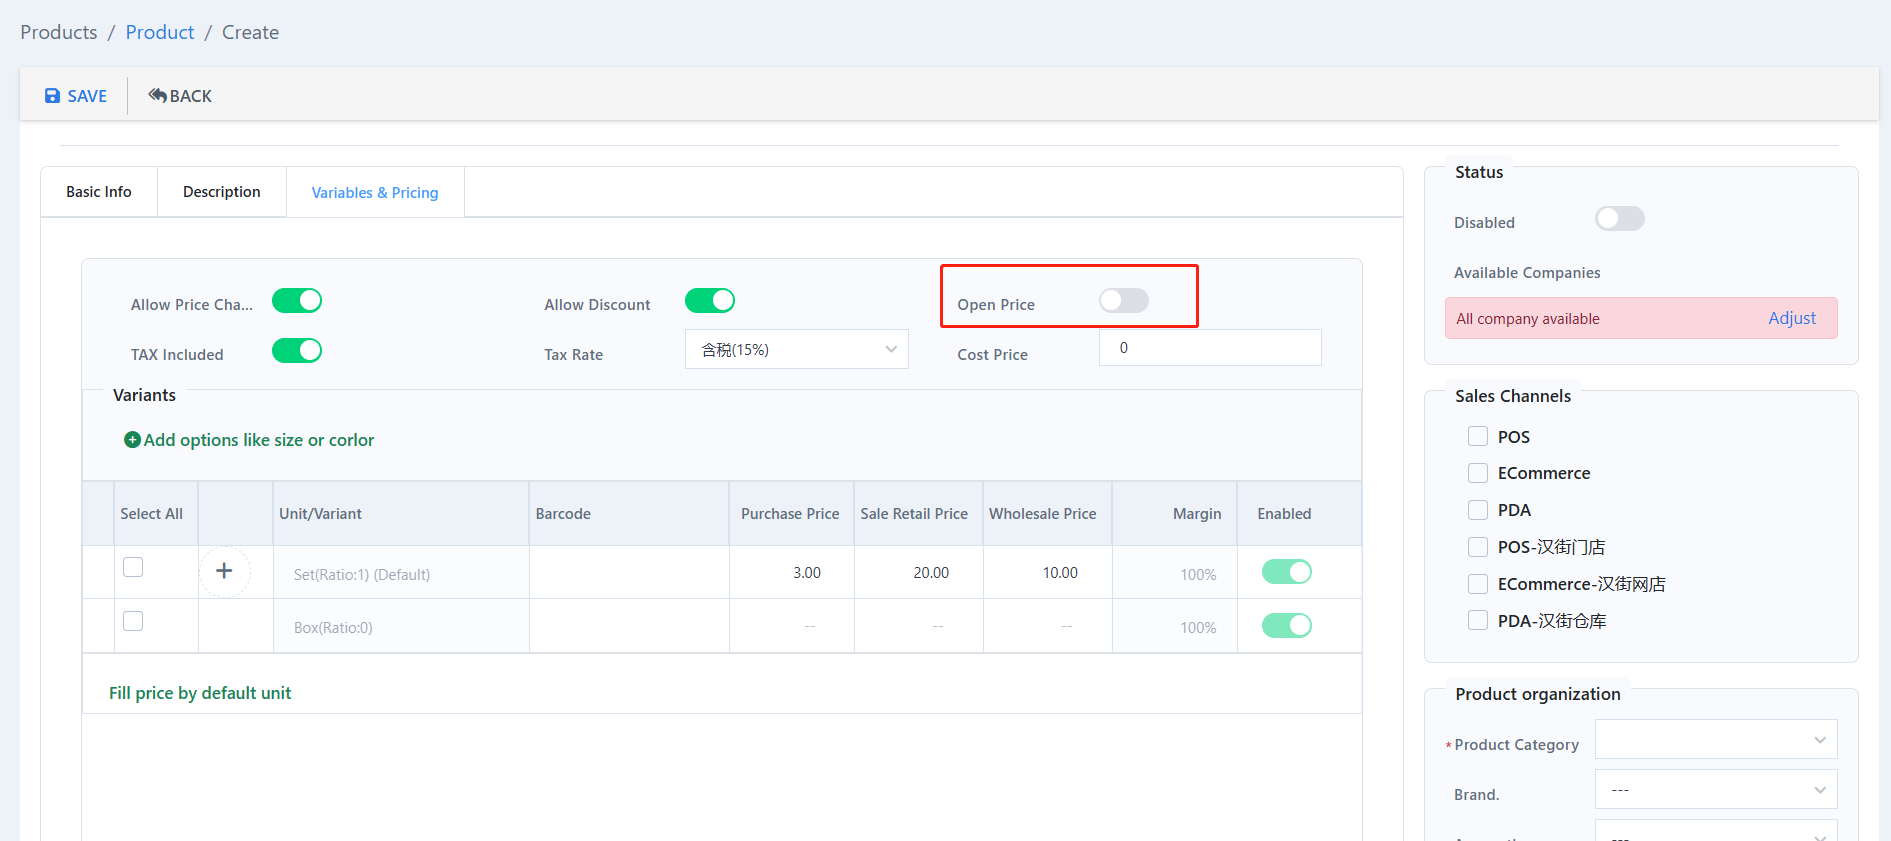
Toggle on “Open Price” to allow this item’s price to be modified in POS system.
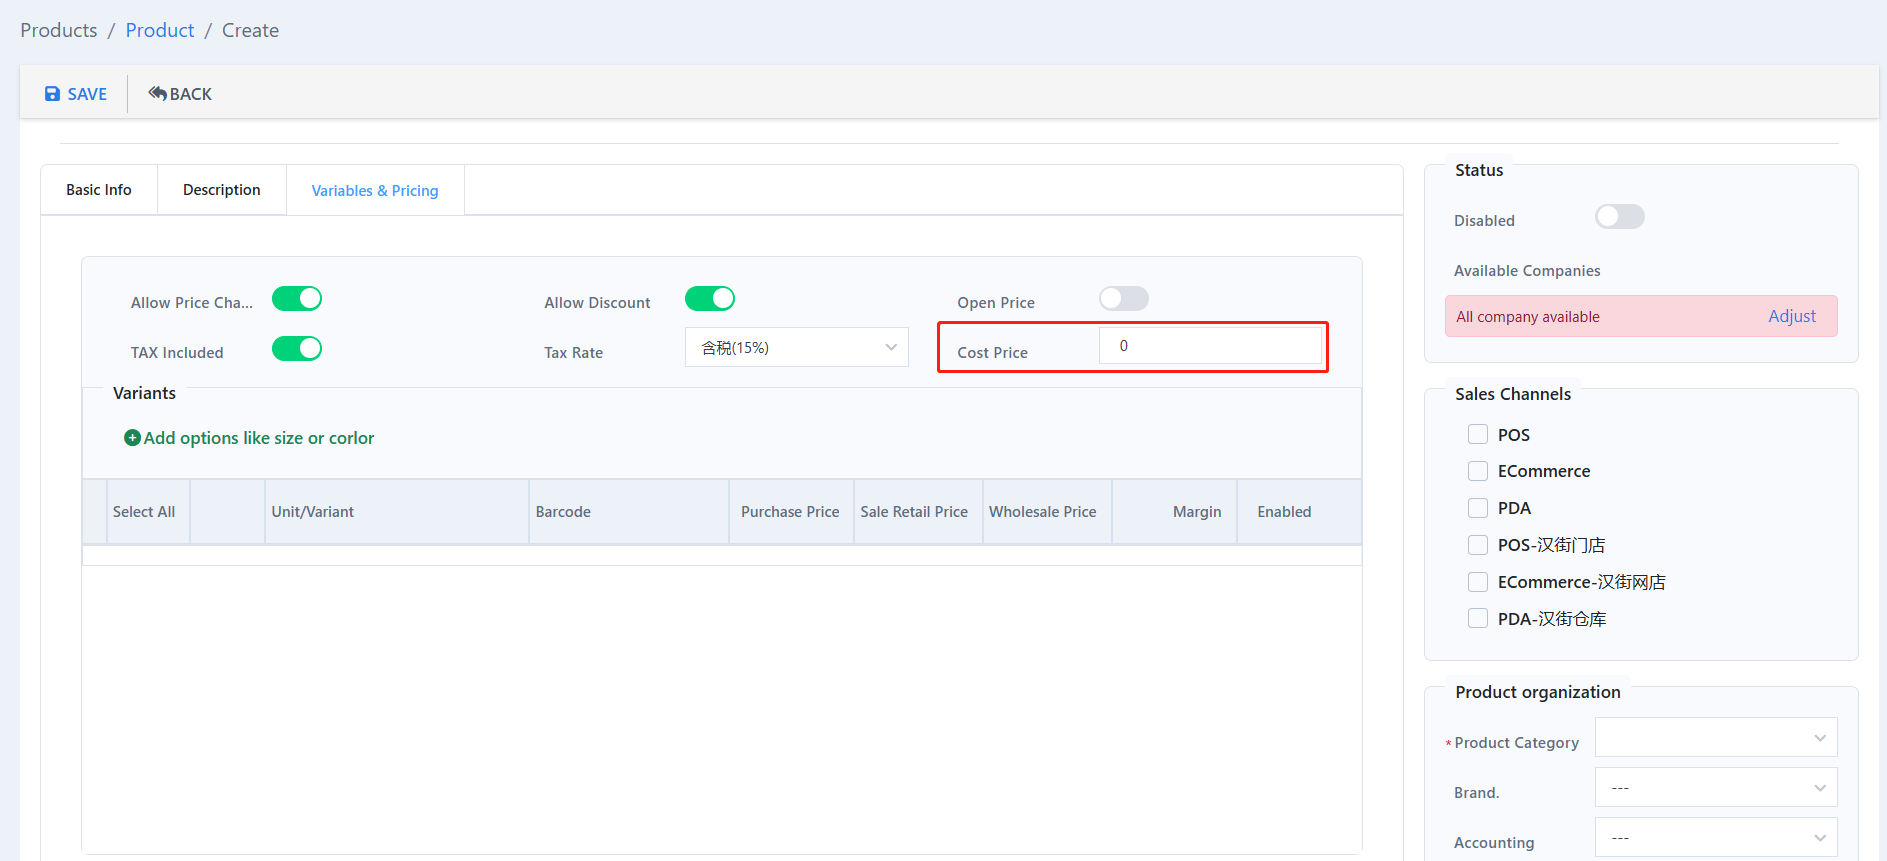
Set up its cost price.
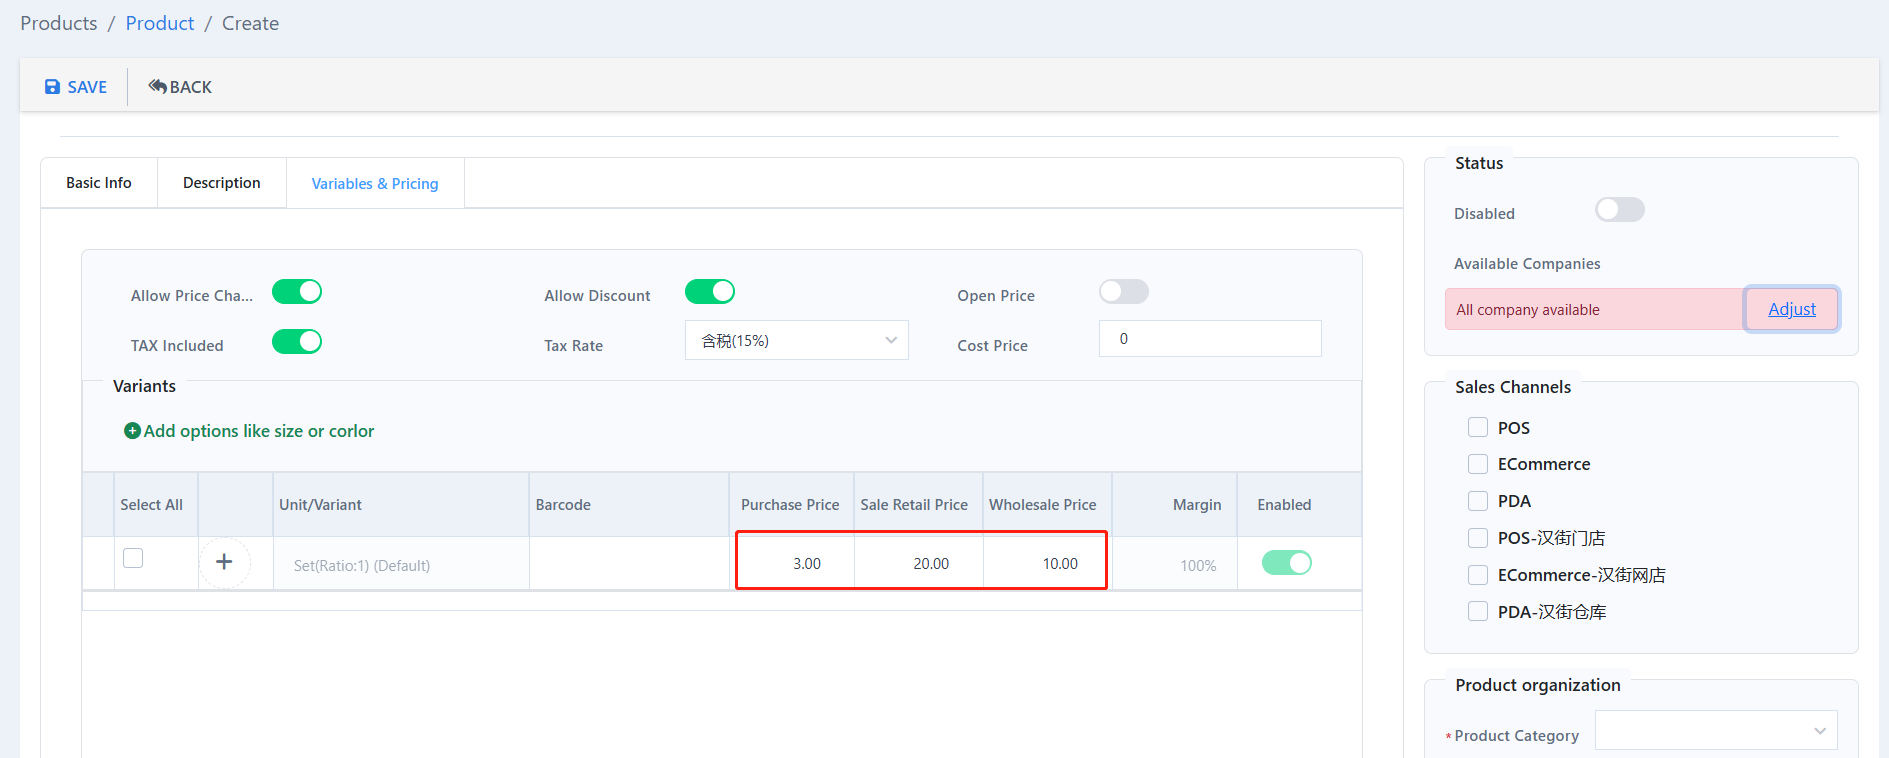
Setup the item’s purchase price, retail price, and wholesale price.
You can set up more price choices if you want. (Optional)
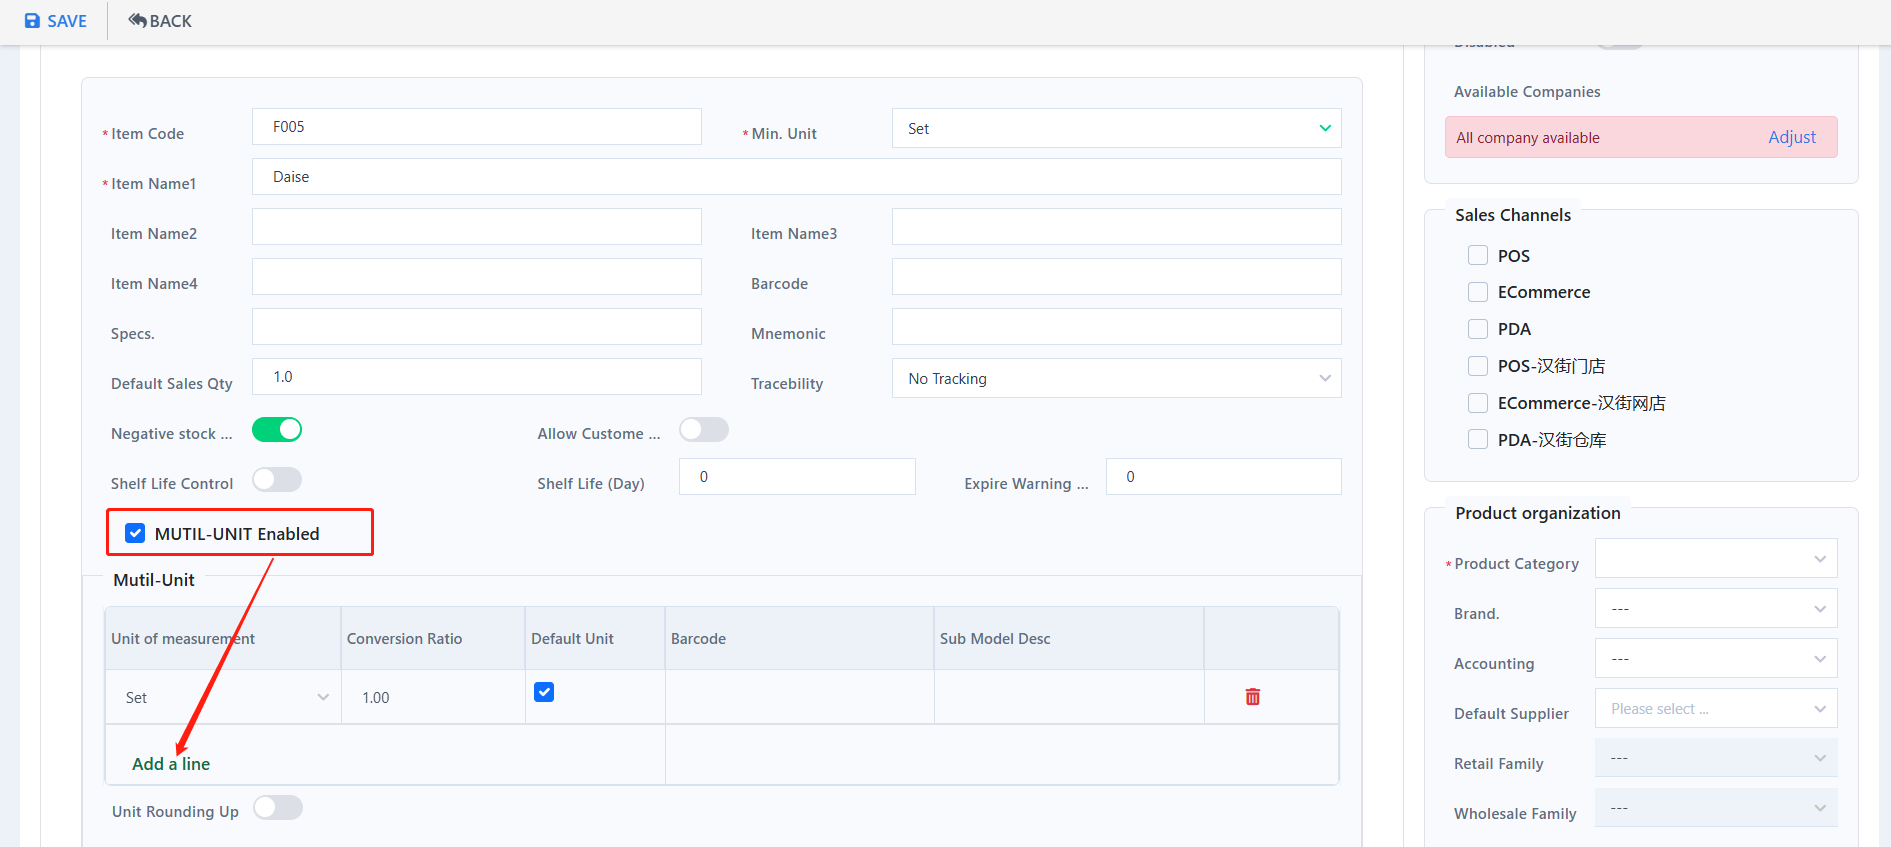
- On “Base info”, tick on “MUTIL-UNIT Enabled”, and click “Add a line” to set up multiple units.
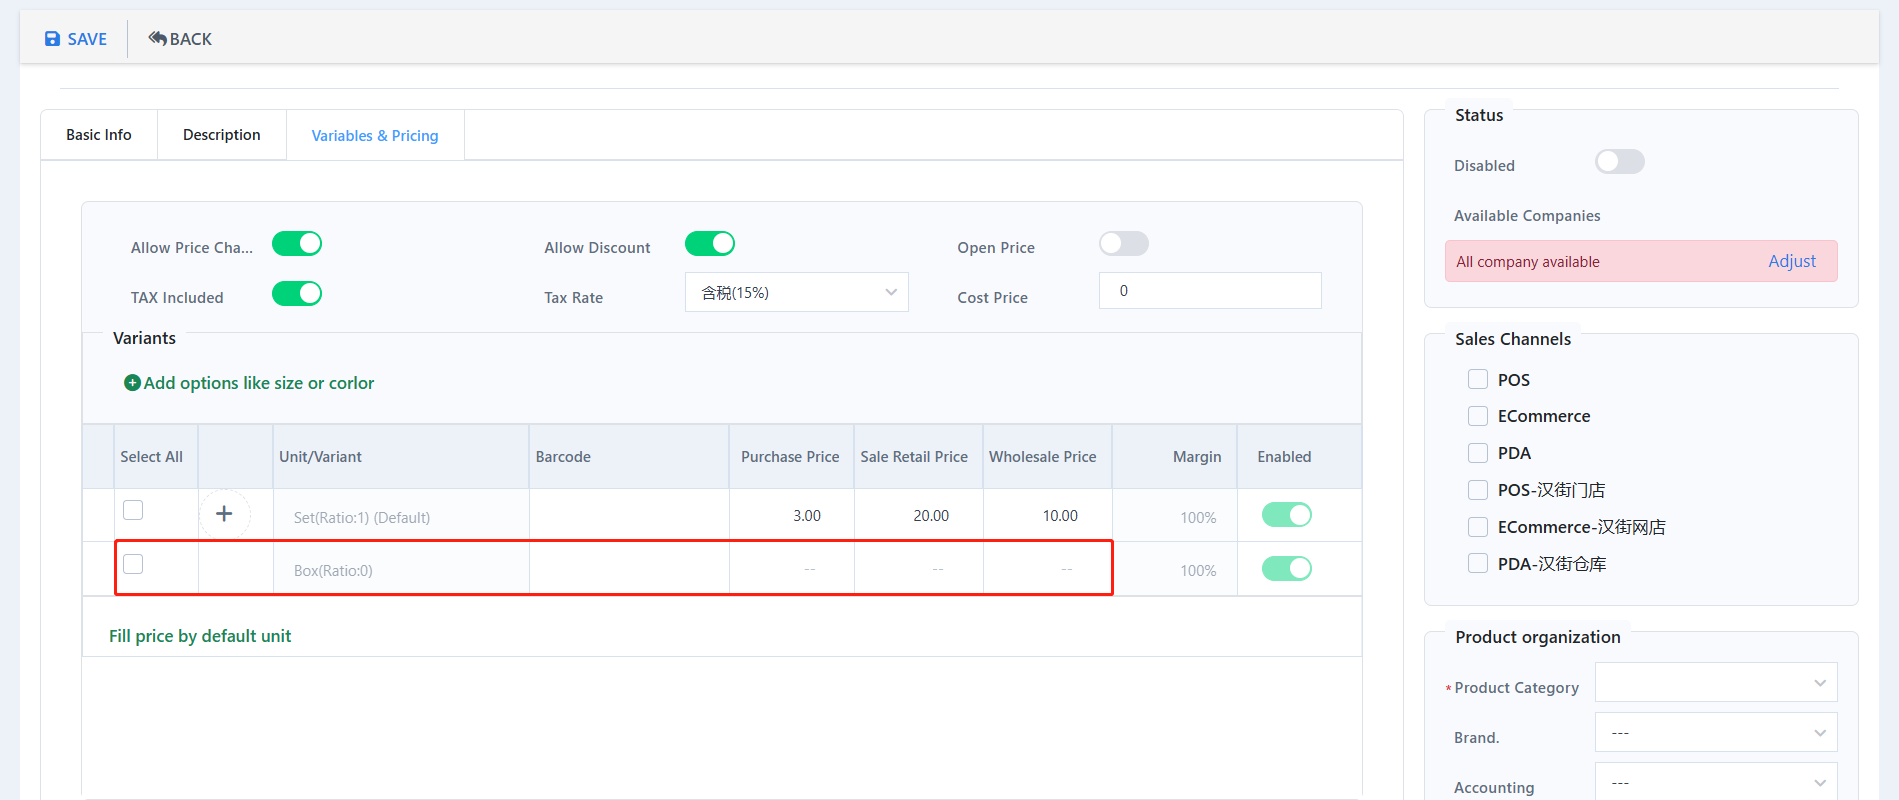
- Go to “Variables & Pricing”, edit price on the new added unit
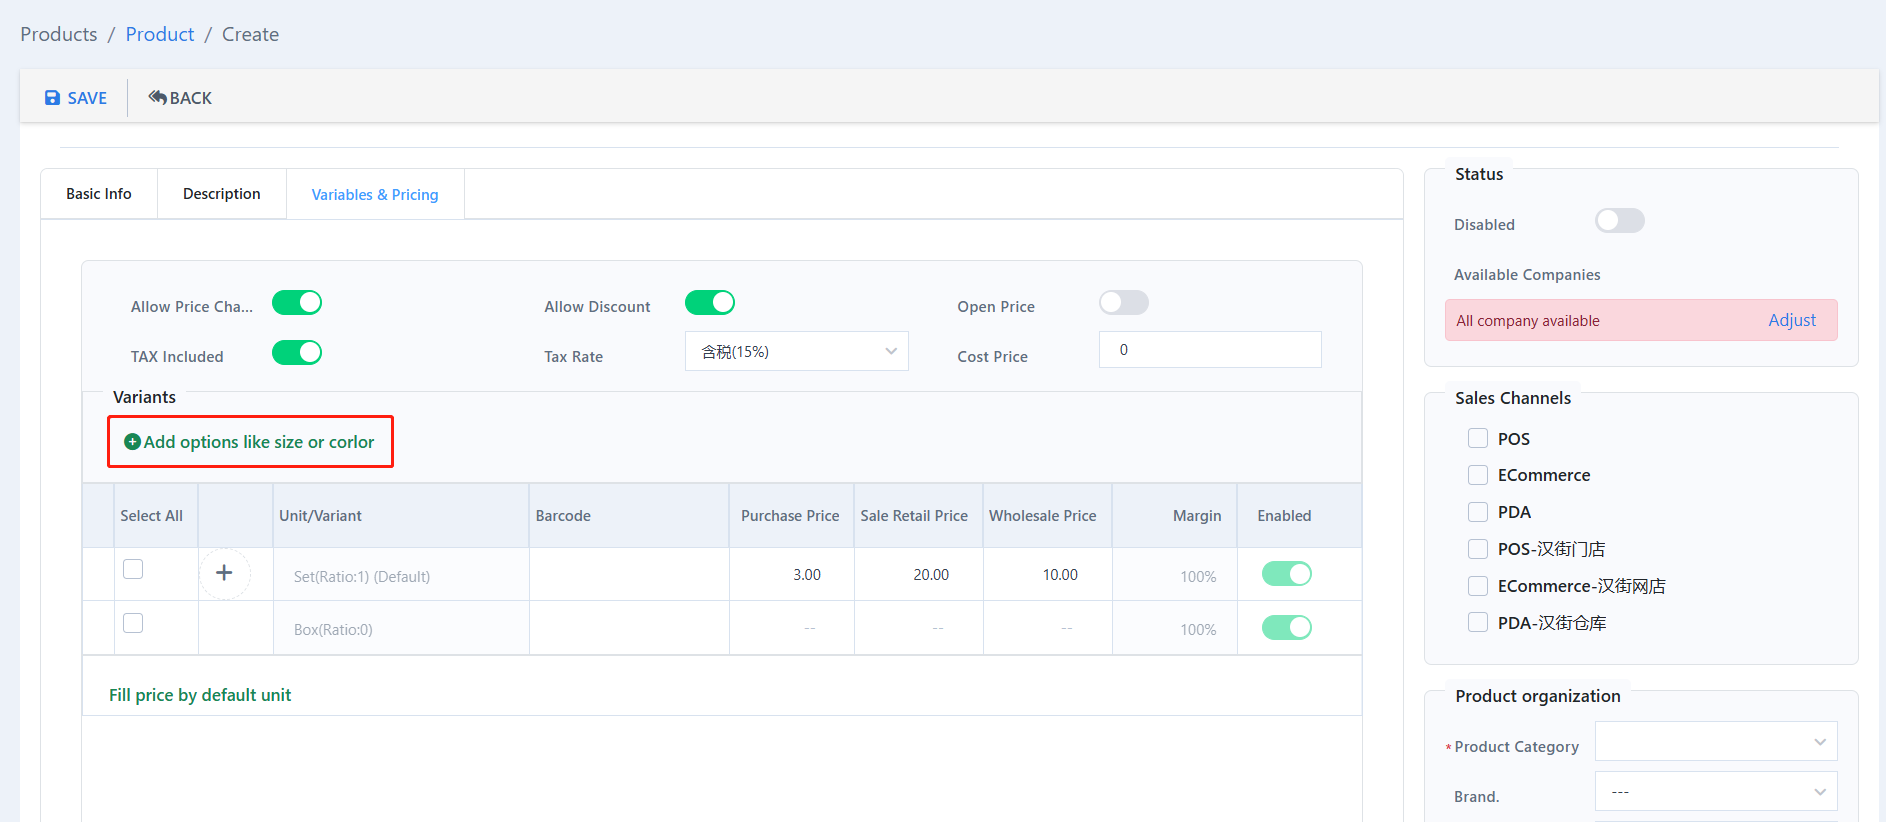
Set up attributes for this item if needed. (Optional)
- Please refer to ZiiPSI-How to Create Variations – Zii Help Center (ziicloud.com) if you want to know how to create attributes.
- Please refer to ZiiPSI-How to Modify an Item’s Variations – Zii Help Center (ziicloud.com) for more details about setting up attributes.
Click “Save” to save the changes.
