Before we start, please make sure that you have a shopback account and Id.
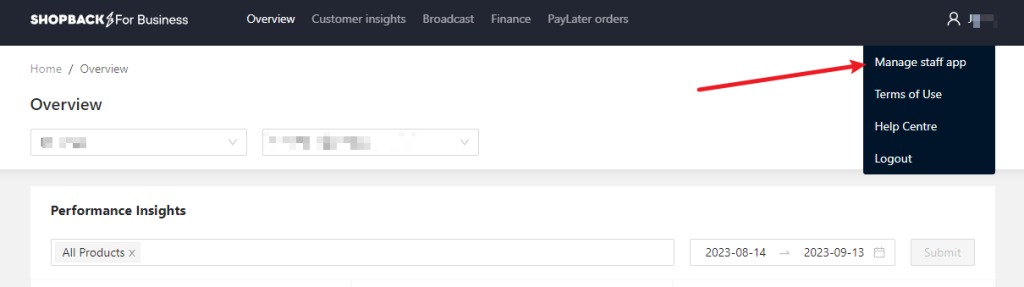
1. Login to your shopback account, and go to manage staff app.
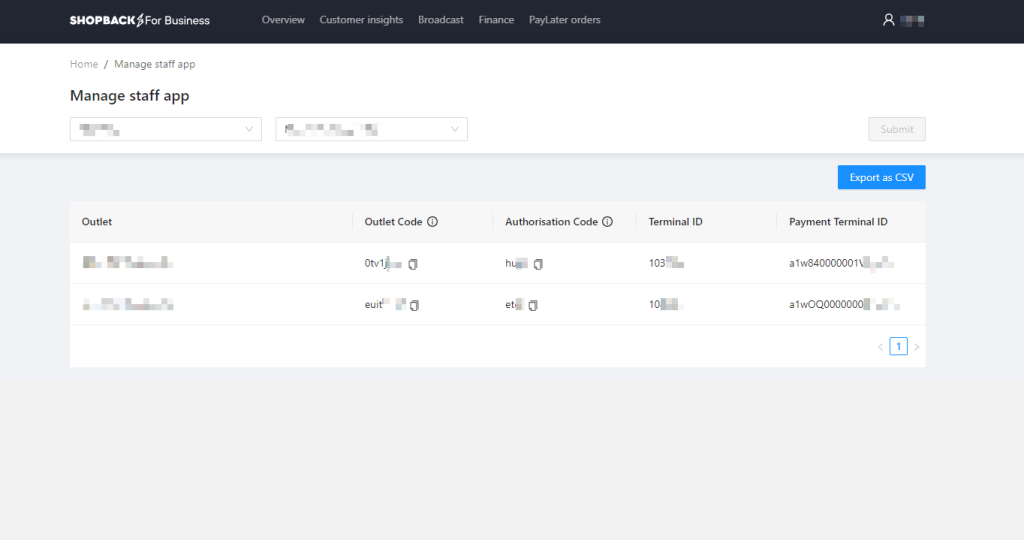
2. Then select your merchant and outlet (branch).

3. copy the payment terminal ID.
Now please go to ZiiPOS to proceed.
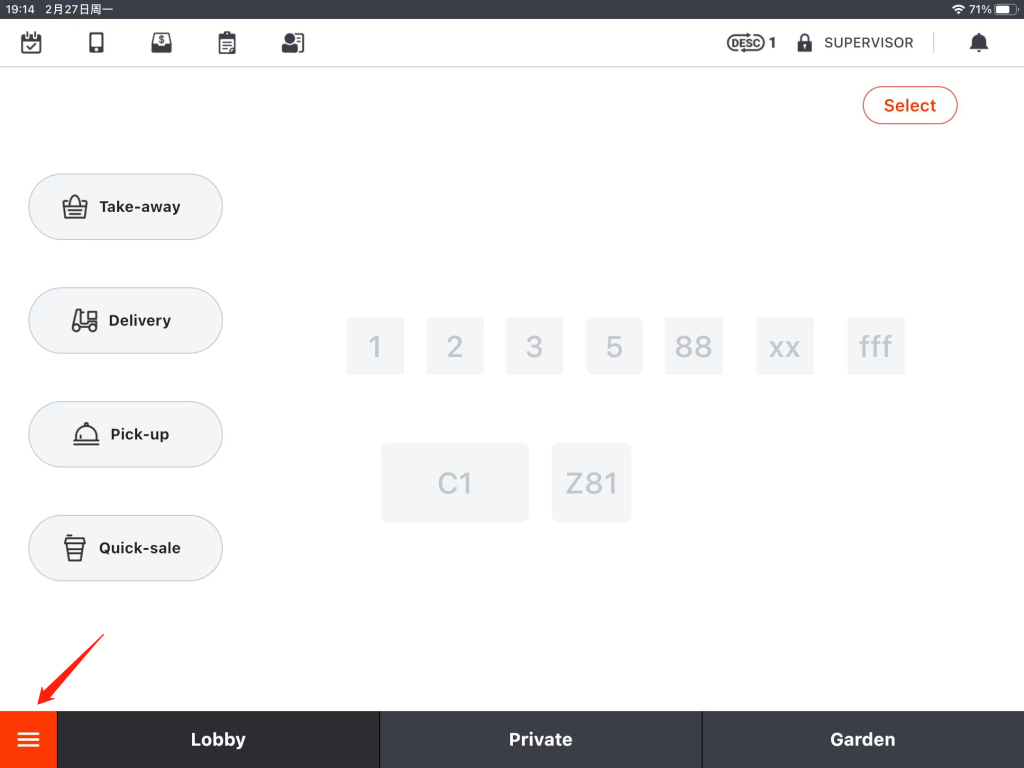
1. Tap the toolbar button in the lower left corner on ZiiPOS homepage.
2. Go to “Settings”.
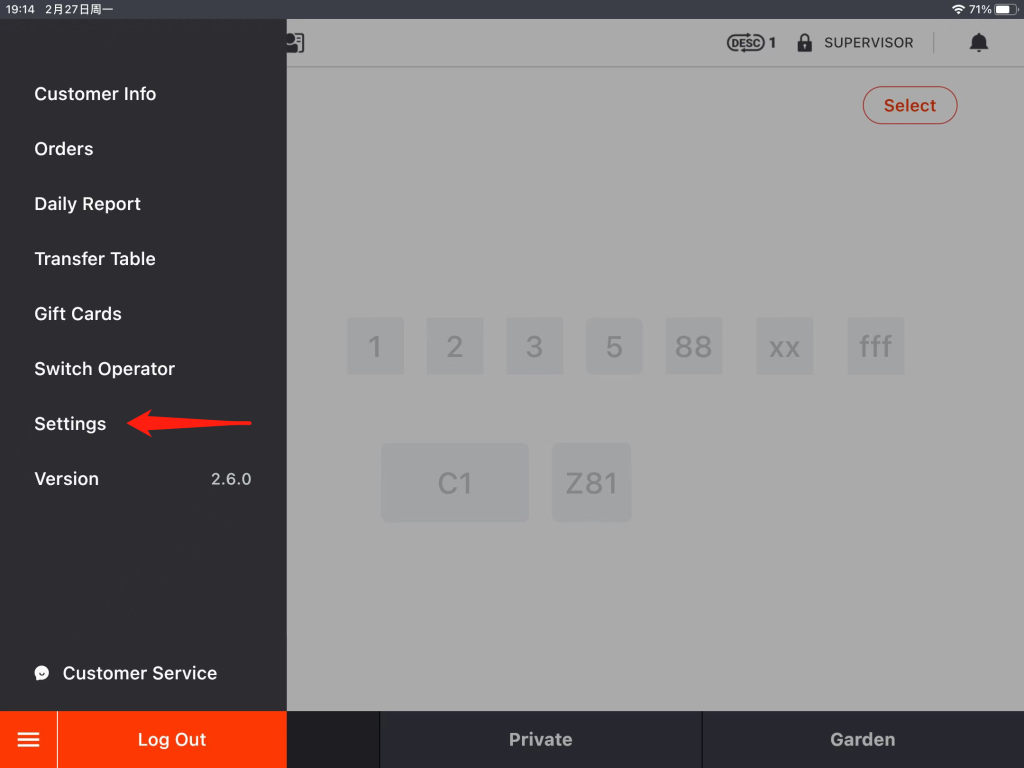
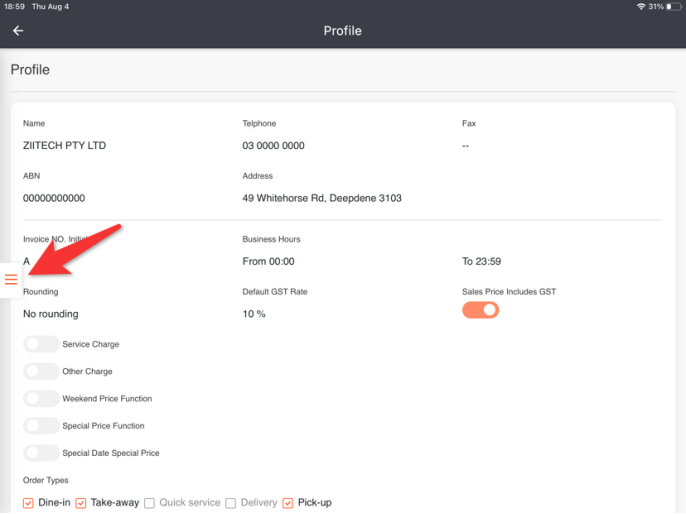
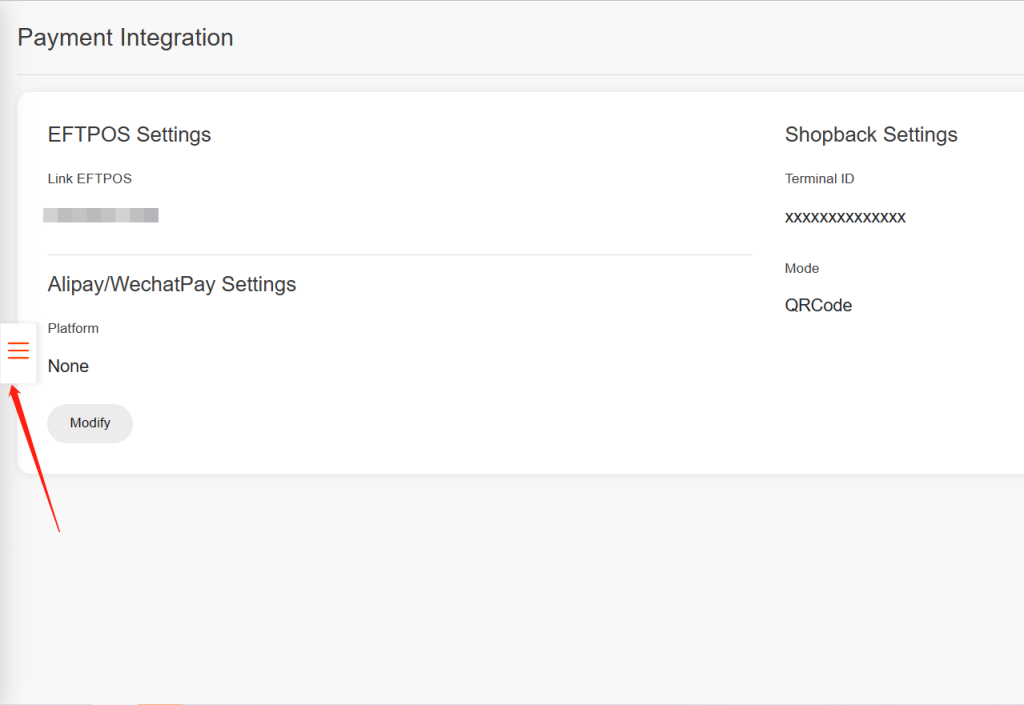
3. Tap the button on the left.
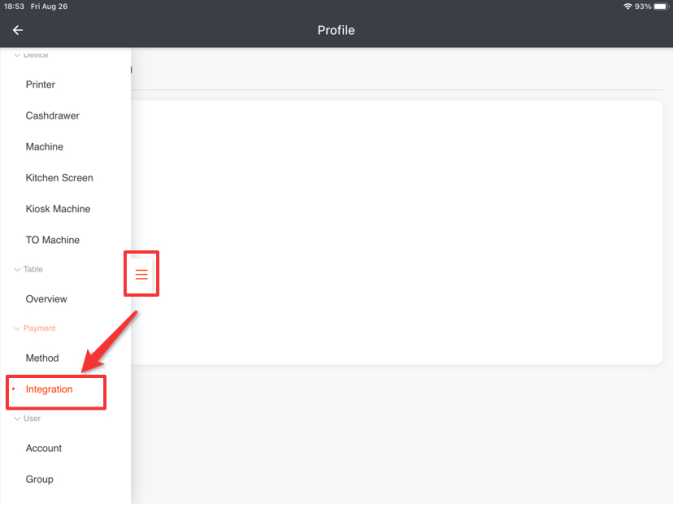
4. Go to “Integration”.
5. Tab “Modify”.
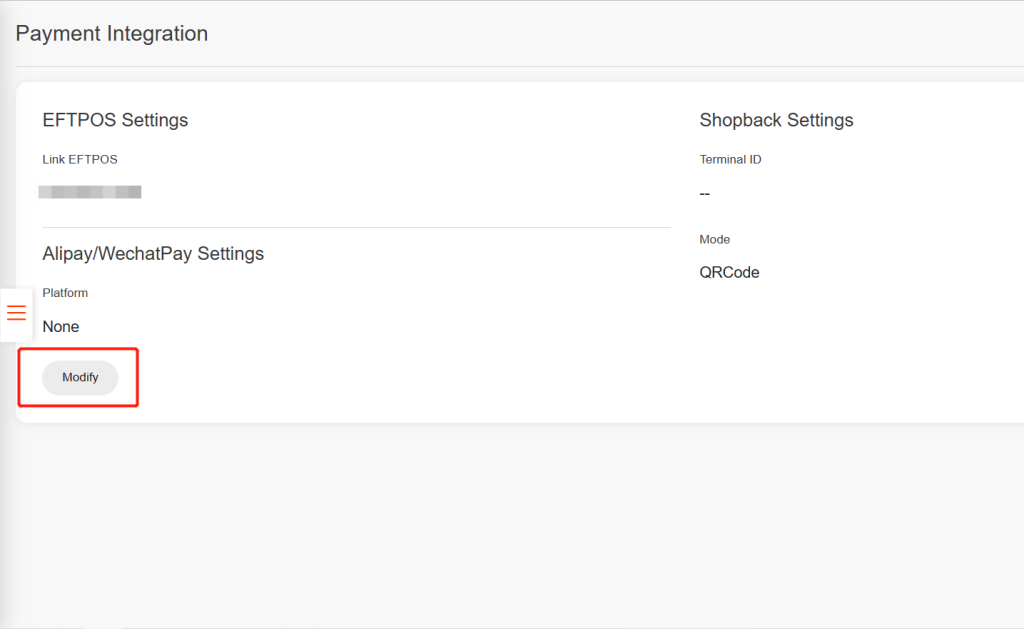
6. Enter the Paymeny Terminal ID in to shopback setting field, then save this setting.
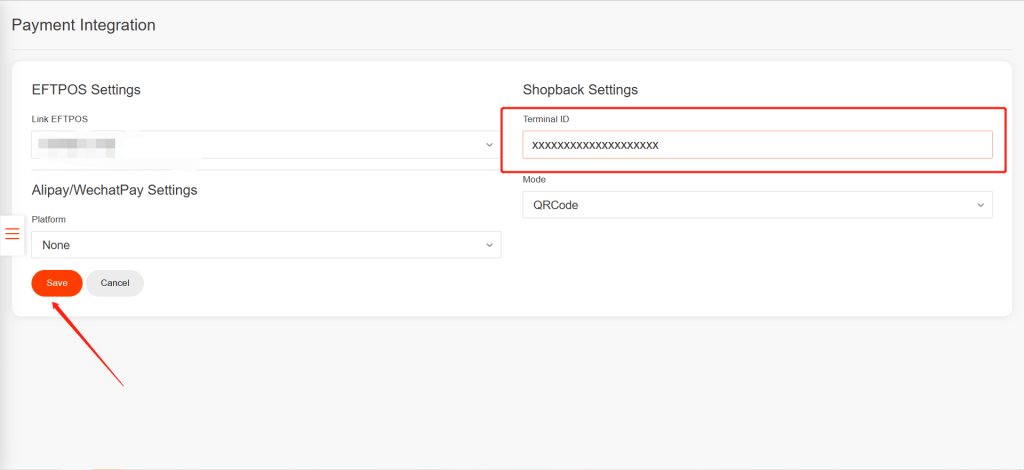
Then let’s create a payment method for shopback pay.
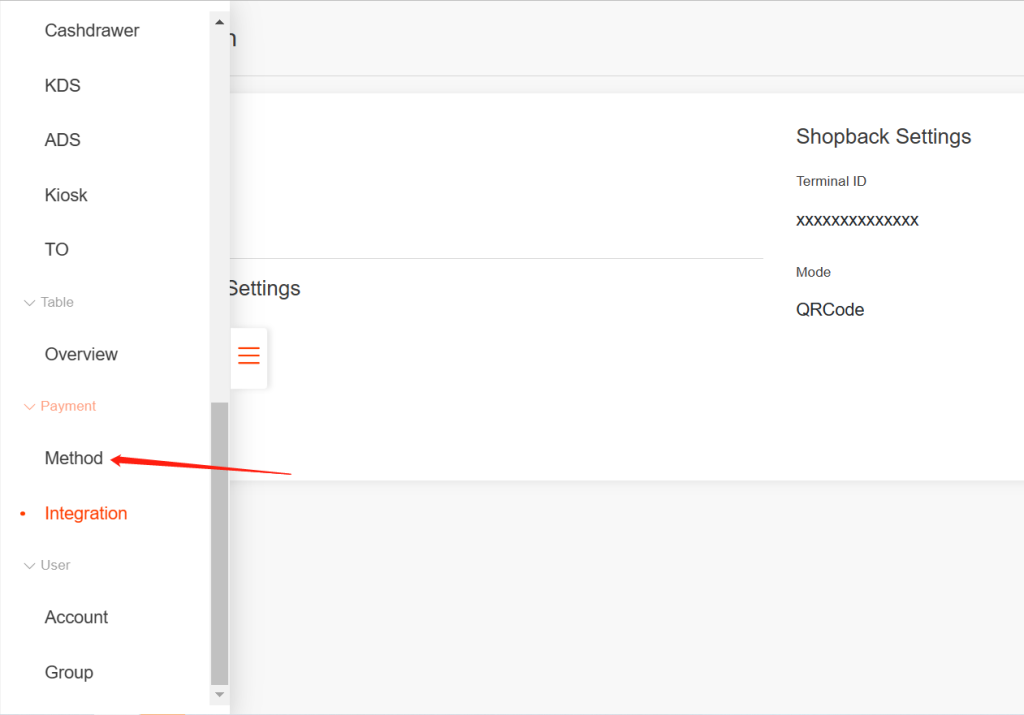
7. Click on the button on the left again.
8. Go to “Method”.
9. Tab “New” in the top right corner.
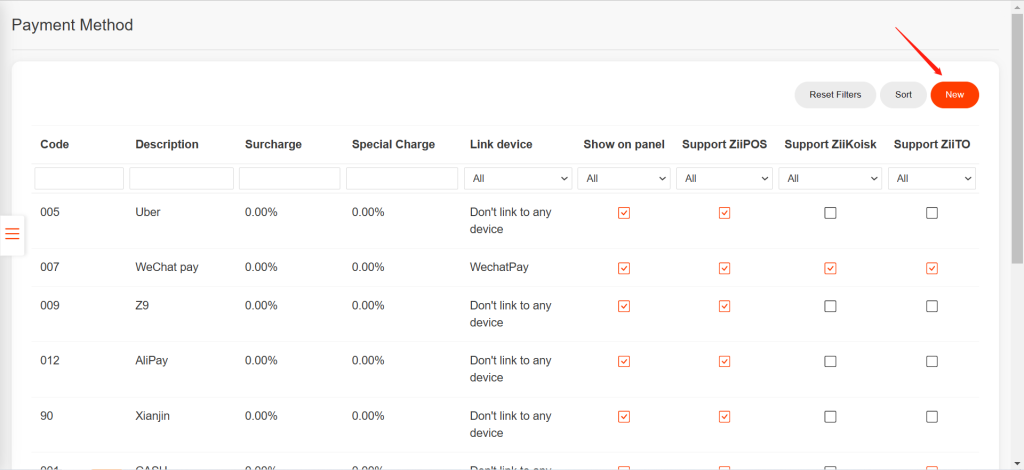
10. Then fill in the blanks, the picture below is an example.
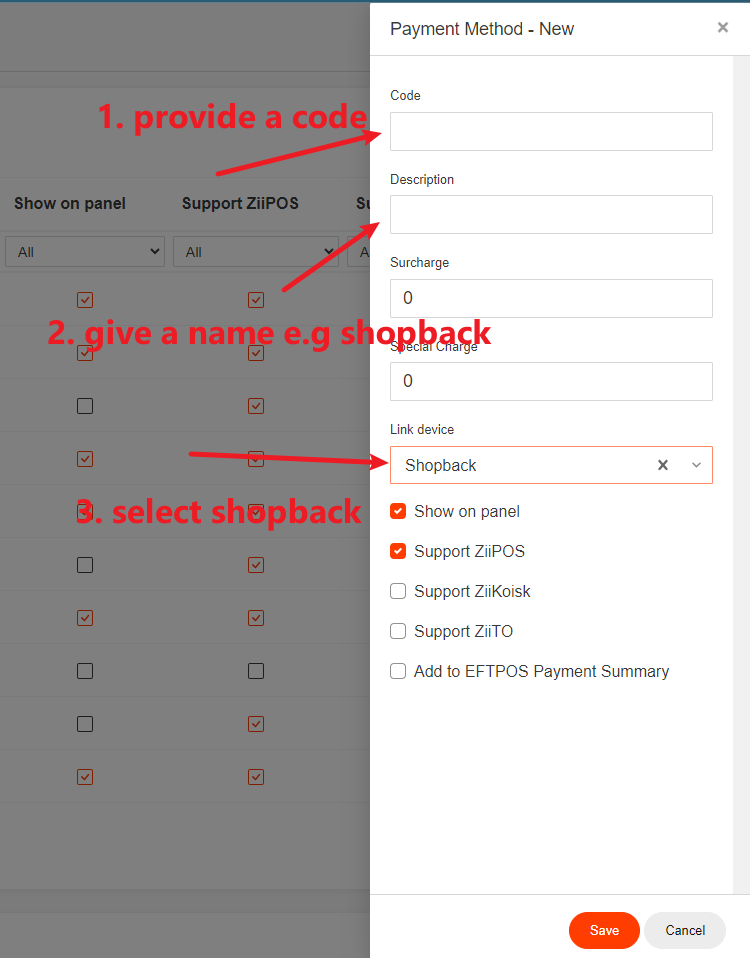
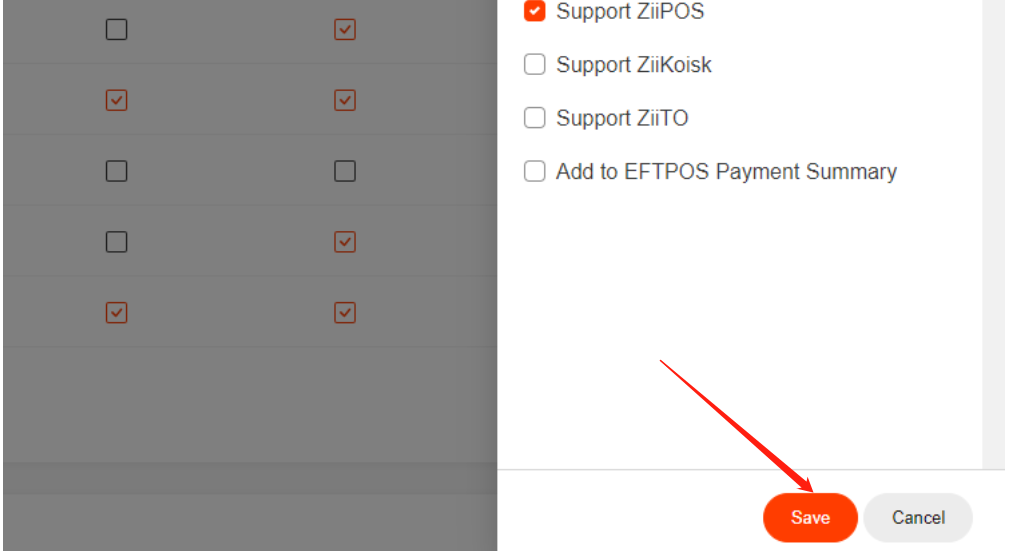
11. Tab “Save” and then tab “Yes” to save.
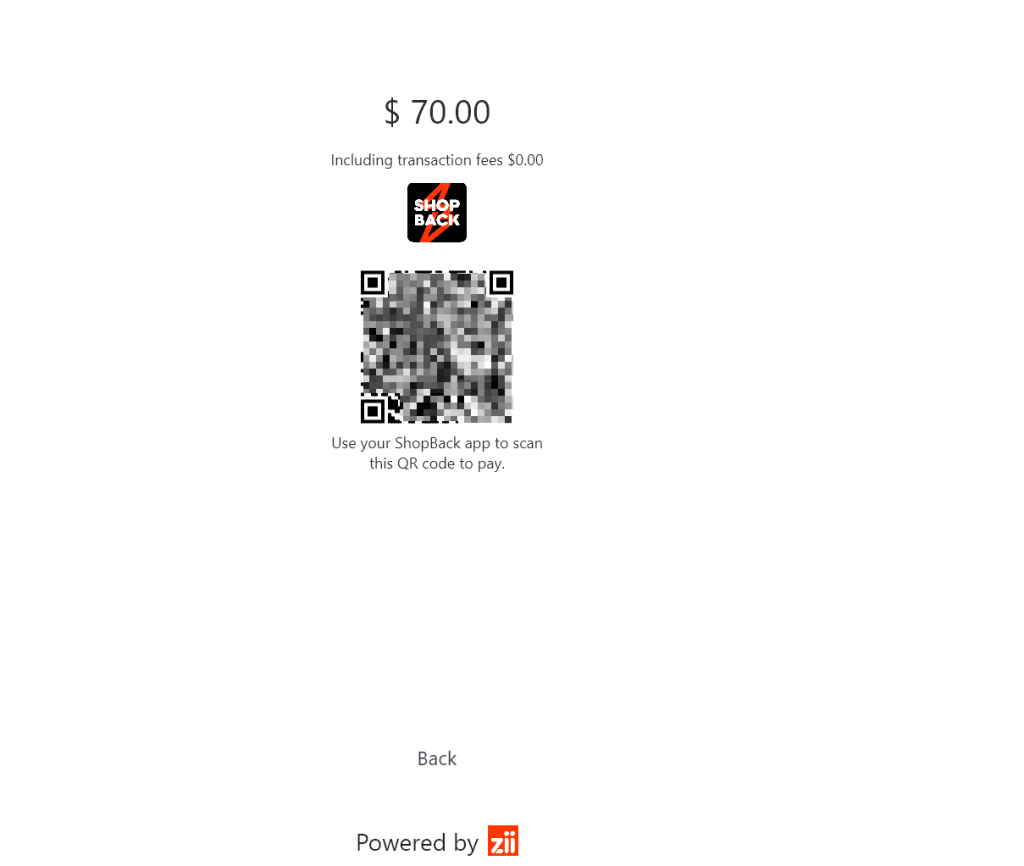
Note: Make a test payment, if you can see the test screen, it mean the configration successfully