
Please go to Zii – Dashboard (ziicloud.com) to process.
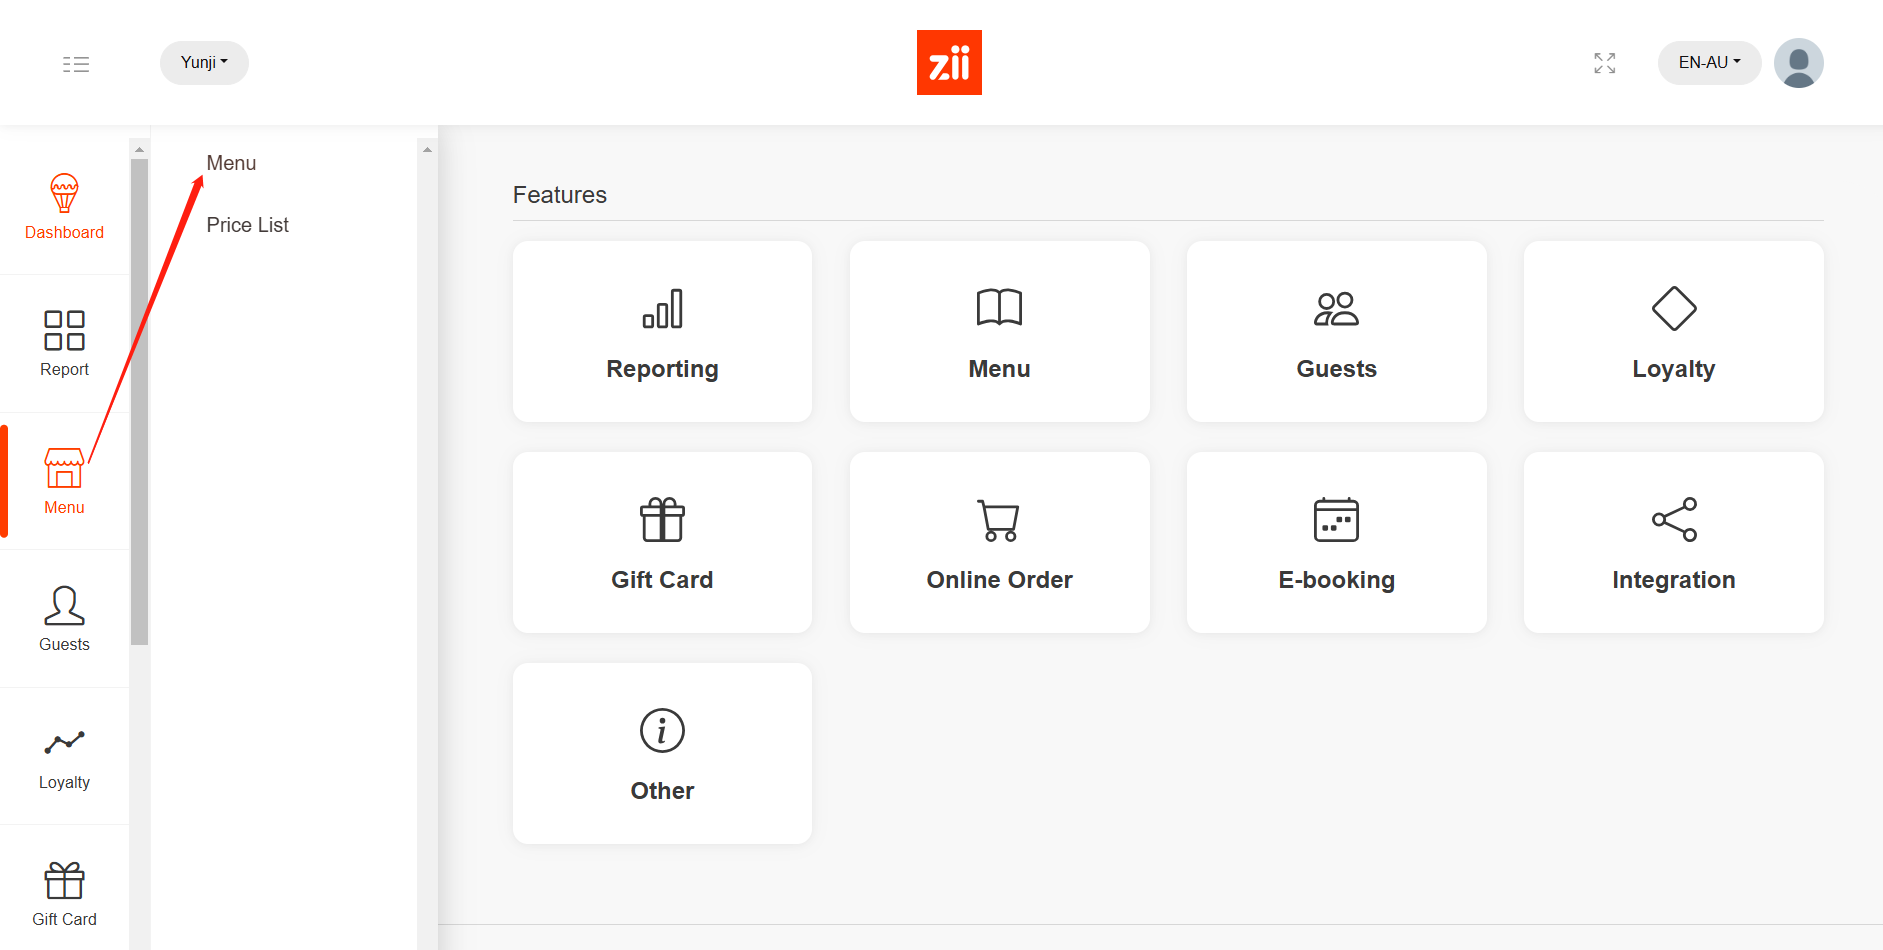
- After logging into “Portal”, click the button in the top left corner and go to “Menu”.
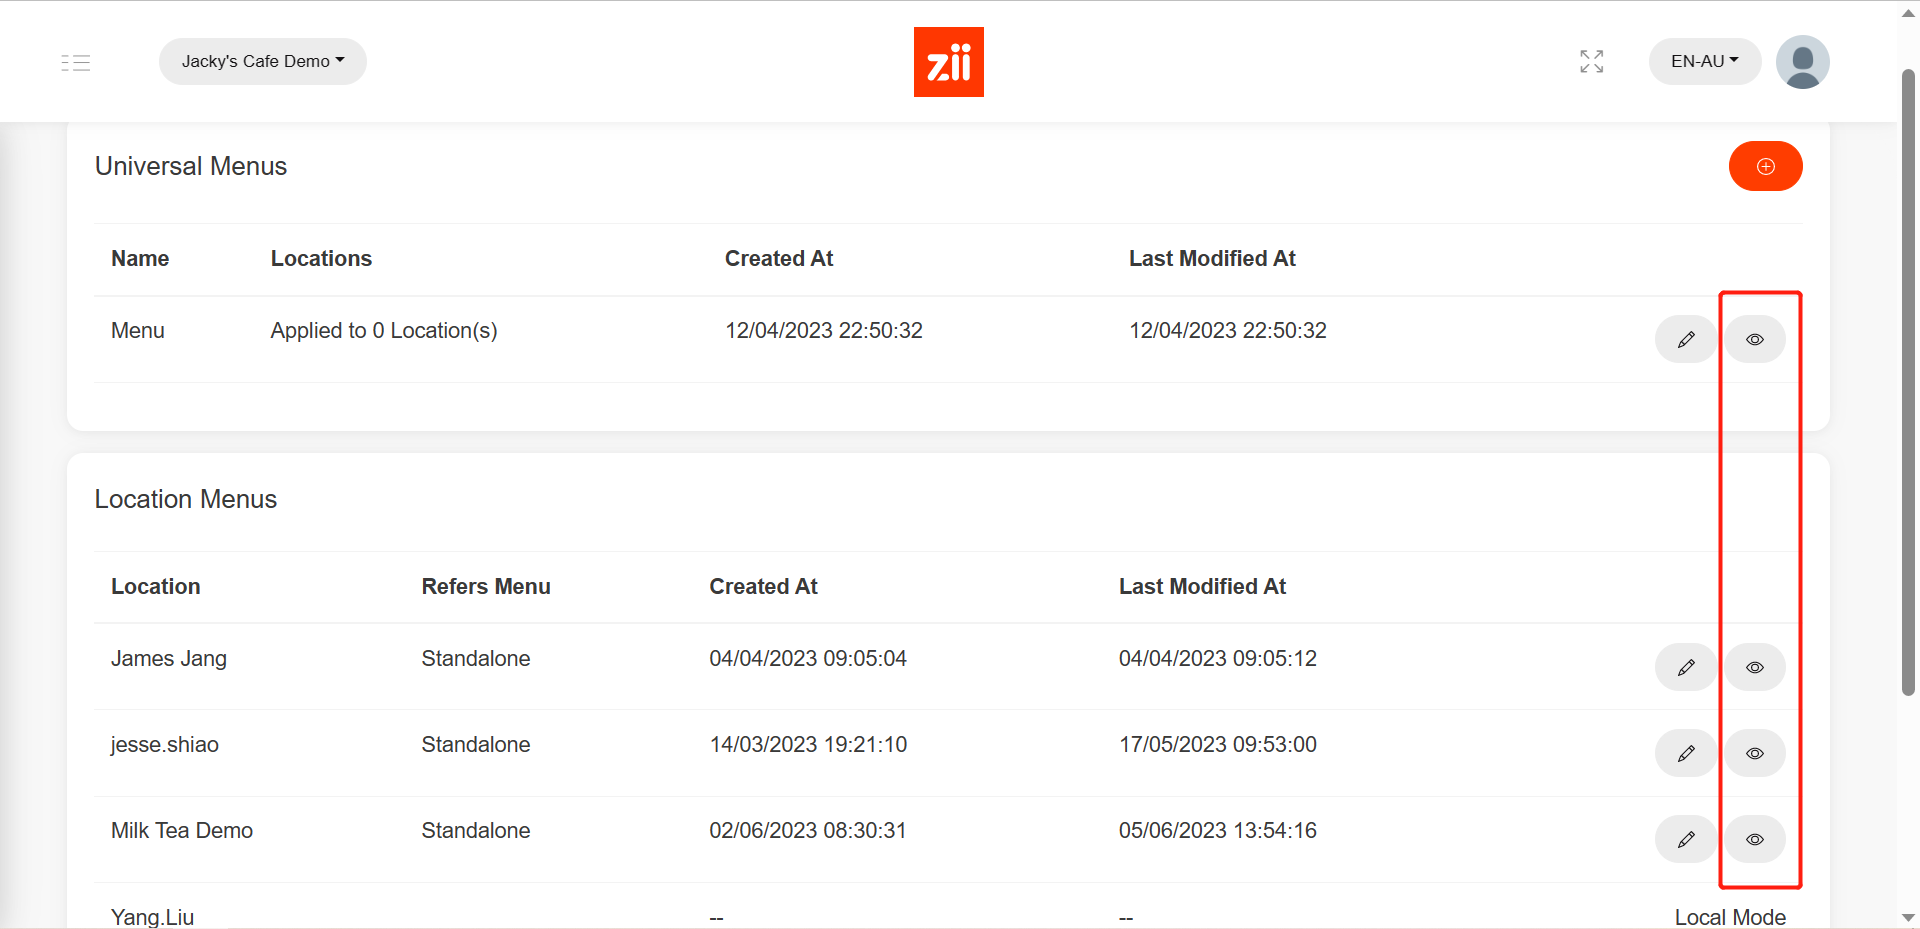
- Click on the eye-like icon of the menu that you want to edit.
- Click on “Batch Setup”.

- Tick the menu groups, categories, or items that you want to modify.

- Click “Modify”.

- Tick “Change Printer” and choose the printer that the items are printing out from.

- Click “Save” and “Yes” to save.


After being saved, it won’t take effective on ZiiPOS directly. Please finish all modifications first, then release the menu. You can refer to Cloud Menu–How to Release a Menu – Zii Help Center (ziicloud.com) to check the process of releasing a menu.