
The very important step before you start your business is to set up your menu. Clicking on a table or a dining mode, menu page will pop up. Here is the explanation of the menu page.
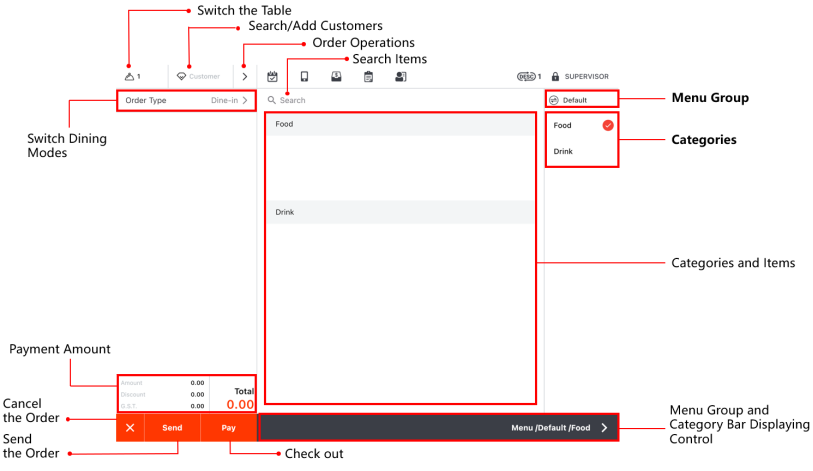
As you can see, we have set up two categories, which are “Food” and “Drink”, and a default menu group for your business. You can set more categories or menus as you need.
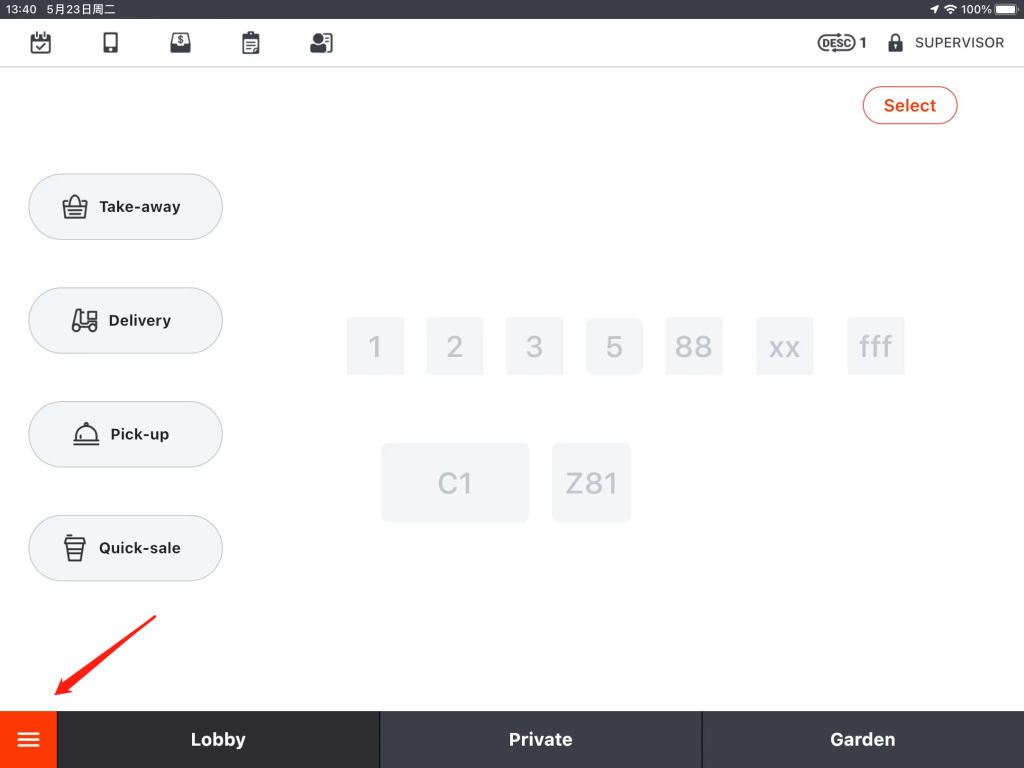
- Tap the toolbar button in the lower left corner of the ZiiPOS homepage.
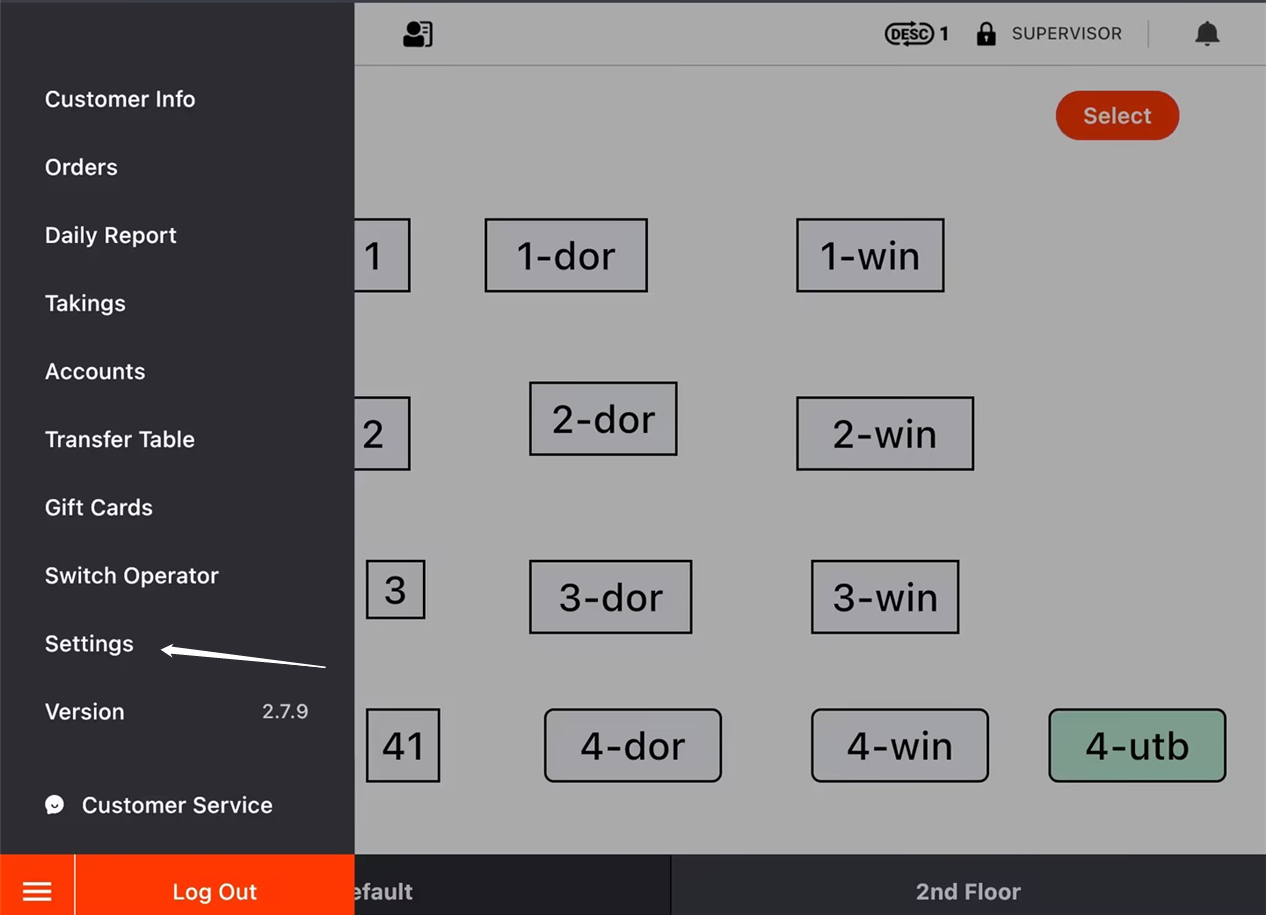
- Go to “Settings”.
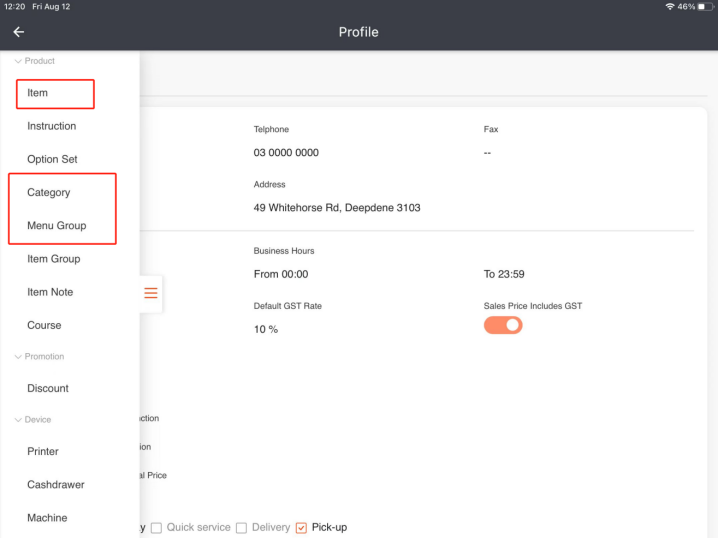
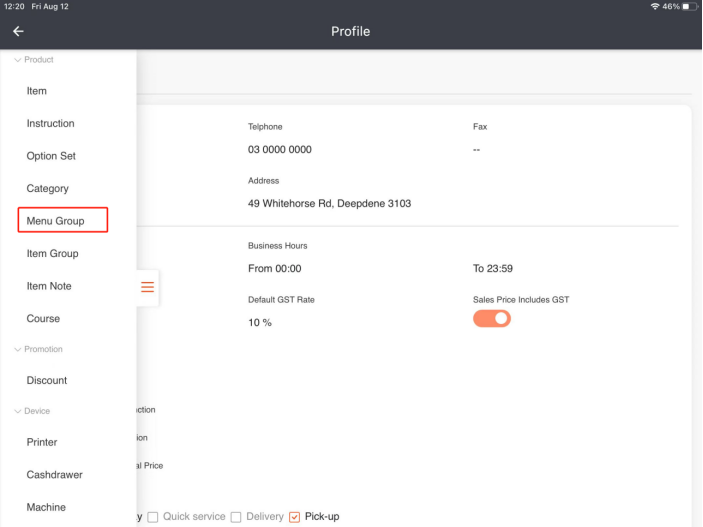
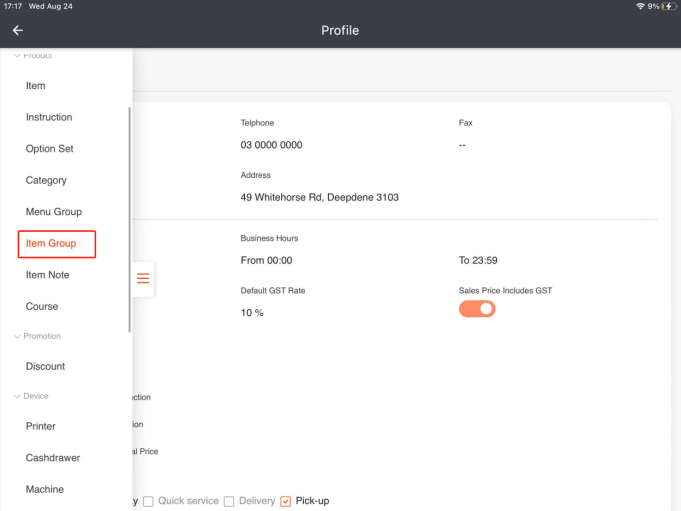
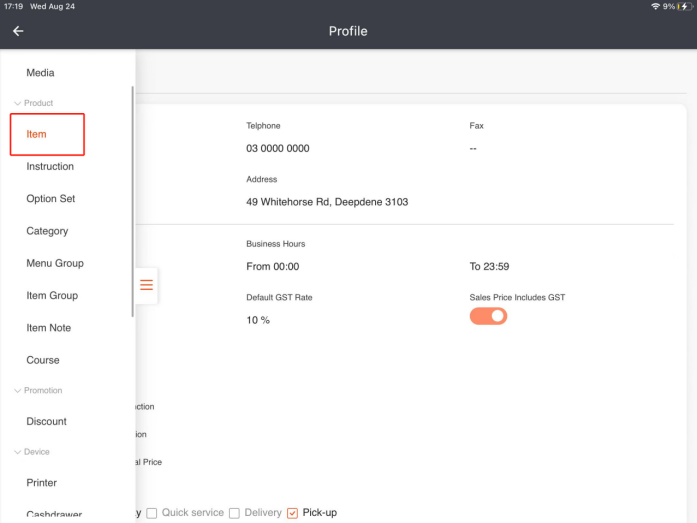
- By clicking on the button on the left and scrolling down, you can see “Item”, “Menu Group”, “Category” and so on.
Basically, a menu group is the first level of classification for the menu. And it includes categories, which is the second level of classification. And every single dish is included as an item in the categories. Besides, two item groups have been set as the extra classification, which can be used to classify your dishes in another way and will NOT be shown on the menu page.
Menu Group Configuration
- Click on “Menu Group” to set up a new menu group.
(If you don’t need to set up a new one now, you can scroll down this page to move on to “Category Configuration”, “Item Group Configuration”, or “Item Configuration”.)
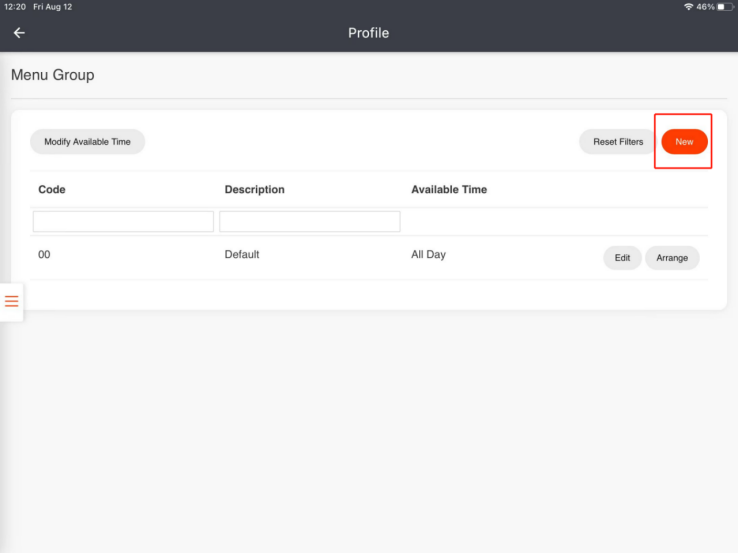
- Click on “New” in the top right corner.
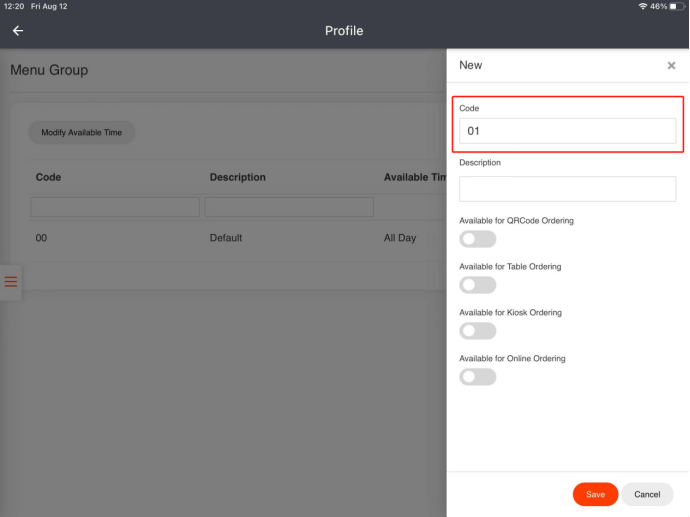
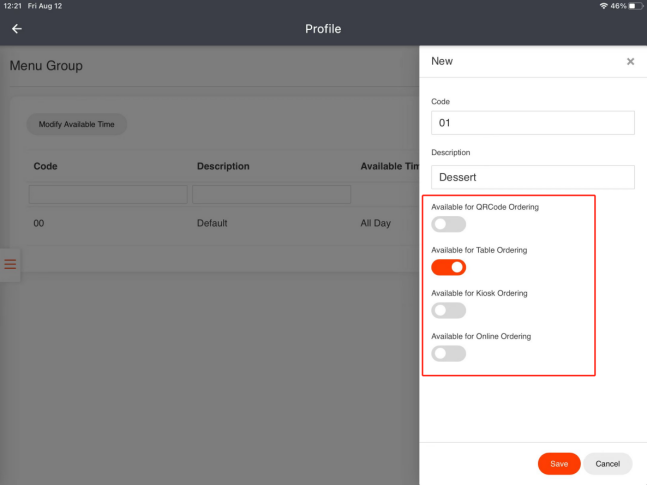
- Enter a number that cannot be duplicated as the menu group code.
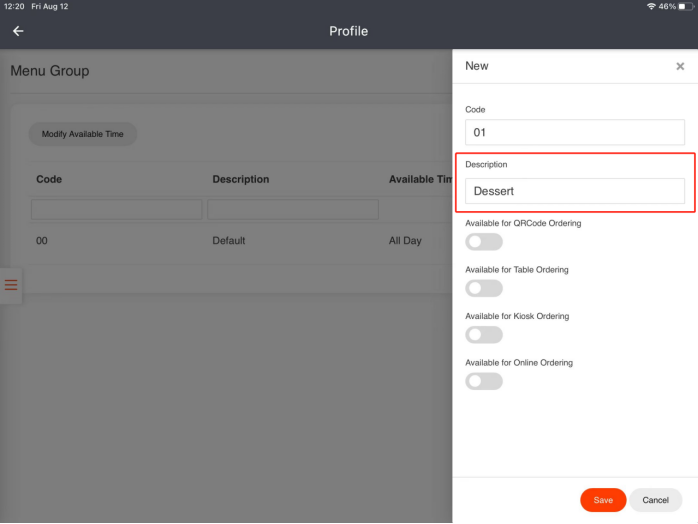
- Enter a name in “Description” for the menu group.
- Turn the buttons on or off to control whether categories belonging to it are available for QR code ordering, table ordering, Kiosk ordering, or online ordering. (Subscription required)
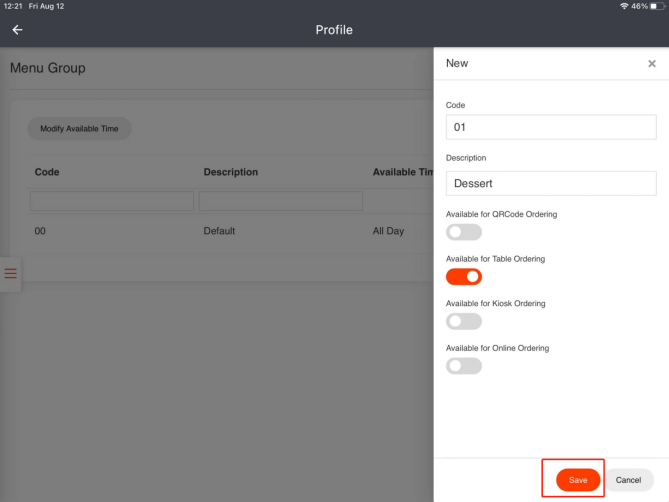
- Click on “Save”.
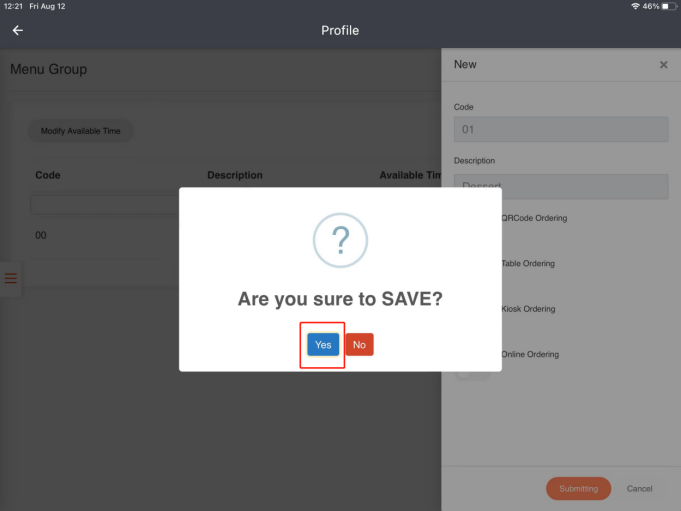
- Click on “Yes” to save.
Category Configuration
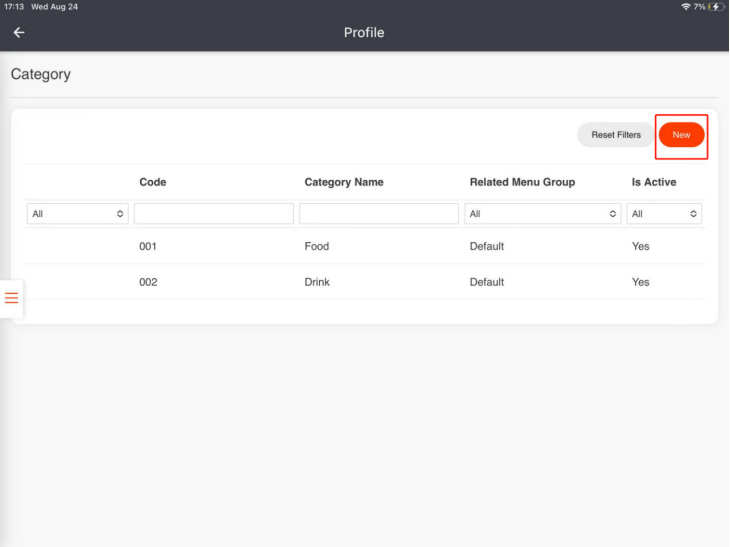
- Click on “Category”.
(If you don’t need to set up a new one now, you can scroll down this page to move on to “Item Group Configuration” or “Item Configuration”.)
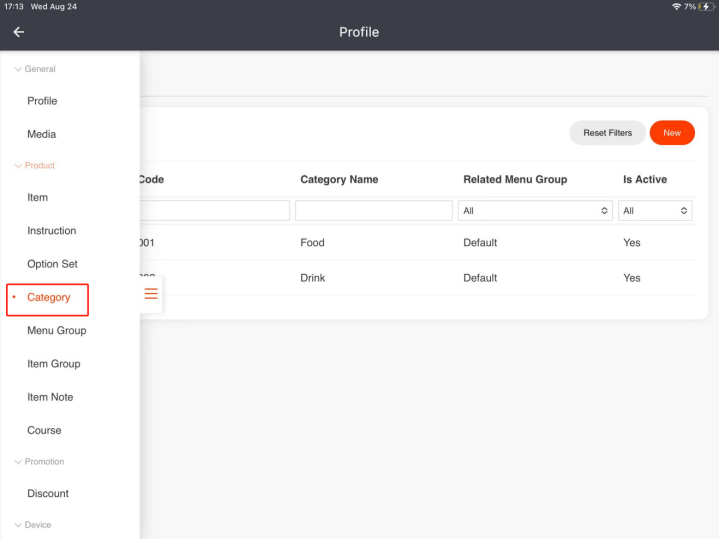
- Click on “New” in the top right corner.
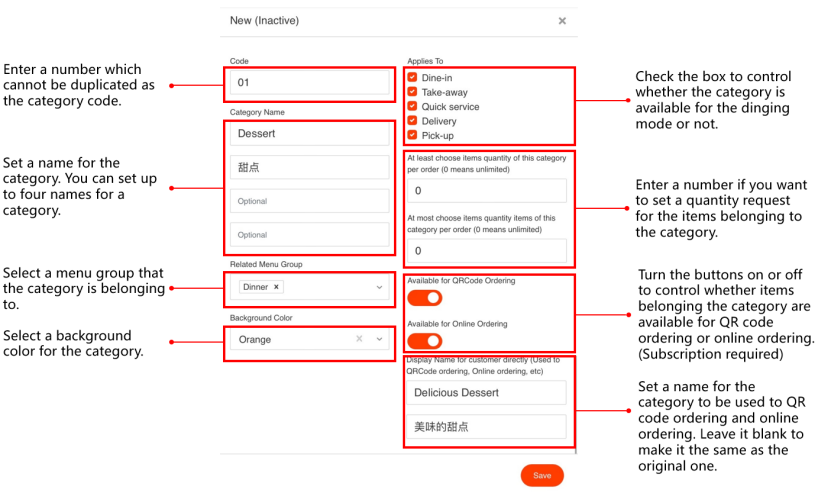
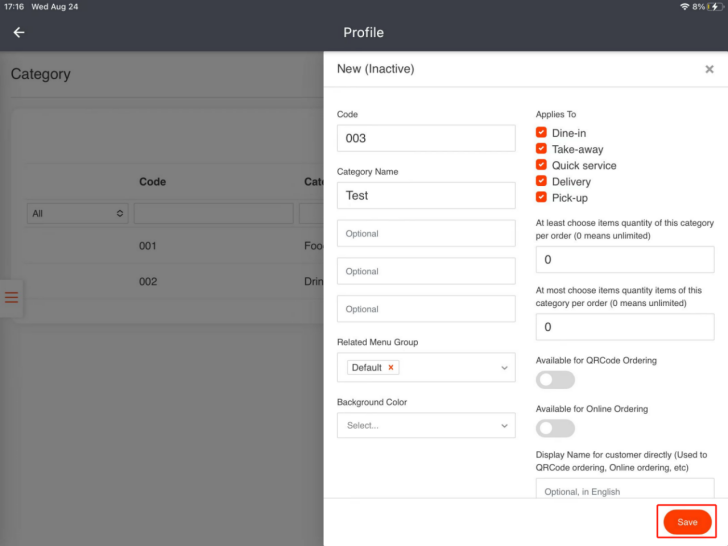
- Here is an example of setting up a category.
- Click on “Save”.
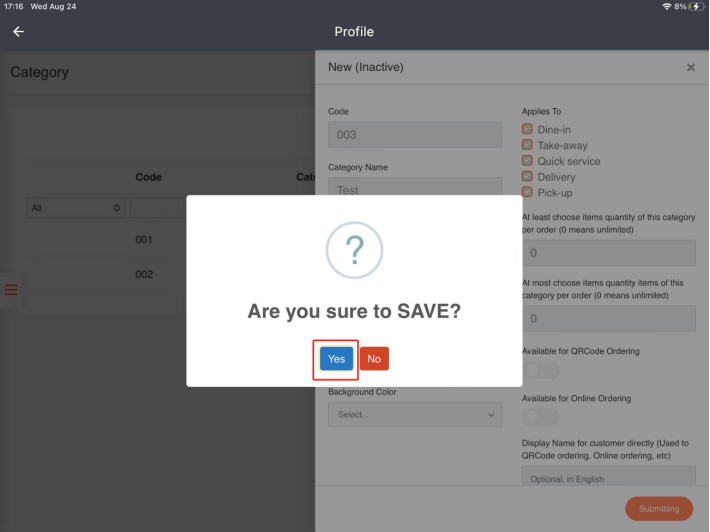
- Click on “Yes” to save.
Item Group Configuration
(If you don’t need to set up a new one now, you can scroll down this page to move on to “Item Configuration”.)
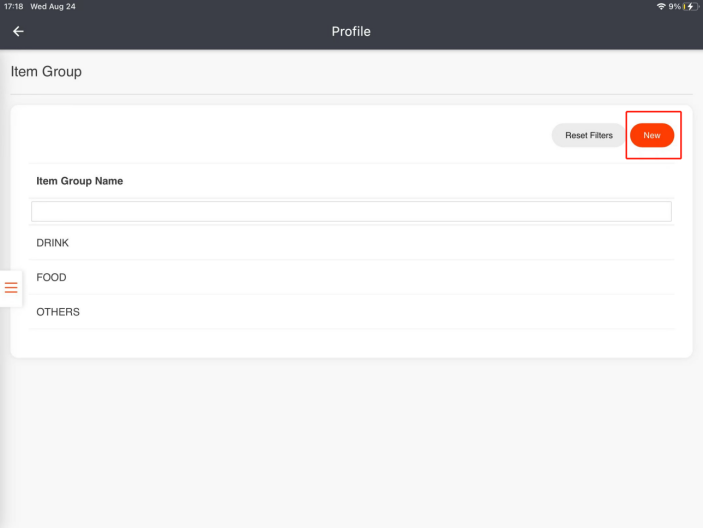
- Click on “Item Group”.
- Click on “New” in the top right corner.
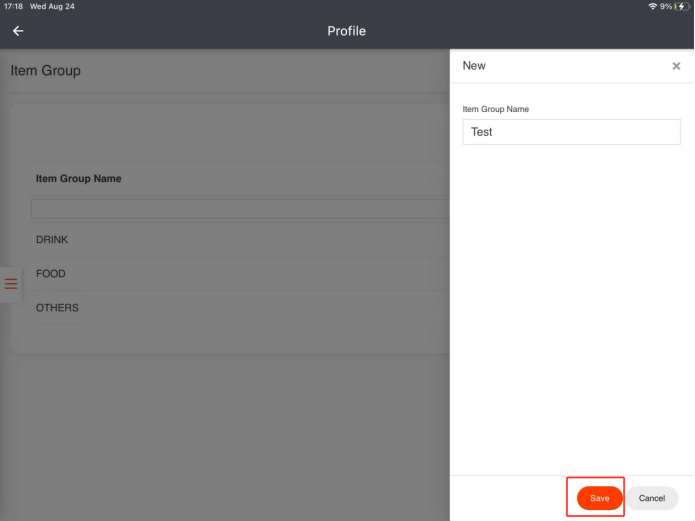
- Set an item group name.

- Click on “Save”.
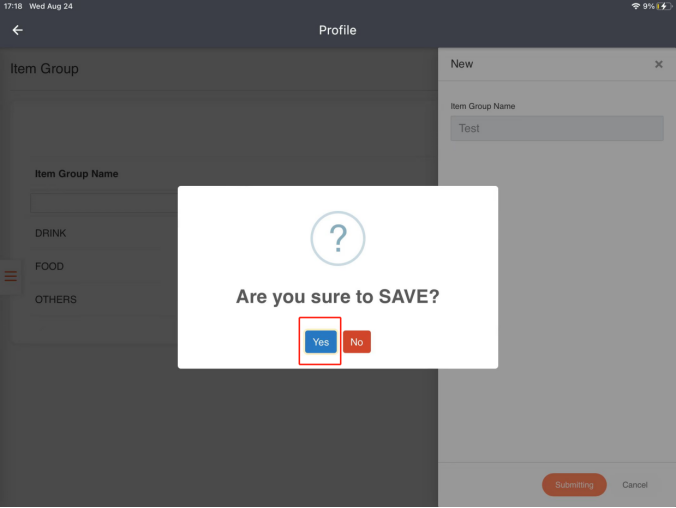
- Click on “Yes” to save.
Item Configuration
- Click on “Item”
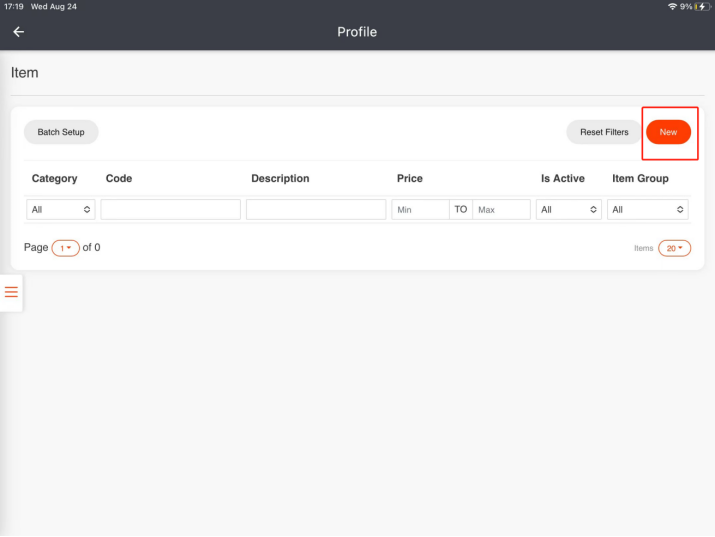
- Click on “New” in the top right corner.
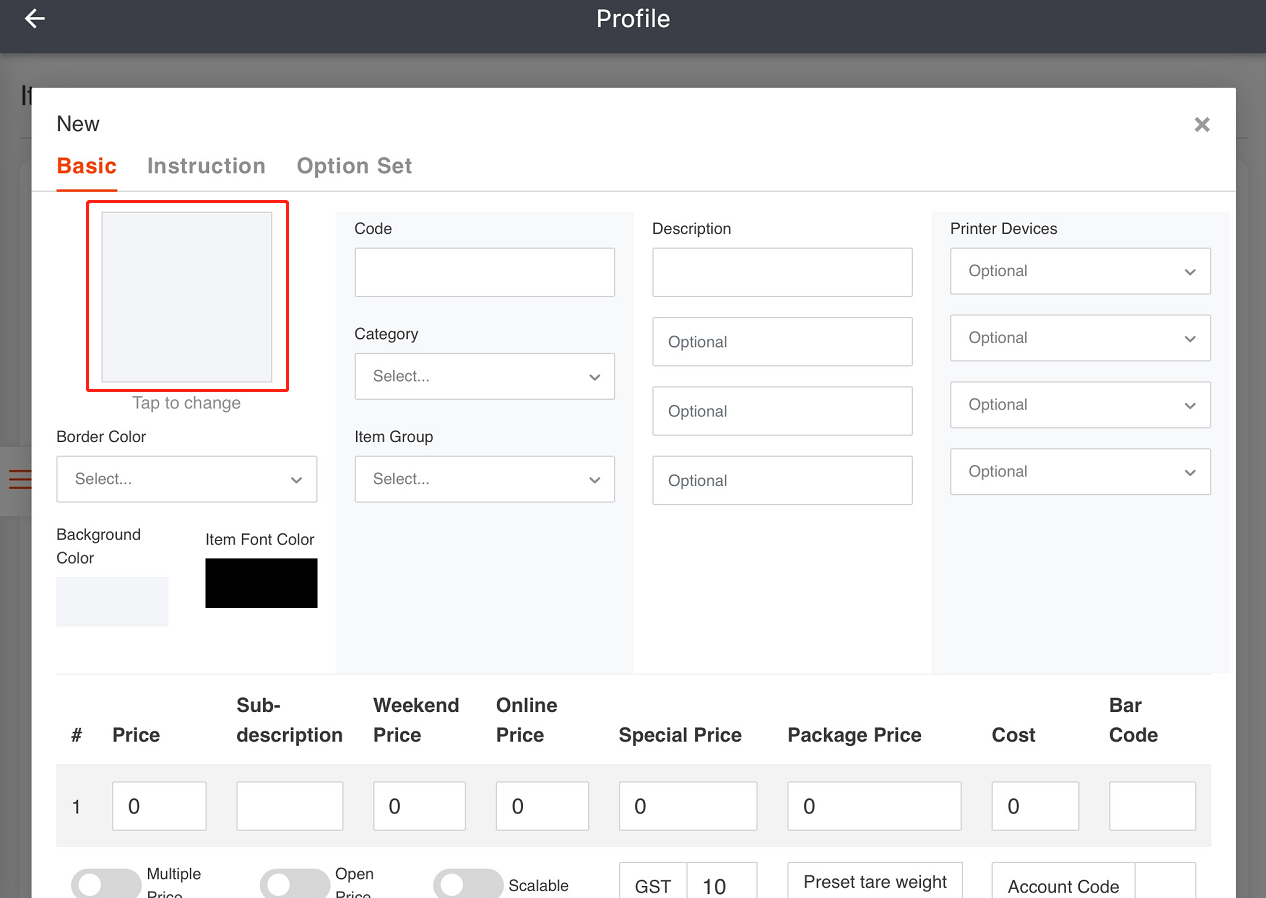
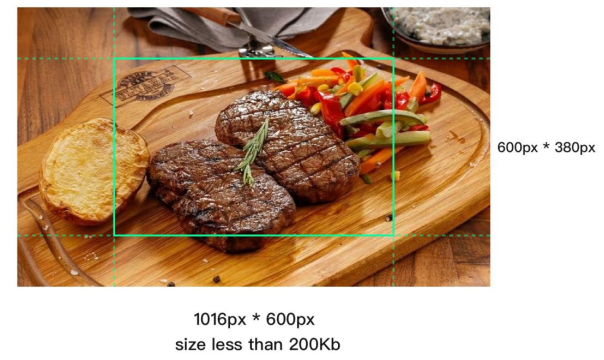
- Click on the square to upload an image for your item (Optional).
There is specification for the uploading image.
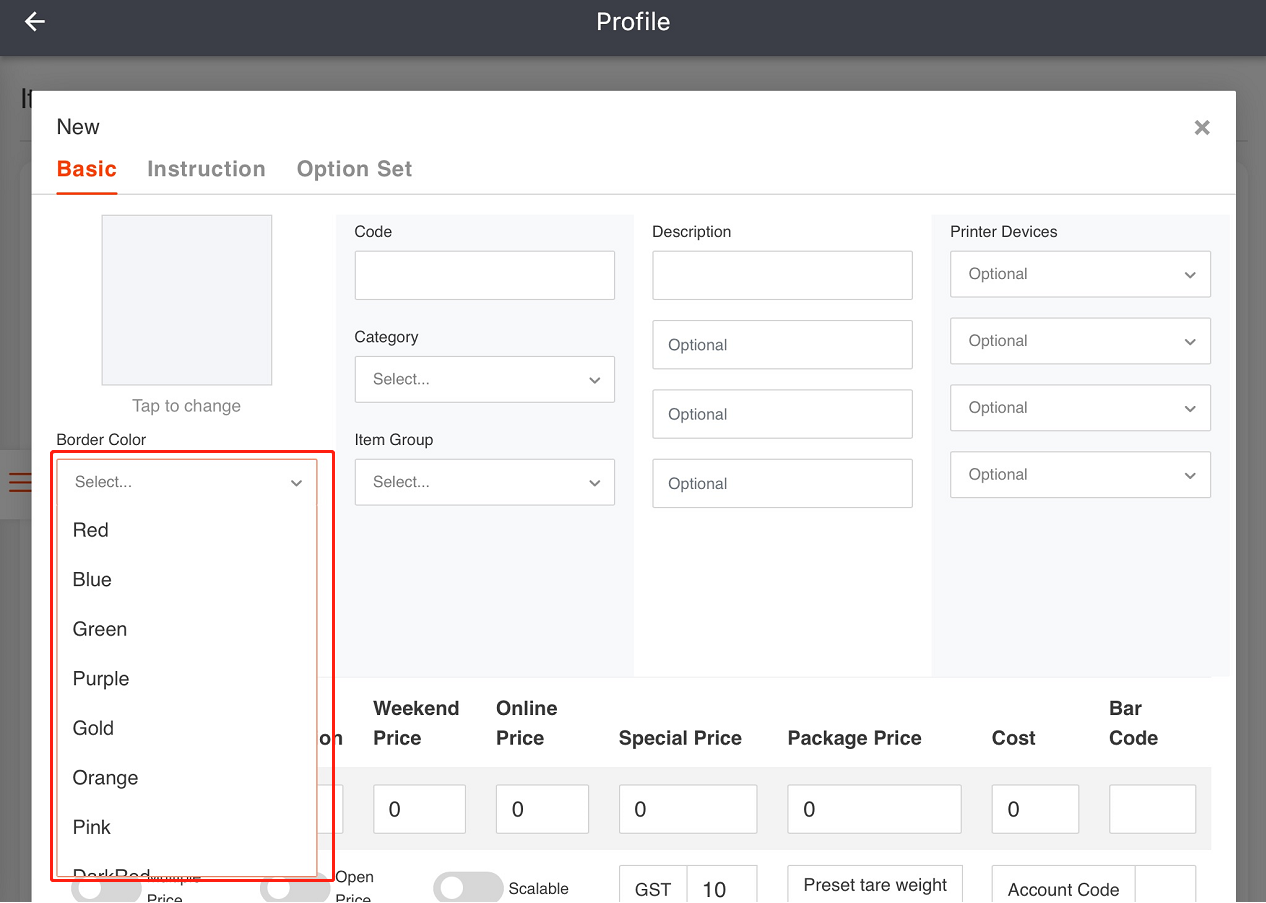
- Select a border color. (Optional)
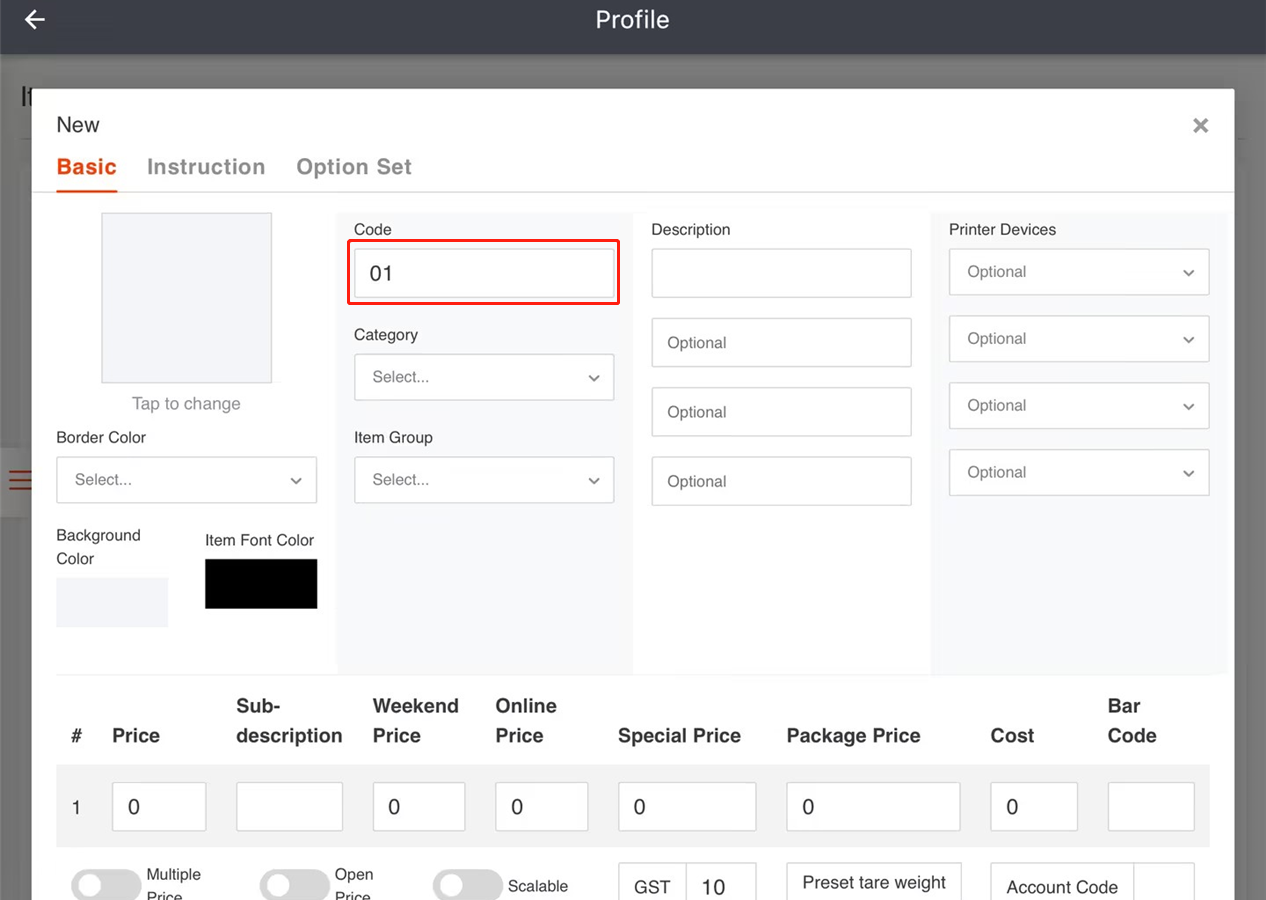
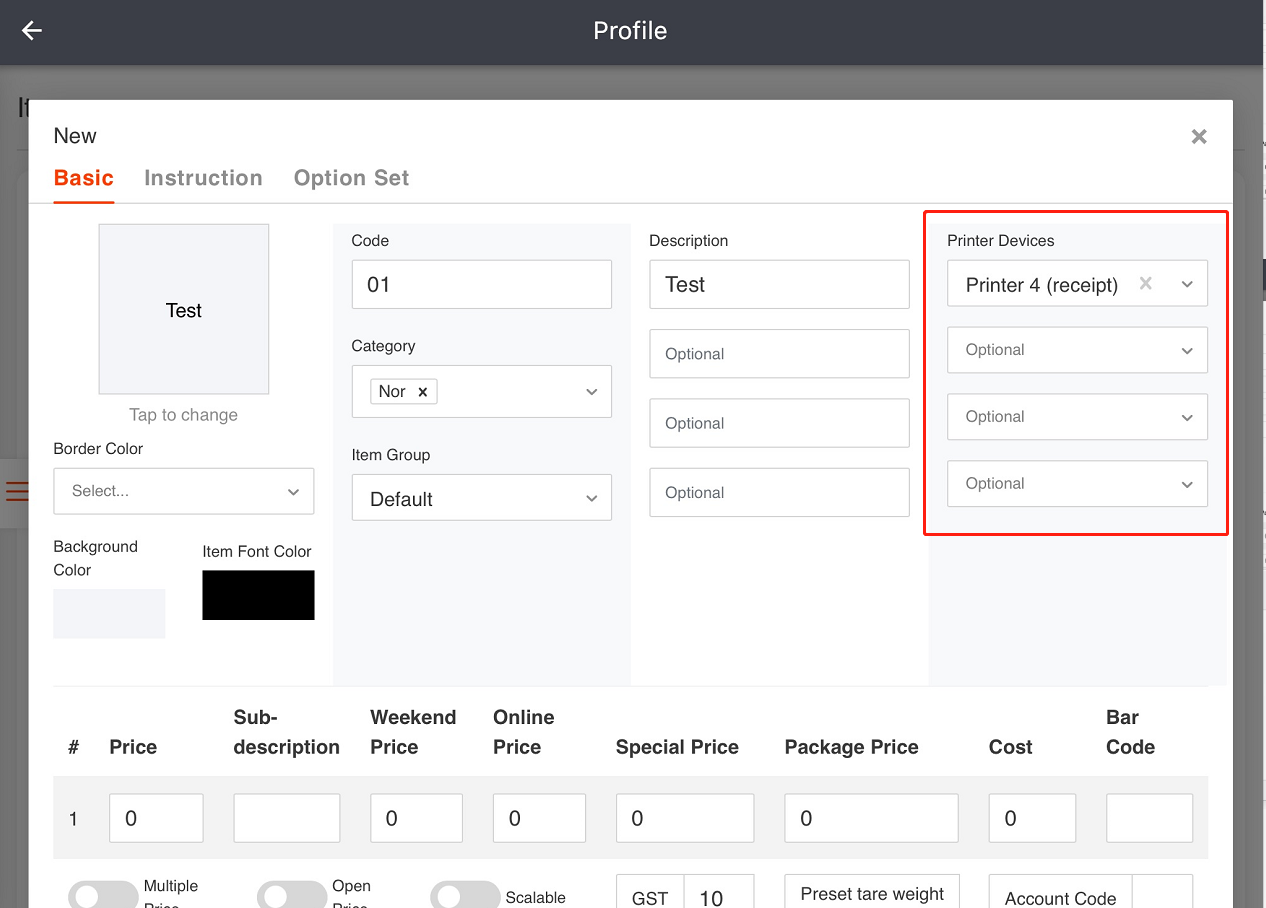
- Enter a number that cannot be duplicated as the item code.
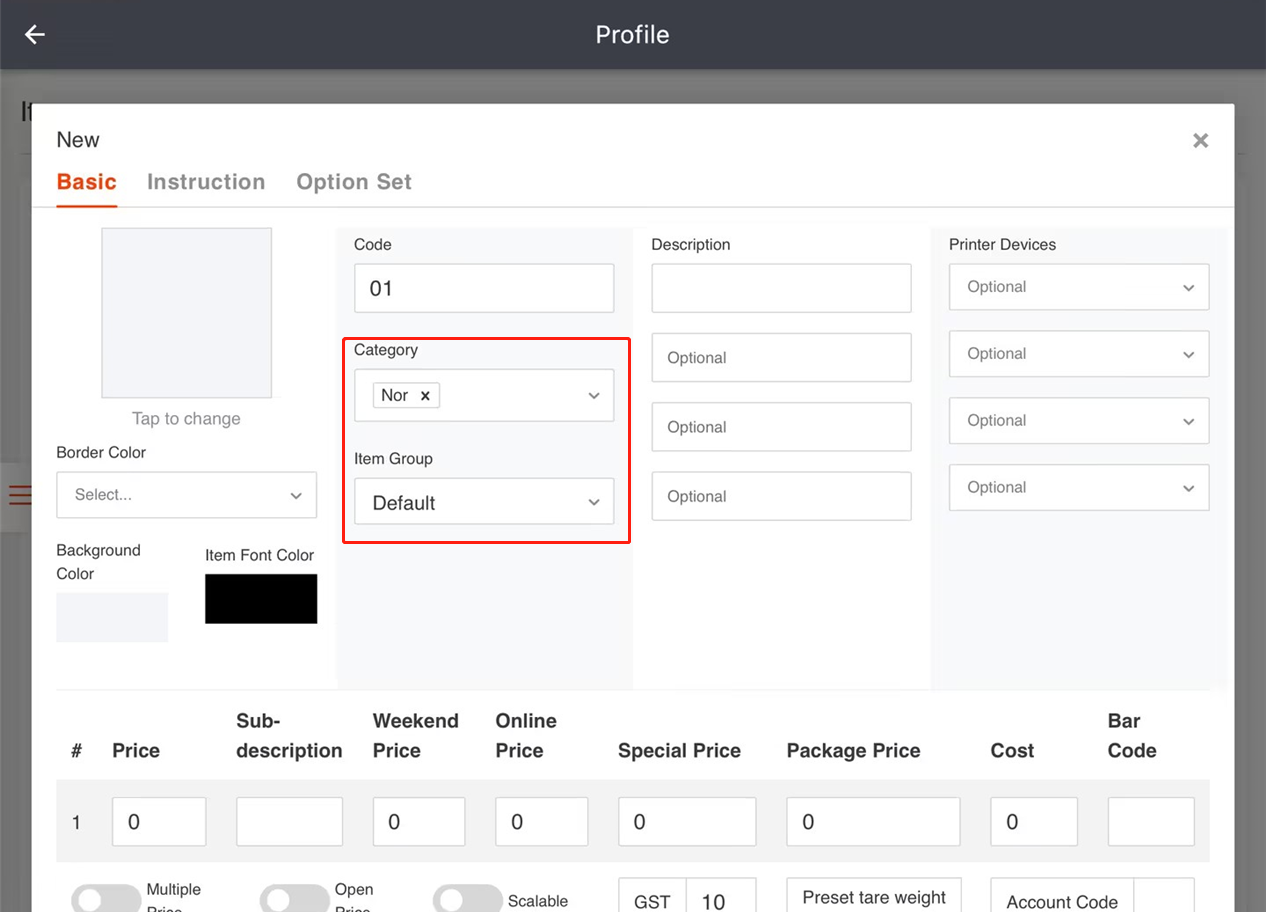
- Select a belonging category and a belonging item group.
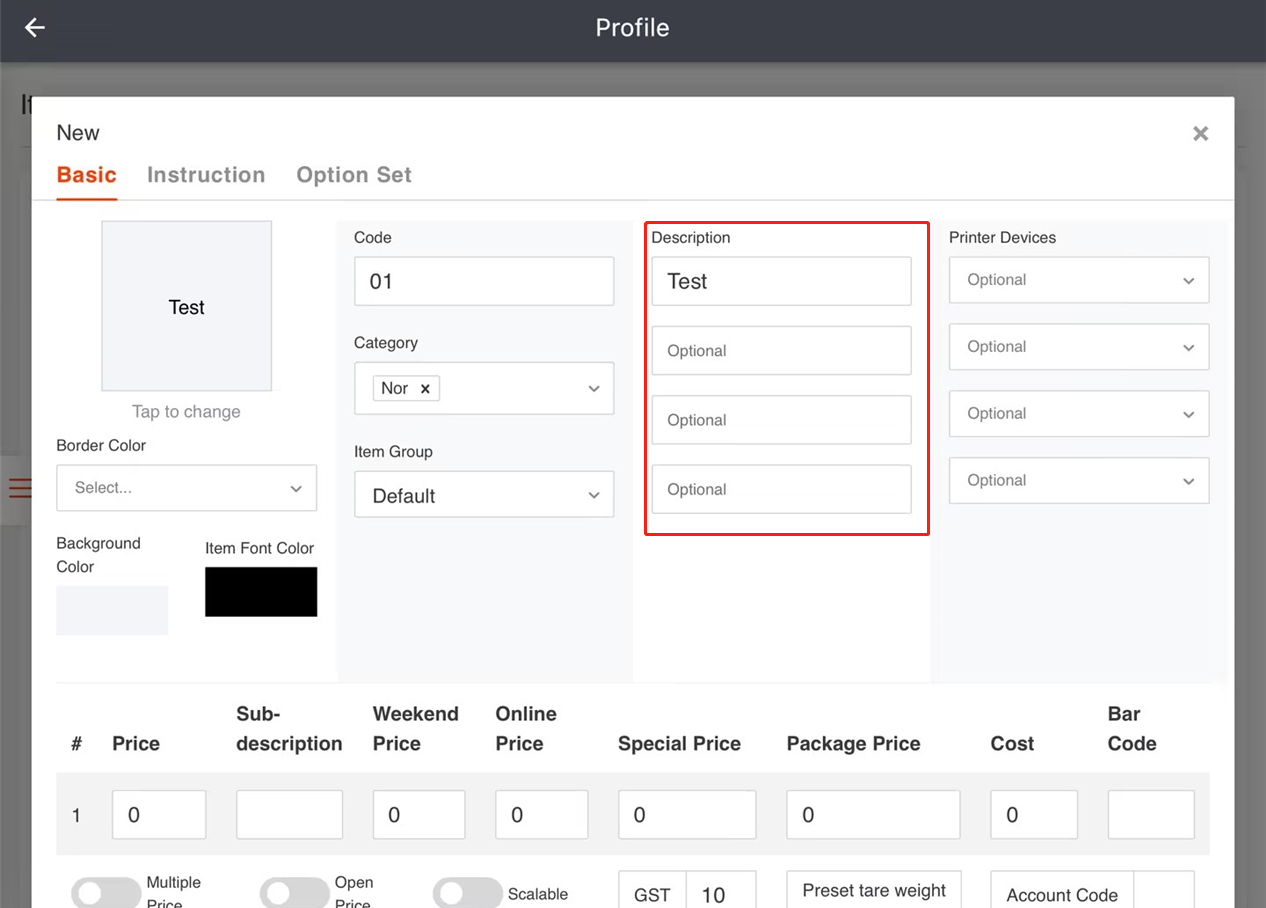
- Set a name for your dish. You can set up to four names.
- Select a printer to print the dish for kitchen when it is ordered.
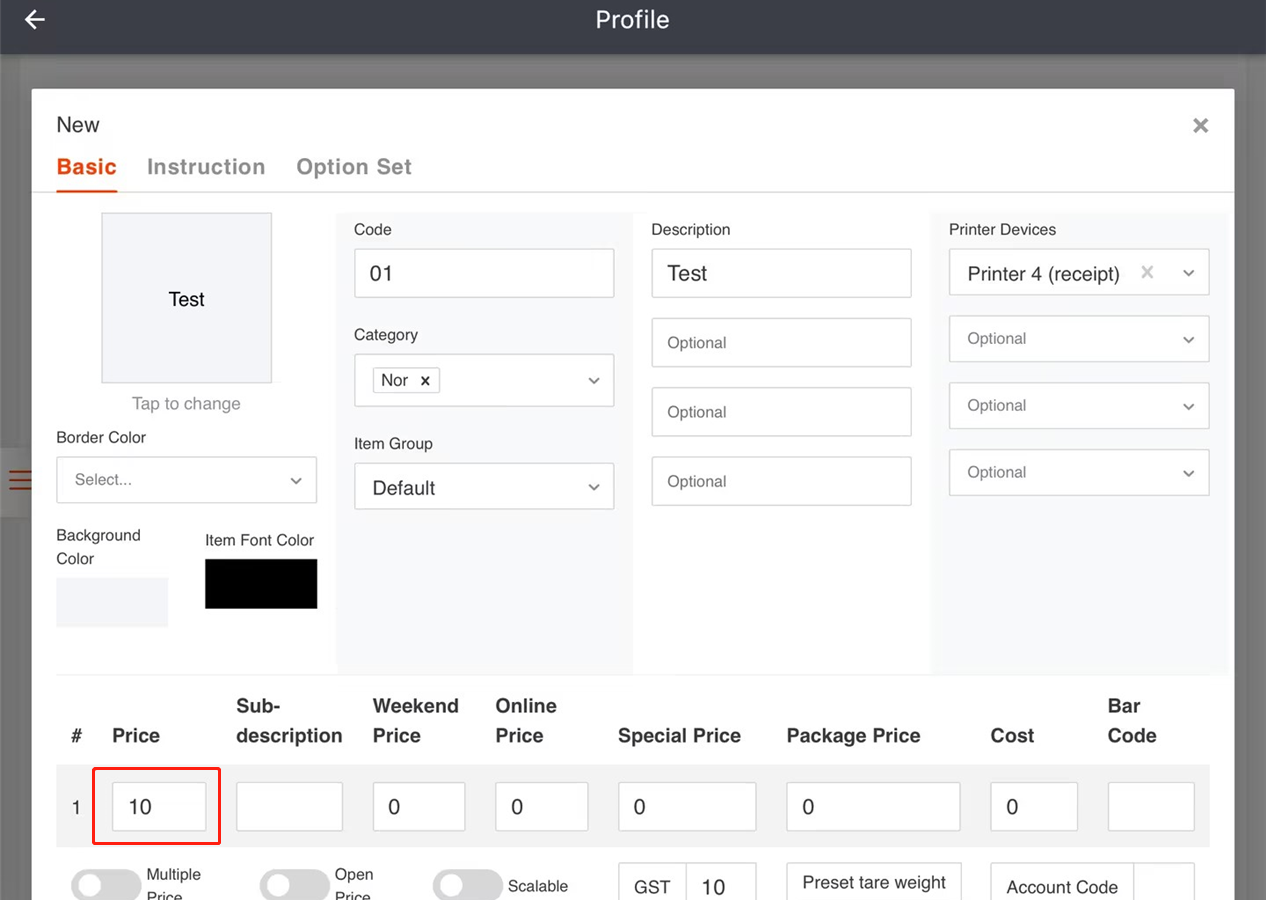
- Click in the blank under “Price” and enter a number as its sales price.
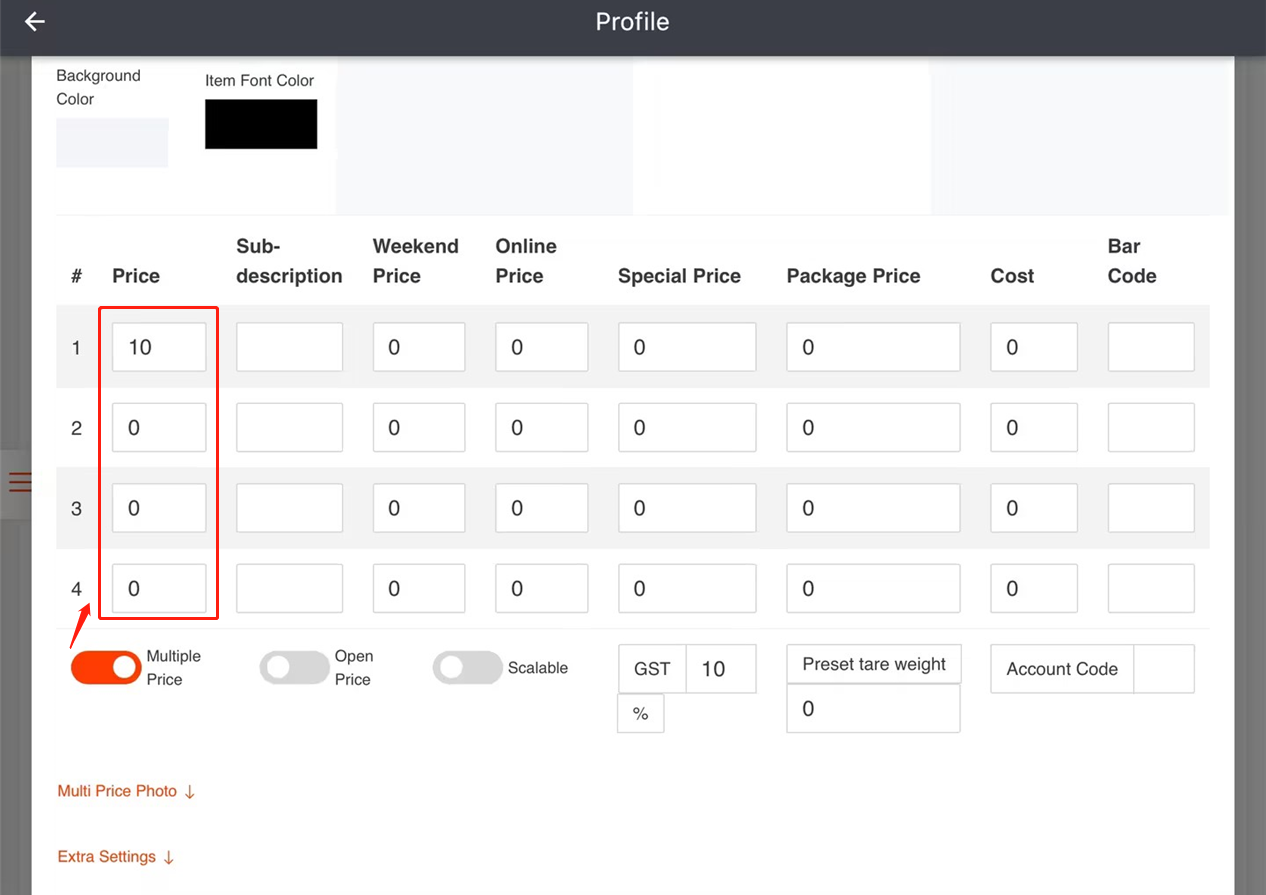
- If more price choices need to be set for an item, you can turn on the “Multiple Price” button and there will be up to four prices to be set.
- If the price of the item is unstable, you can turn on the “Open Price” button. In this way, you can set the price as you need when selling it.
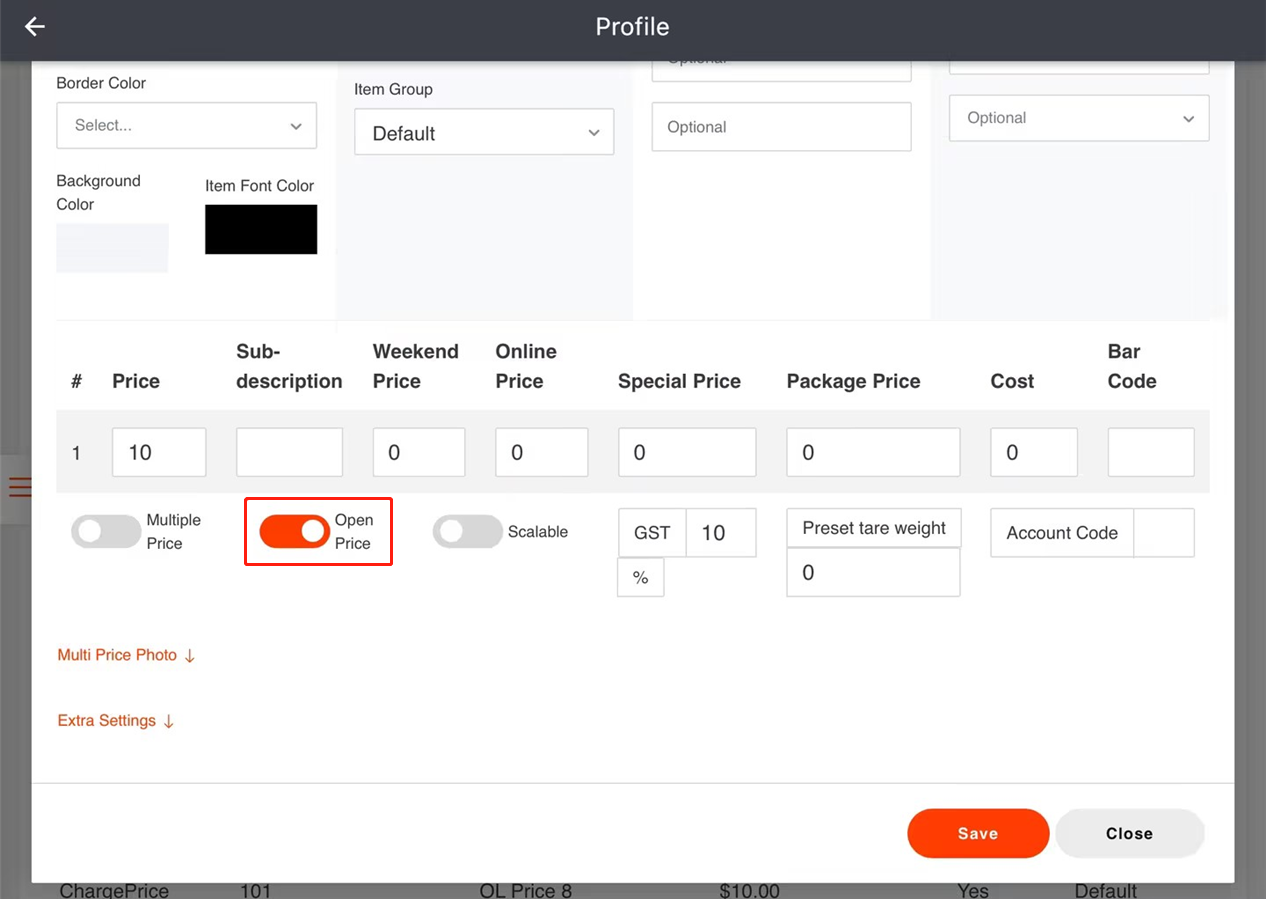
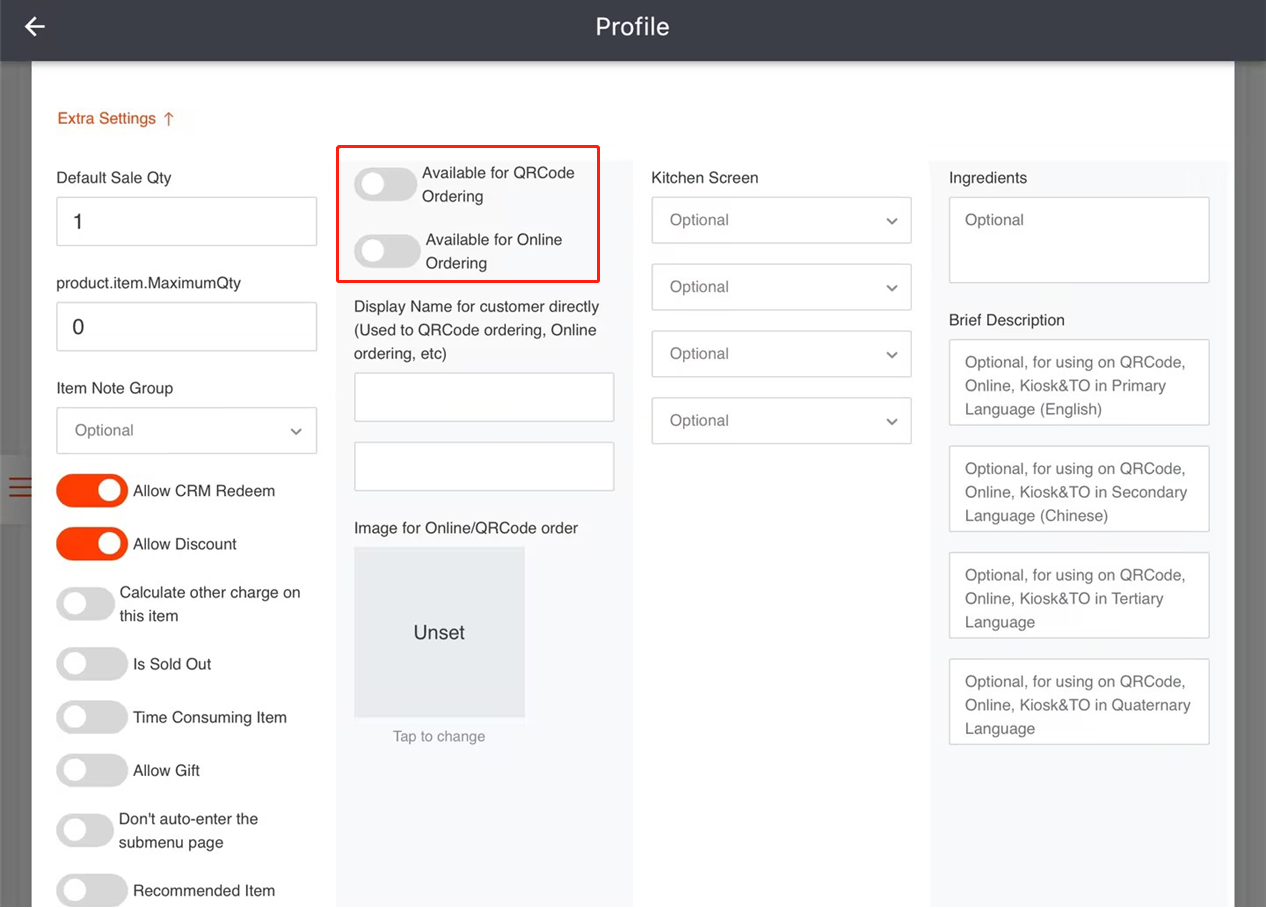
- Click on “Extra Settings” and then turn on the buttons if you need the item to be available for QR code ordering or online order.
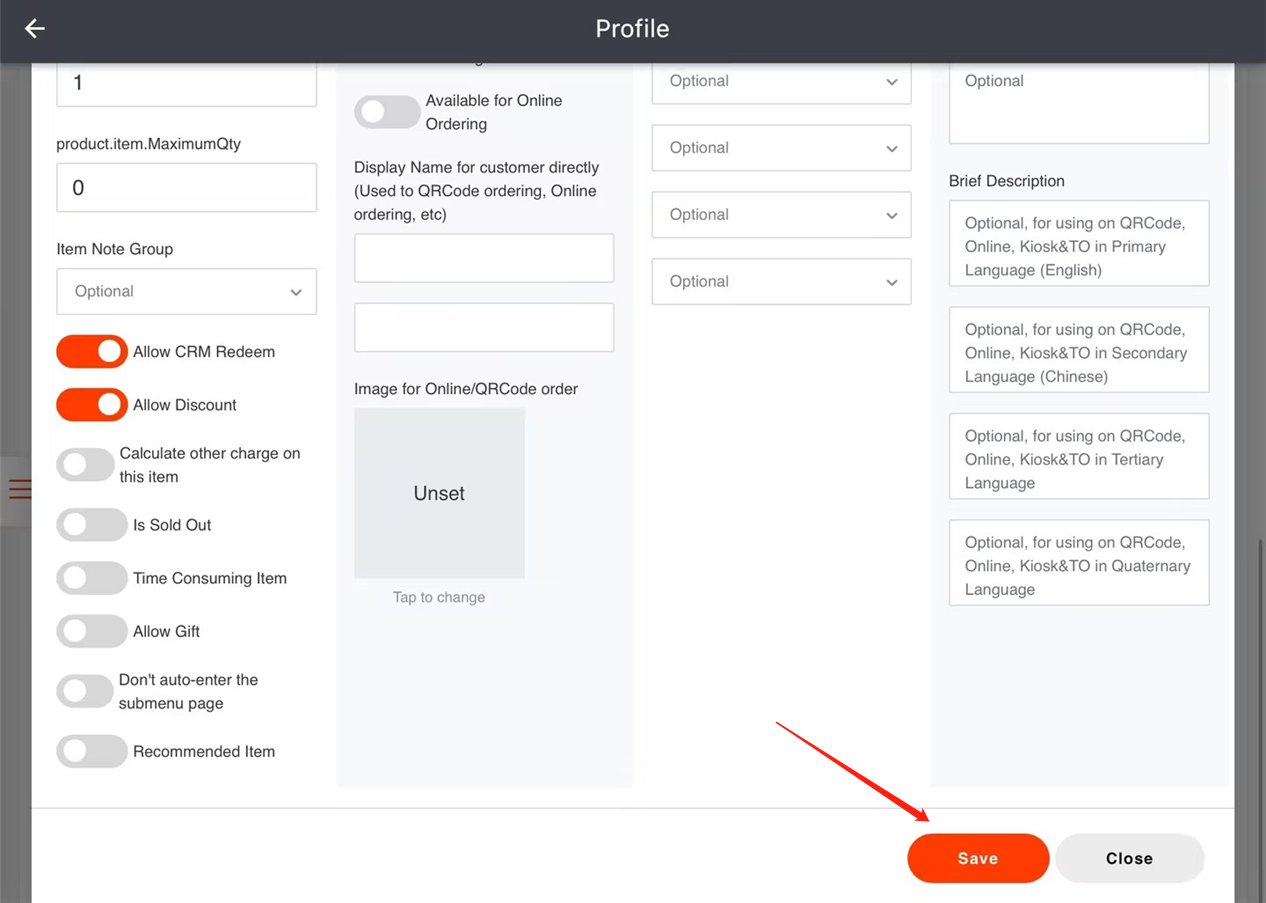
- Click on “Save” and then click on “Yes” to save.
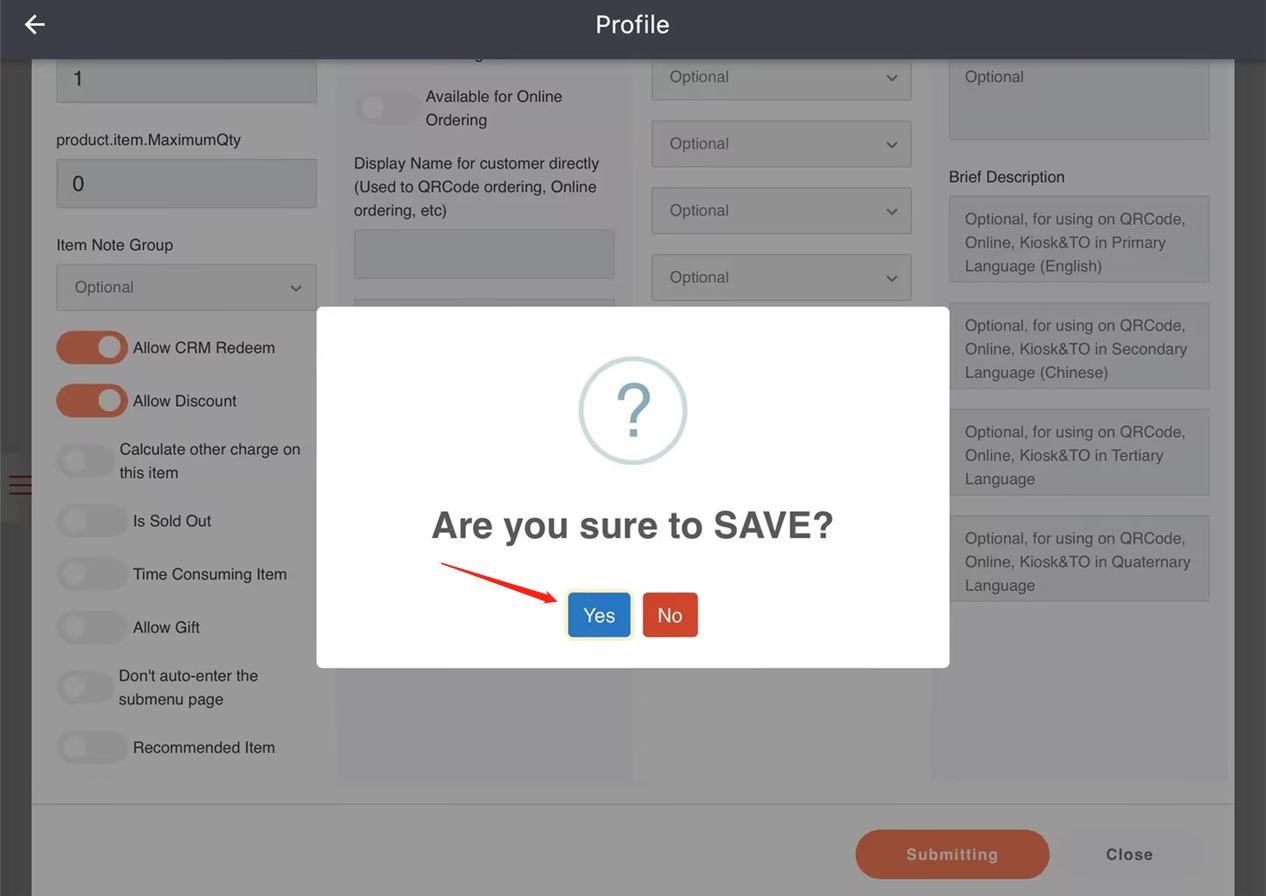
Now the item has been created properly.
What’s Next: Explore Our Menu System – Instruction & Option Set