Normally, the printer is connected to ZiiPOS by internet. Before you process on ZiiPOS, please check the IP address of the printer.
- Go to your printer and then press on the power button to power it off.
- Press the power button and the feed button at the same time for 5 seconds to get a “SELF-TEST” page.
- On the “SELF-TEST” page you will see an “IP Address”.
Please go to ZiiPOS to process.
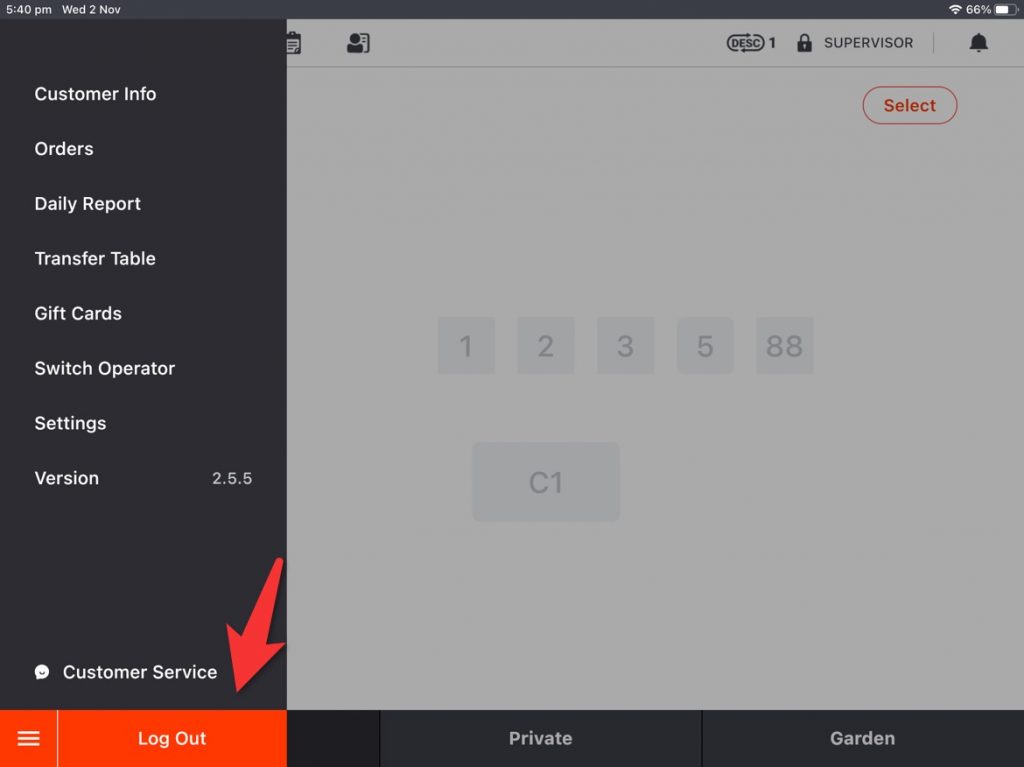
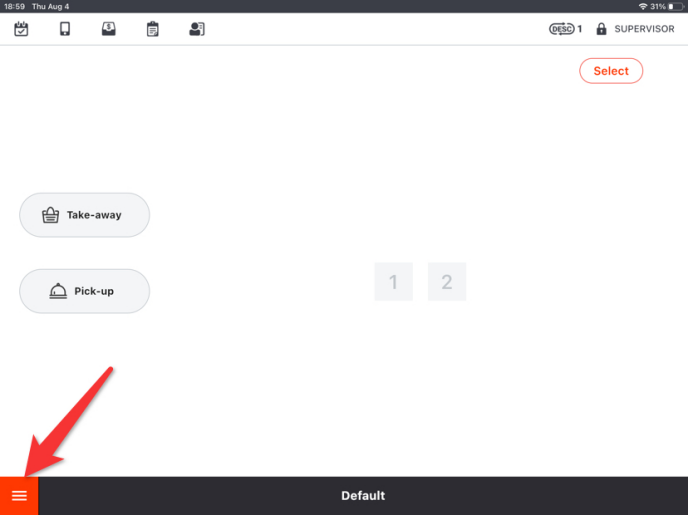
- Click on the “toolbar button” in the lower left corner.
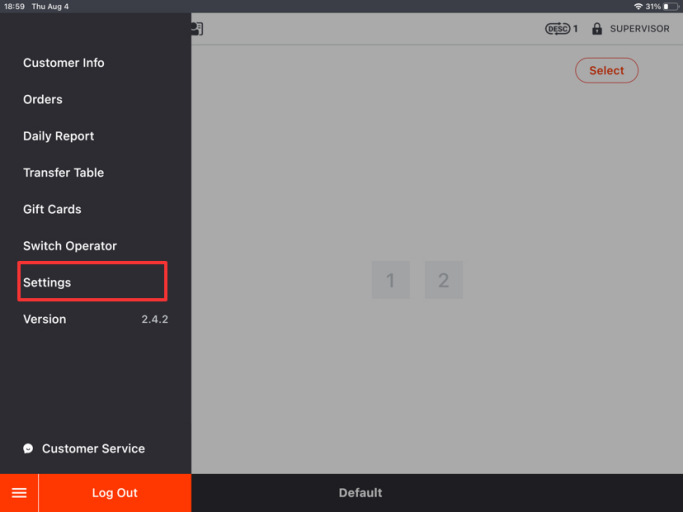
- Click on “Settings” in the toolbar.
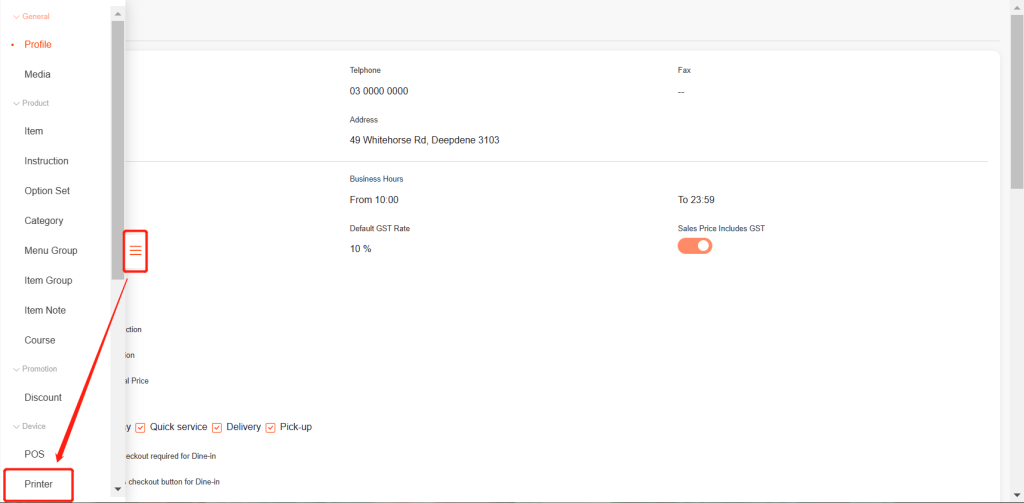
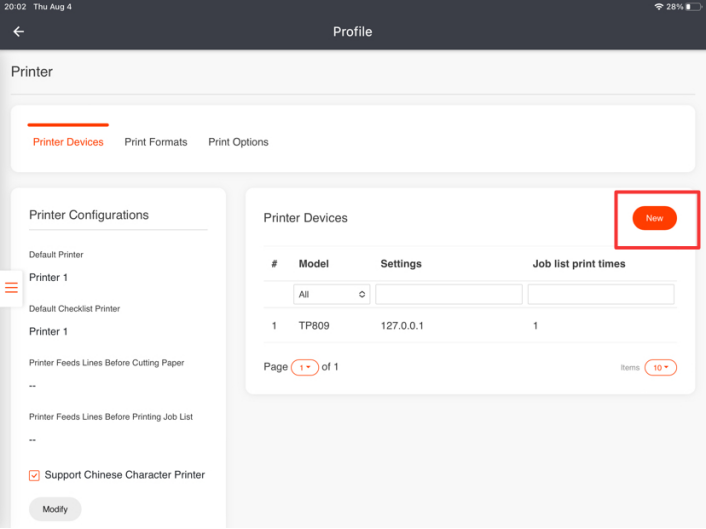
- Click on the button on the left and go to “Printer”.
- Click on “New” in the upper right corner at the “Printer Devices” page.
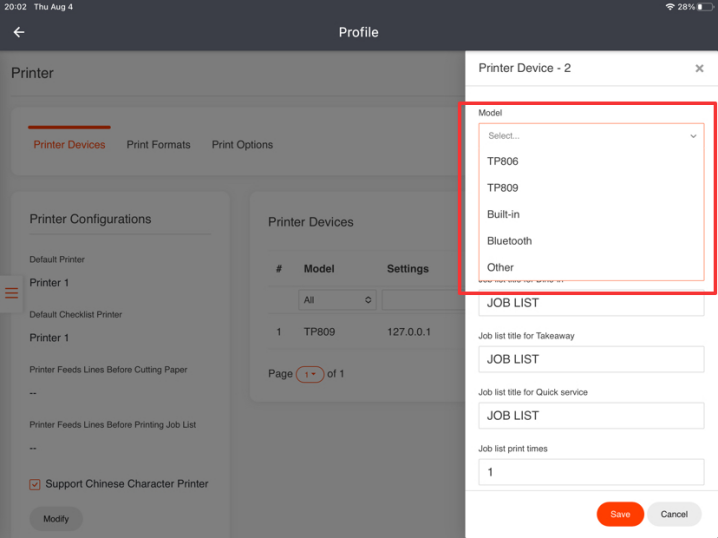
- Select a printer model based on the type of your printer.
- Choose the port to be “Net” and enter the IP address printed out on the SELF-TEST page. And set the name.
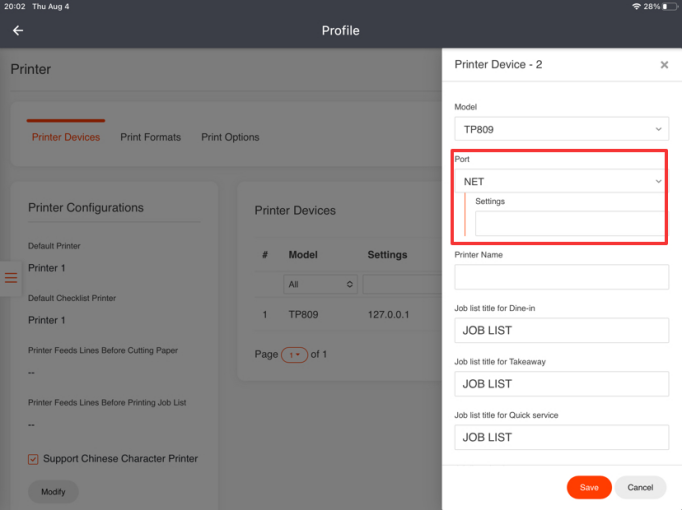
- Click on “Save” and then click on “Yes” to save.

Go back to the home page, then log out and log in again to make your setting effective.