
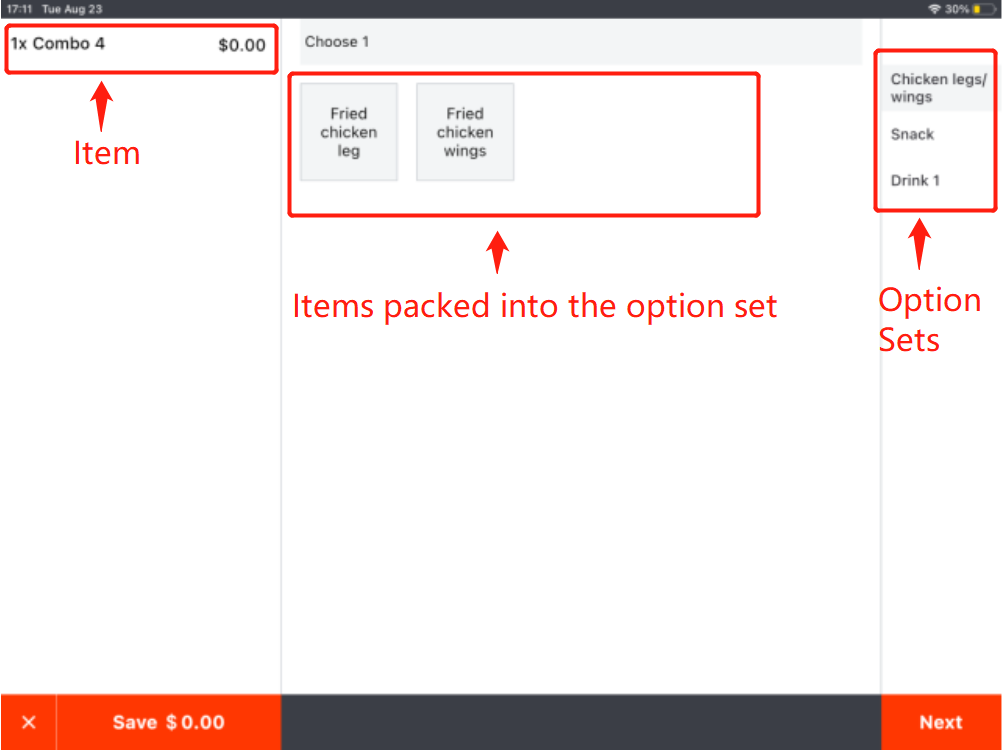
Here is an example of an item with option sets on ZiiPOS.
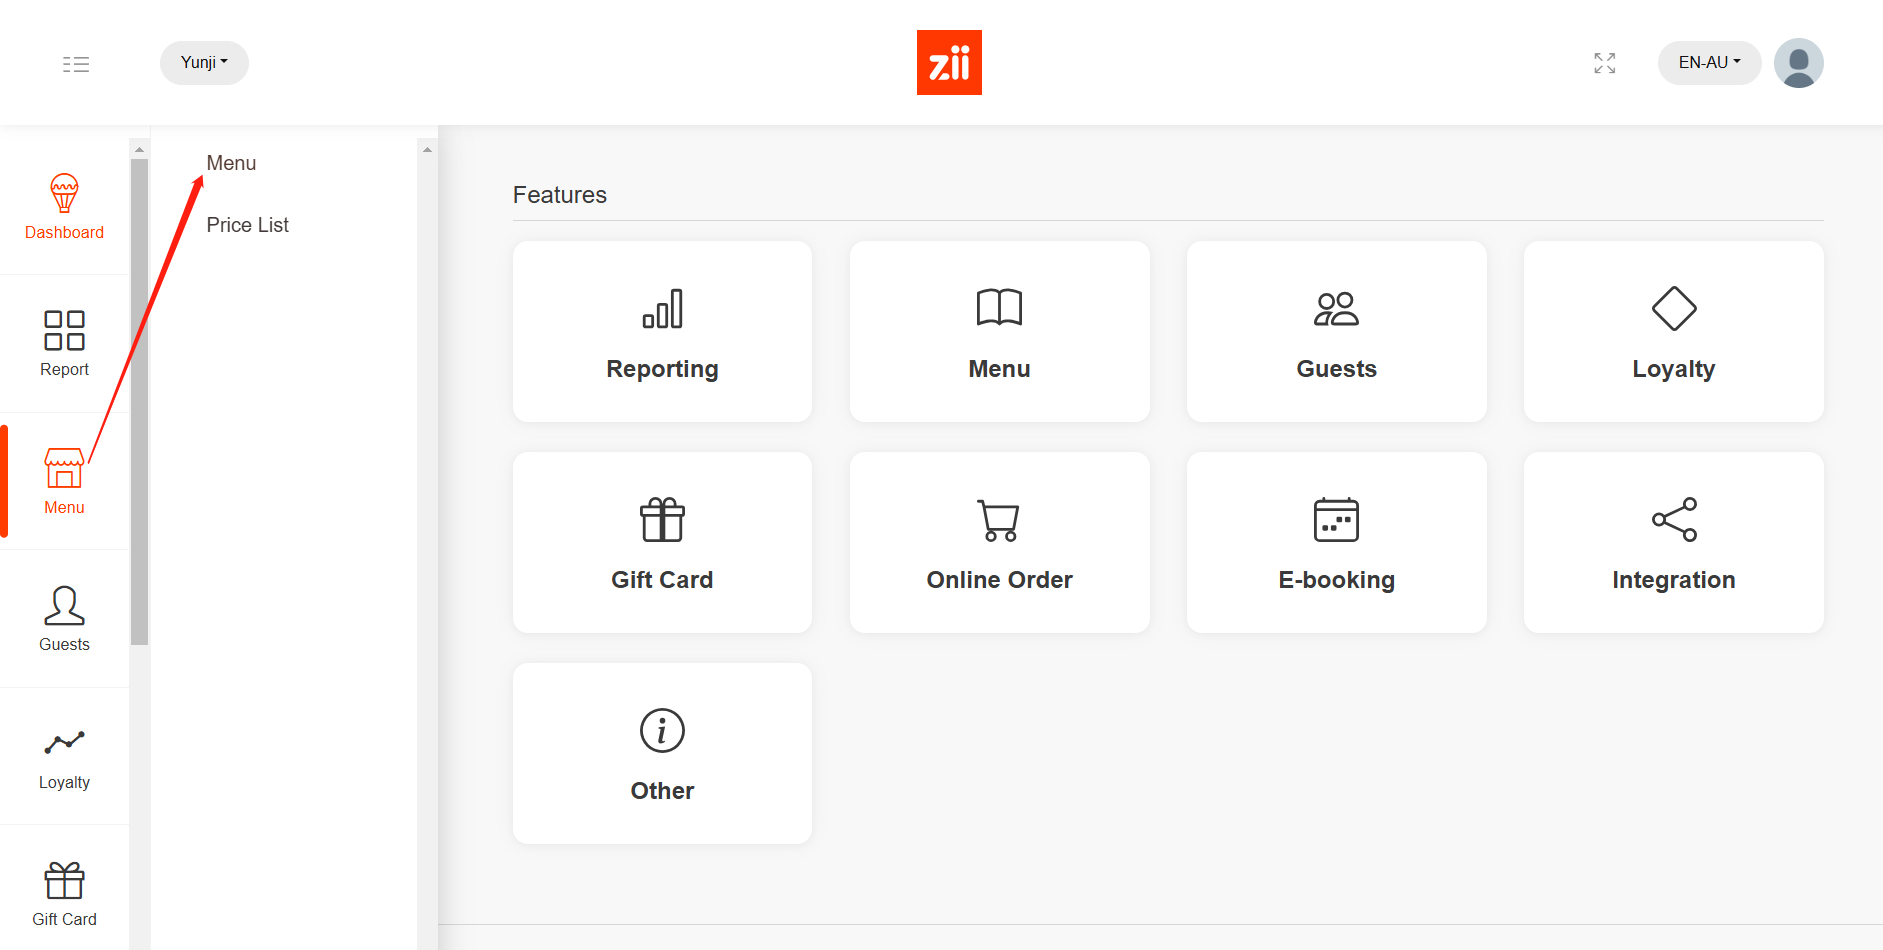
Please go to Zii – Dashboard (ziicloud.com) to process.
Create Option Sets
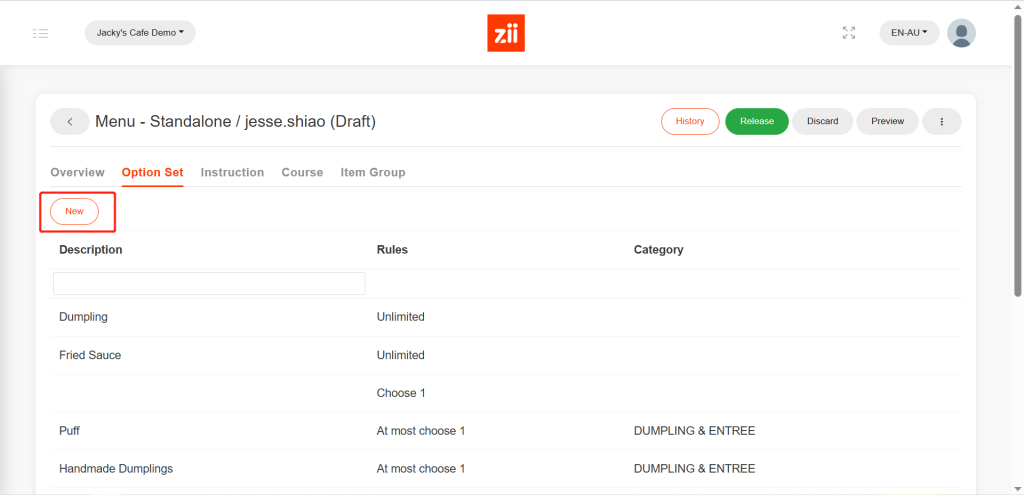
- After logging into “Portal”, click the button in the top left corner and go to “Menu”.
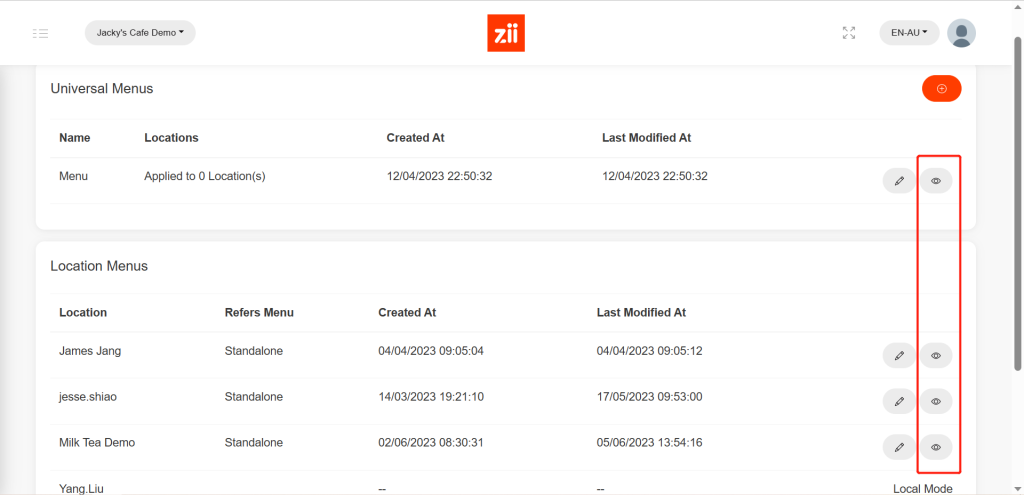
- Click on the eye-like icon of the menu that you want to add a new category to.
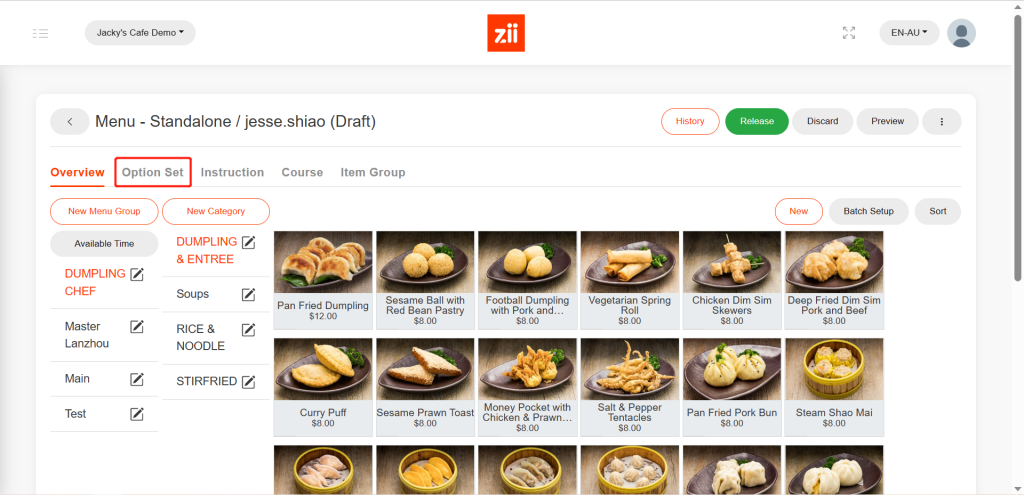
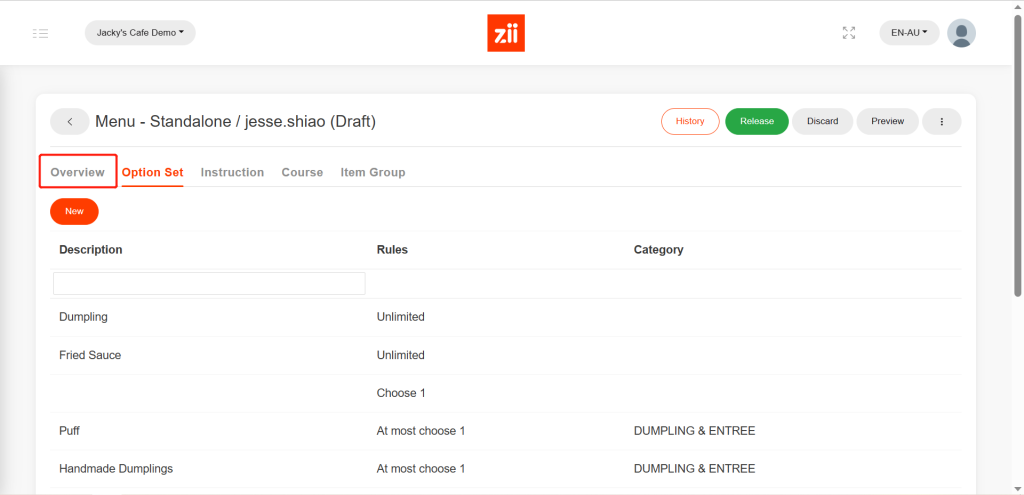
- Go to “Option Set”.
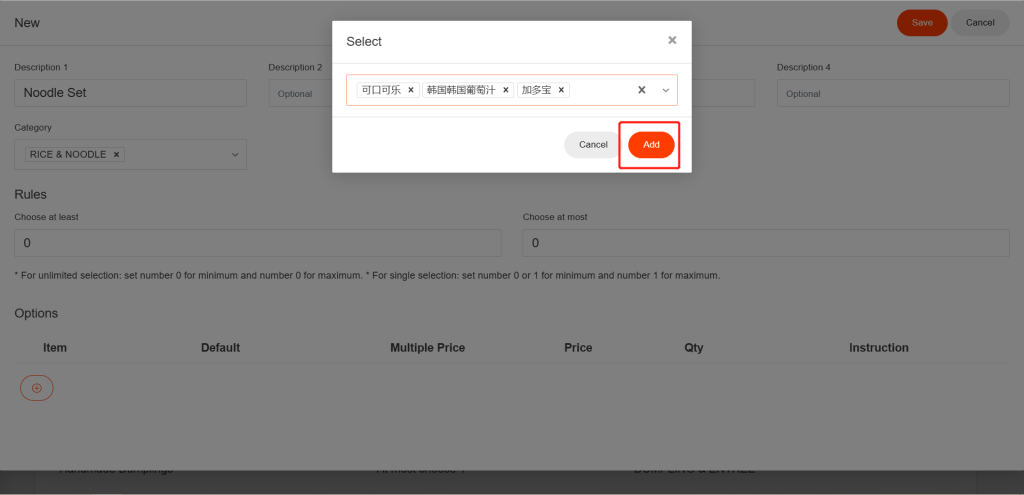
- Click on “New”.
- Set a name and select a belonging category.
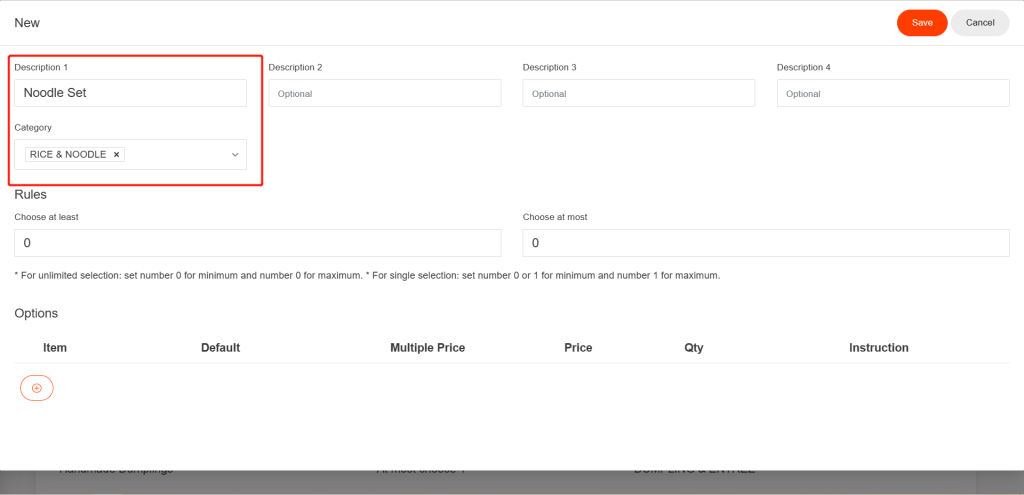
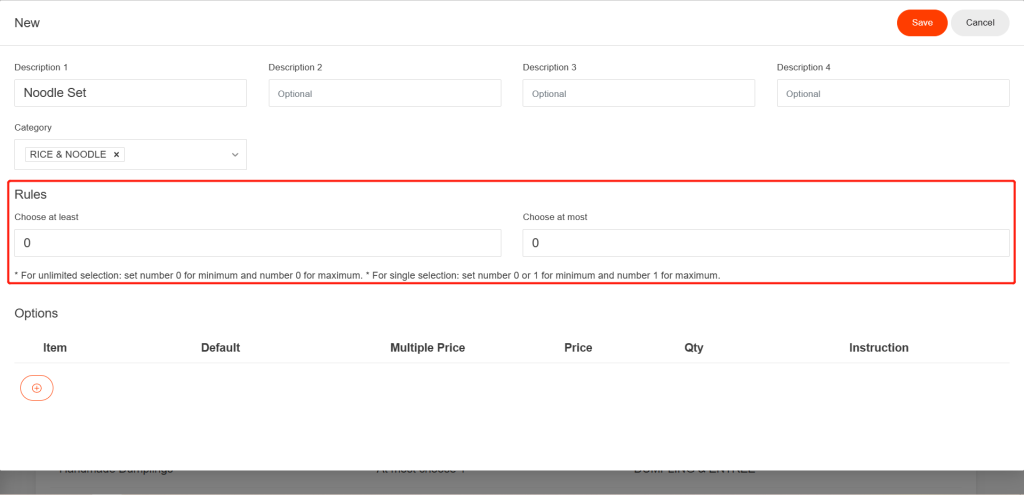
- Enter a number as the rule for minimum or maximum choosing. Leave it “0” means no limits.
- Click the “+” button like the one circled in the picture below, and then click in the blank to select items to be packed into this set.
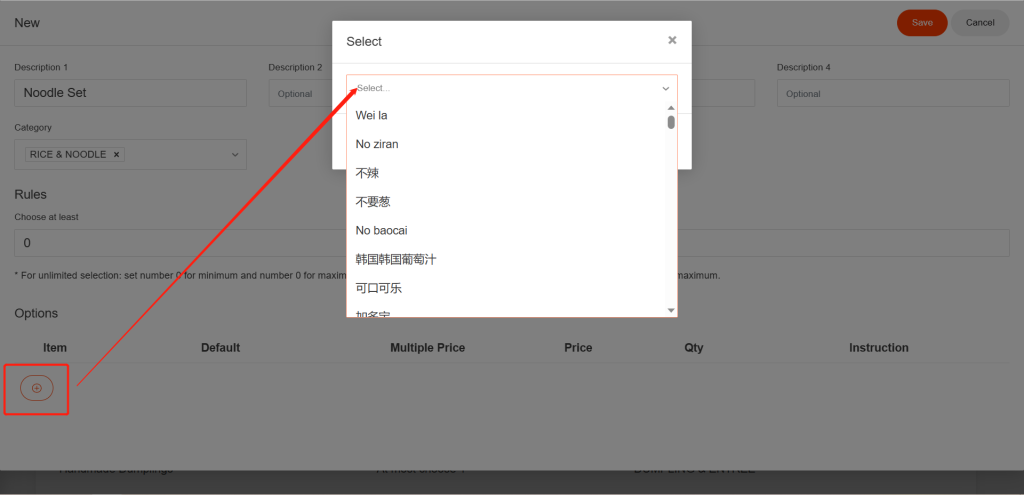
- When you’re done with selecting, click on “Add”.
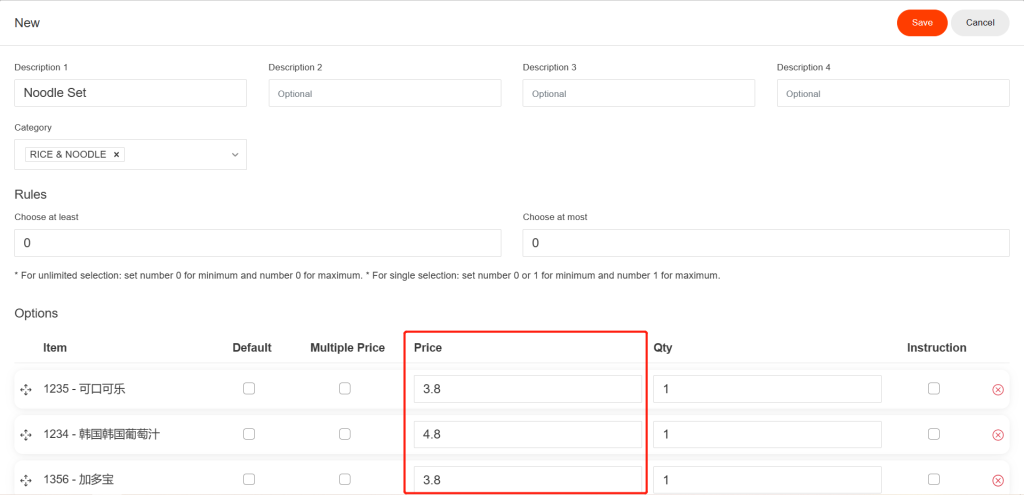
- You can adjust the prices of these items in the set, which won’t affect the item’s original price.
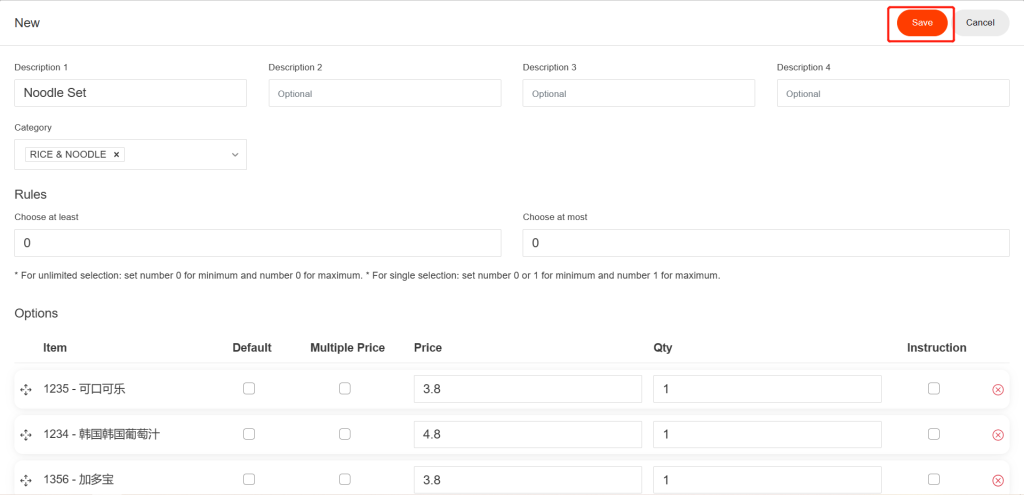
- Click on “Save”.
Assign an Option Set to an Item
- Go back to “Overview”.
- Click to choose the item that you want to assign an option set to.
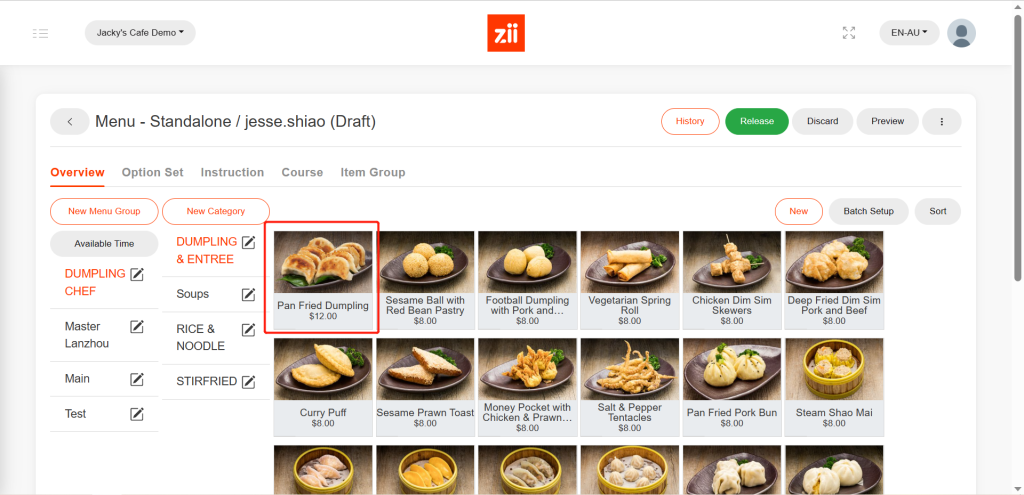
- Drop the page down, and then click on “Option Set”.
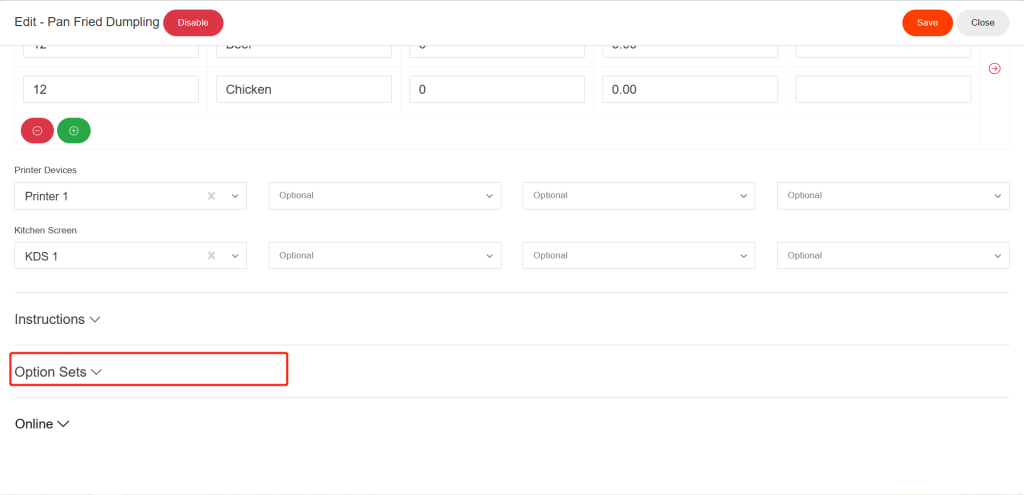
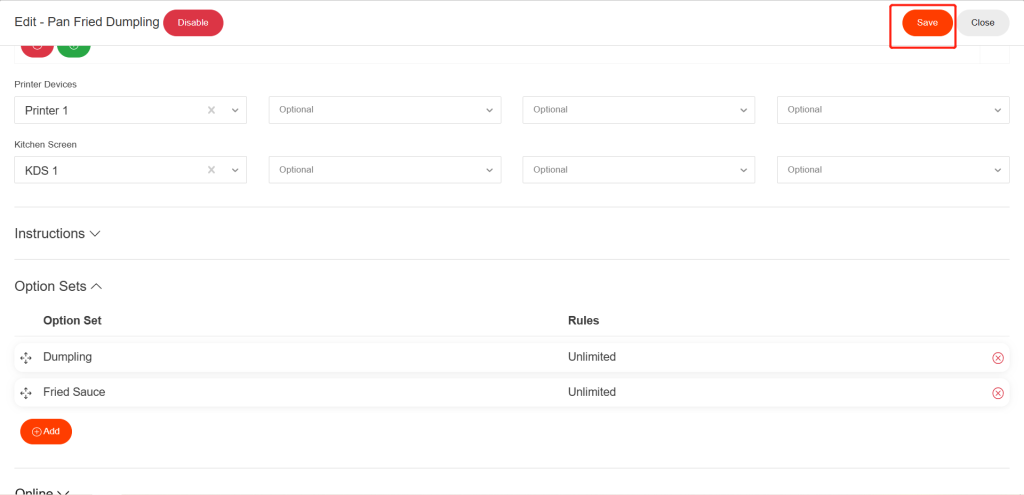
- Click the “+” button like the one circled in the picture below, and then click in the blank to select the option sets to be assigned to this item.
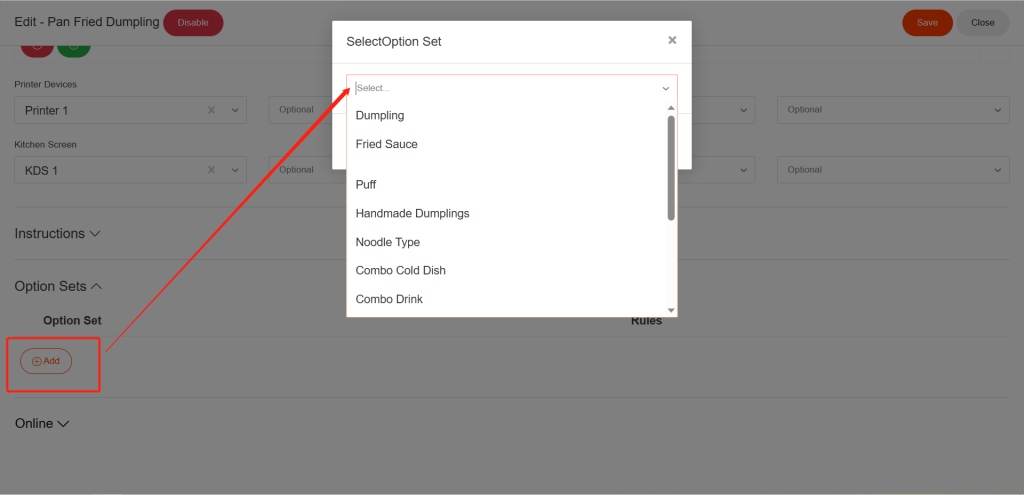
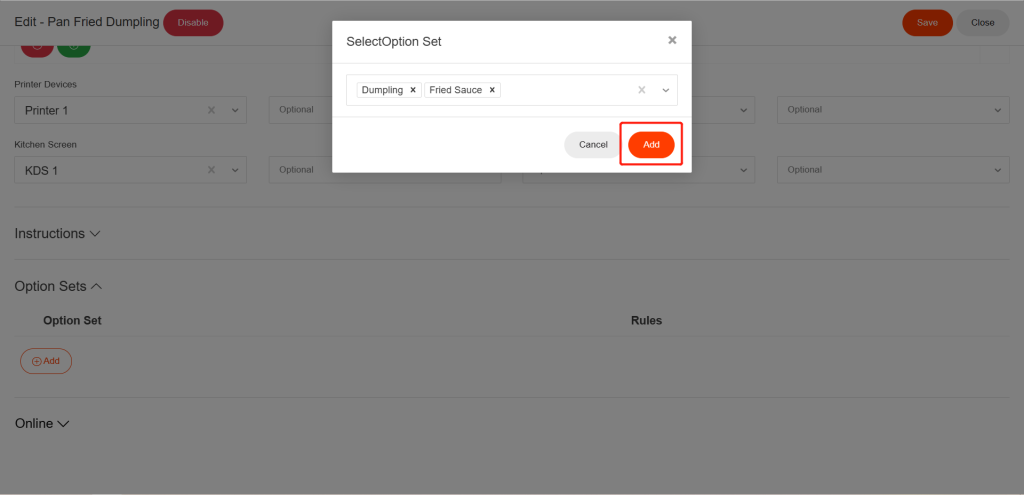
- When you’re done with selecting, click on “Add”.
- Click on “Save” to save the changes.
After being saved, it won’t take effective on ZiiPOS directly. Please finish all modifications first, then release the menu. You can refer to Cloud Menu–How to Release a Menu – Zii Help Center (ziicloud.com) to check the process of releasing a menu.