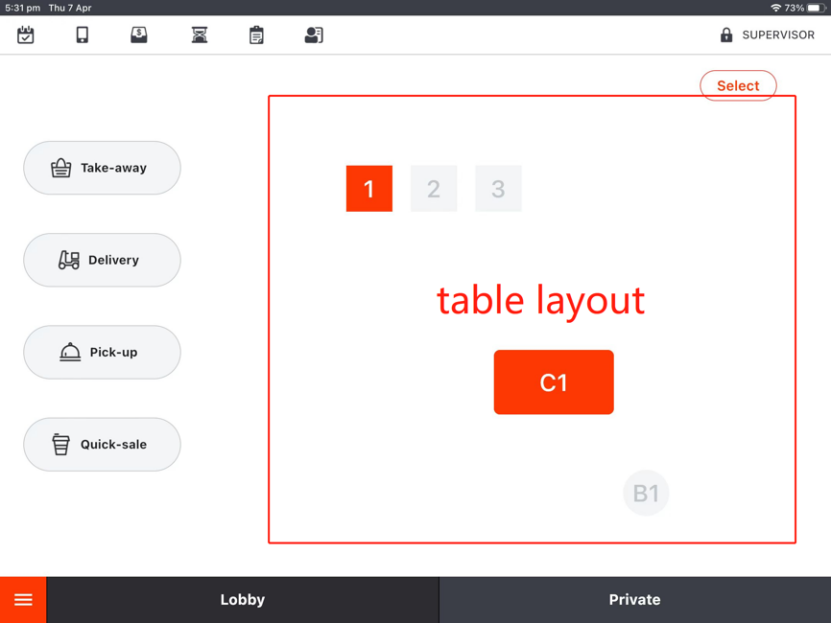
Here is an example of table page on POS. You can see tables and areas.
![](https://cdn.ziicloud.com/knowledge-base/2022/06/20185608/1-37.png)
Please follow the steps to setup tables.
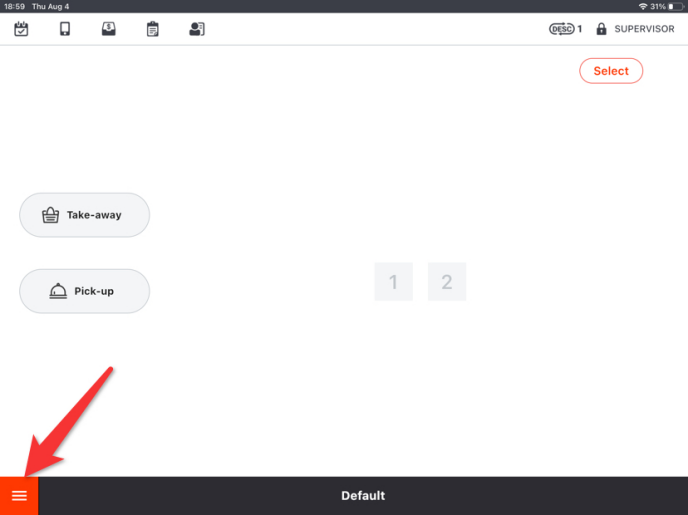
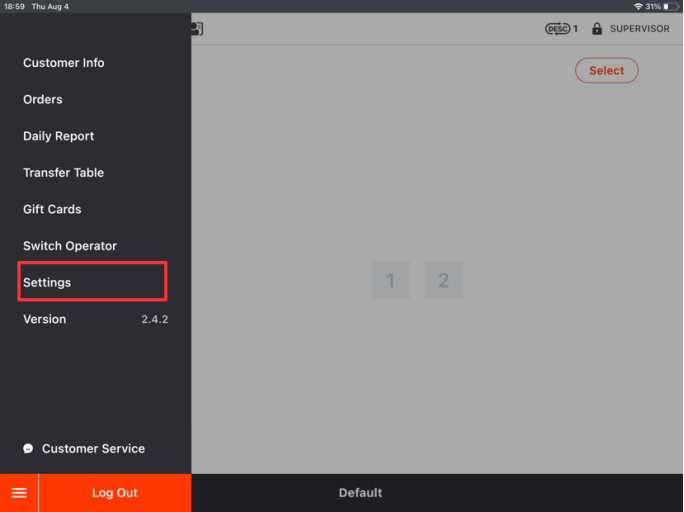
- Click on the “toolbar button” in the lower left corner.
![](https://cdn.ziicloud.com/knowledge-base/2022/09/01173203/Get-Started-with-ZiiPOS-version1.18051.png)
- Click on “Settings” in the toolbar.
![](https://cdn.ziicloud.com/knowledge-base/2022/09/01173214/Get-Started-with-ZiiPOS-version1.18089.png)
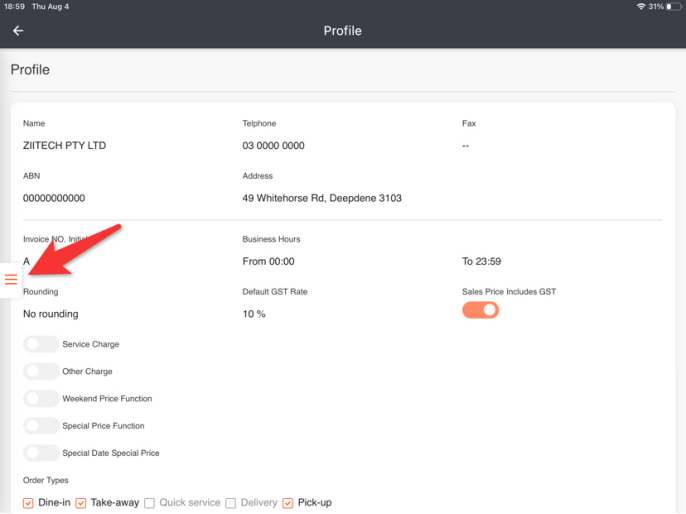
- Click on the button on the left.
![](https://cdn.ziicloud.com/knowledge-base/2022/09/01173223/Get-Started-with-ZiiPOS-version1.18124.png)
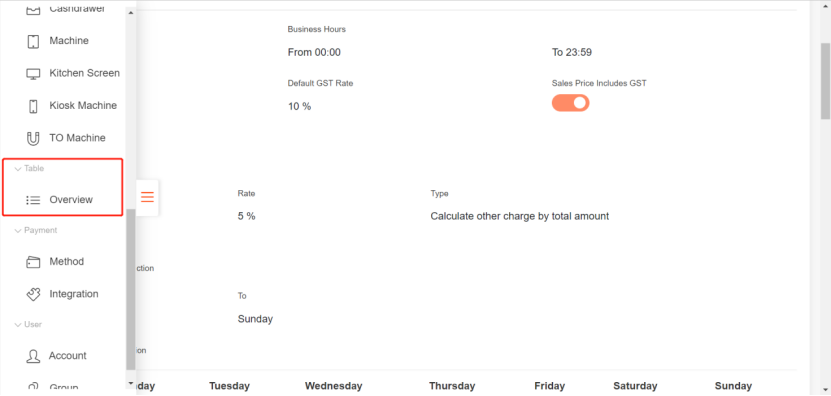
- Find a field named “overview” in “tables”.
![](https://cdn.ziicloud.com/knowledge-base/2022/06/20185634/1-38.png)
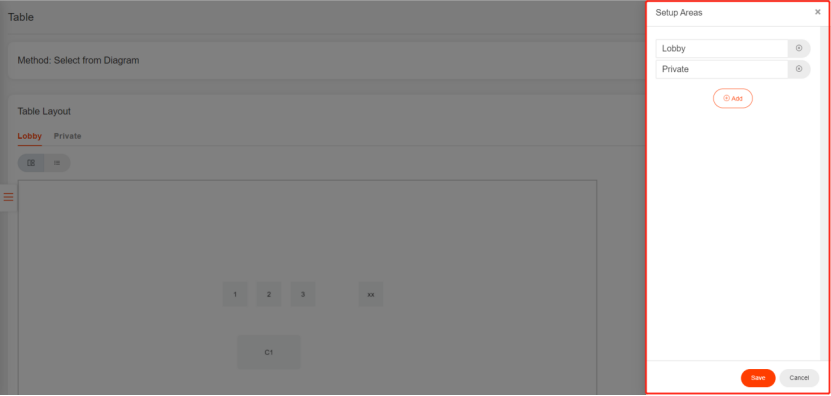
- Click “setup area” to modify areas.
![](https://cdn.ziicloud.com/knowledge-base/2022/06/20185645/1-39.png)
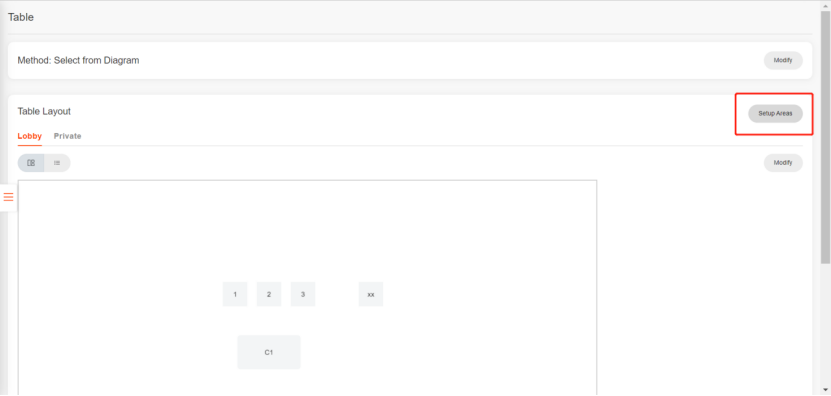
- Set areas based on your store and save.
![](https://cdn.ziicloud.com/knowledge-base/2022/06/20185717/1-40.png)
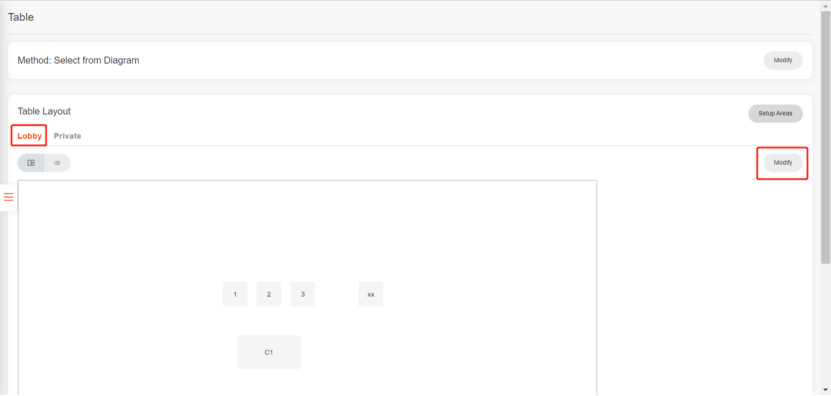
- Select an area and click “modify” to set tables.
![](https://cdn.ziicloud.com/knowledge-base/2022/06/20185739/1-41.png)
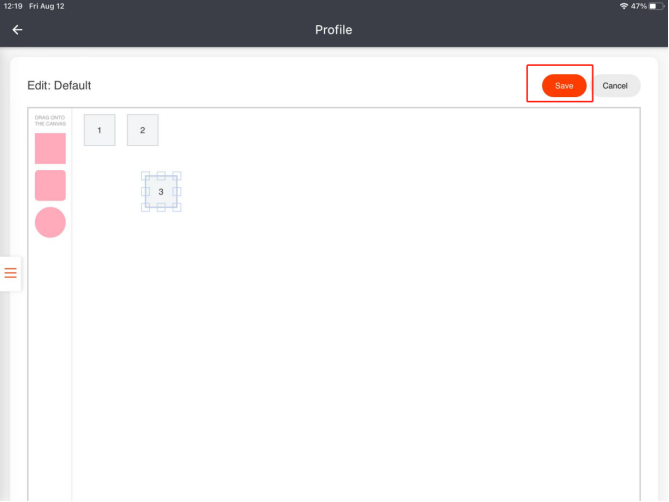
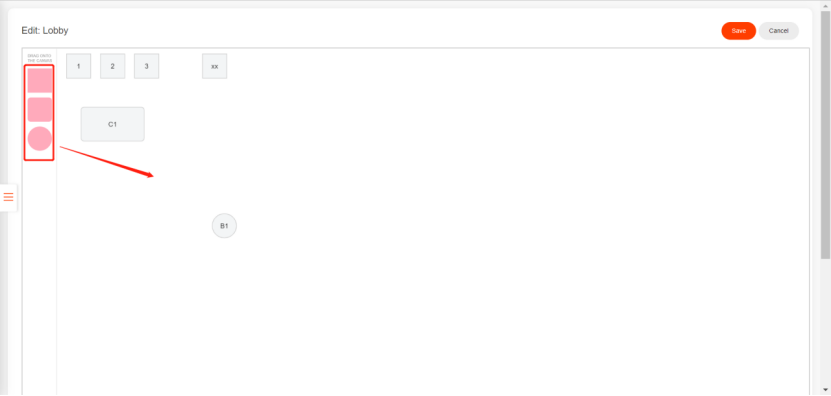
- Drag these shapes on to canvas as you need.
![](https://cdn.ziicloud.com/knowledge-base/2022/06/20191735/1-42.png)
- Click a shape to modify information and toogle on “Is a Table”. Save the modification.
![](https://cdn.ziicloud.com/knowledge-base/2022/06/20191748/1-43.png)
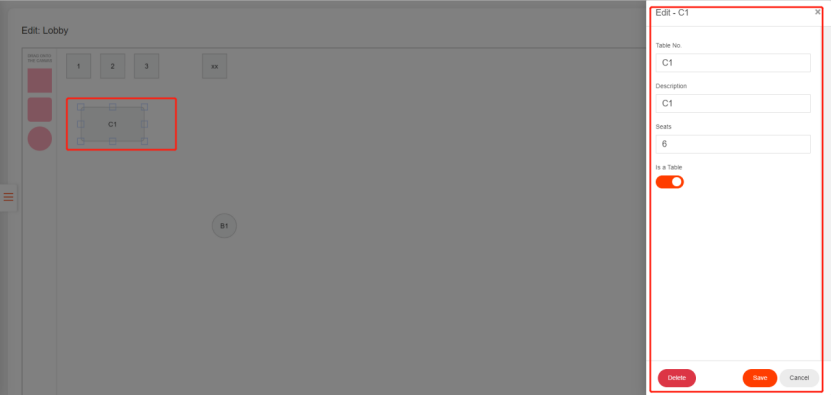
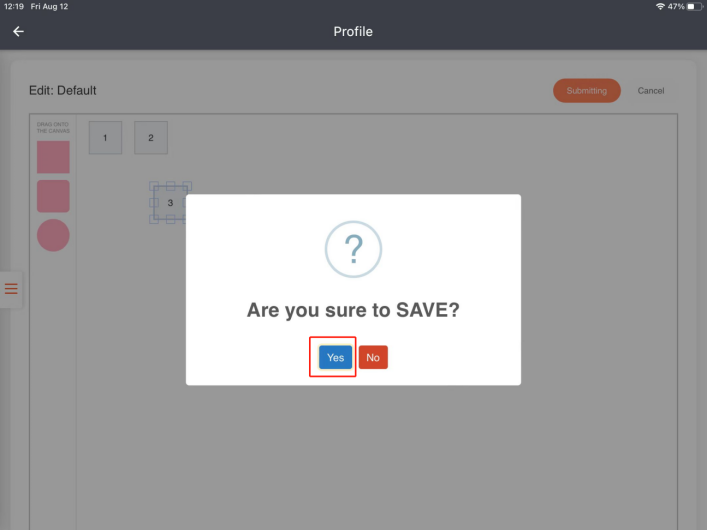
- Click on “Save” and then click on “Yes” to save.
![](https://cdn.ziicloud.com/knowledge-base/2022/09/01173403/Get-Started-with-ZiiPOS-version1.18481.png)
![](https://cdn.ziicloud.com/knowledge-base/2022/09/01173411/Get-Started-with-ZiiPOS-version1.18483.png)